Midjourney version 7 released just recently and since then we have been getting smashed with midjourney updates. Last week we got a few updates including EXP which is an experimental kind of style slider similar to stylized and omni reference.
I’m going to jump in and check out those features but also cover some of the smaller updates very quickly.
Midjourney V7 Updates: Editor, Enhance, and Modes
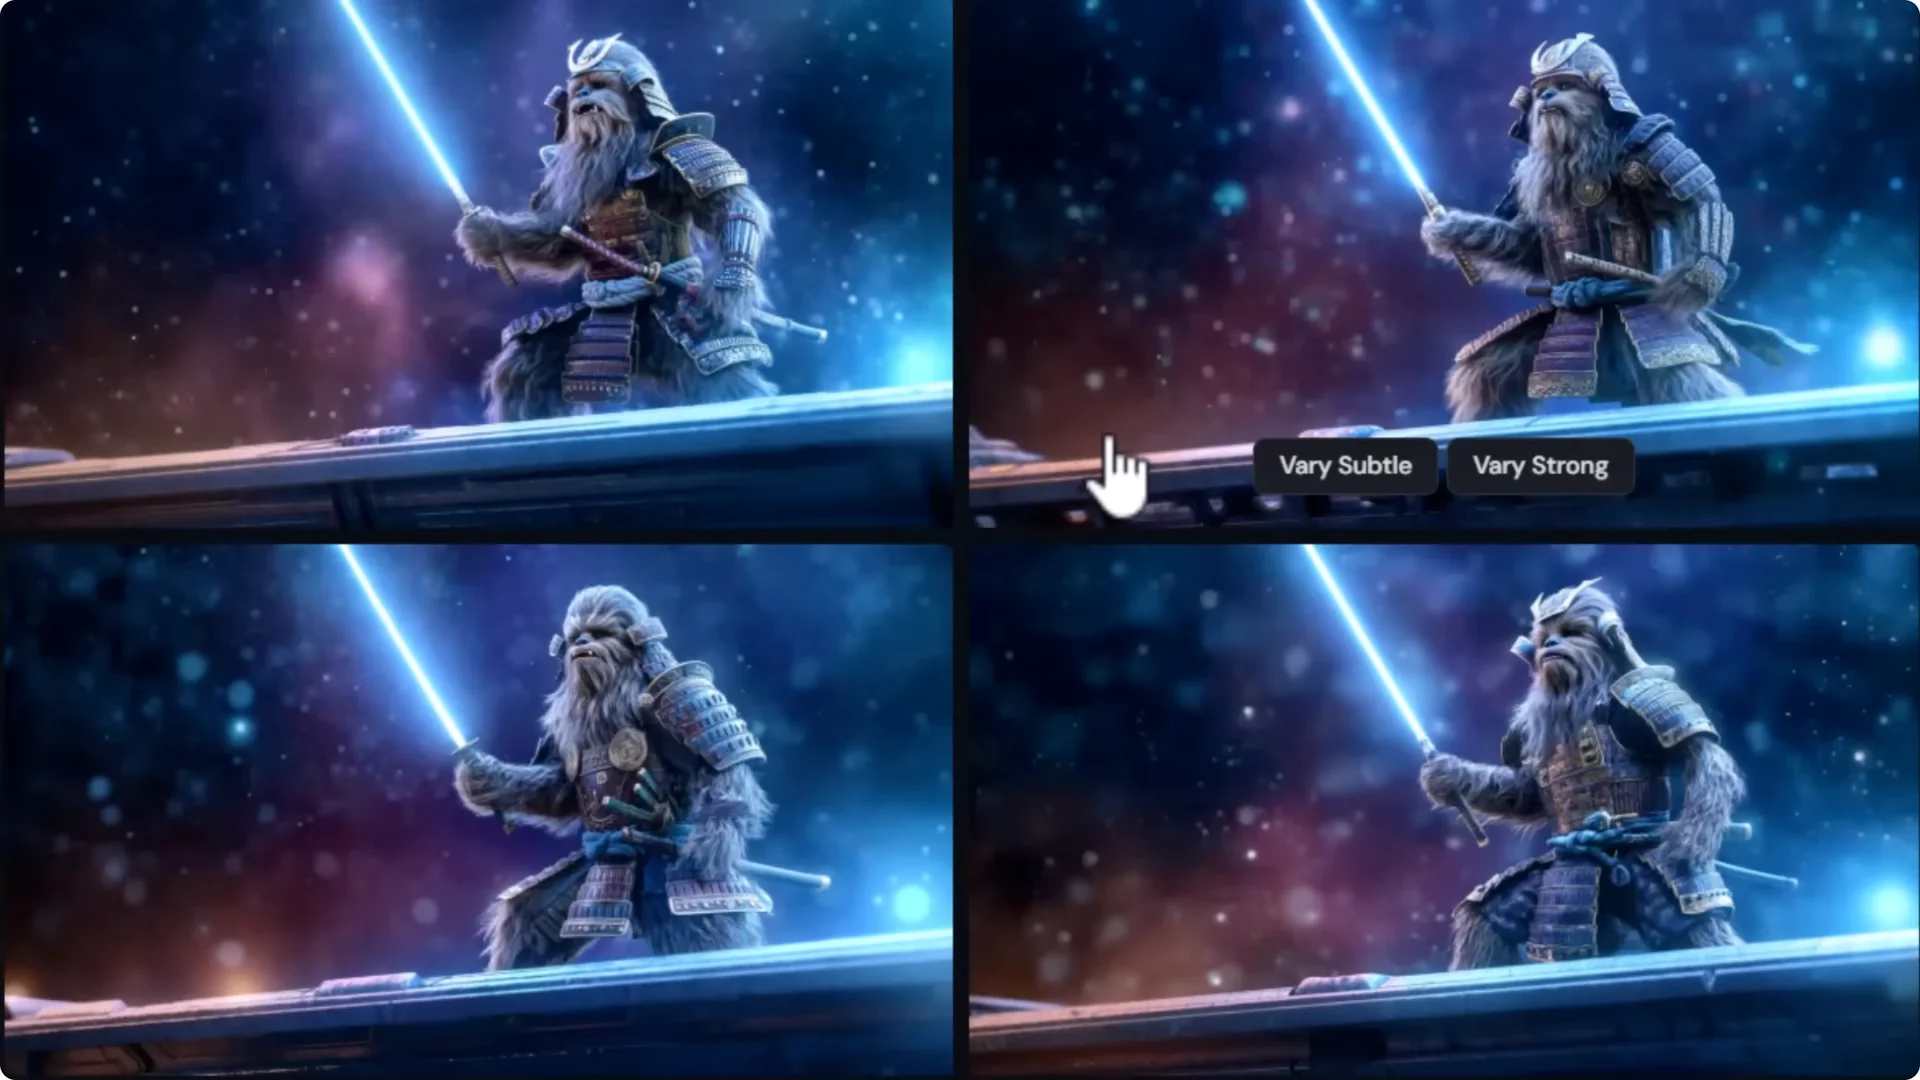
The enhance button now works when you’re creating draft images. Originally, you would hit enhance and it would just resubmit and you’d get something completely different.
With a draft image, if I hit enhance, it enhances the exact image you clicked on, not a new one. You don’t have to worry about doing very subtle edits.
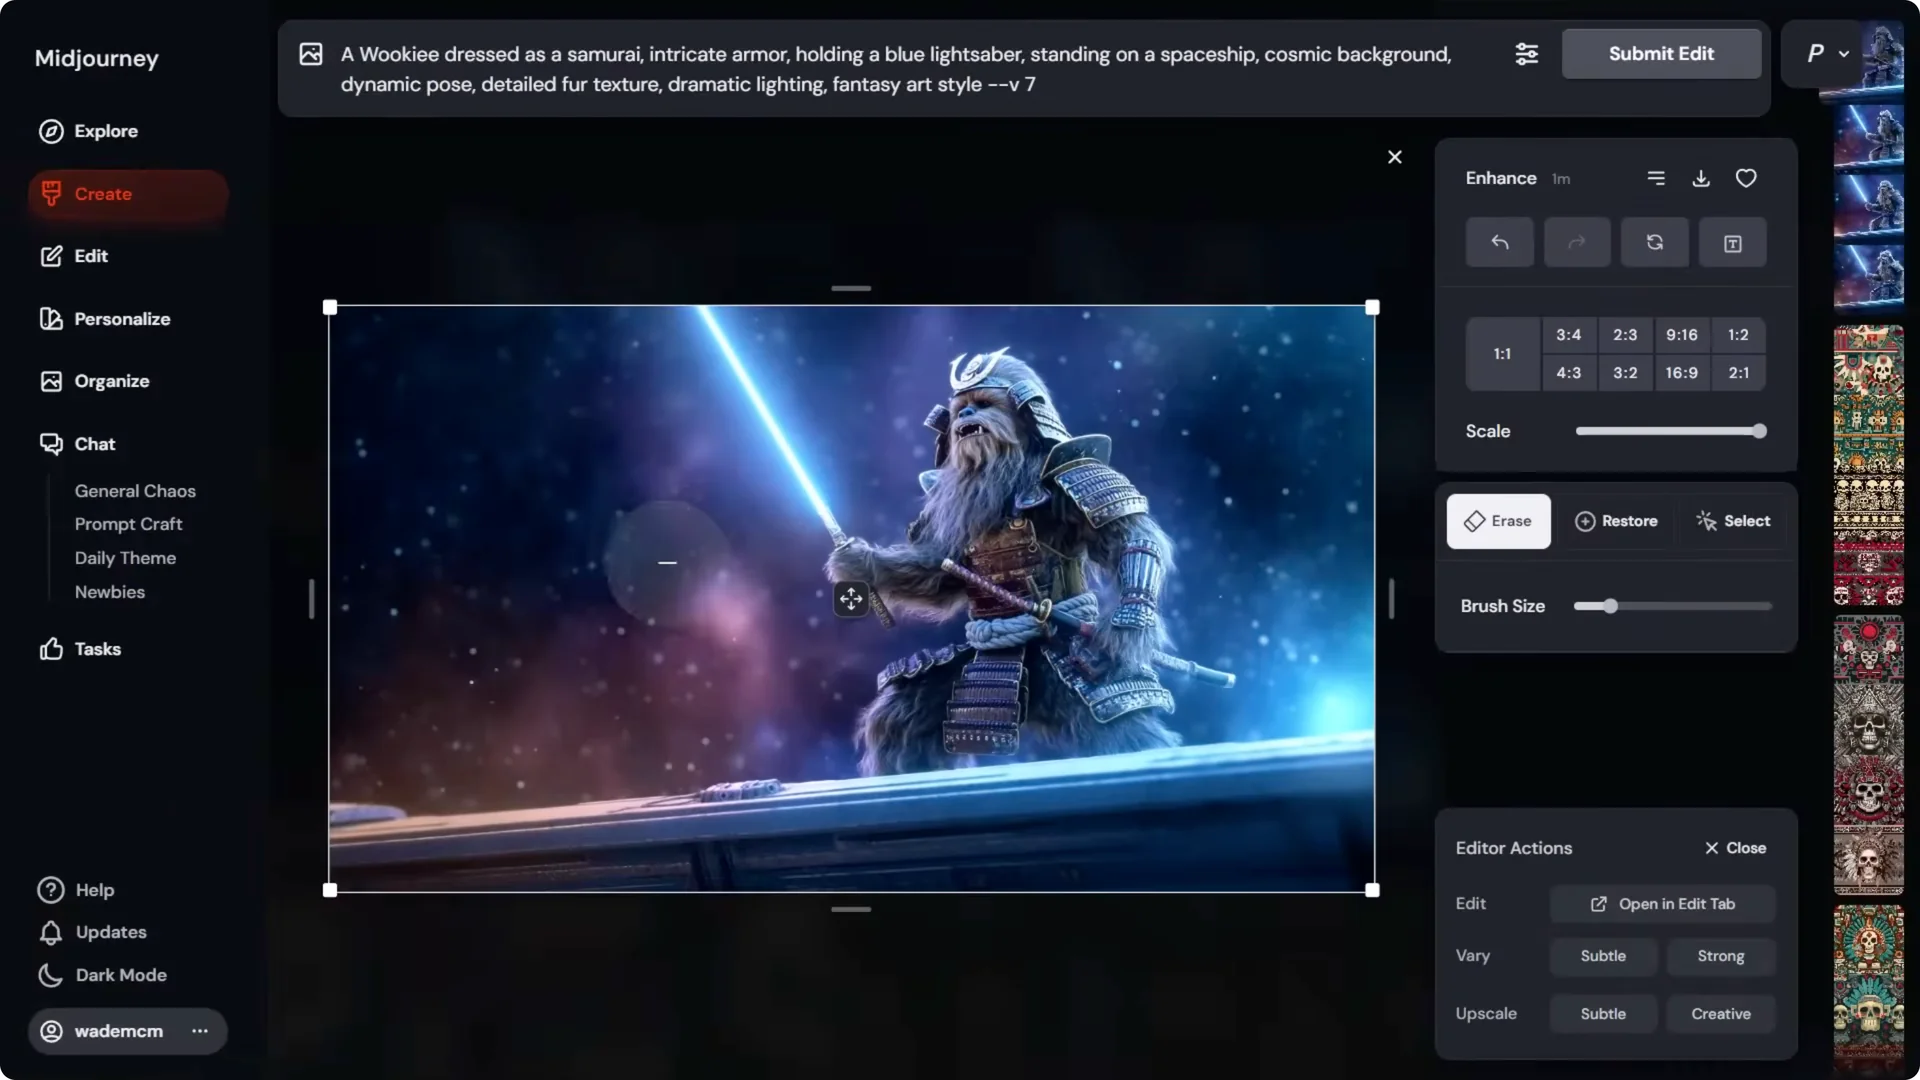
If I click on an image and go to edit, I now get a simplified editor style. I lose some functions like layers, but I get the ability to reset my prompt.
I can also click Open in Edit Tab and take it into the full editor with retexture and layers to use the full editing experience. It just takes an extra step.
The community wanted a more simplified editor for editing their images.
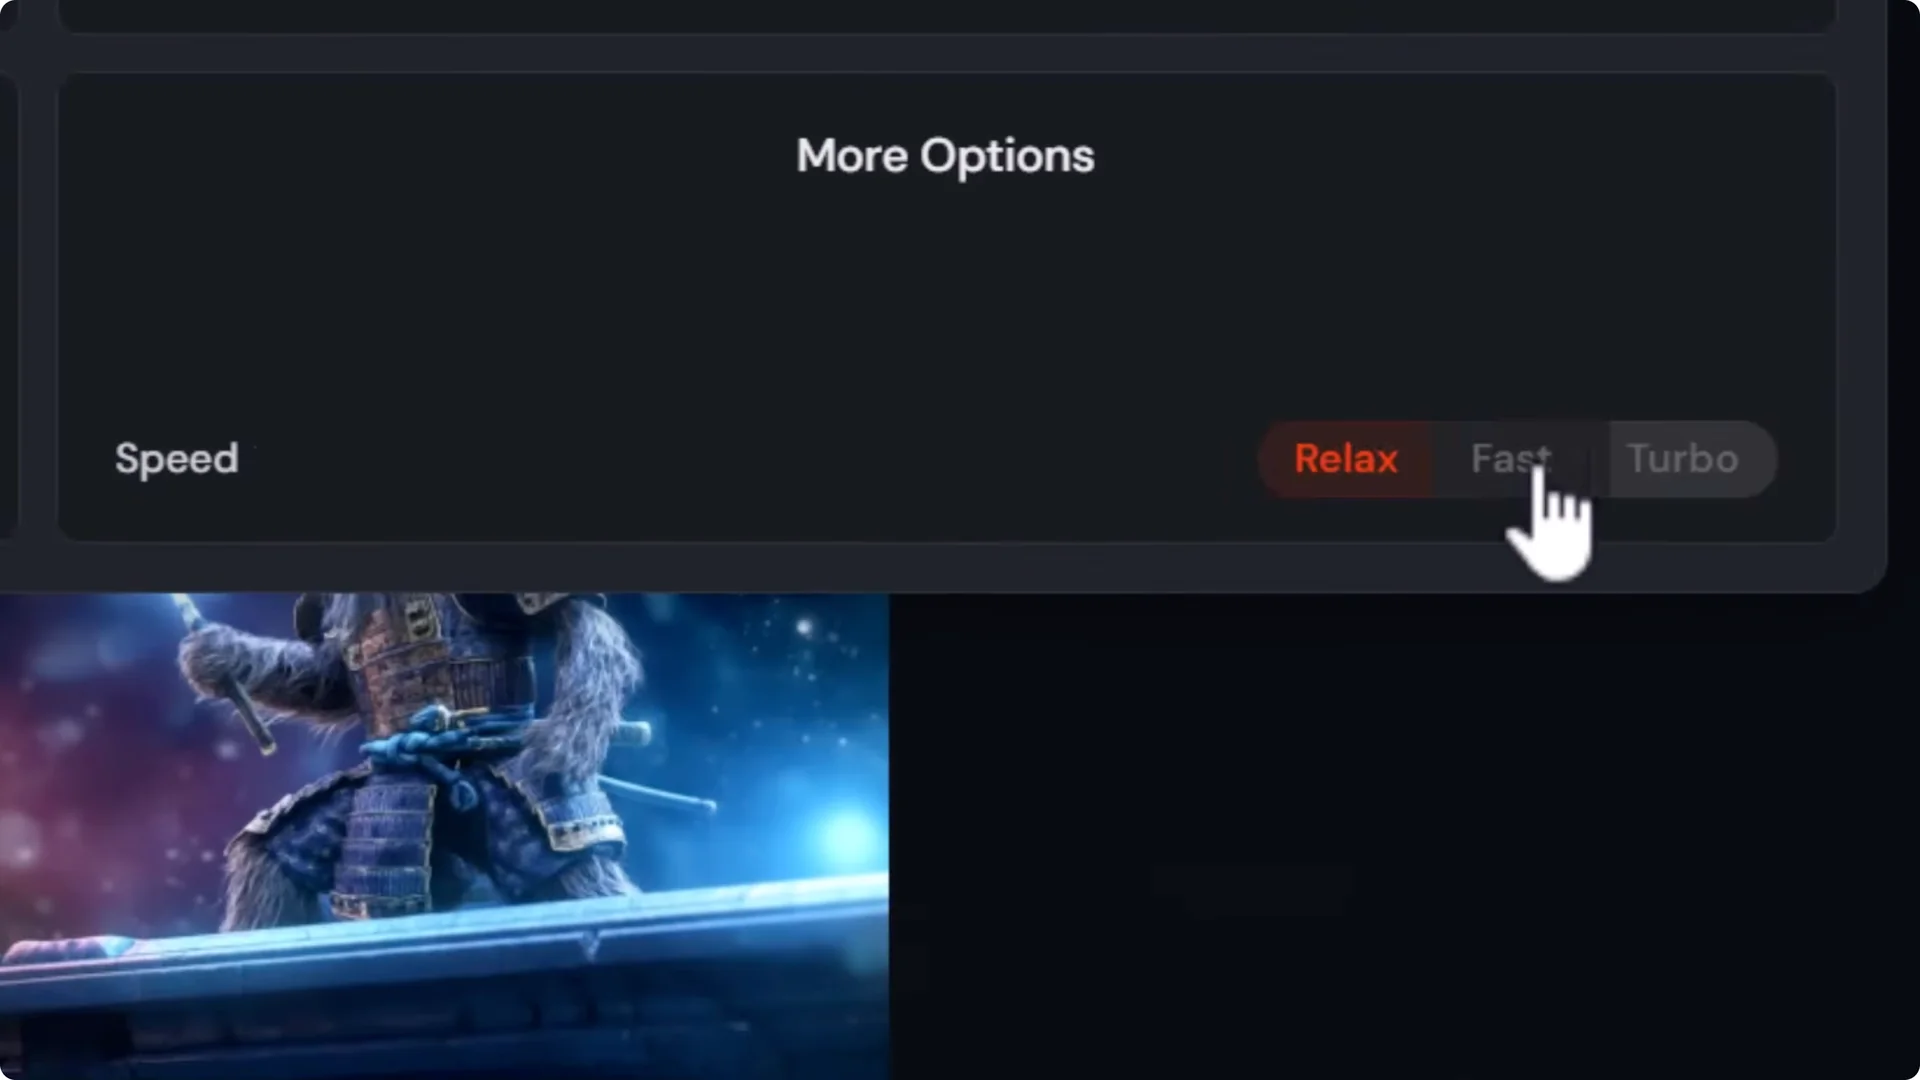
Speed, Relax, Fast, and Turbo are available, and you can now use Fast with version 7.
Turbo has basically used up all my hours, so I’m really glad Fast mode is enabled now for version 7.
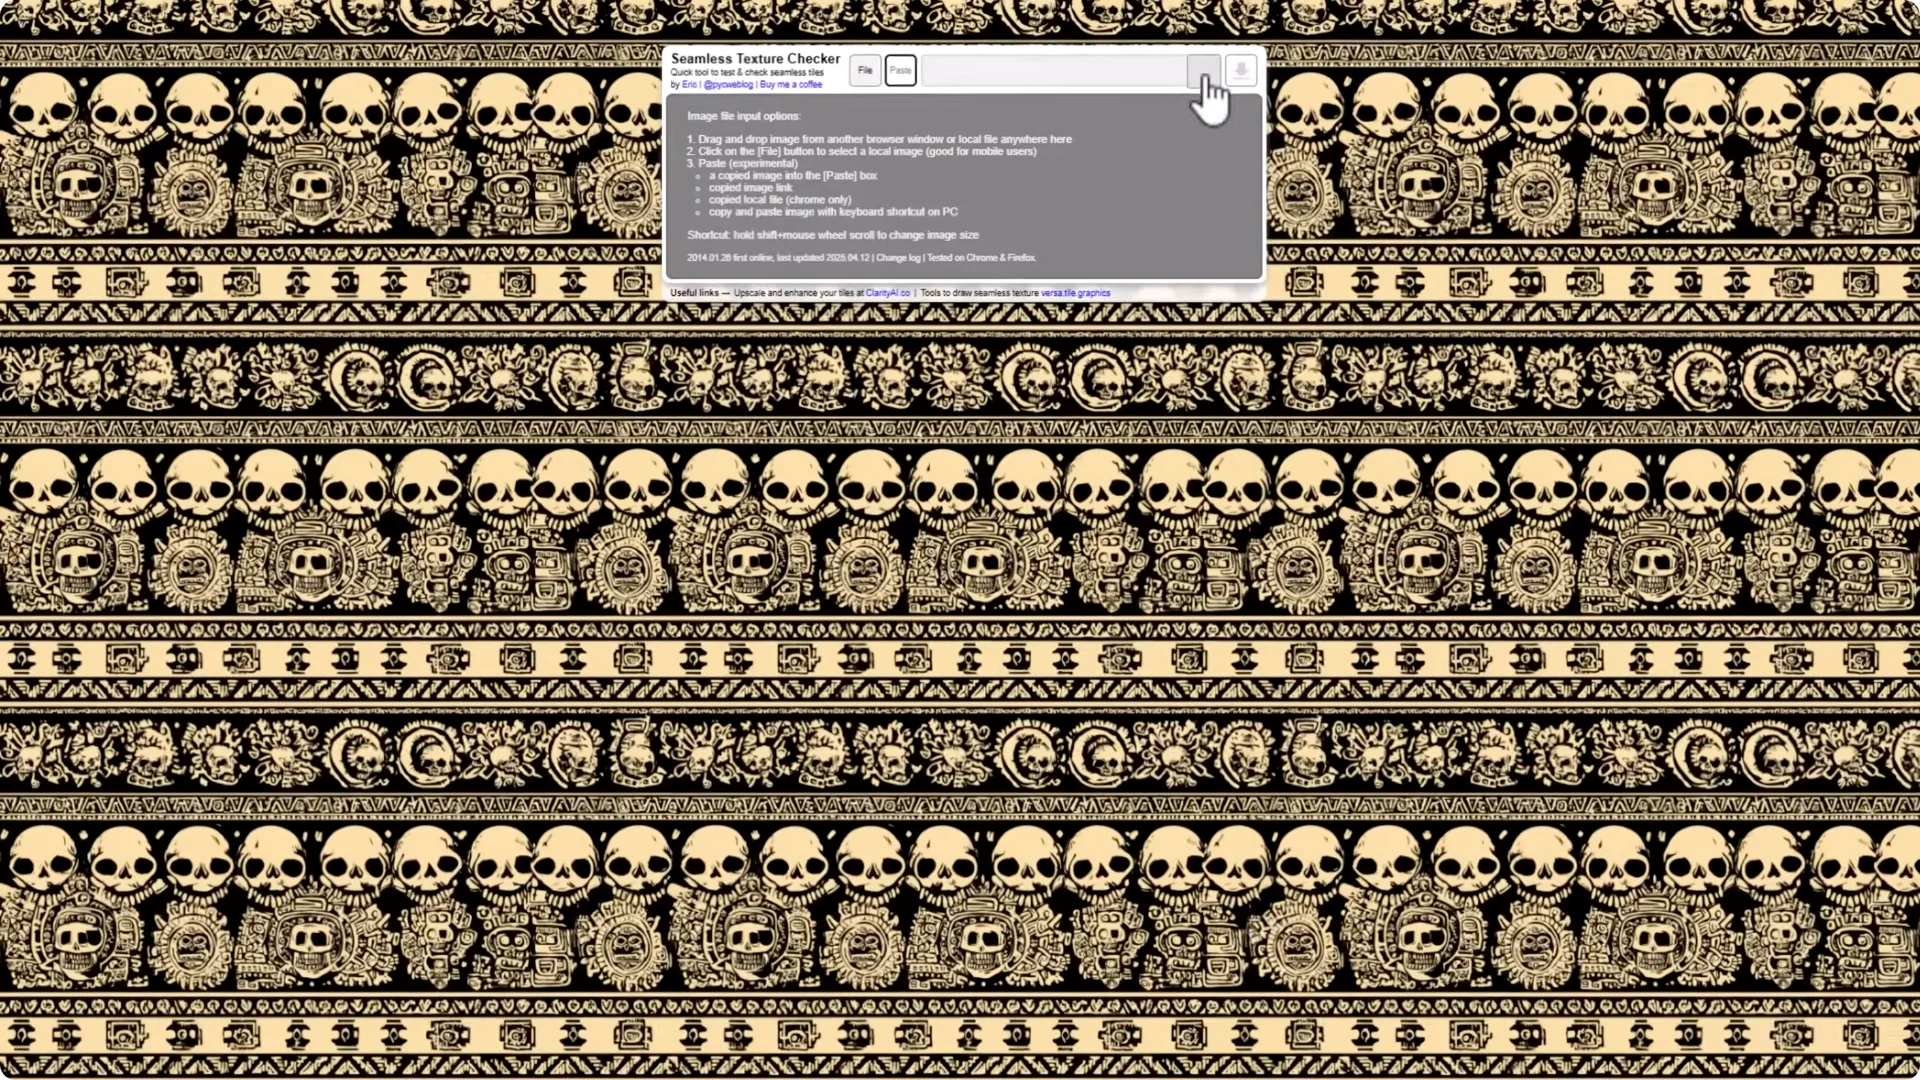
Midjourney V7 Updates: Tiling
The tile feature has returned. Some earlier images looked great but wouldn’t really repeat. If I pop a grid into a tile checker, the edges are clearly visible.
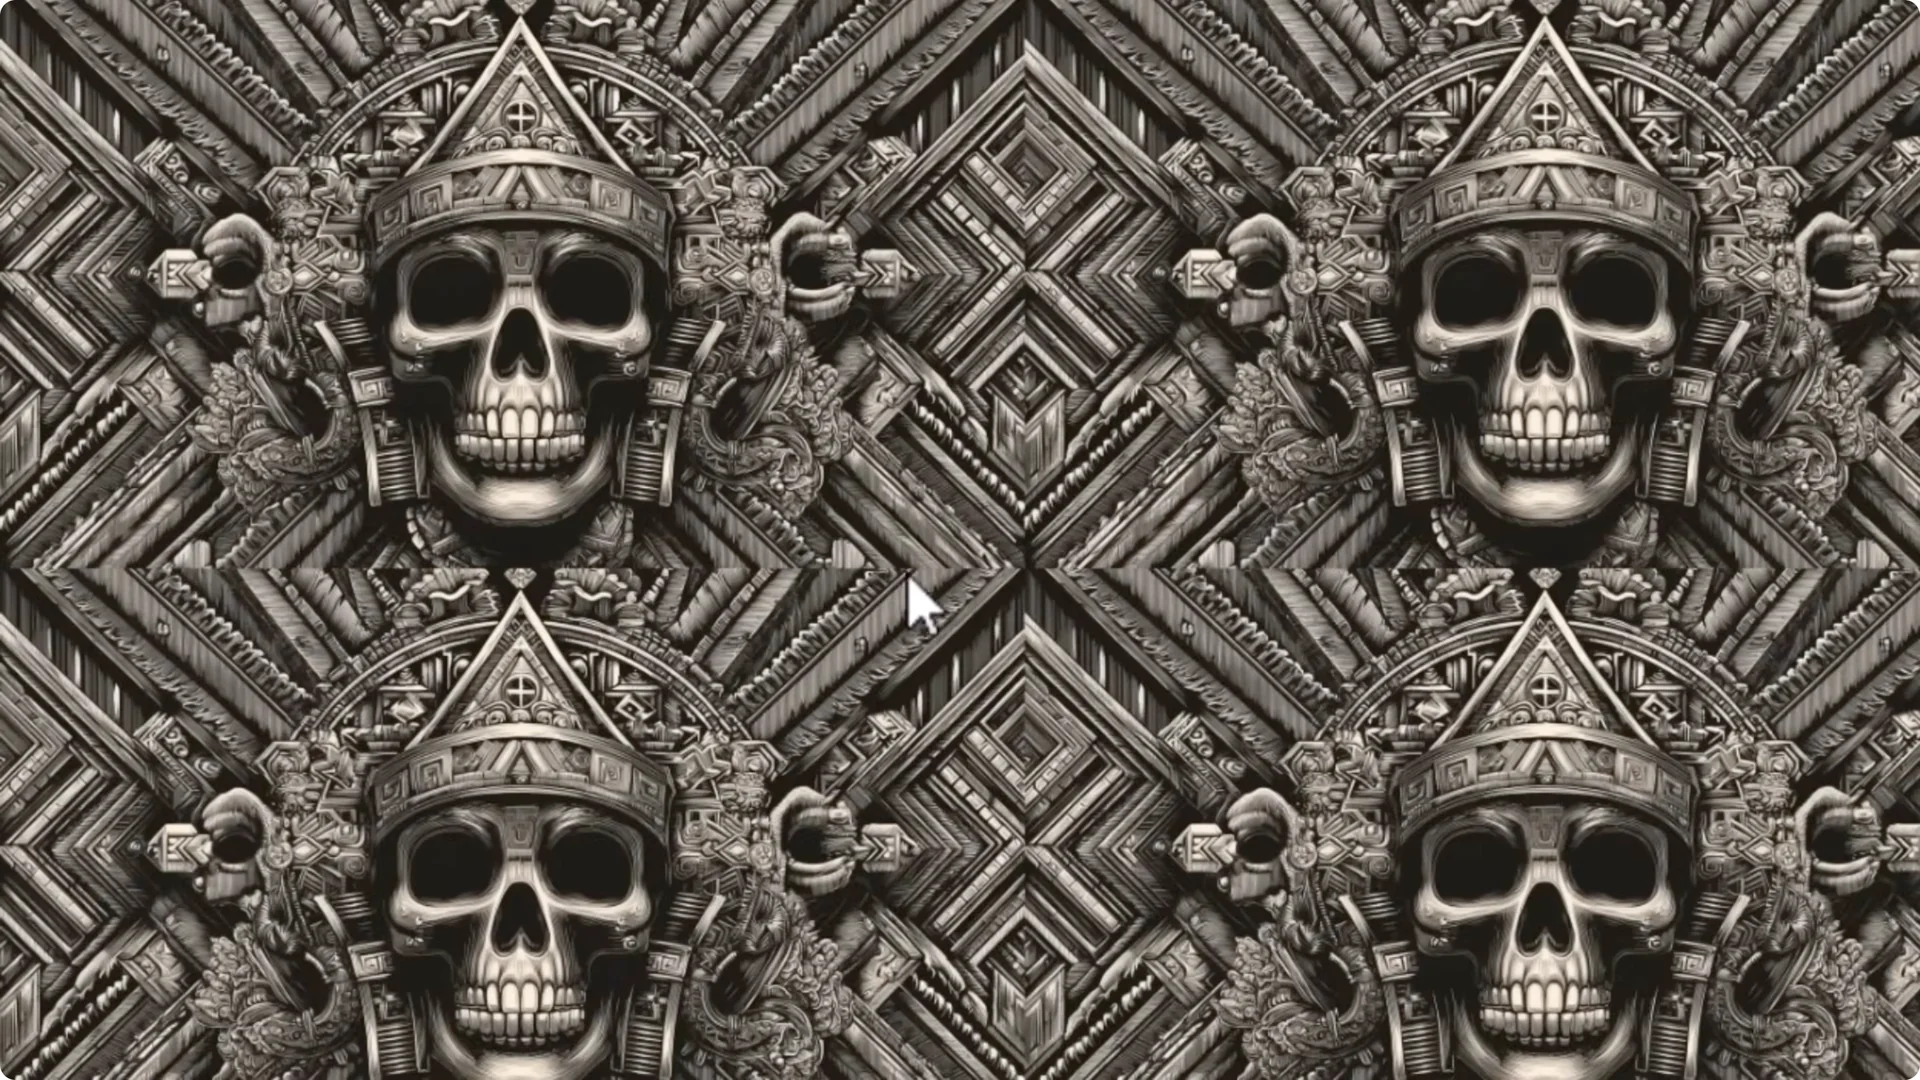
Using the same prompt and copying the seed, if I type d-tile and hit enter, even with the same seed the output is different, which is part of creating a repeatable tile.
Repeating these images, you’ll notice you can get a really nice smooth tile with no visible seams. It works well across multiple images in a grid.
Midjourney V7 Updates: Weird and Quality
Weird and Quality now work with version 7.
- Weird: You can adjust the weirdness slider or type d-w with a number from 0 to 3,000. This also works in Discord.
– At 100, an image is only a little weird compared to the original, but you can see subtle morphing.
– Going from 1 to 10 to 100 increases change, then it often changes completely. From there, it sometimes doesn’t change much all the way up to 3,000, keeping a similar vibe.
– It’s a bit unpredictable, but it definitely weirds up your image to a certain degree.
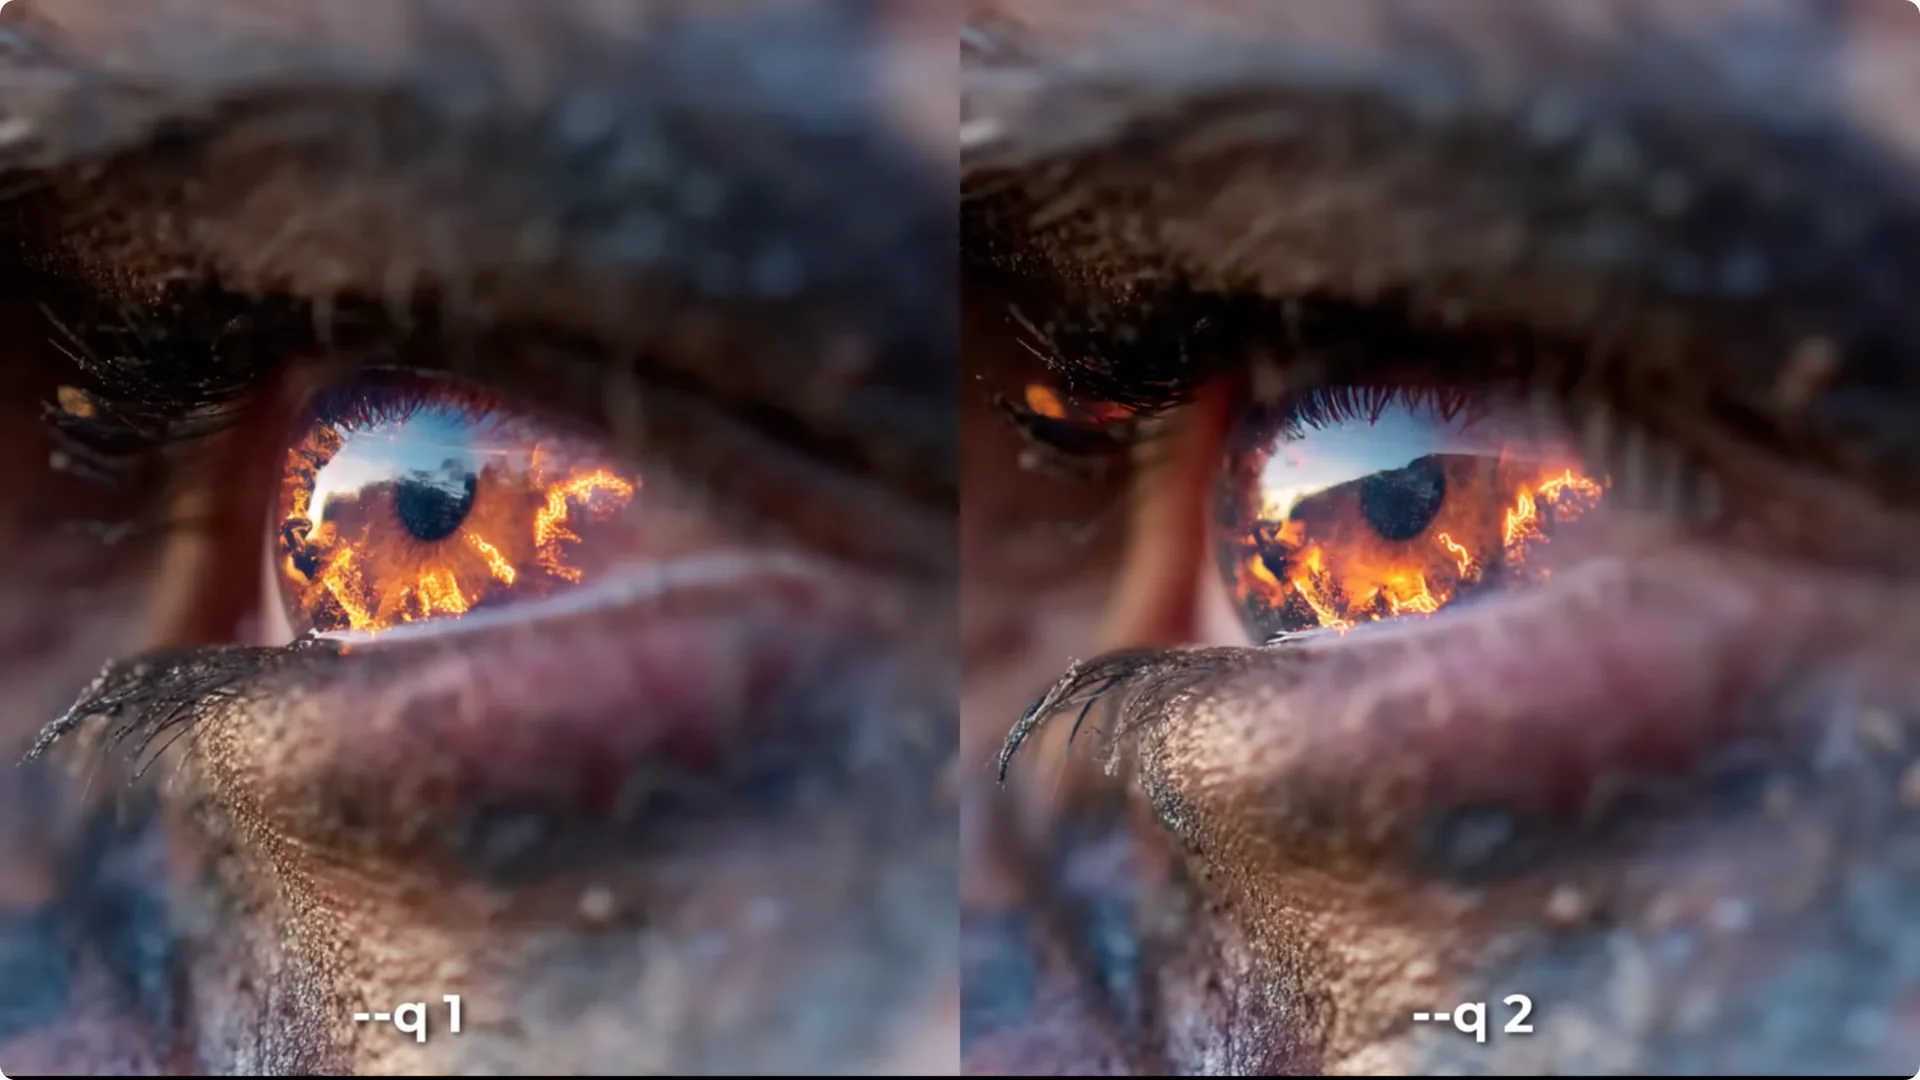
- Quality: You can now go to 2 or 4 with d-q2 and d-q4.
– Keeping the same prompt and seed, d-q2 adds a little more detail compared to the default of 1.
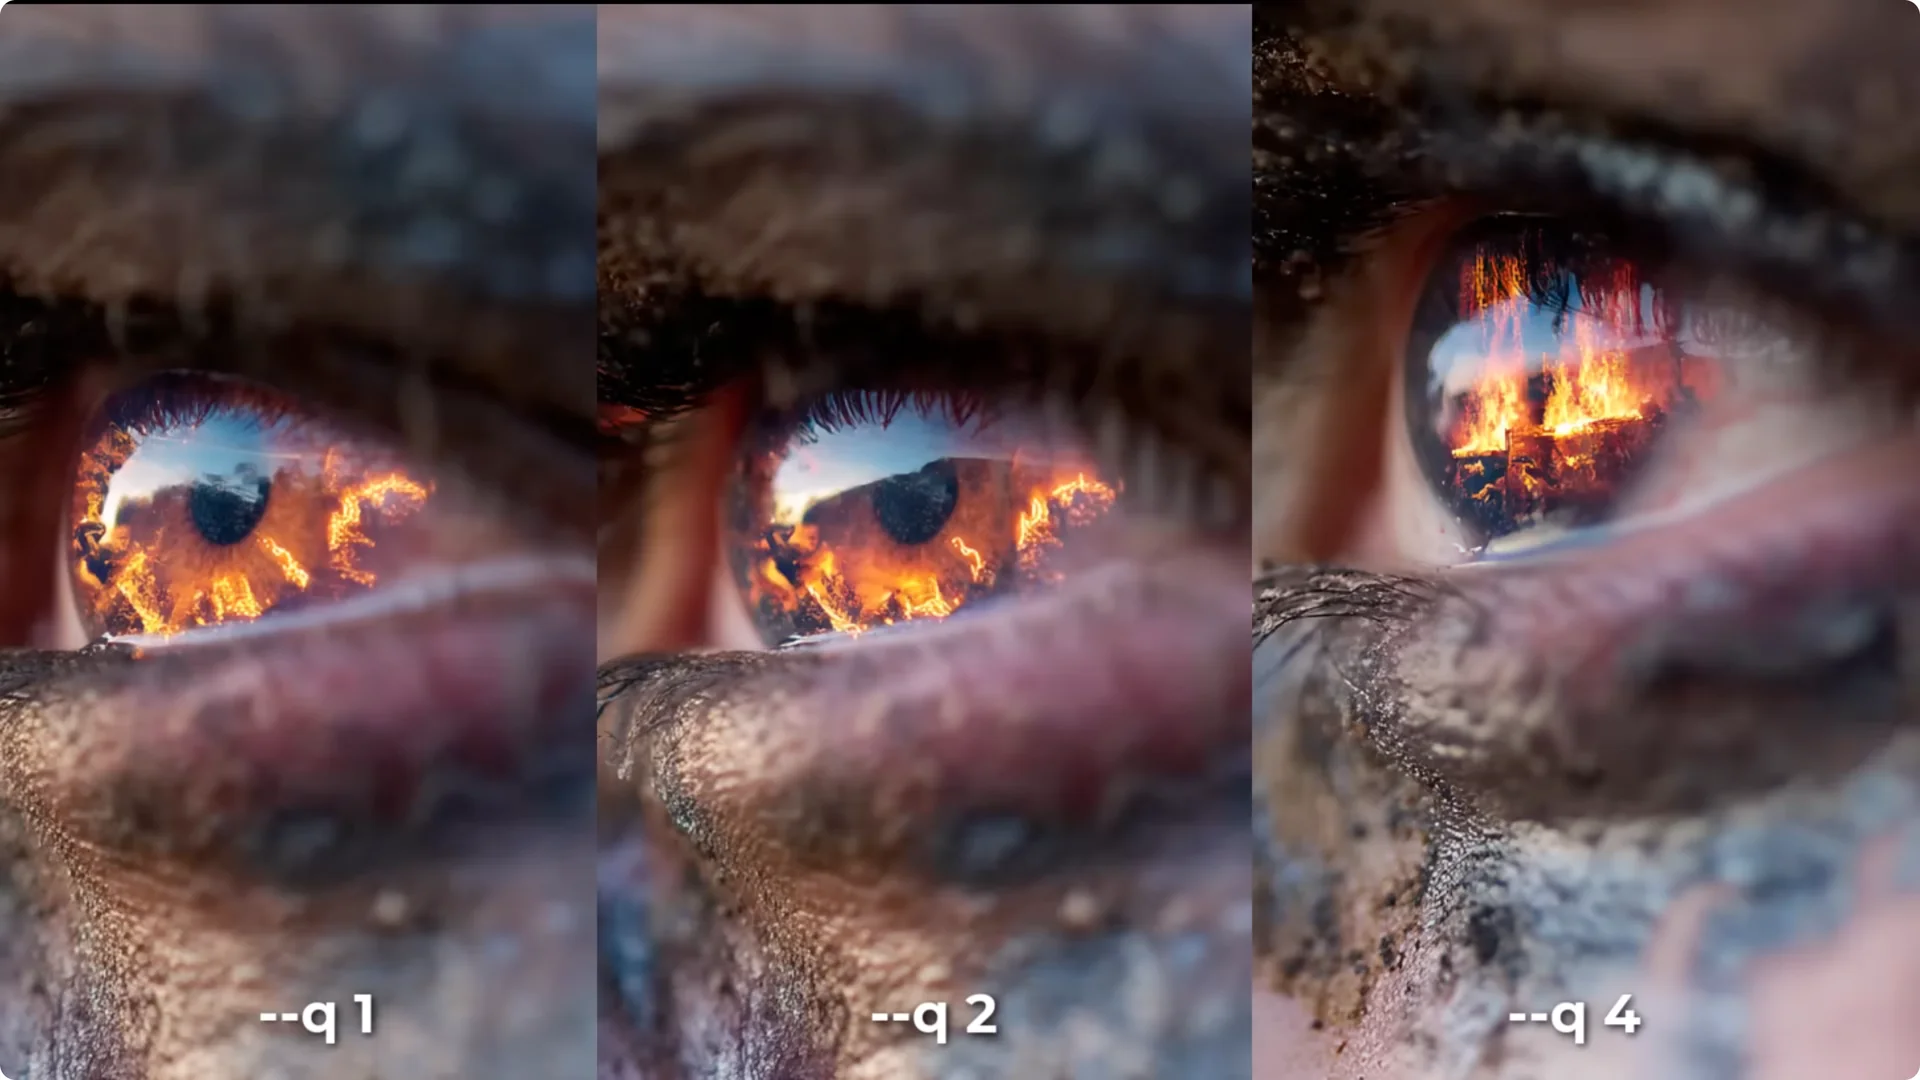
– At 4, it develops things further, adds more detail, and pushes the generation a bit, as seen in reflections and fine elements.
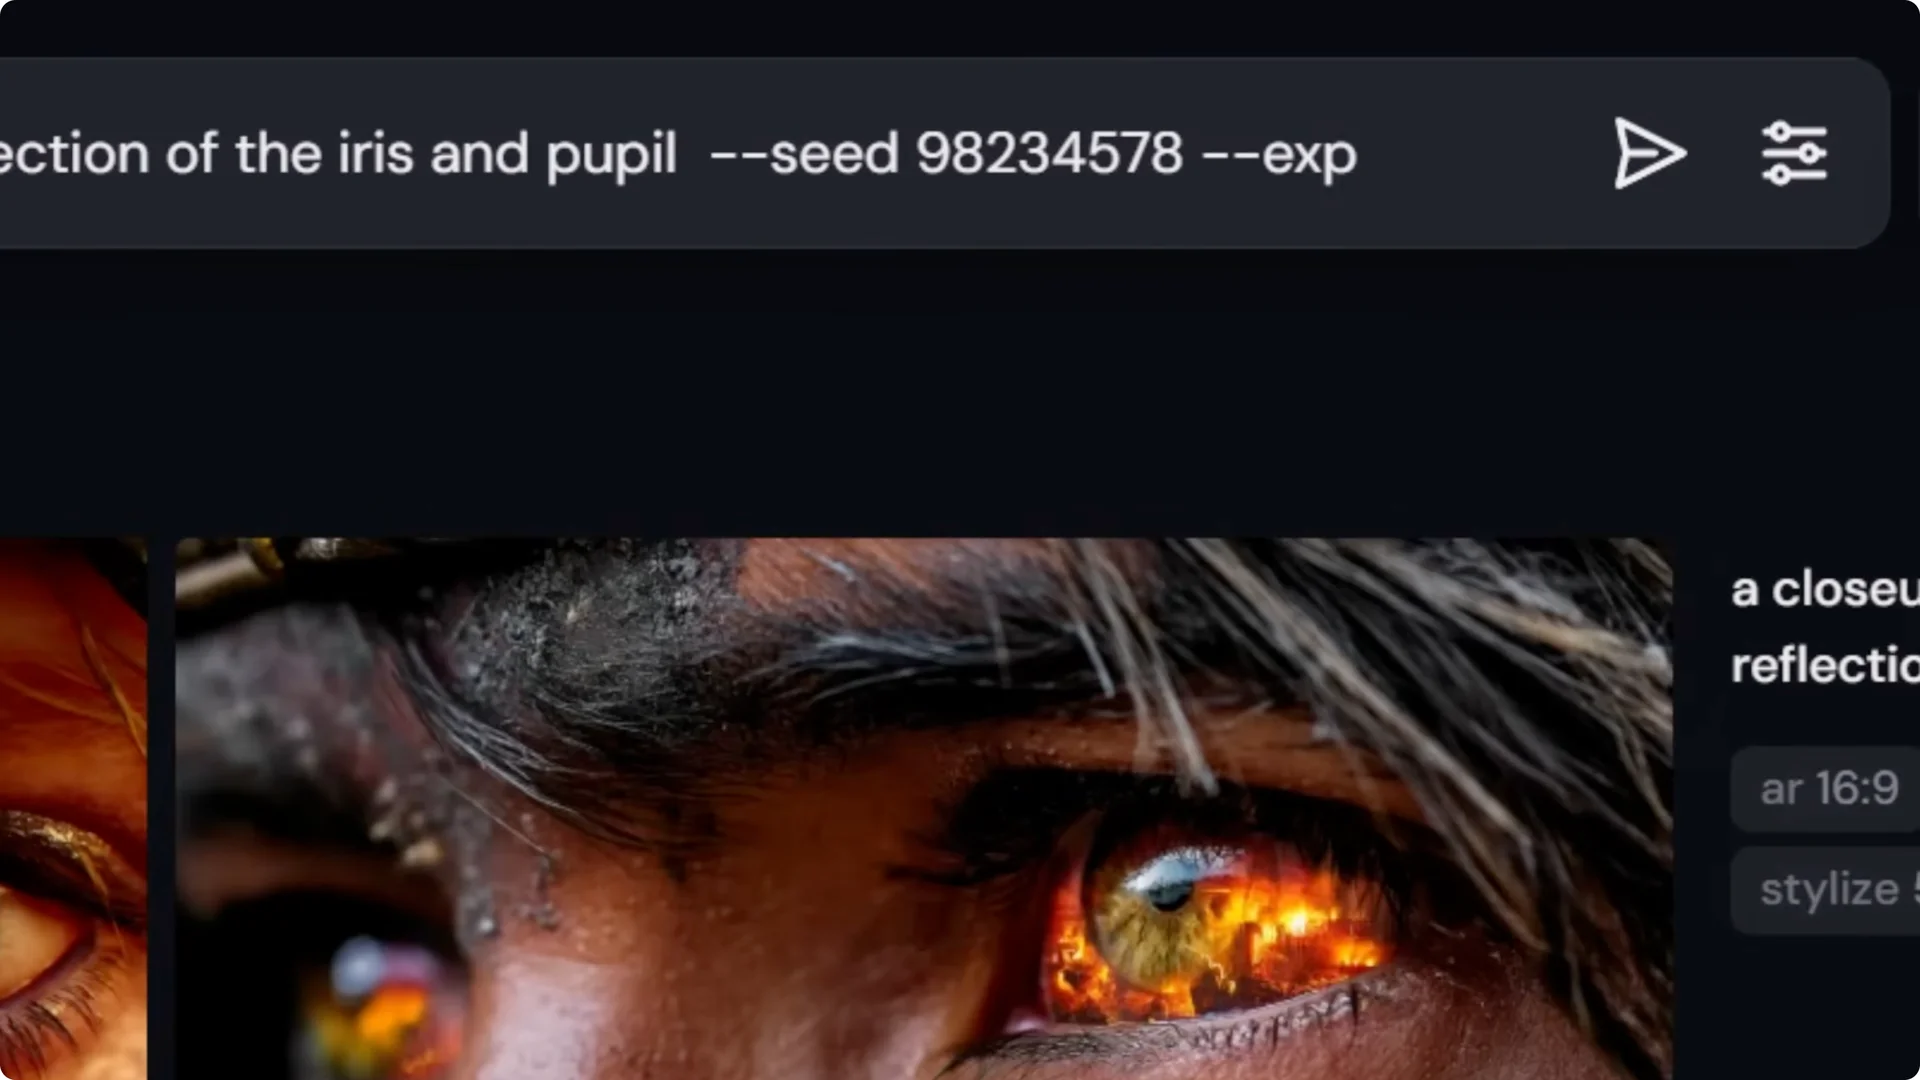
Midjourney V7 Updates: EXP Parameter
The new d-exp parameter is similar to stylize. It goes from 0 to 100, with 0 being default. The higher you go, the more it steers away from your prompt. It’s a powerful way to add more style and experiment with aesthetics.
- Recommended values: 5, 10, 25, 50, and 100.
- You’ll see a lot of change between 5 and 50, but not as much between 50 and 100.
- Higher values may overwhelm your styliz or personalization profiles.
How to use it:
- Add d-exp followed by a number to your prompt, including in Discord.
Examples:
- Starting from the original image with exp turned off, exp 5 makes a subtle but cool change. Building up through 10 and 25, it slowly changes the dynamics, sometimes zooming away from core subjects.
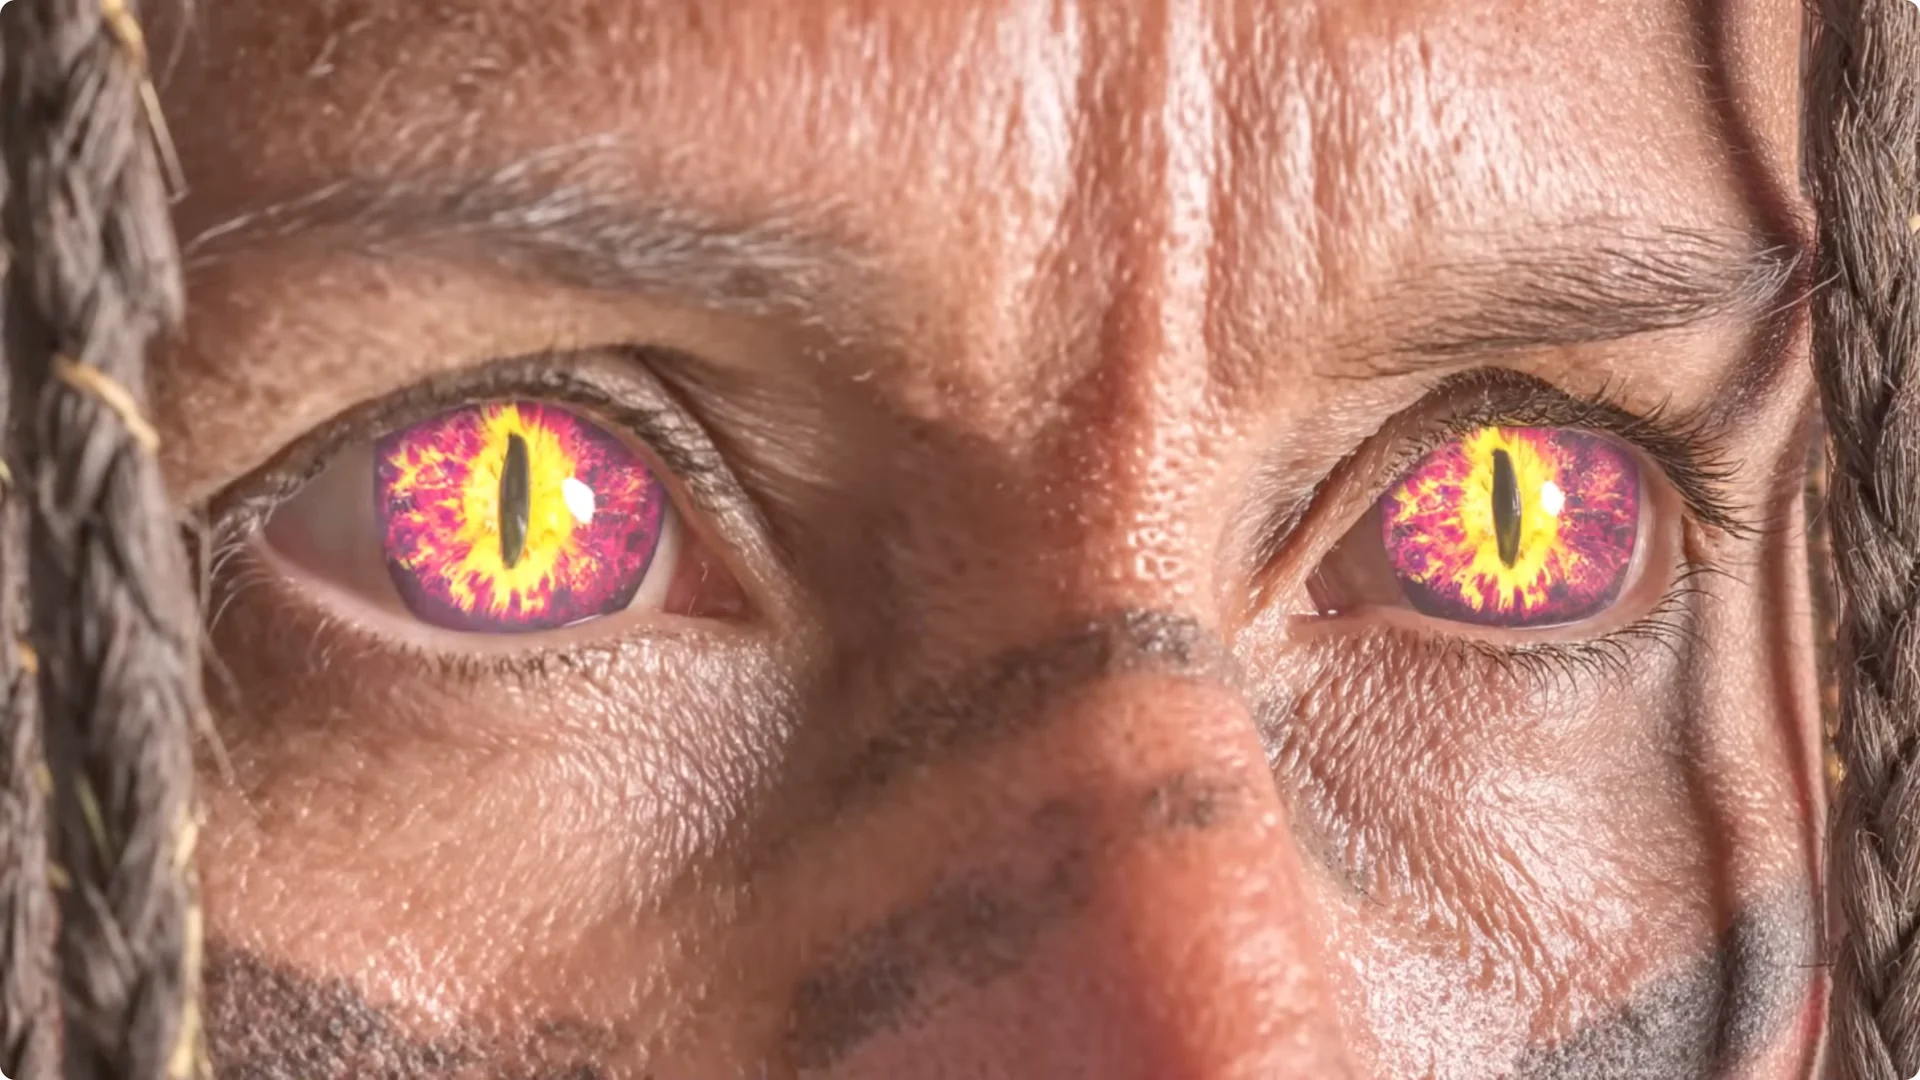
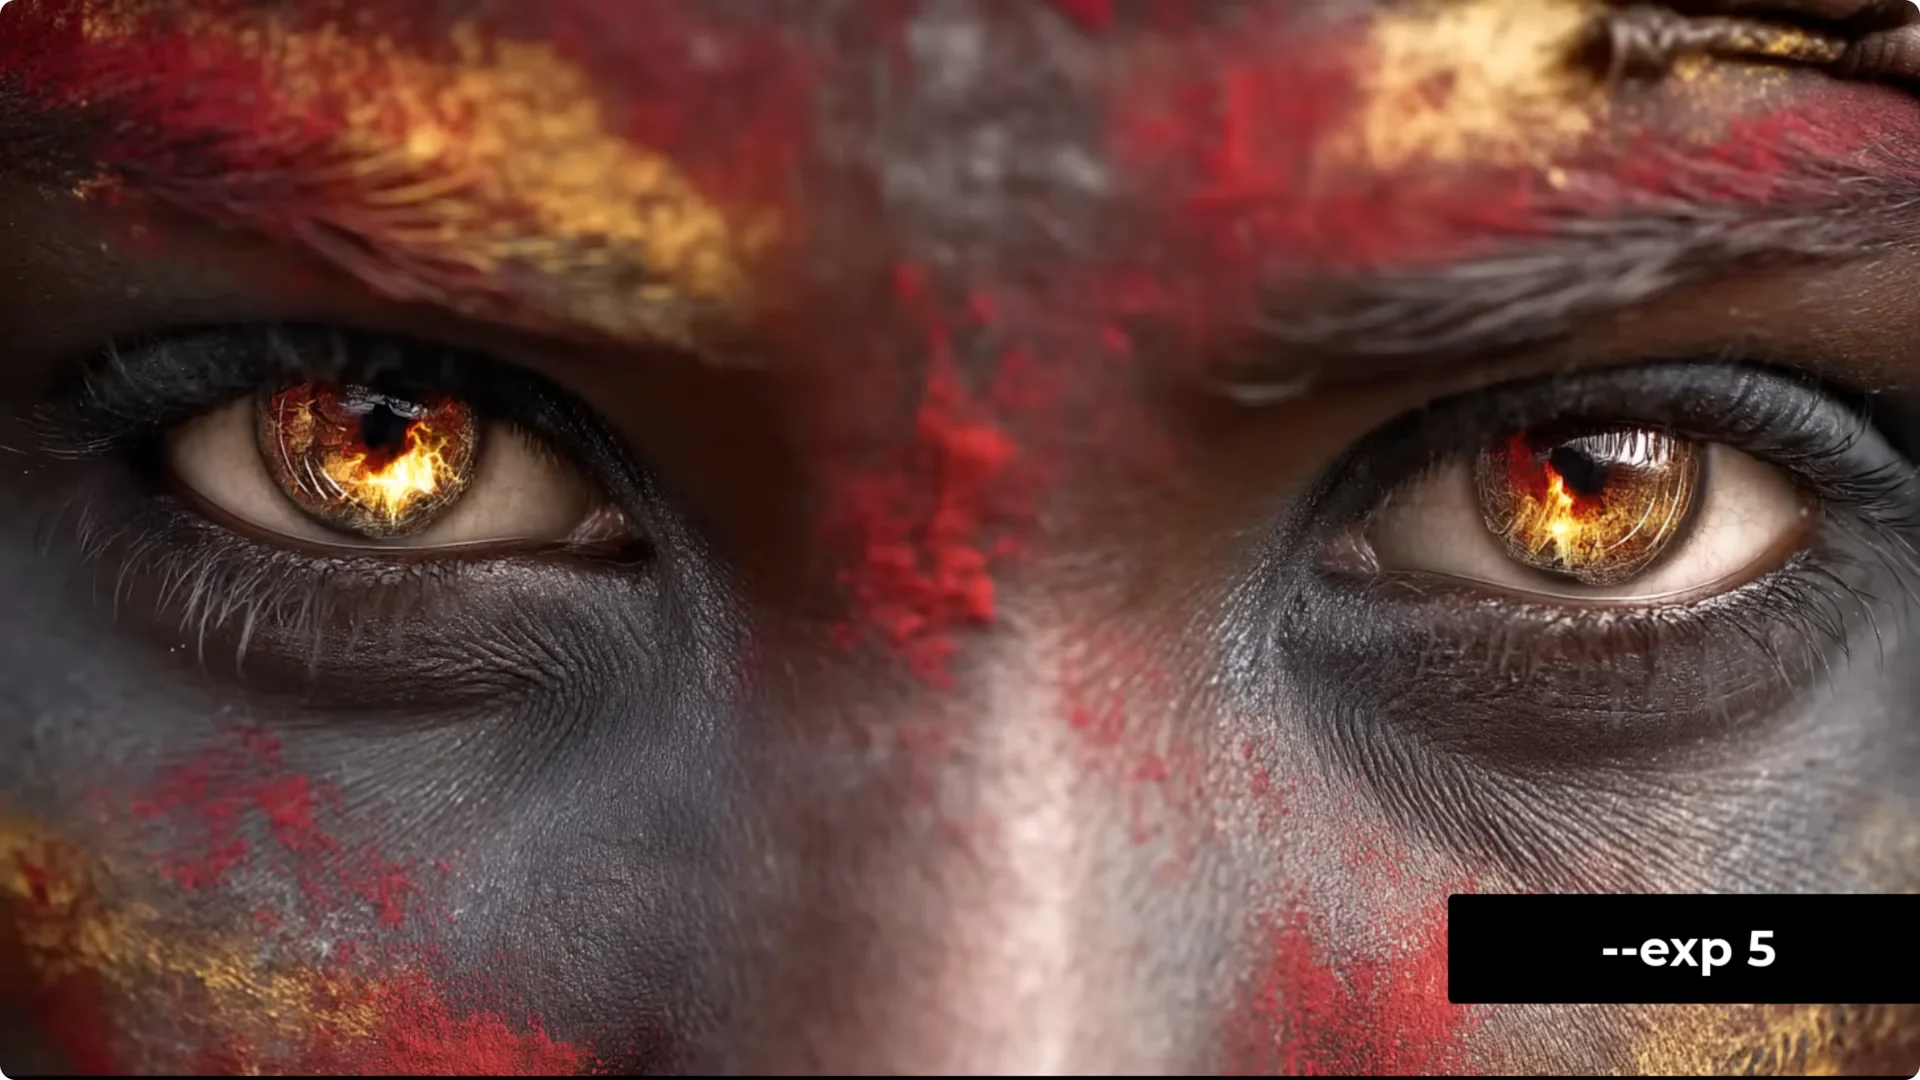
- On another image from the same grid, it adds more fire to the eyes, changes skin color and layout, and keeps the framing locked, with a big difference from start to finish.
- On a third image, it shifts the angle from one eye to both eyes, which was a nifty transition.
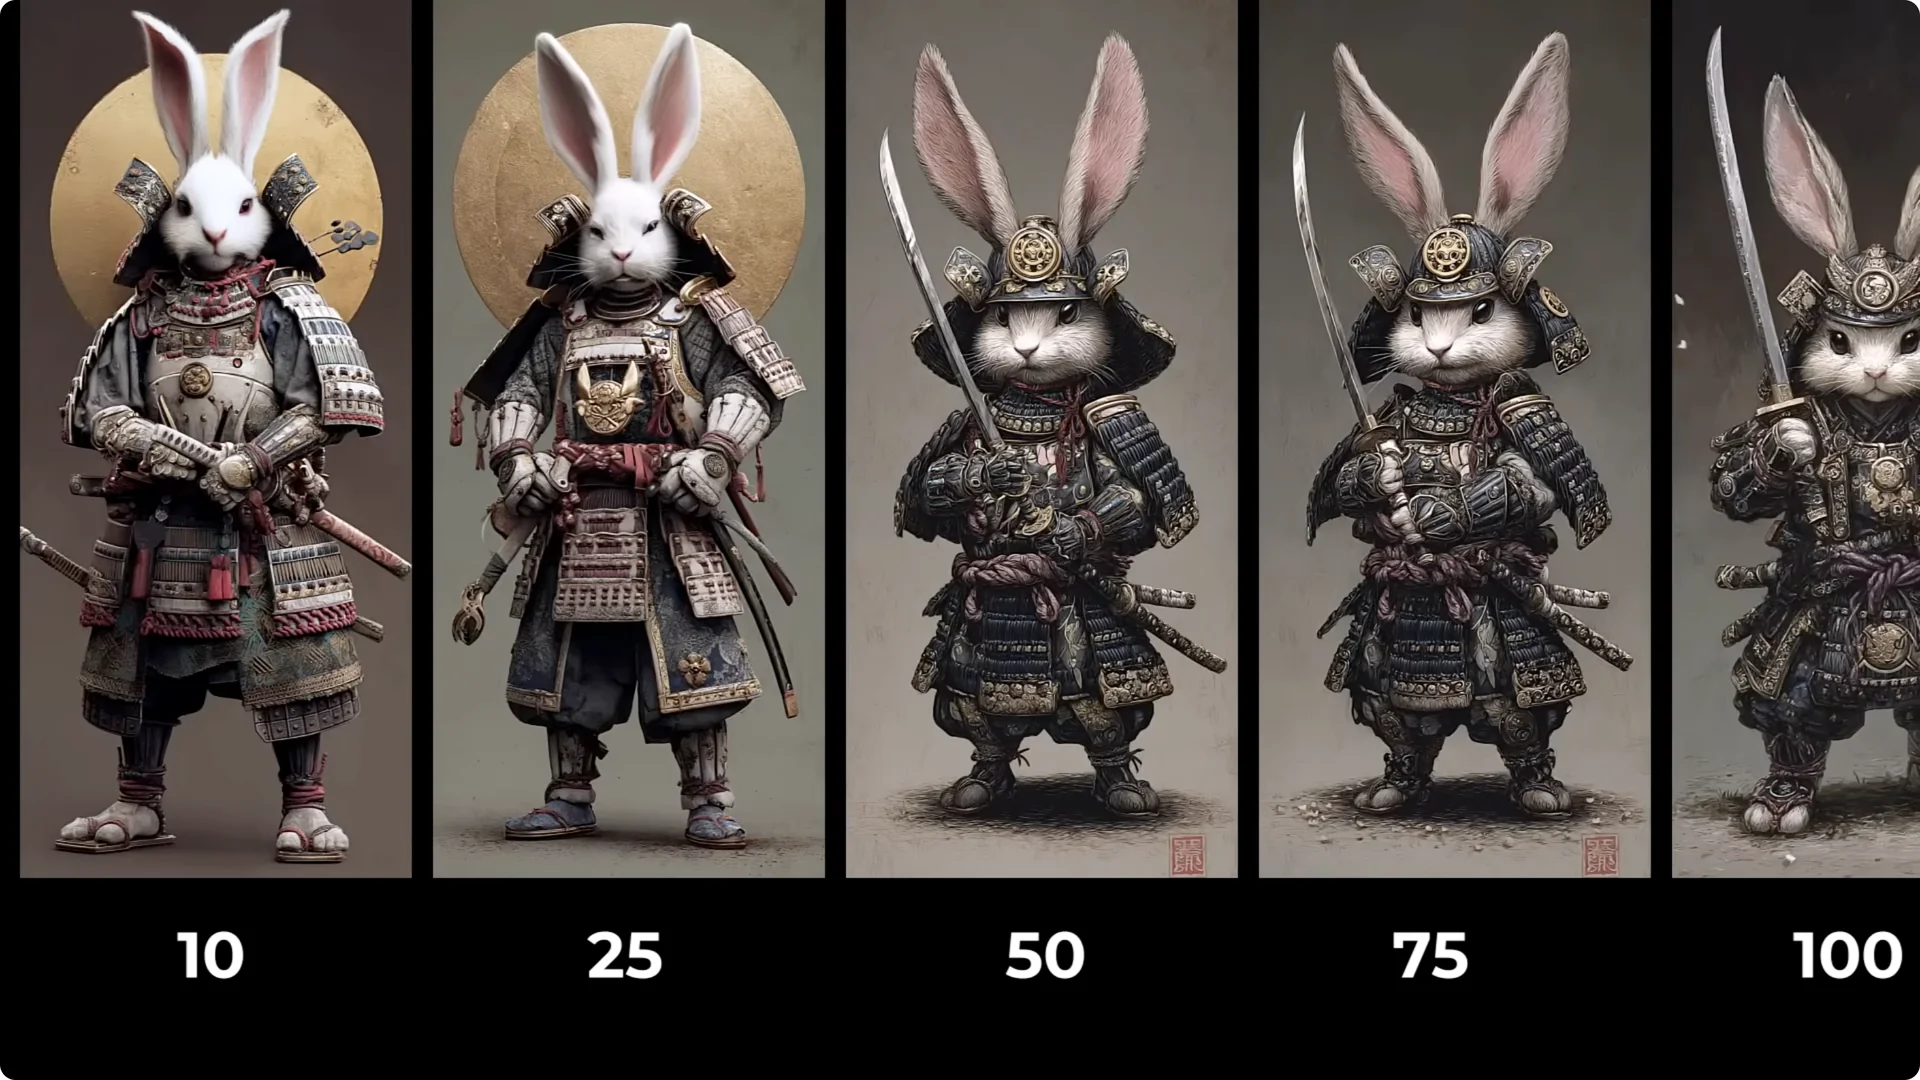
- Side-by-side bunnies from the same scene show it sometimes adds a sun, removes a sun, and from 50 to 100 changes become more minor. I would experiment with that to see what results you get with Omni Reference.
Midjourney V7 Updates: Omni Reference
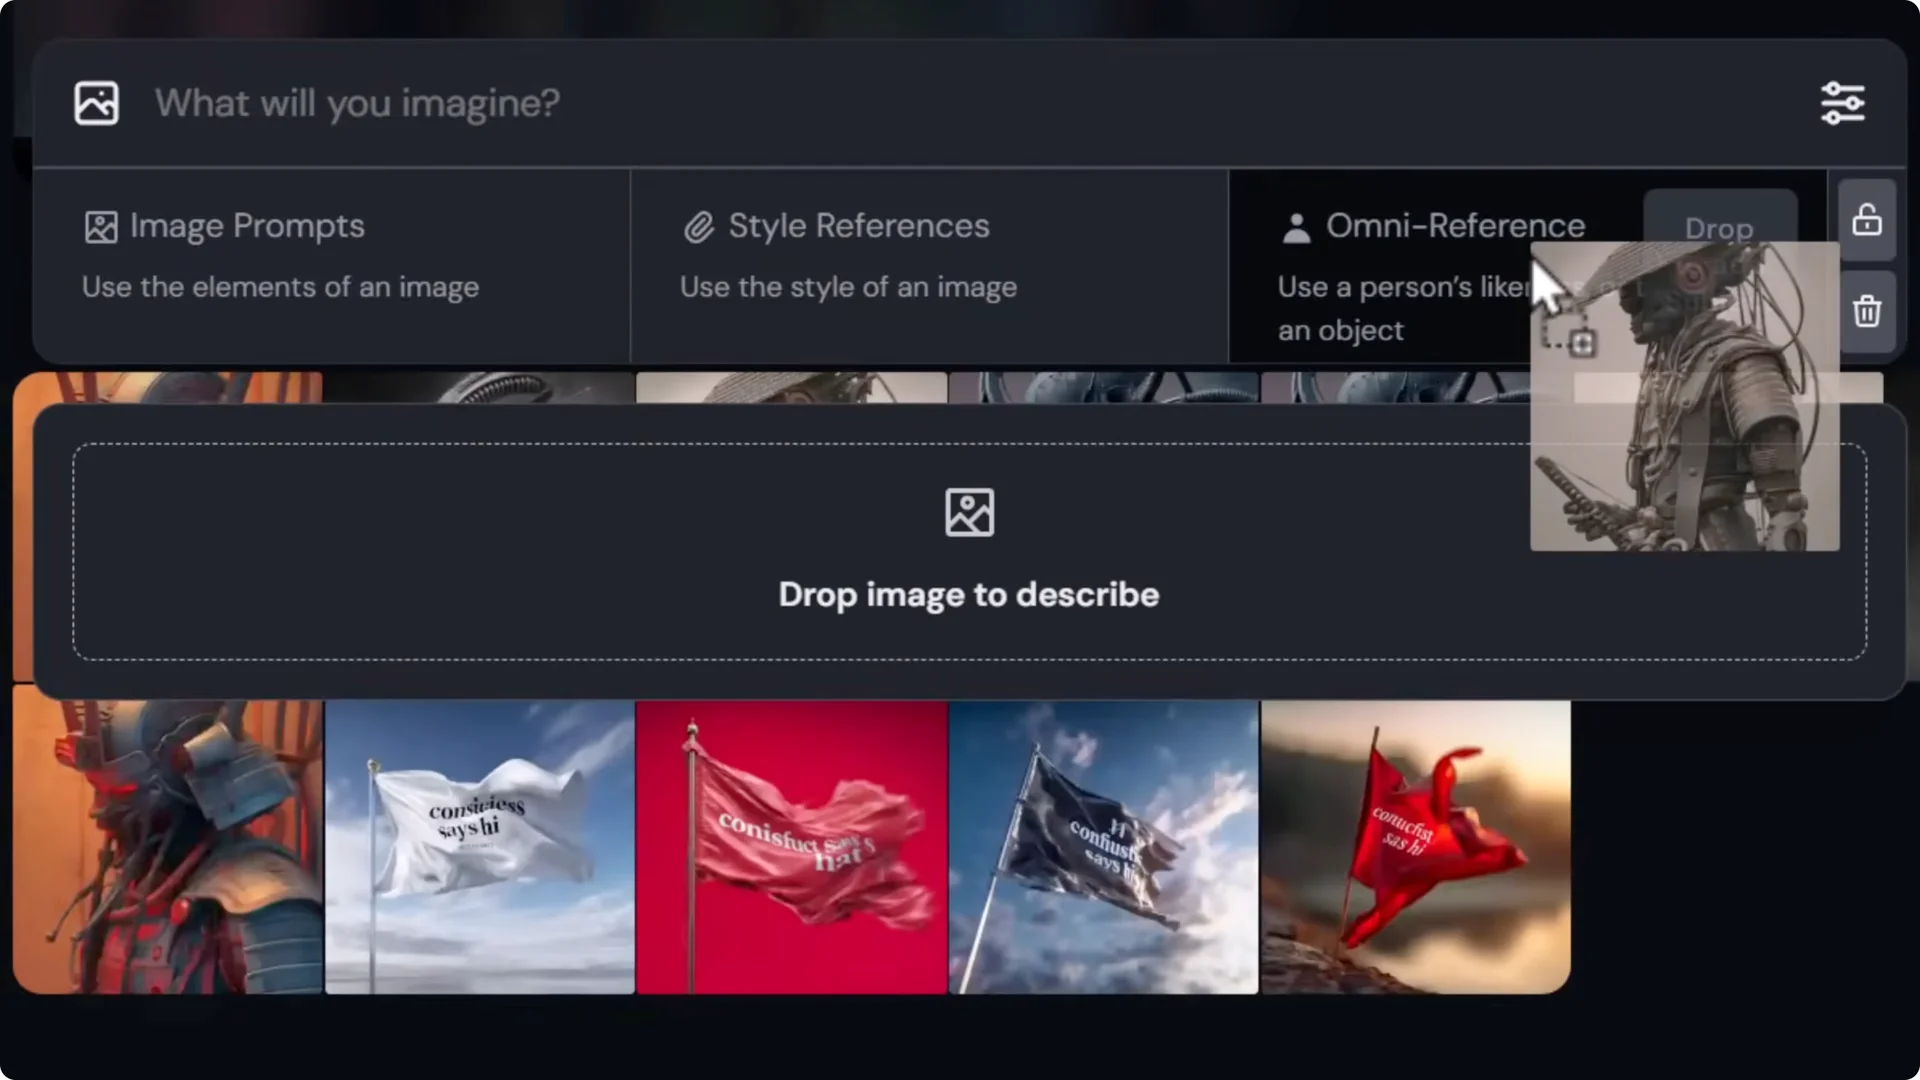
Omni Reference works in a few different ways.
Omni Reference Basics
- Drag any generation into the Omni Reference box.
- Adjust the strength from 1 to 1,000. Default is 100.
- Prompt normally and see how strongly the reference influences the output.
Test example:
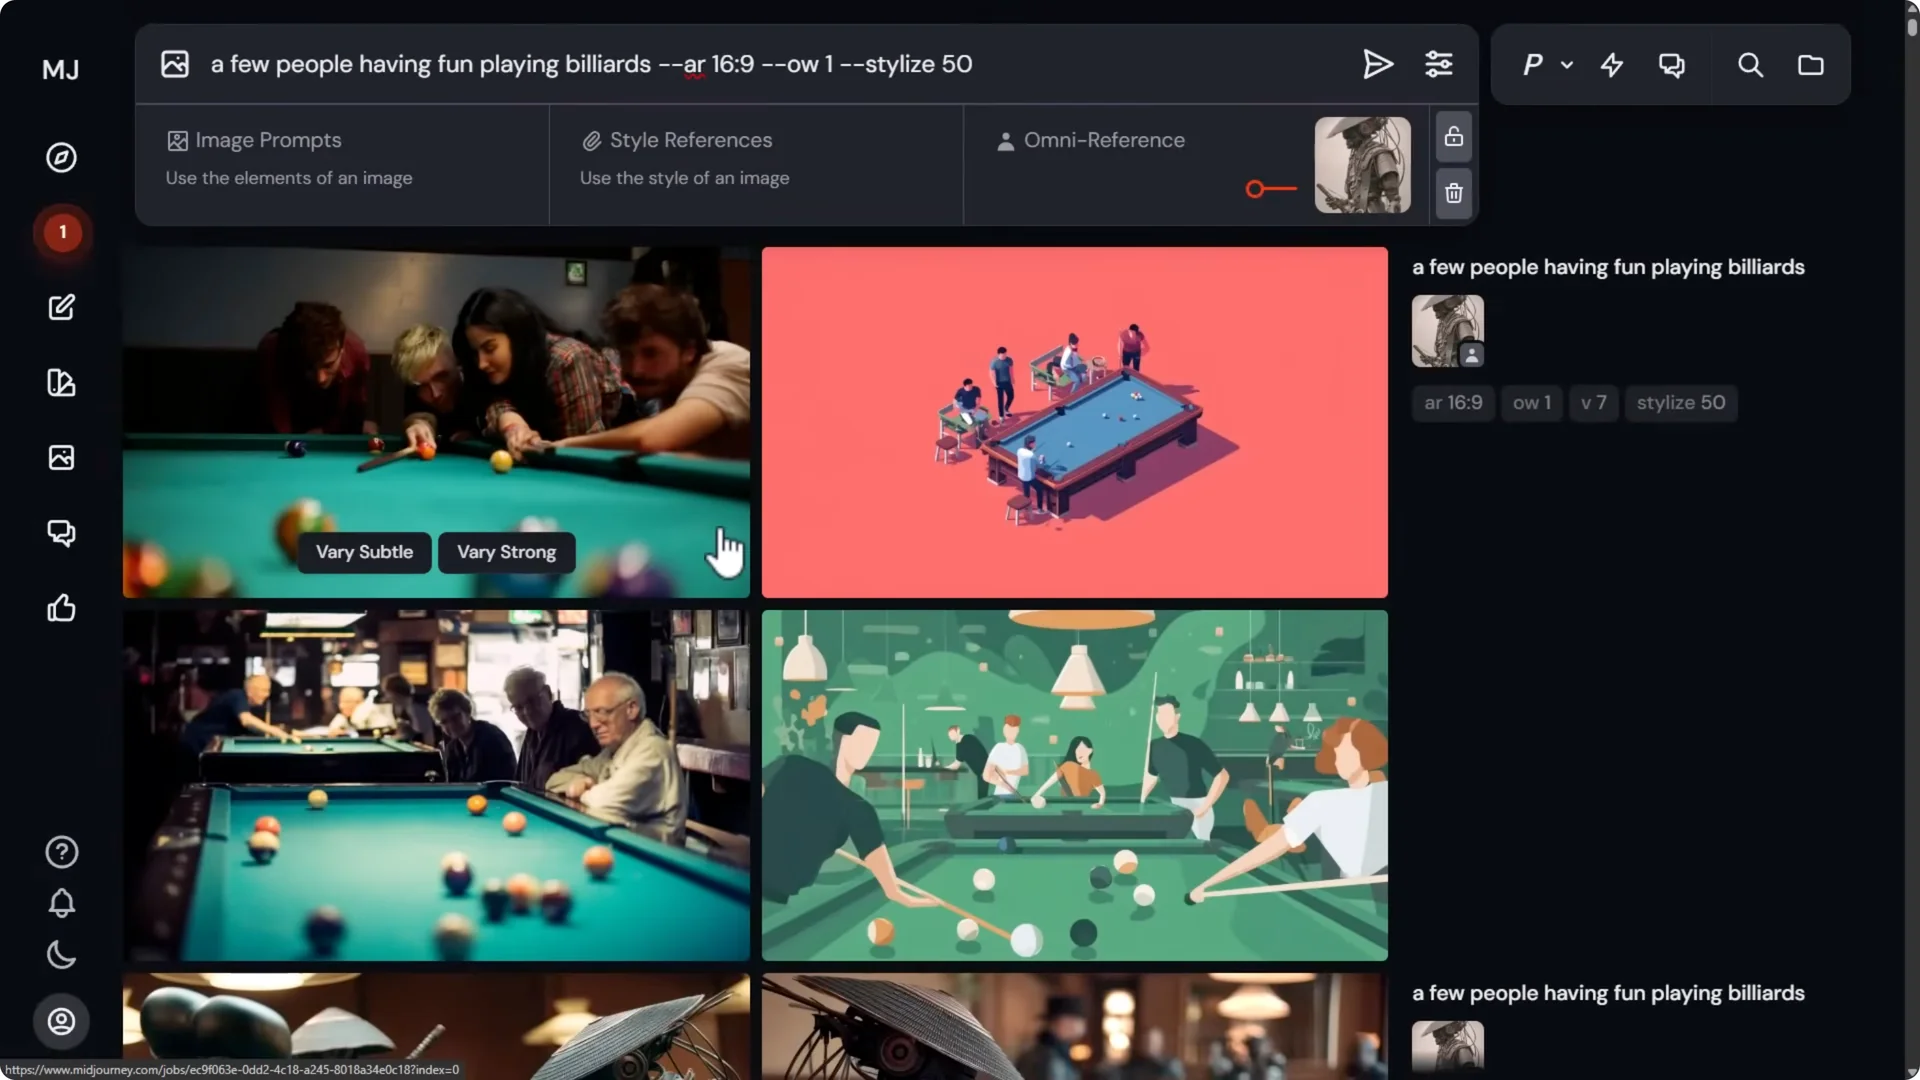
- I dragged in a cyborg samurai and prompted “a few people having fun playing billiards” without mentioning the samurai. At strength 100, it did a solid job of including that character.
- At strength 1, the samurai was basically nowhere to be seen.
- With the same seed:
– 50 brought the character back and was pretty consistent, though it started to influence other characters.
– 250 and 500 were similar, with color more nailed down.
– 750 changed some color.
– 1,000 lost the character in two images.
- Results can vary, and fantasy-heavy references can behave differently.

Using Your Own Photo
I uploaded a photo of me and set strength to 100. It looked a little creepy but more or less looked like me. At 250, it looked a lot more like me and more natural.
I experimented further:
- An “angry man in the rain” prompt gave three images that looked pretty much exactly like a photo of me.
- Restyling tests:
– A Pixar character look was kind of on point but a little zany.
– A cartoony ink drawing put me next to drawings and looked a bit soulless in some frames.
– Lowering omni weight to 25 improved the style transfer while keeping my features recognizable.
– I also got several images that turned out solid, with some misses. It can be hit and miss, but generating many images lets you pick the best.
Referencing Objects and Backgrounds
Omni Reference isn’t just for characters.
- Backgrounds: I dragged in a waterfall photo and got a grid with my ancient warrior prompt plus a waterfall and similar foliage colors. It influenced the background nicely.
- Objects: I tried a futuristic car in a city as the reference. At default strength, it referenced the scene but didn’t include the car. Increasing the strength didn’t consistently add the car. This shows why you still need to prompt for the objects you want.
After adding “standing in front of a futuristic car in this night cyberpunk city street” to the prompt and setting strength back to 100, the background and car looked much closer to the reference.
Isolating an Object From a Reference
If you want to reference only the object and not the background:
Step-by-step:
1) Download the reference image.
2) Use Adobe Express Background Remover or a similar tool.
3) After removal, add a solid background color. Avoid transparent PNGs because Midjourney reads the alpha channel.
4) Export as a JPEG so the background remains solid.
5) Drag the new JPEG into Omni Reference and prompt normally.
Doing this isolated the car and gave more variety in background choices.
Multi-Element Omni Reference
You can only have one image at a time in Omni Reference, so combine elements into a single image first.
Workflow:
- In Adobe Express or Canva, compose a single image that contains:
– Your portrait
– The car
– The Eiffel Tower
- Export as a JPEG.
Prompt example:
- “A man with a beard wearing a black hoodie stands in front of a futuristic car. Eiffel Tower in the background.”
- The three elements were referenced, but the face didn’t fully match me at first. Removing “beard” from the prompt to avoid overriding the reference and raising strength to 200 got closer. After a few rerolls and moving strength up to 400, I got an image with the best blend of all three elements.
- The more elements you add, the harder it seems to nail them all.
Discord Parameters
In Discord:
- Use d-oref followed by your image URL.
- Use -o to adjust strength from 1 to 1,000.
It sounds like the goal here is to create more of a universal solution to character references by making it an object reference system. It’s a powerful feature and worth playing with, and I think it will evolve a lot.
Final Thoughts
- The simplified editor, working Enhance on drafts, and Fast mode for V7 make day-to-day work smoother.
- Tiling with d-tile produces repeatable patterns with no visible seams.
- Weird and Quality give more control over variance and detail, and EXP adds a strong aesthetic dial.
- Omni Reference can guide characters, backgrounds, and objects, but prompting still matters, and strength tuning is key.
- For multi-element setups, combine references into one JPEG and iterate on strength and prompt wording. Experimentation pays off.