I’m going to show you how to take more control over Midjourney videos by using the image editor. The Midjourney video engine takes an image and converts it into a video with a start frame and an end frame. By using the editor, you can control the framing at the start and at the end.
This helps improve camera motion, set up different angles, and use consistency tools to create a sequence of videos you can edit together to tell a small story.
I’ll cover the latest video updates, how to frame shots through prompting, and then how to use the editor to control where shots land.
Midjourney Video Camera Control: Updates
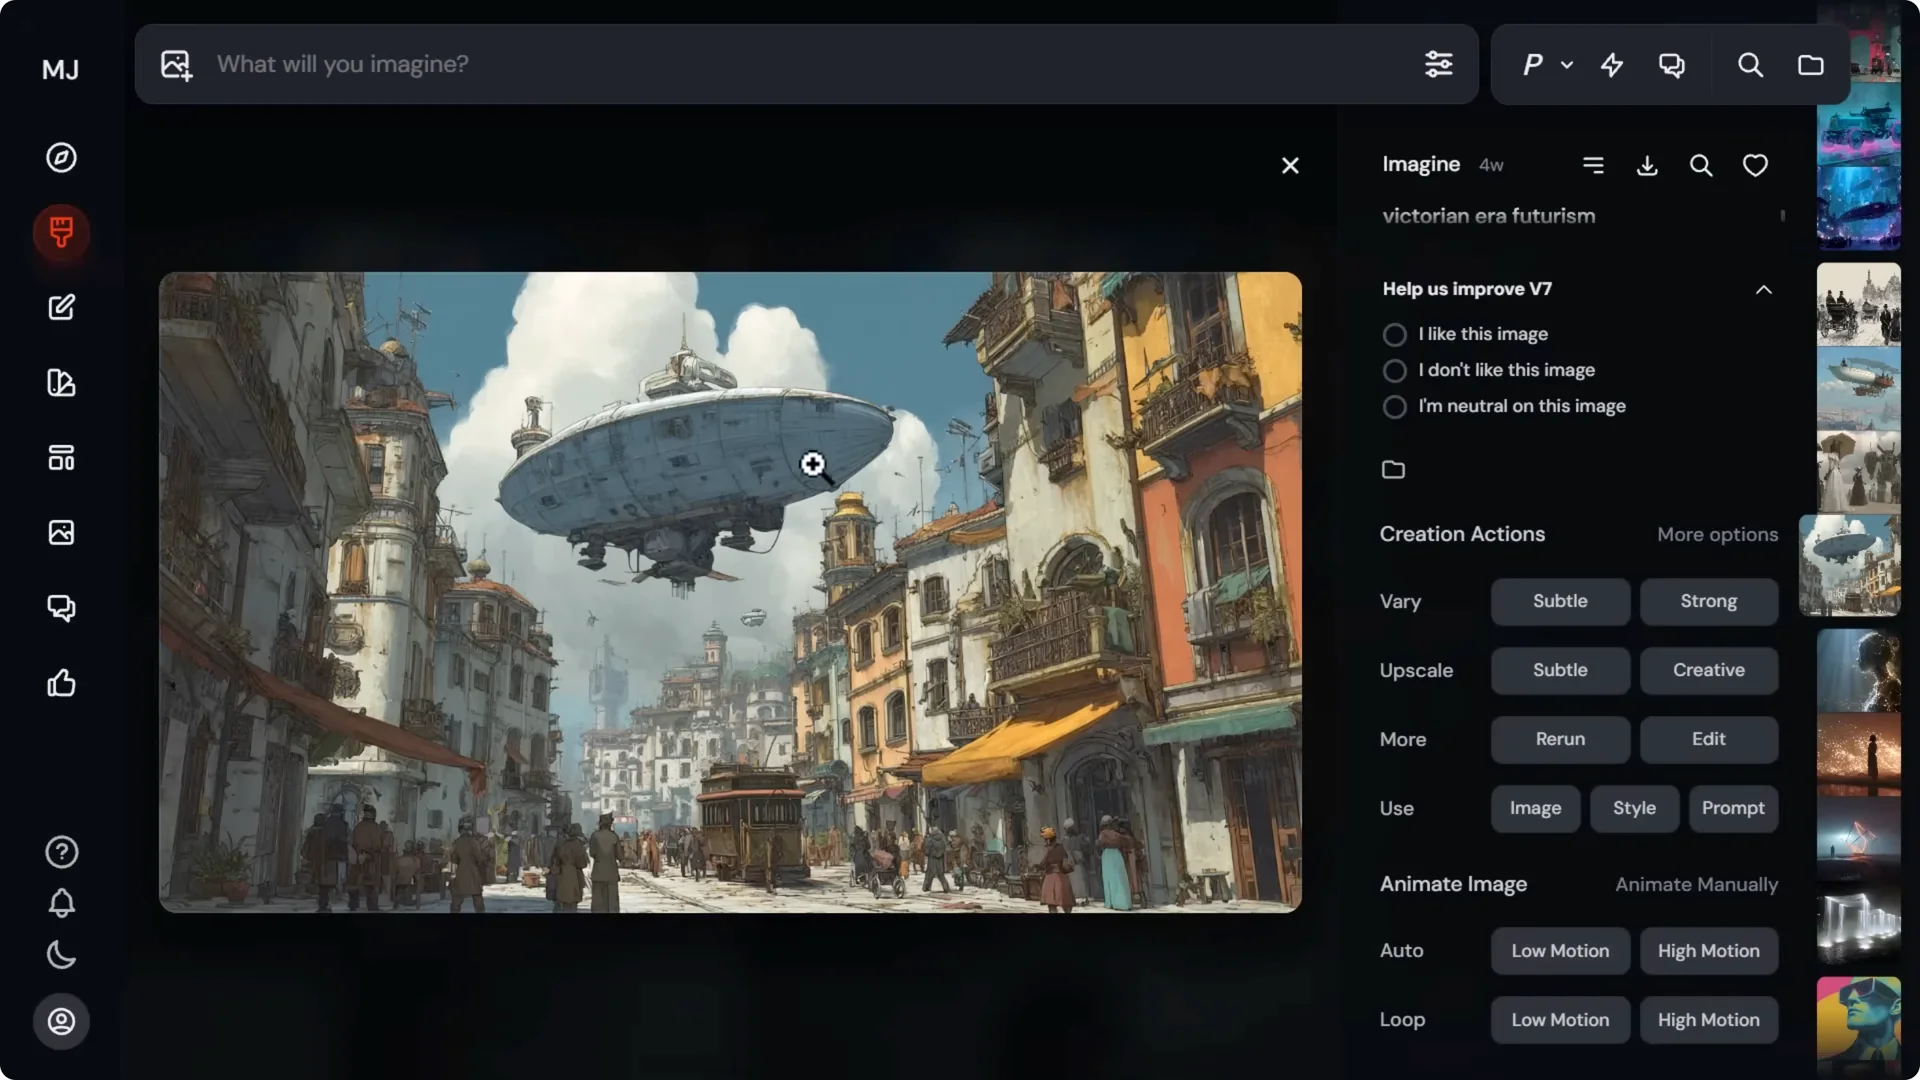
If you have an image open and you want to turn it into a video:
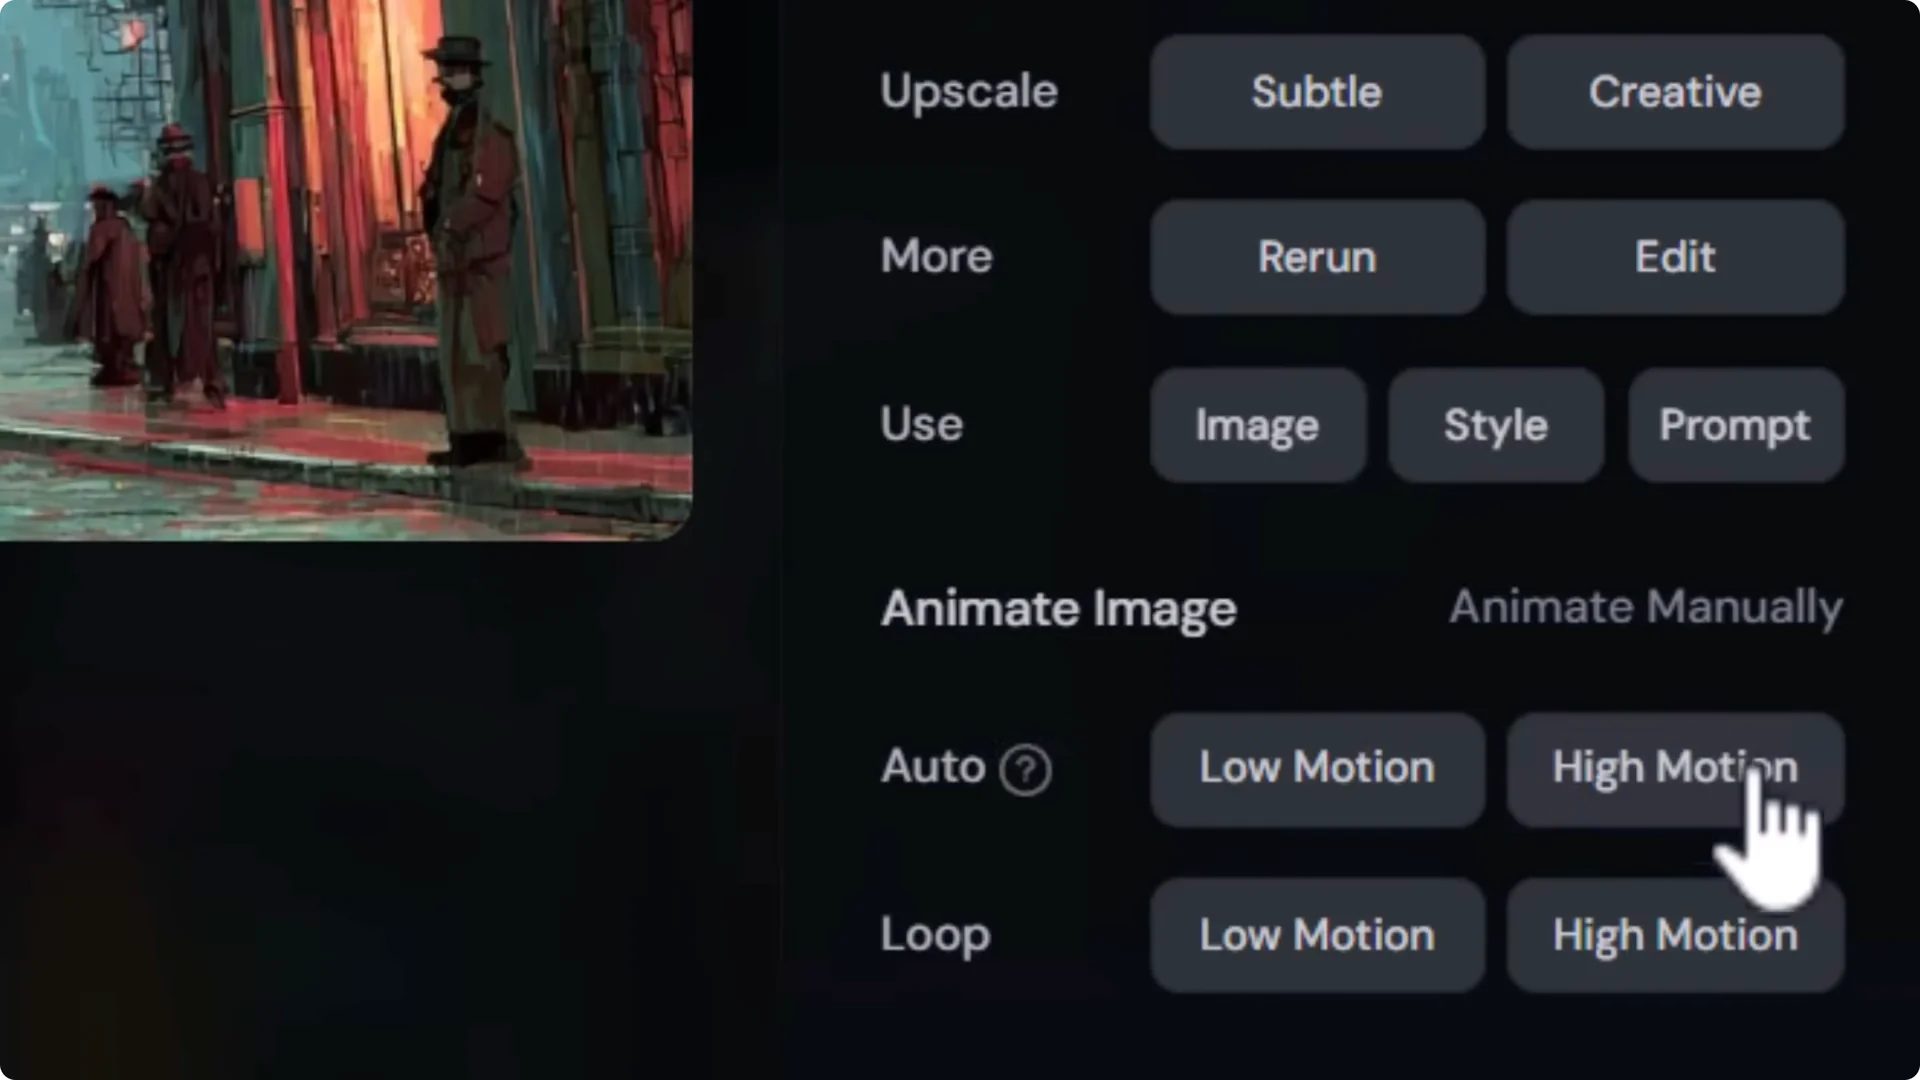
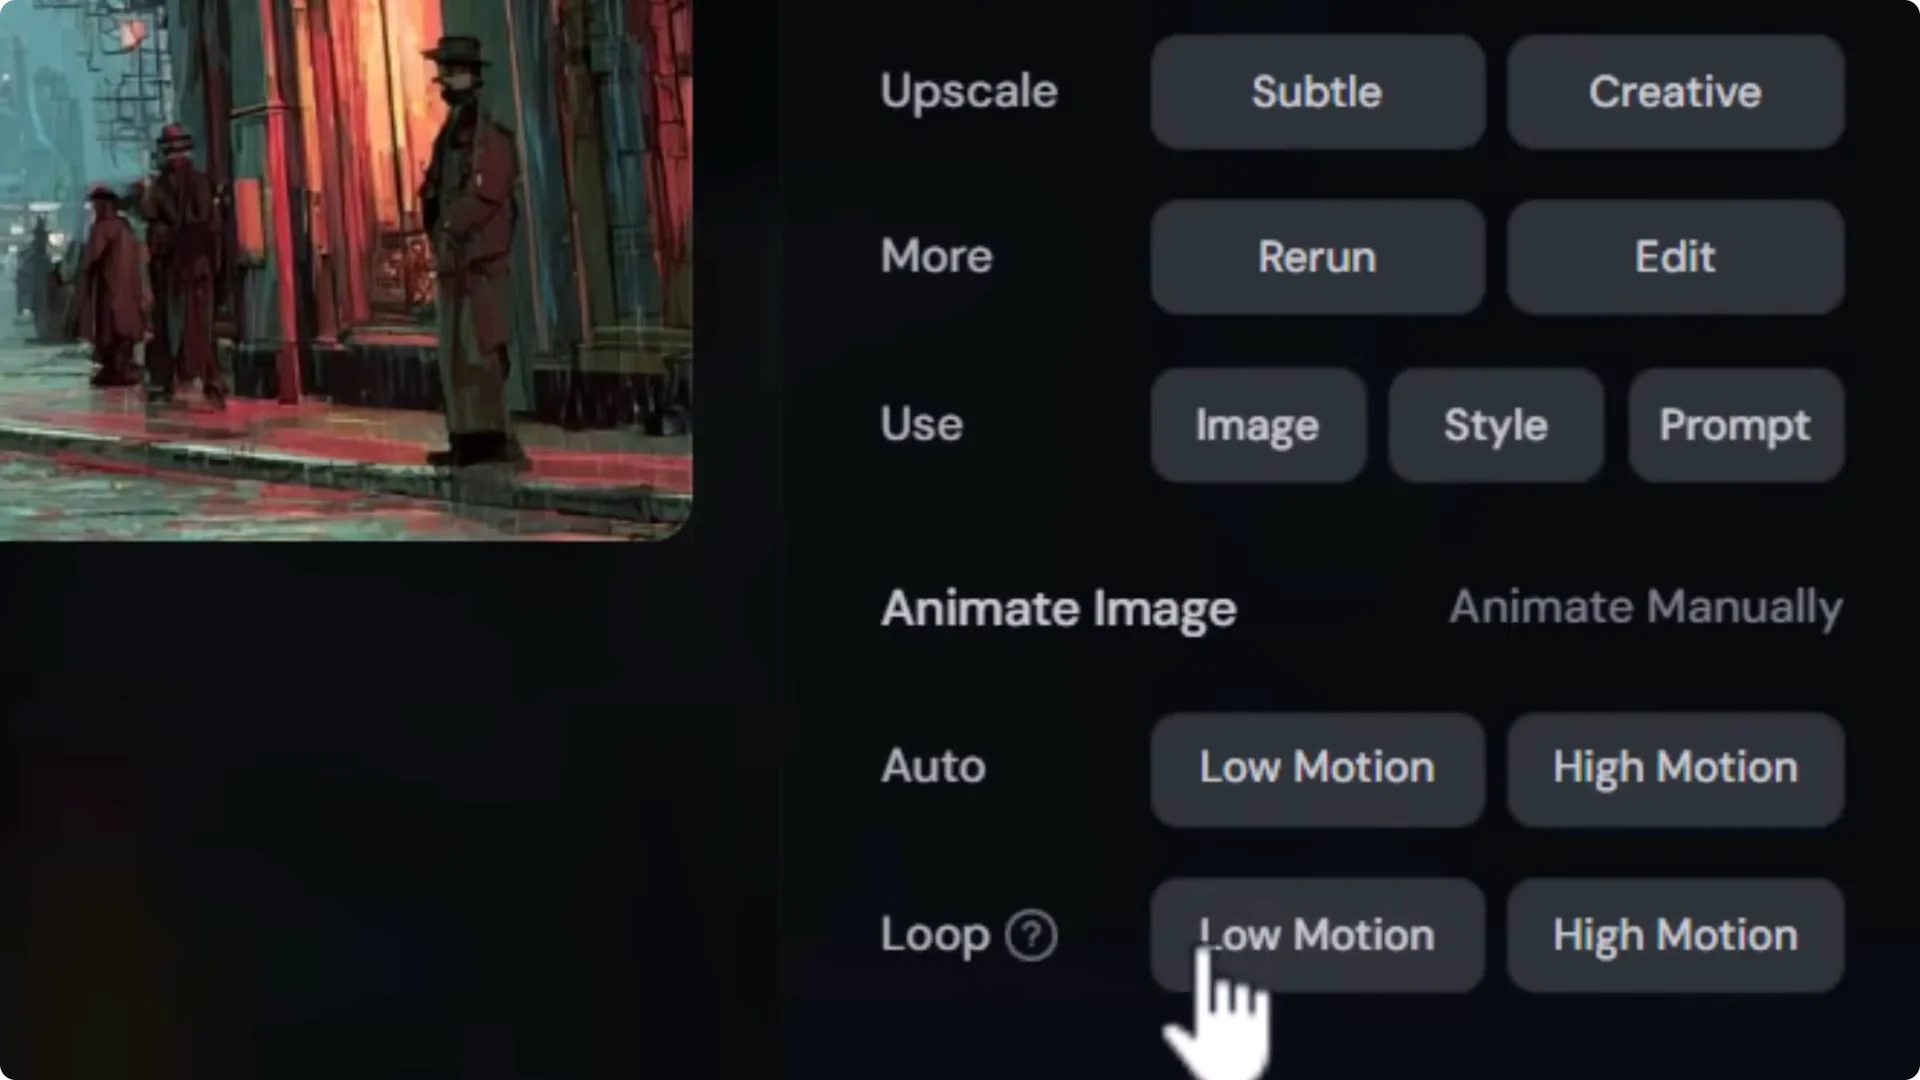
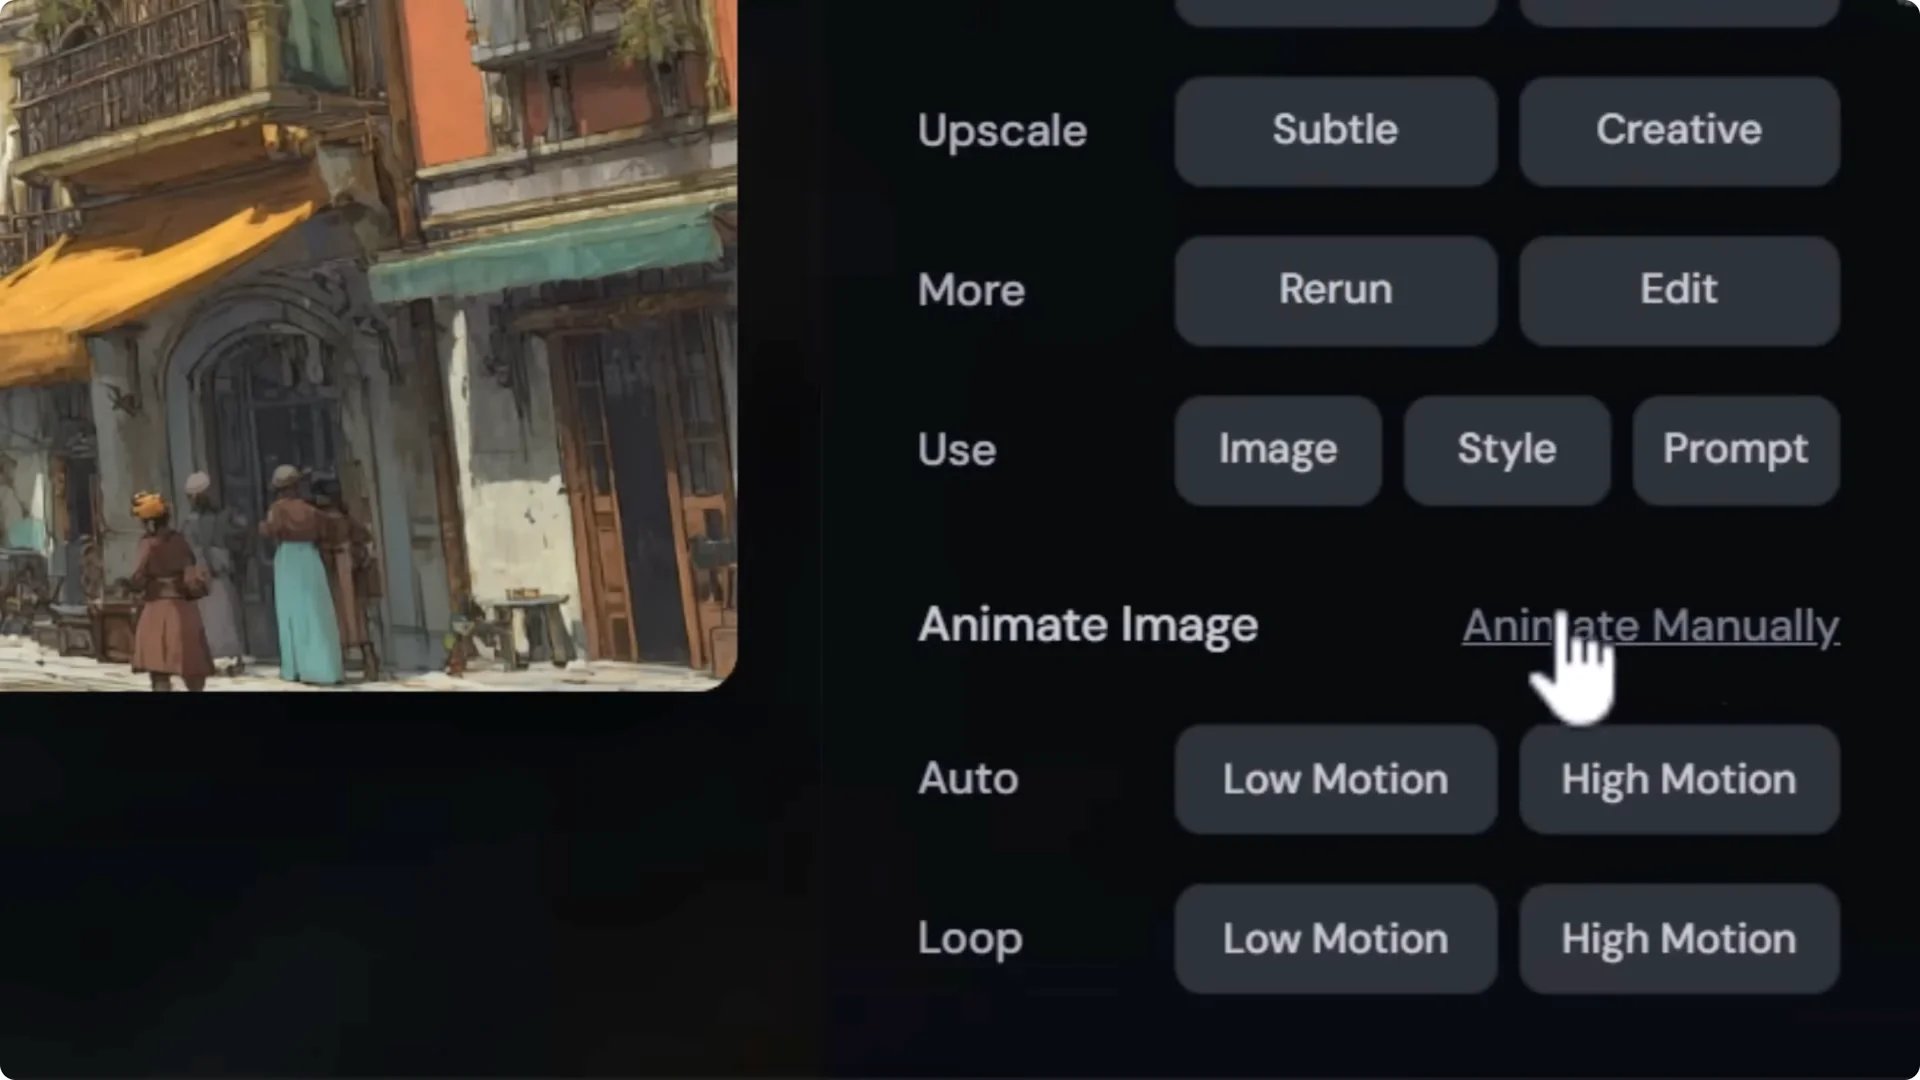
- Choose Animate Image to create a looping video in low or high motion, a normal video in auto or high motion, or animate manually.
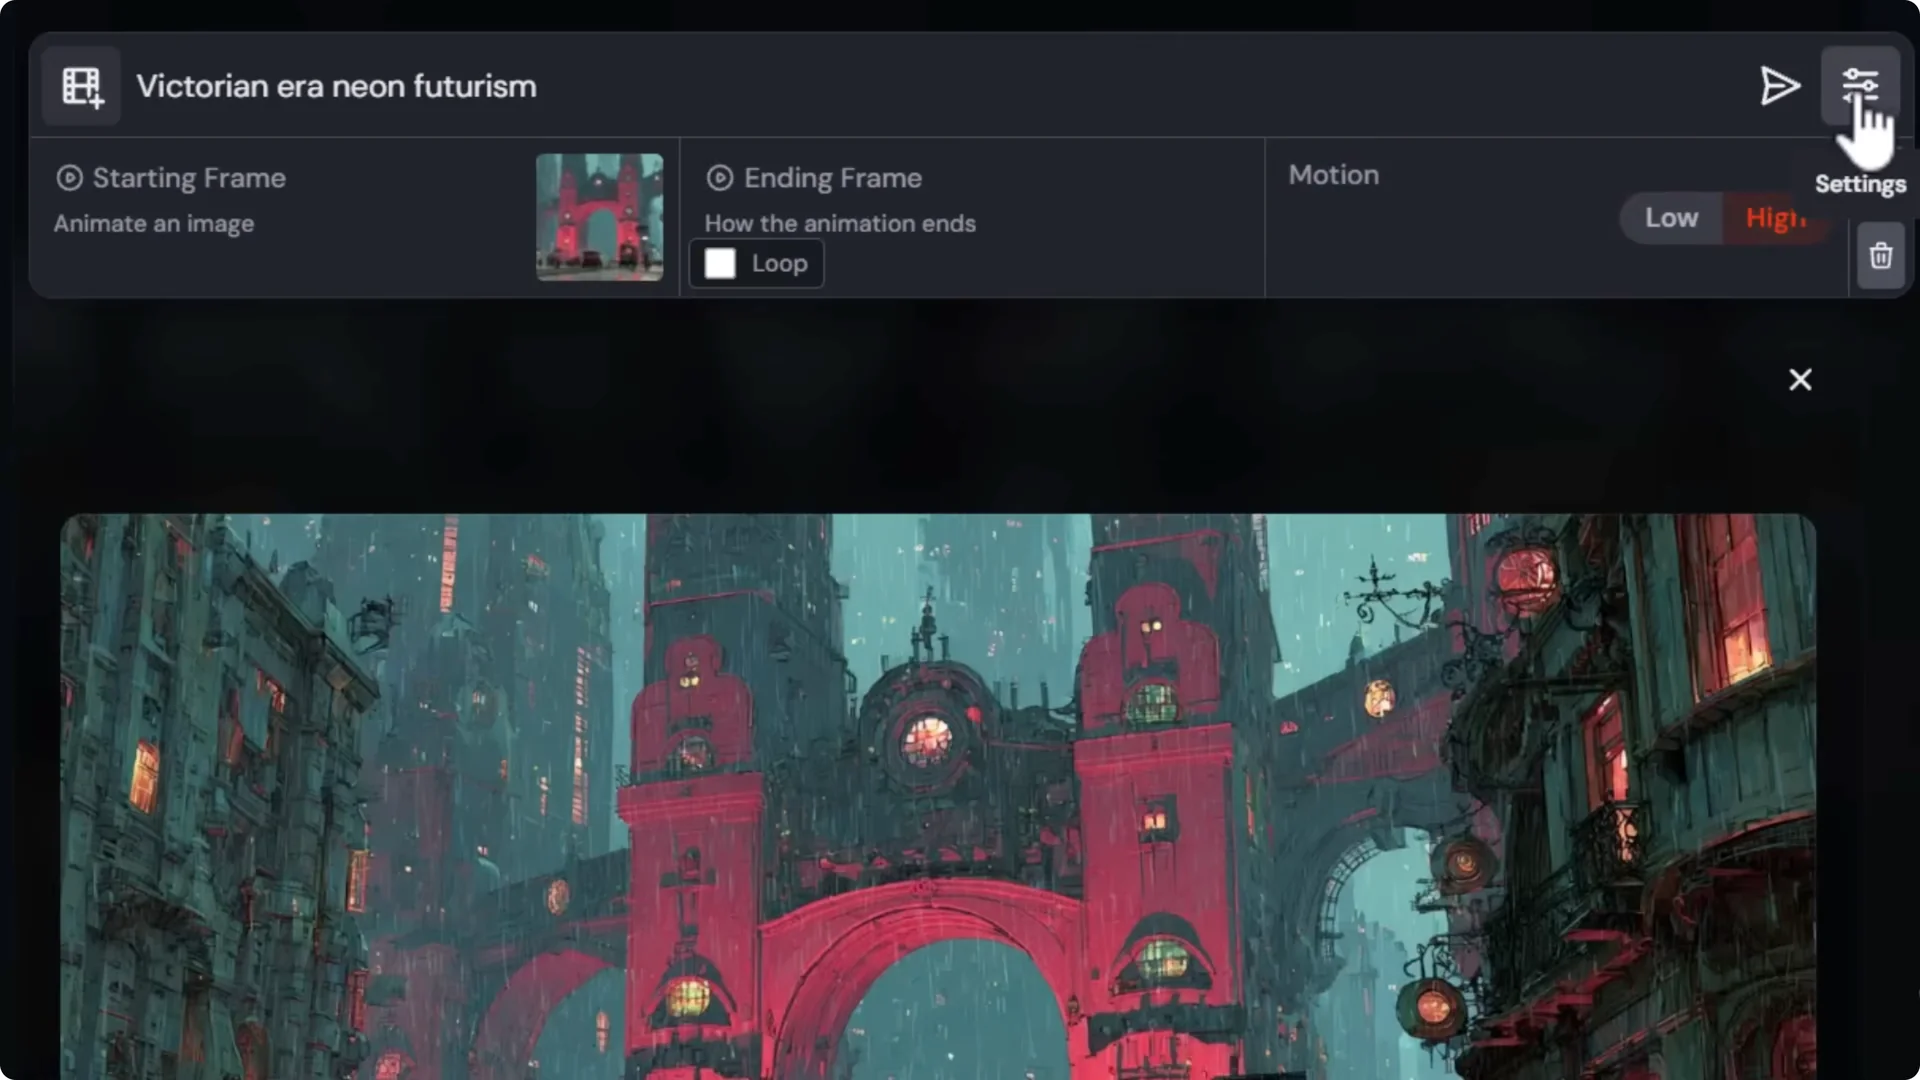
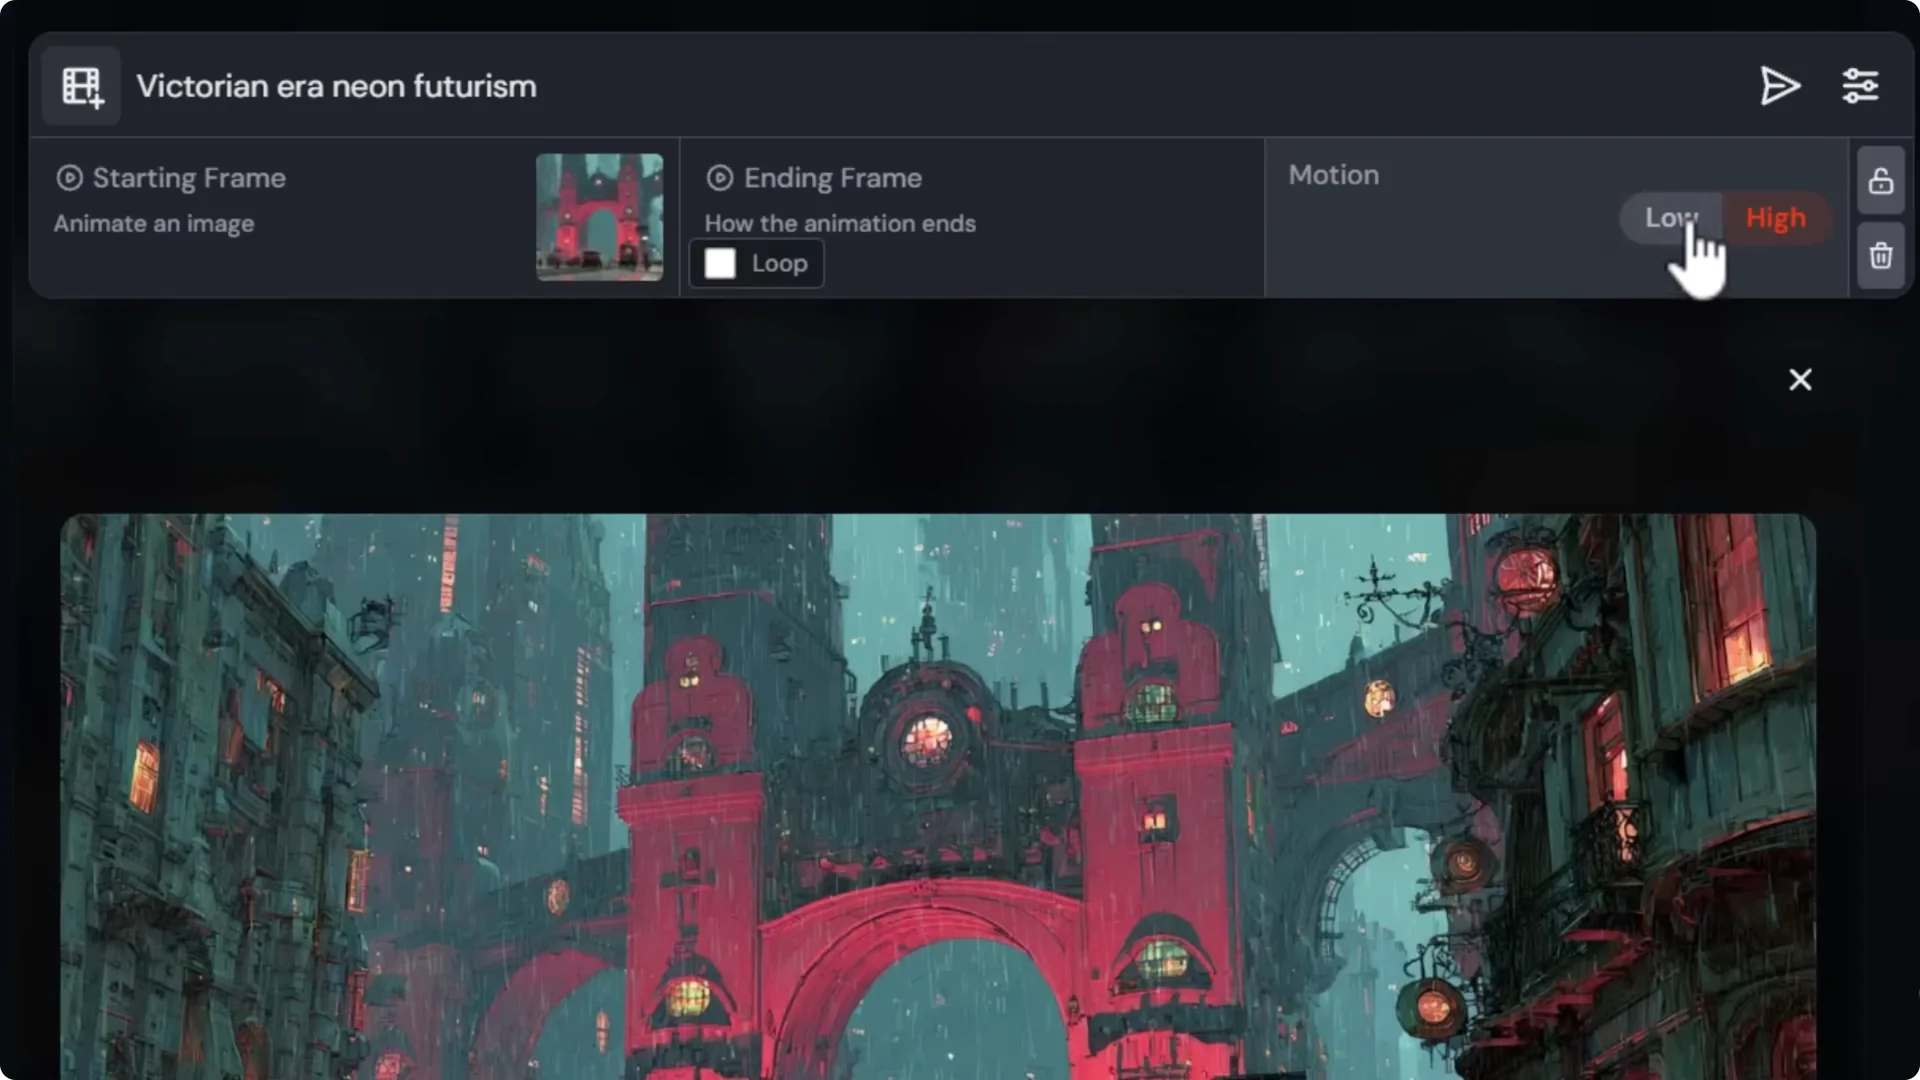
- In Animate Manually, you have a start frame, you can add an ending frame, or turn on looping and choose low or high motion.
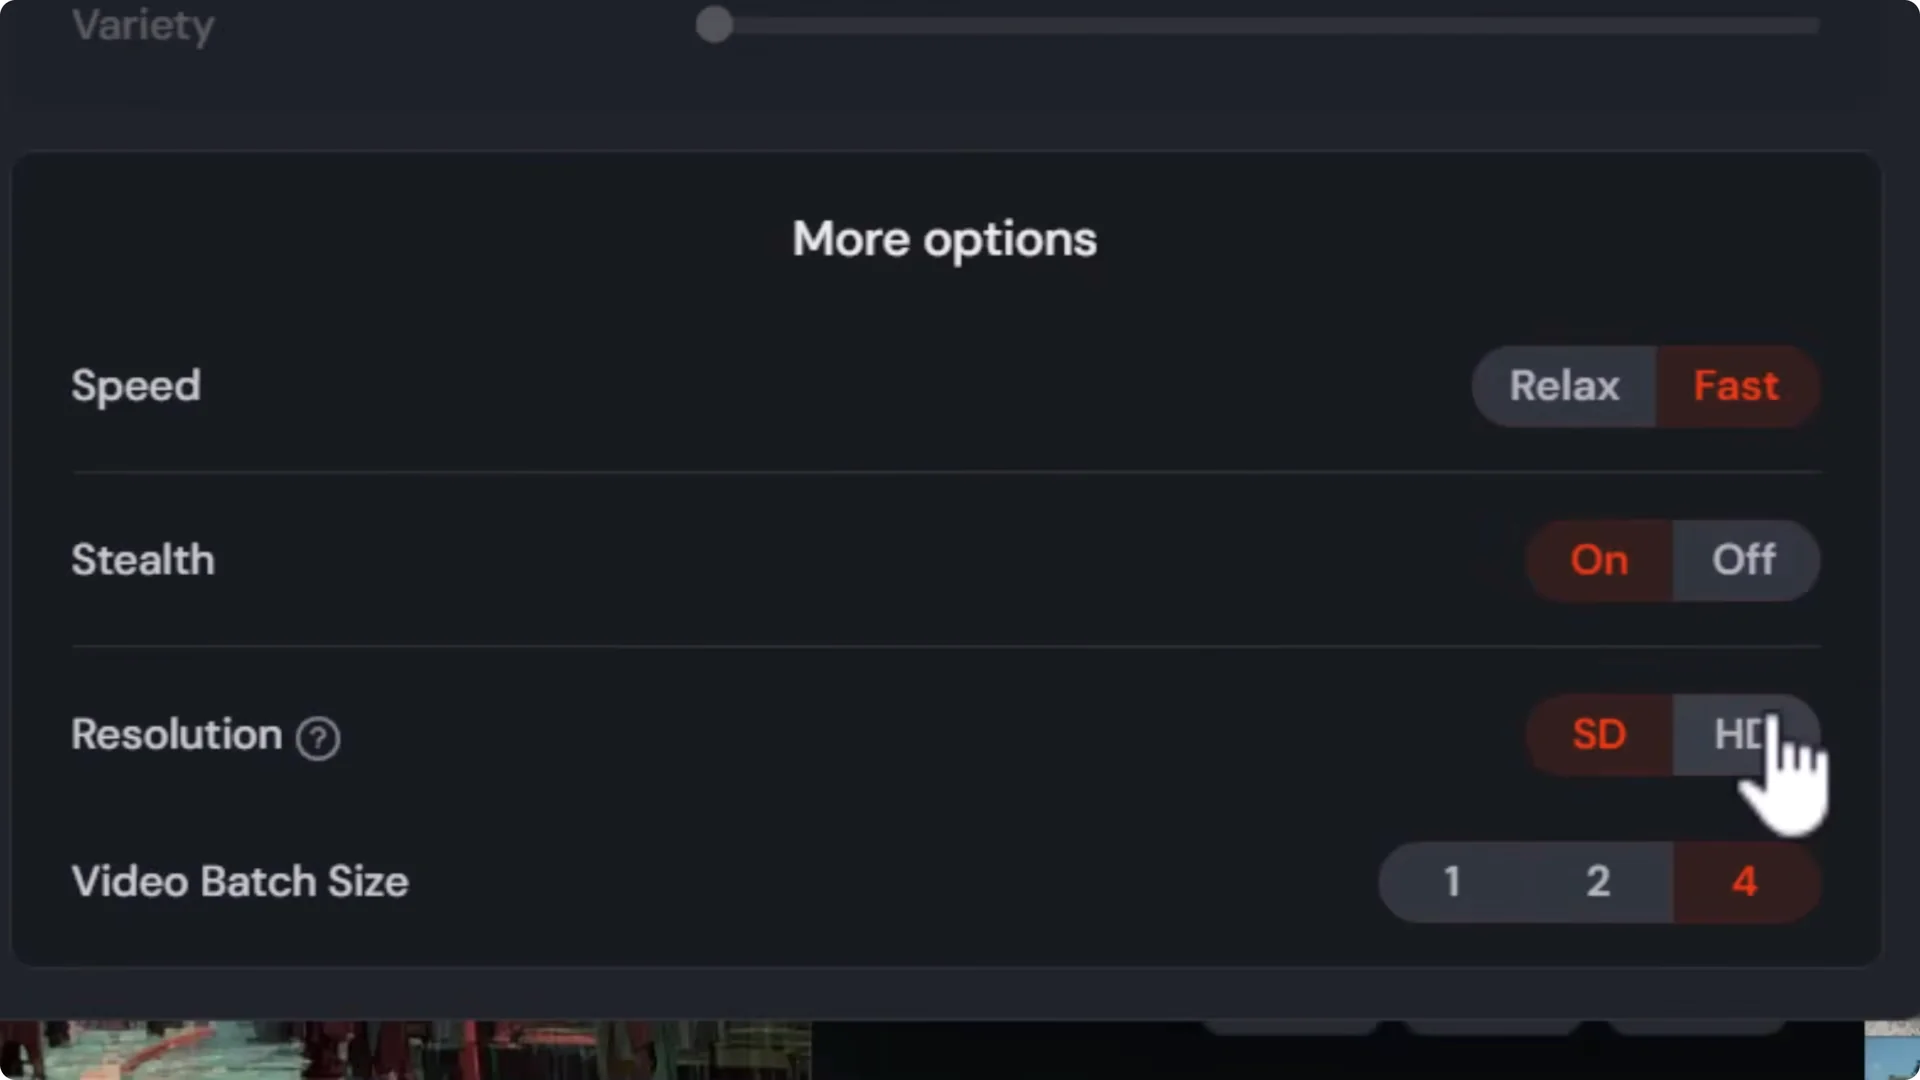
- You can now render HD, which is around 720p, instead of SD.
- To save credits in HD, change batch size from 4 videos down to 2 or even 1. HD is expensive and relax mode is unavailable.
Example:
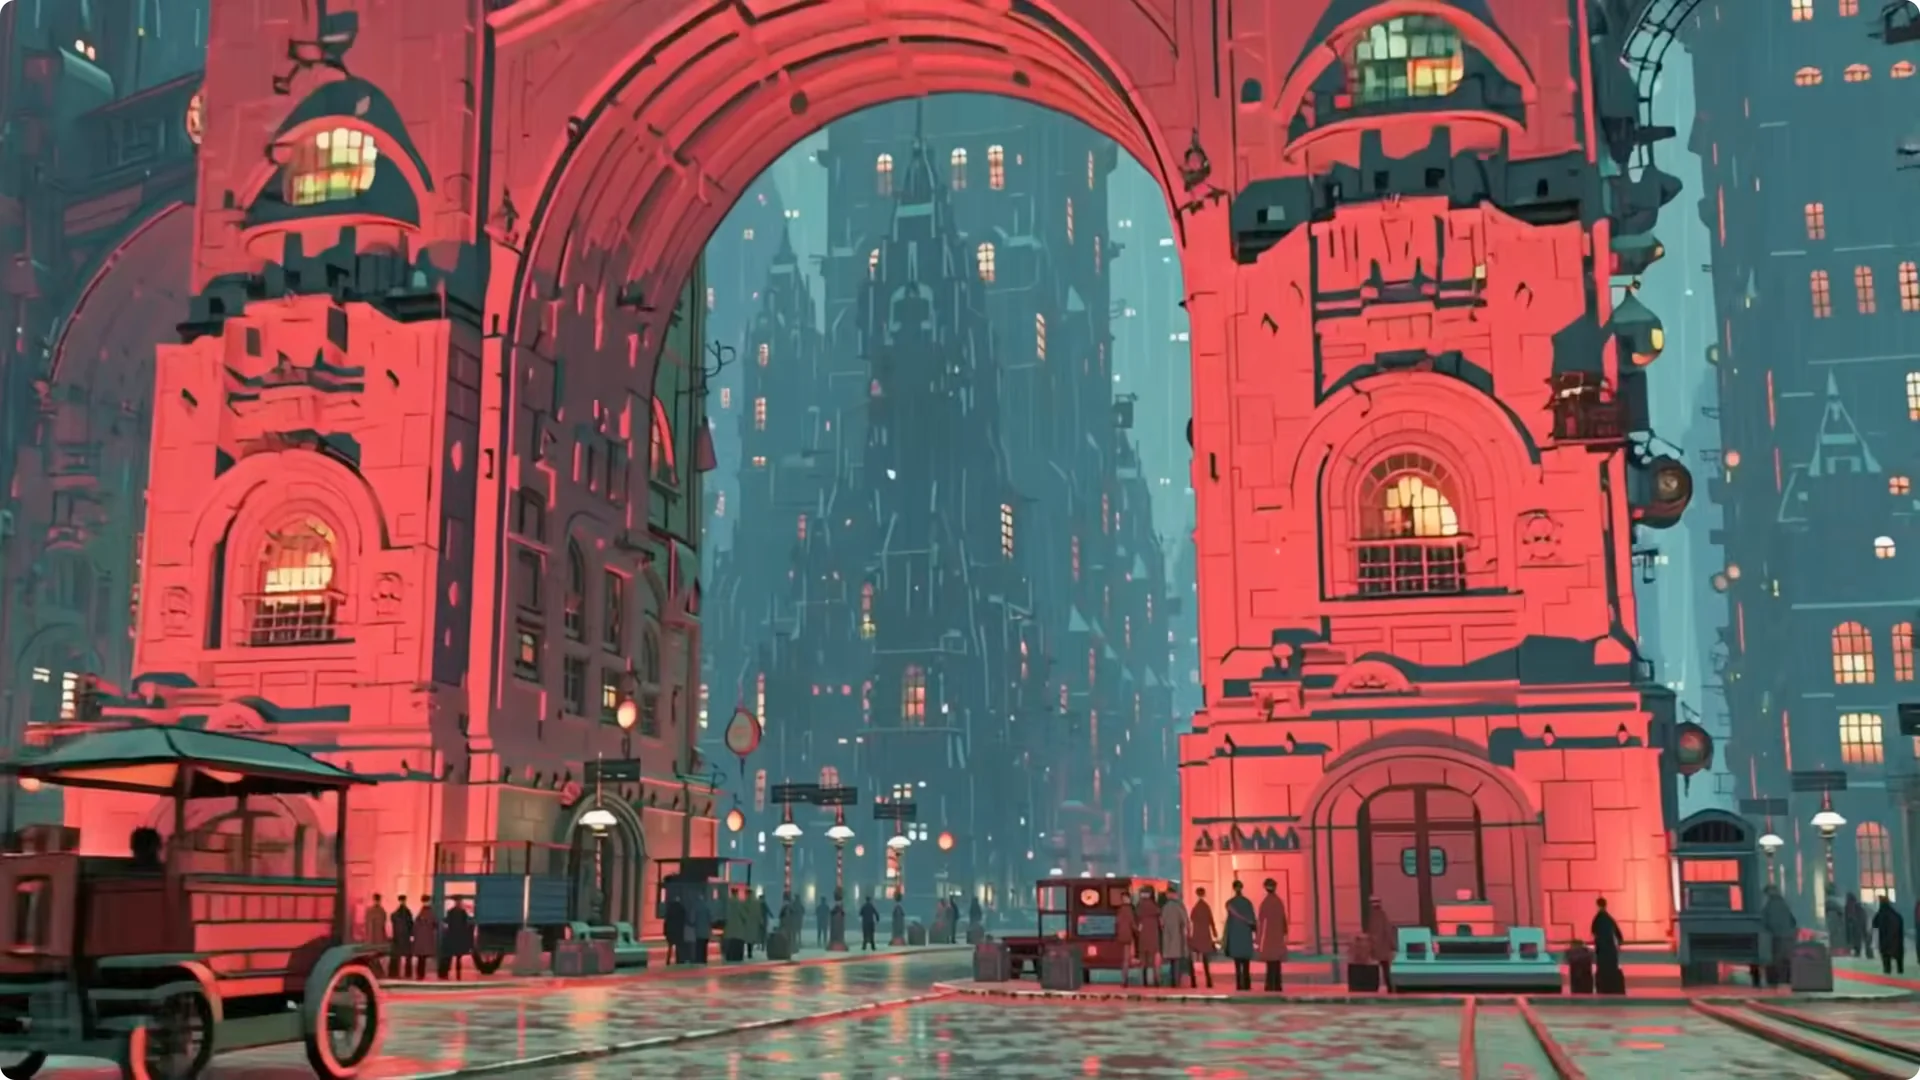
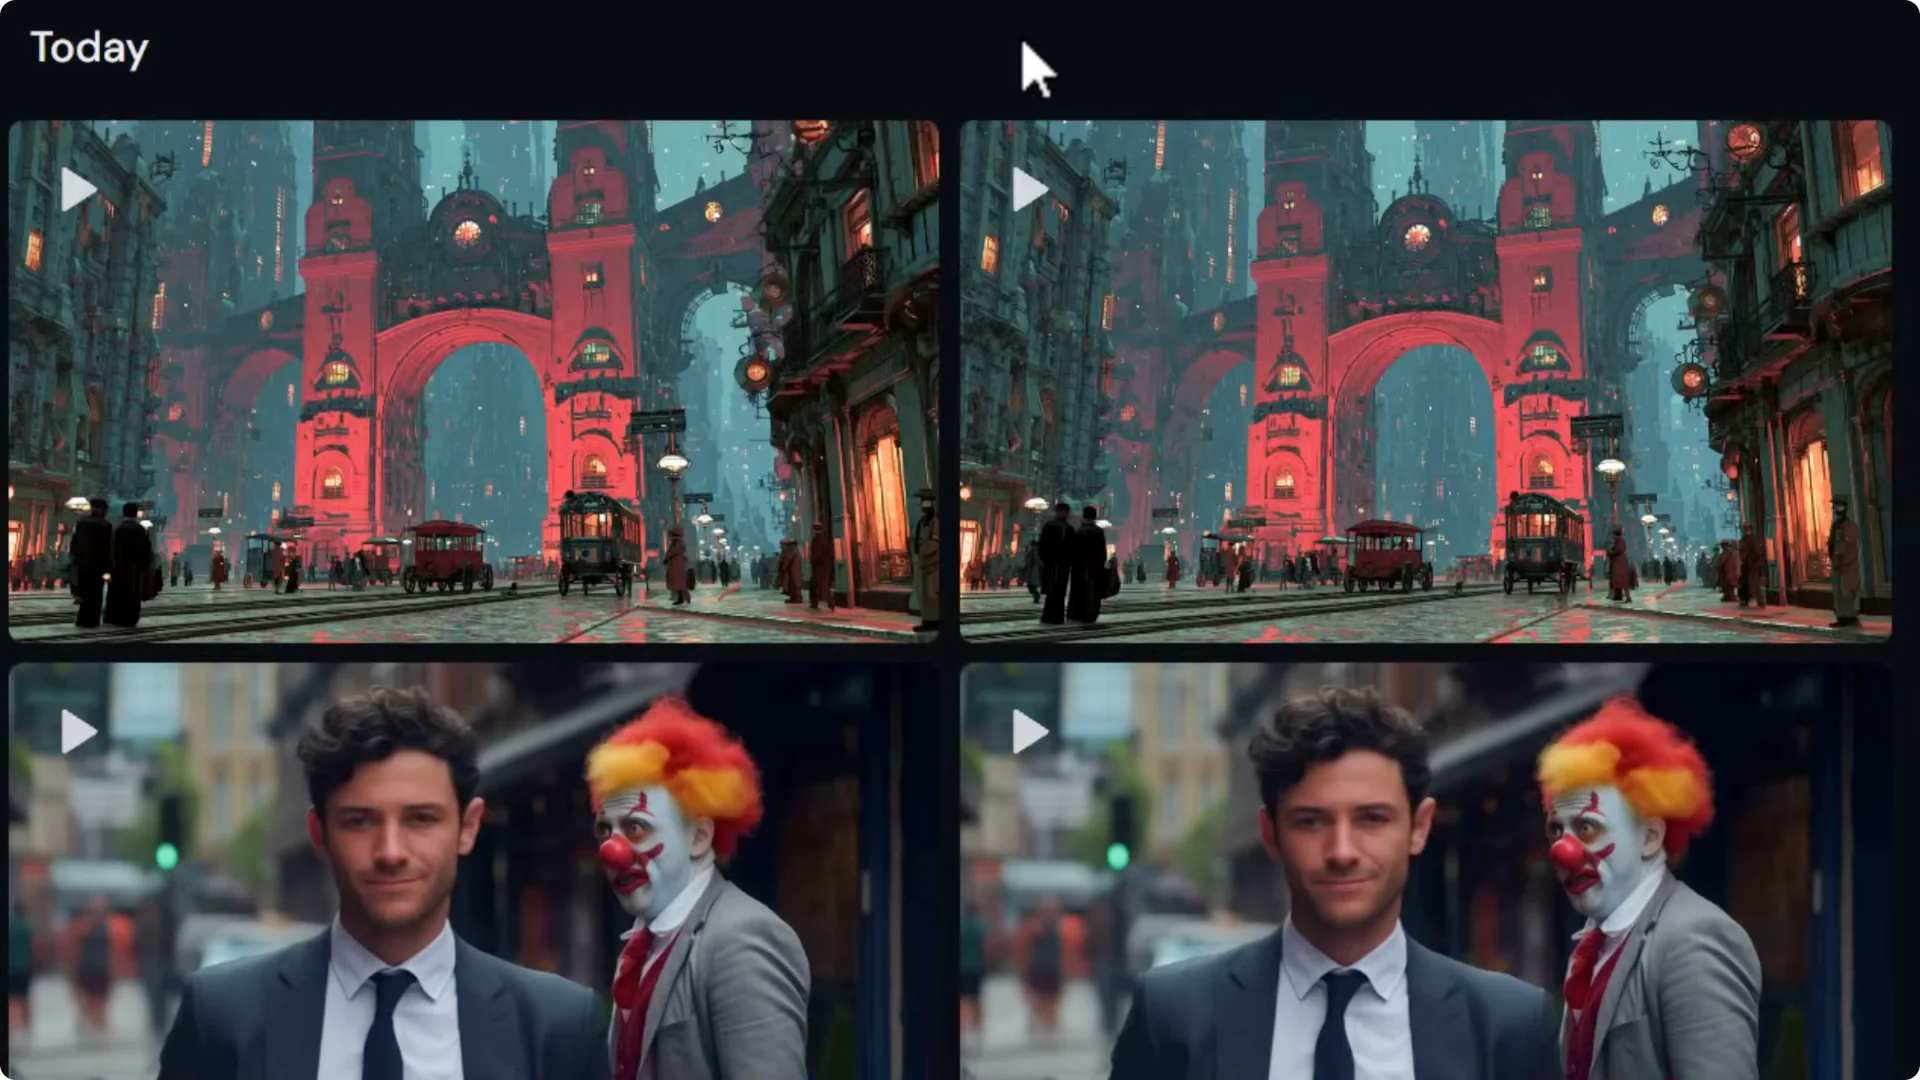
- Create 2 HD videos with a prompt like “zooming through a giant gate.”
- You’ll get two 720p videos.
- Describing the camera movement in the prompt helps control the shot.

Midjourney Video Camera Control: Building Prompts for Better Camera Control
Describe the type of shot, the camera movement, and the speed. It isn’t guaranteed, but it helps.
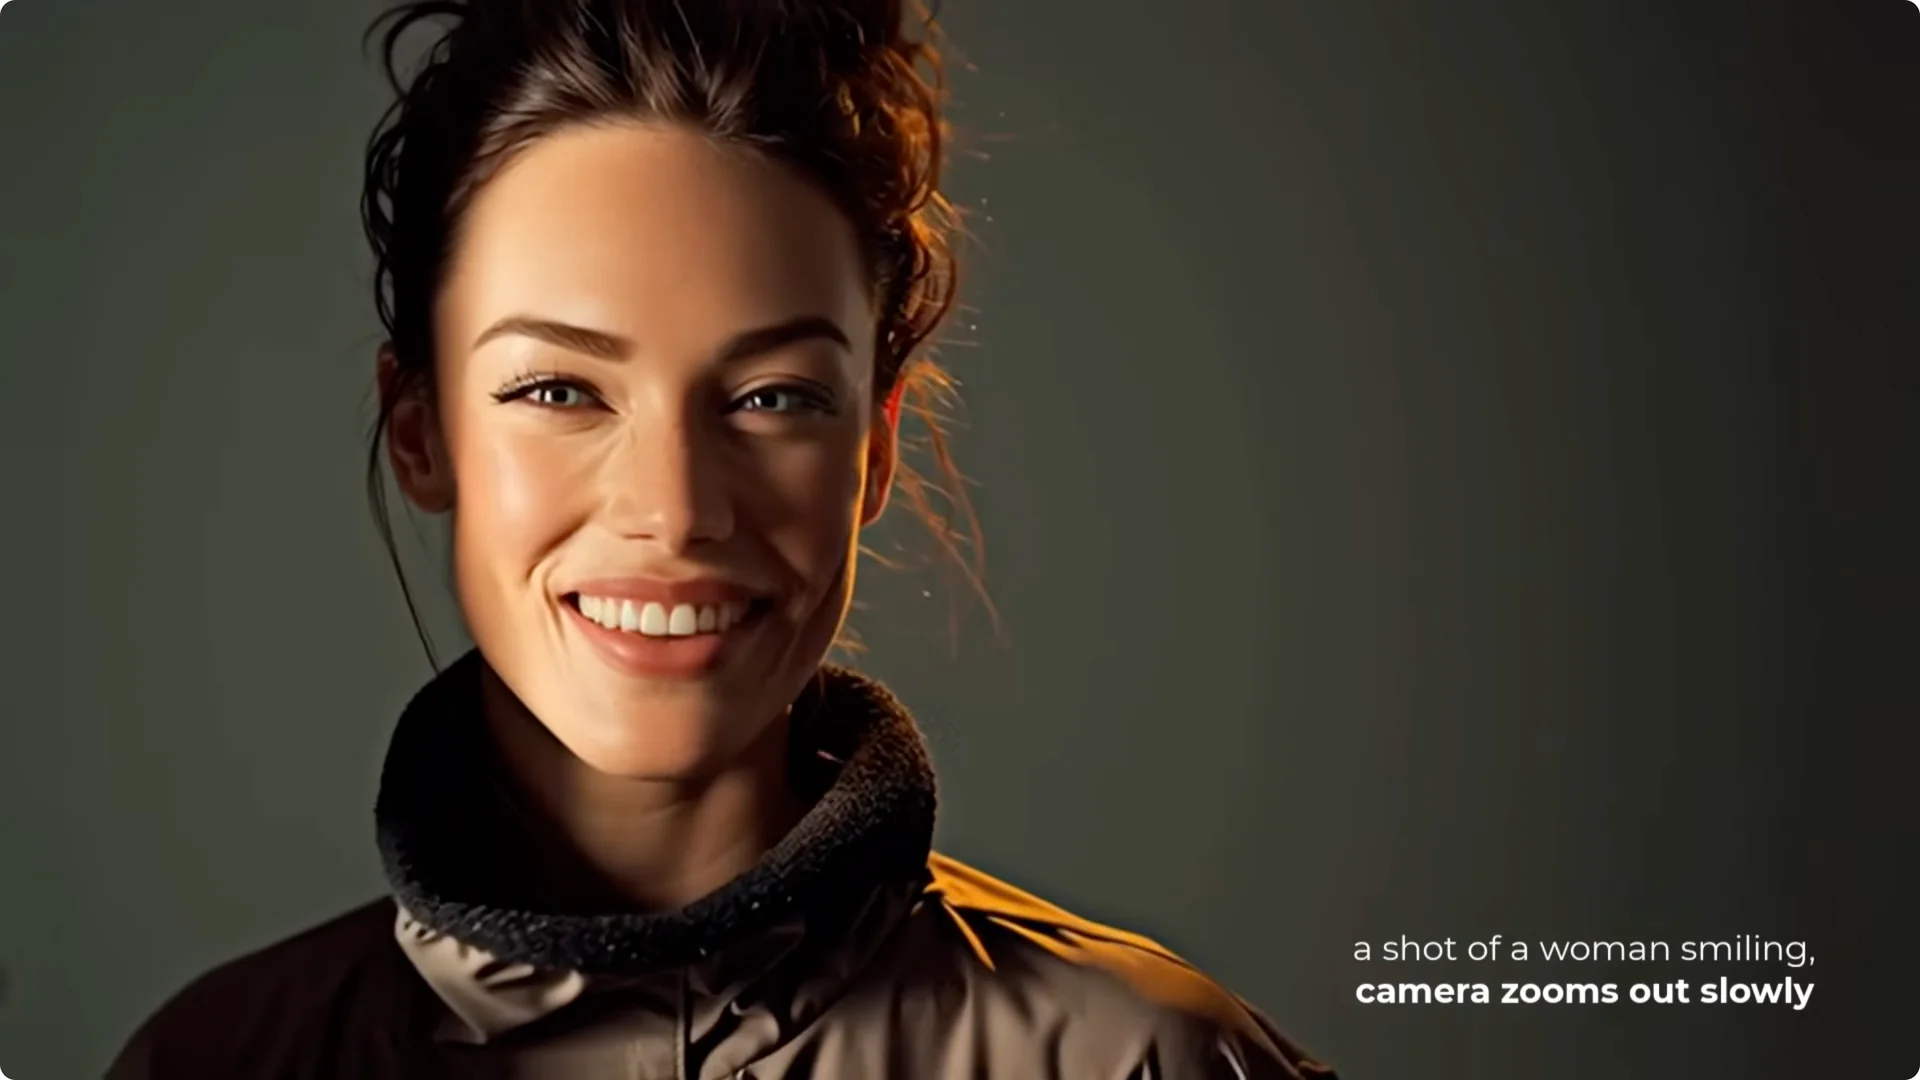
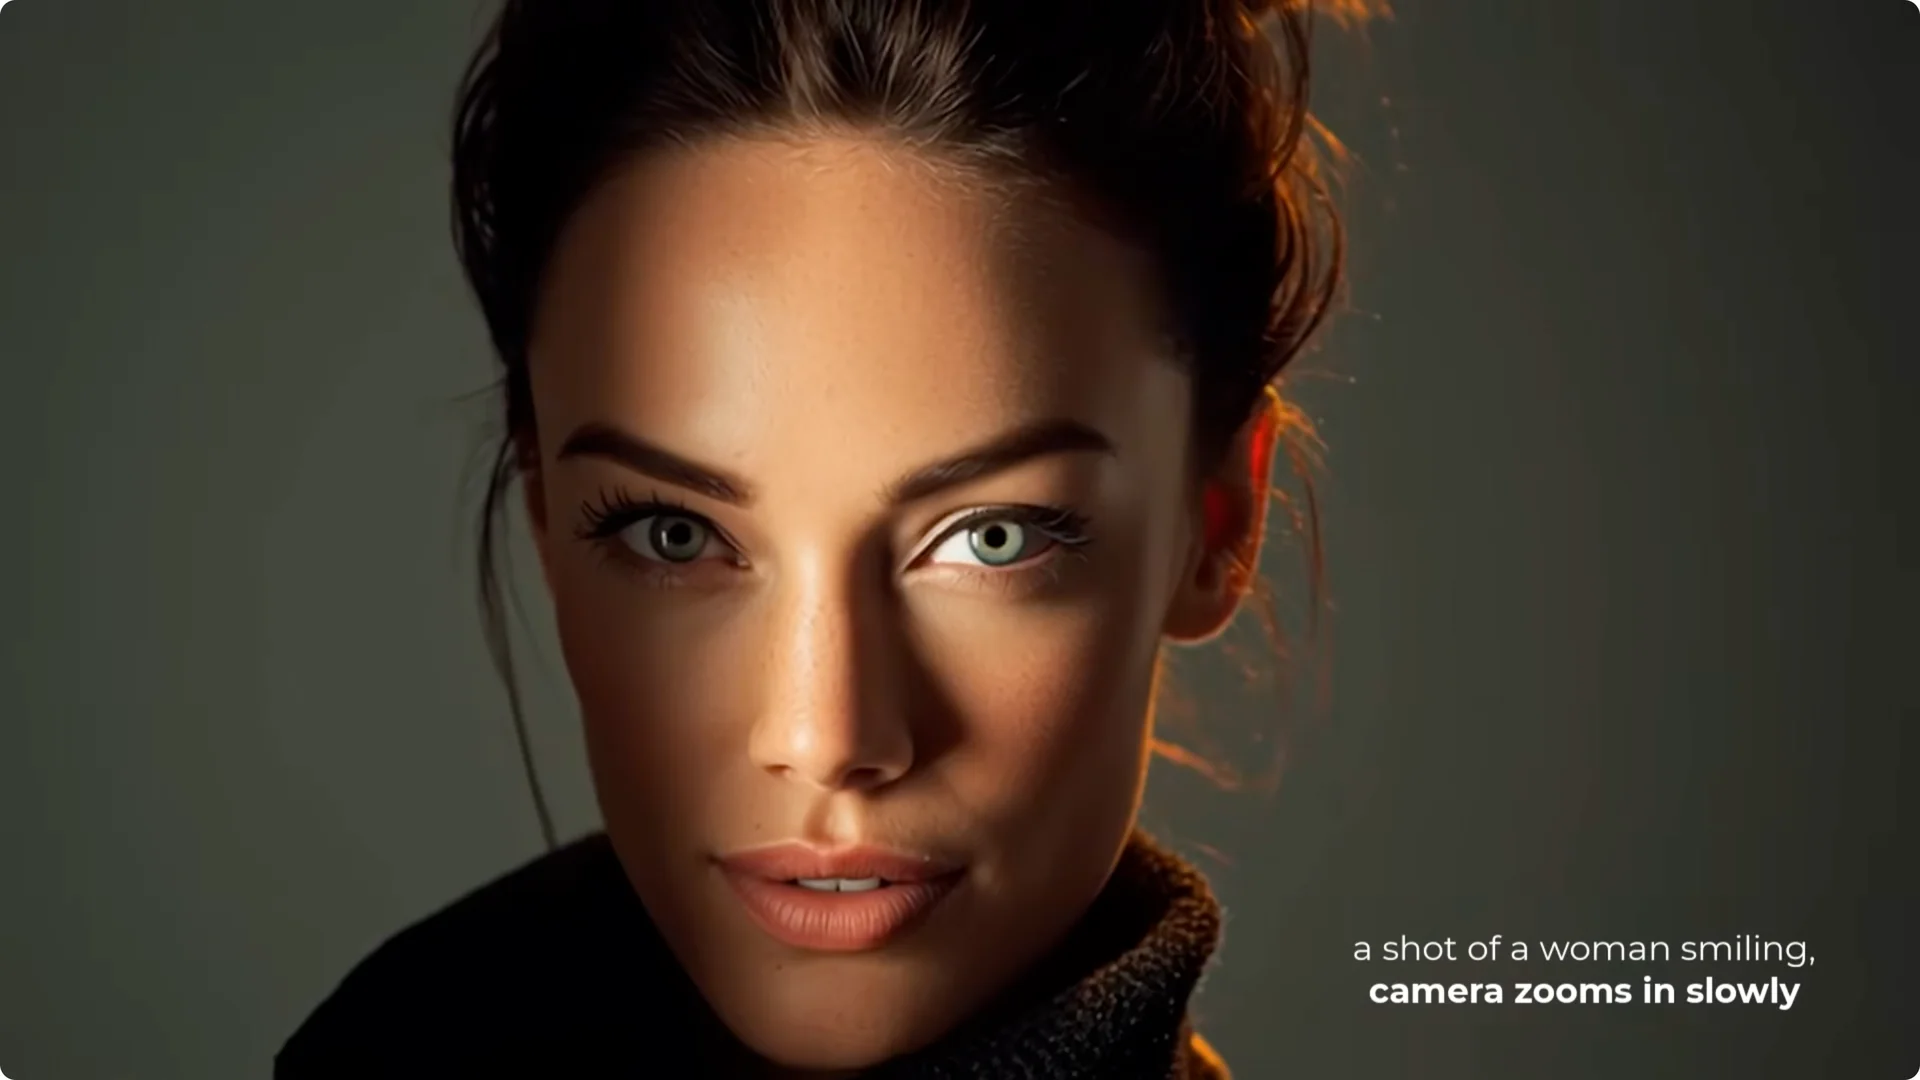
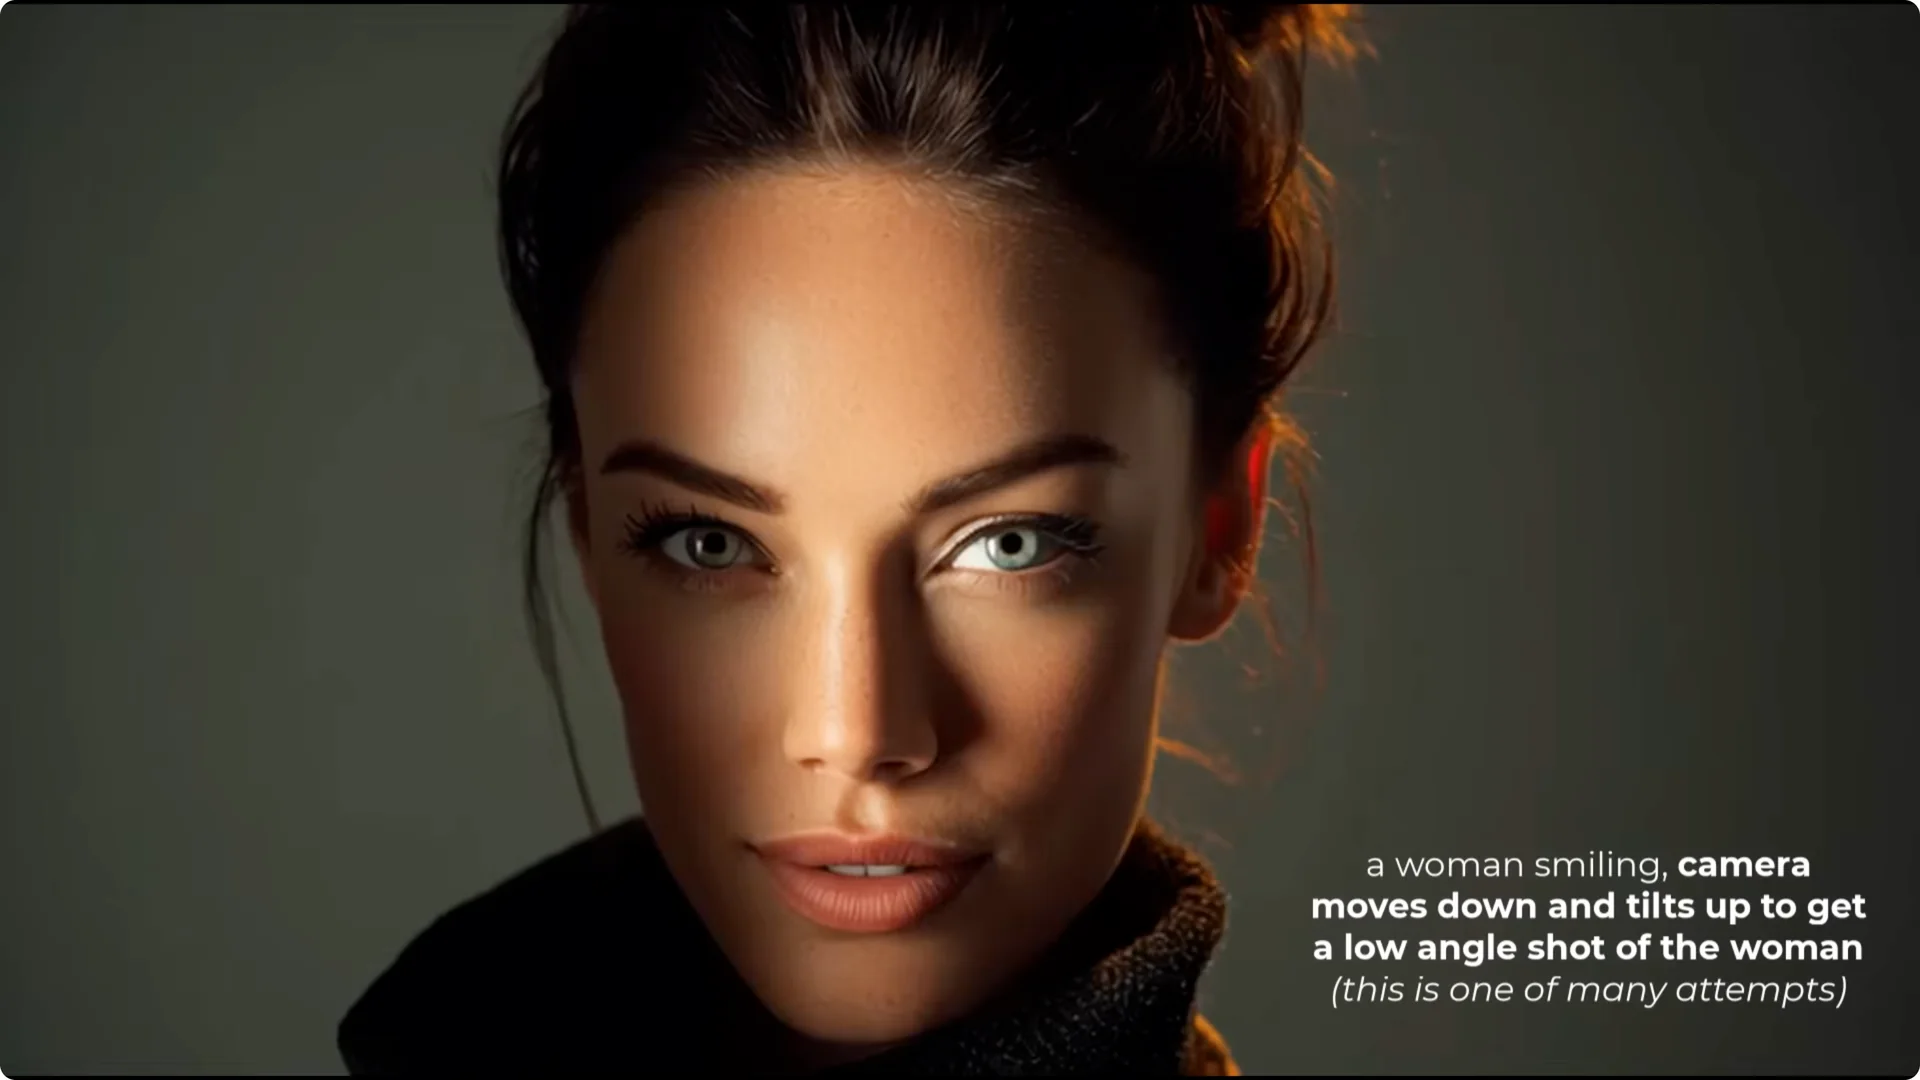
I tested with an image of a woman smiling:
- “Camera zooms in slowly” gave a reliable result.
- “Camera zooms out slowly” was also reliable.
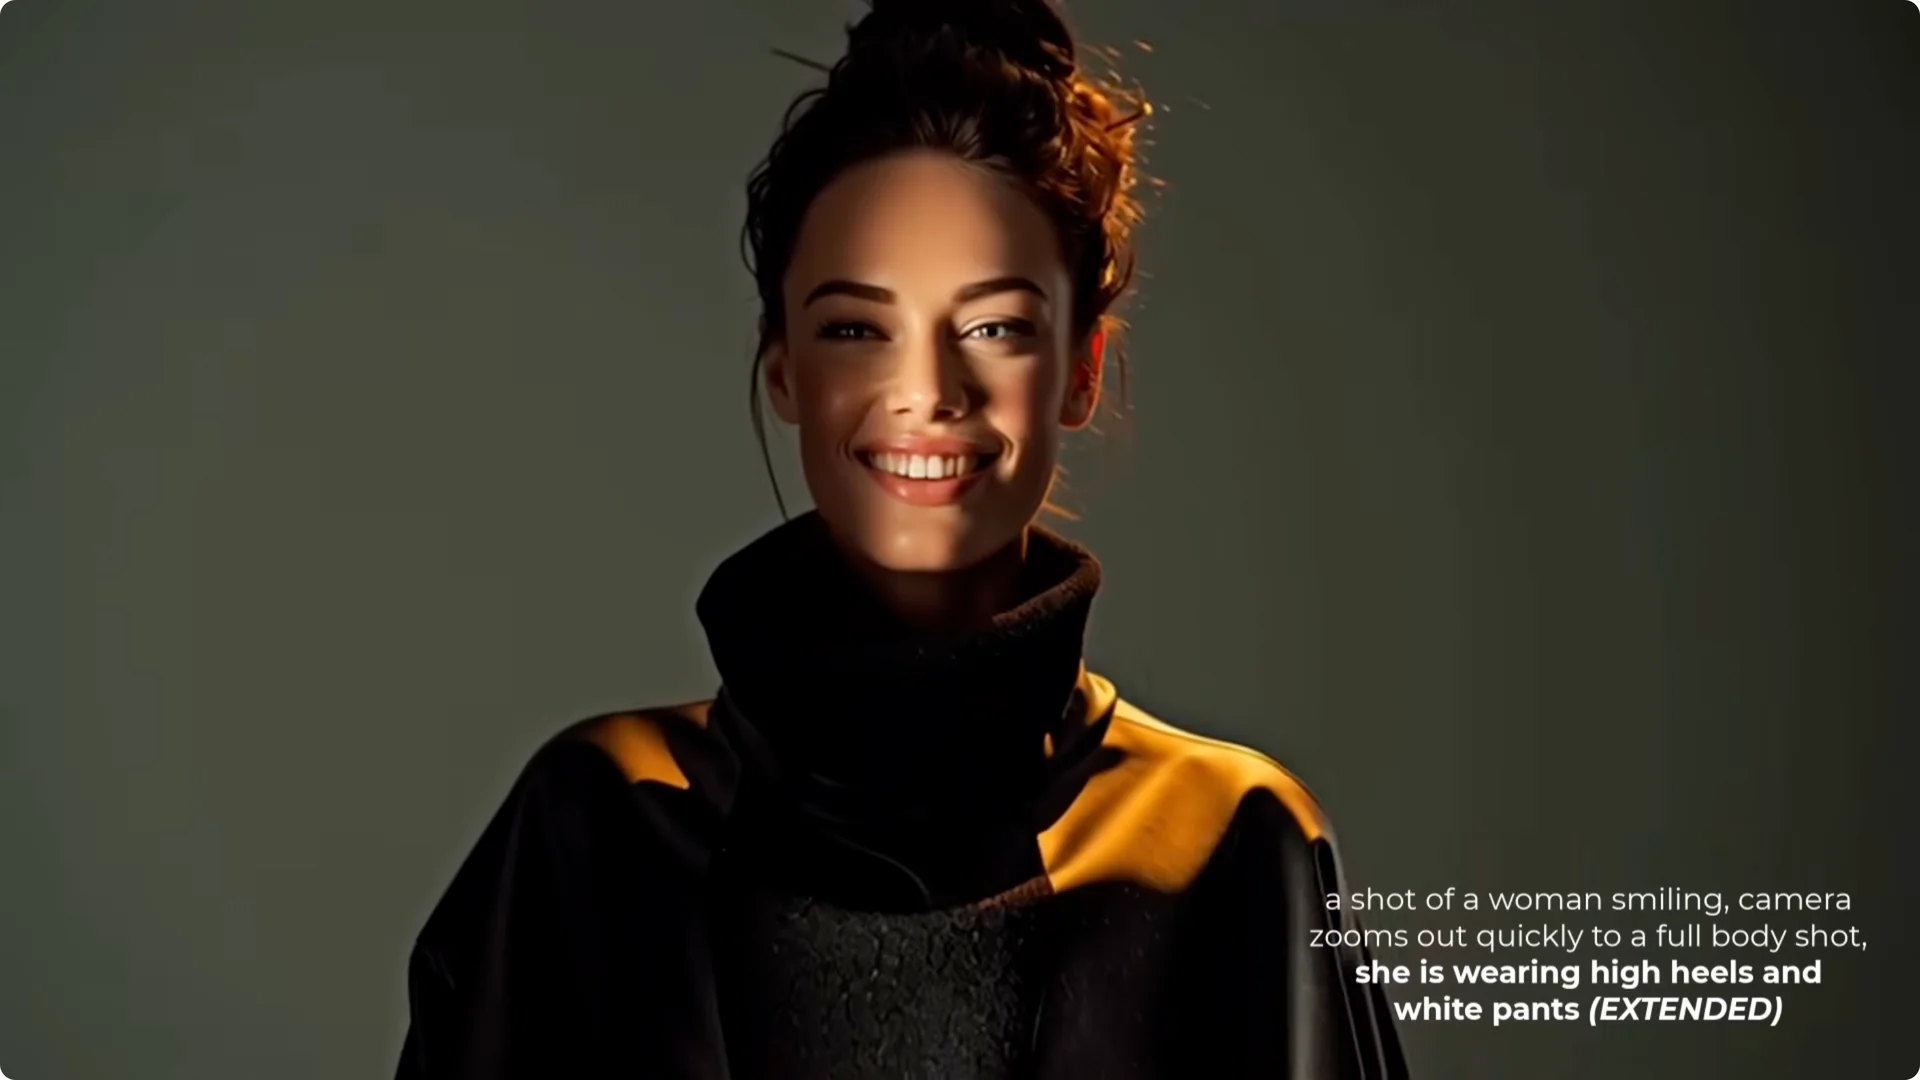
- “Zooms out quickly to a full body shot” didn’t get there. Extending the video can help finish the action, but this time it didn’t work.
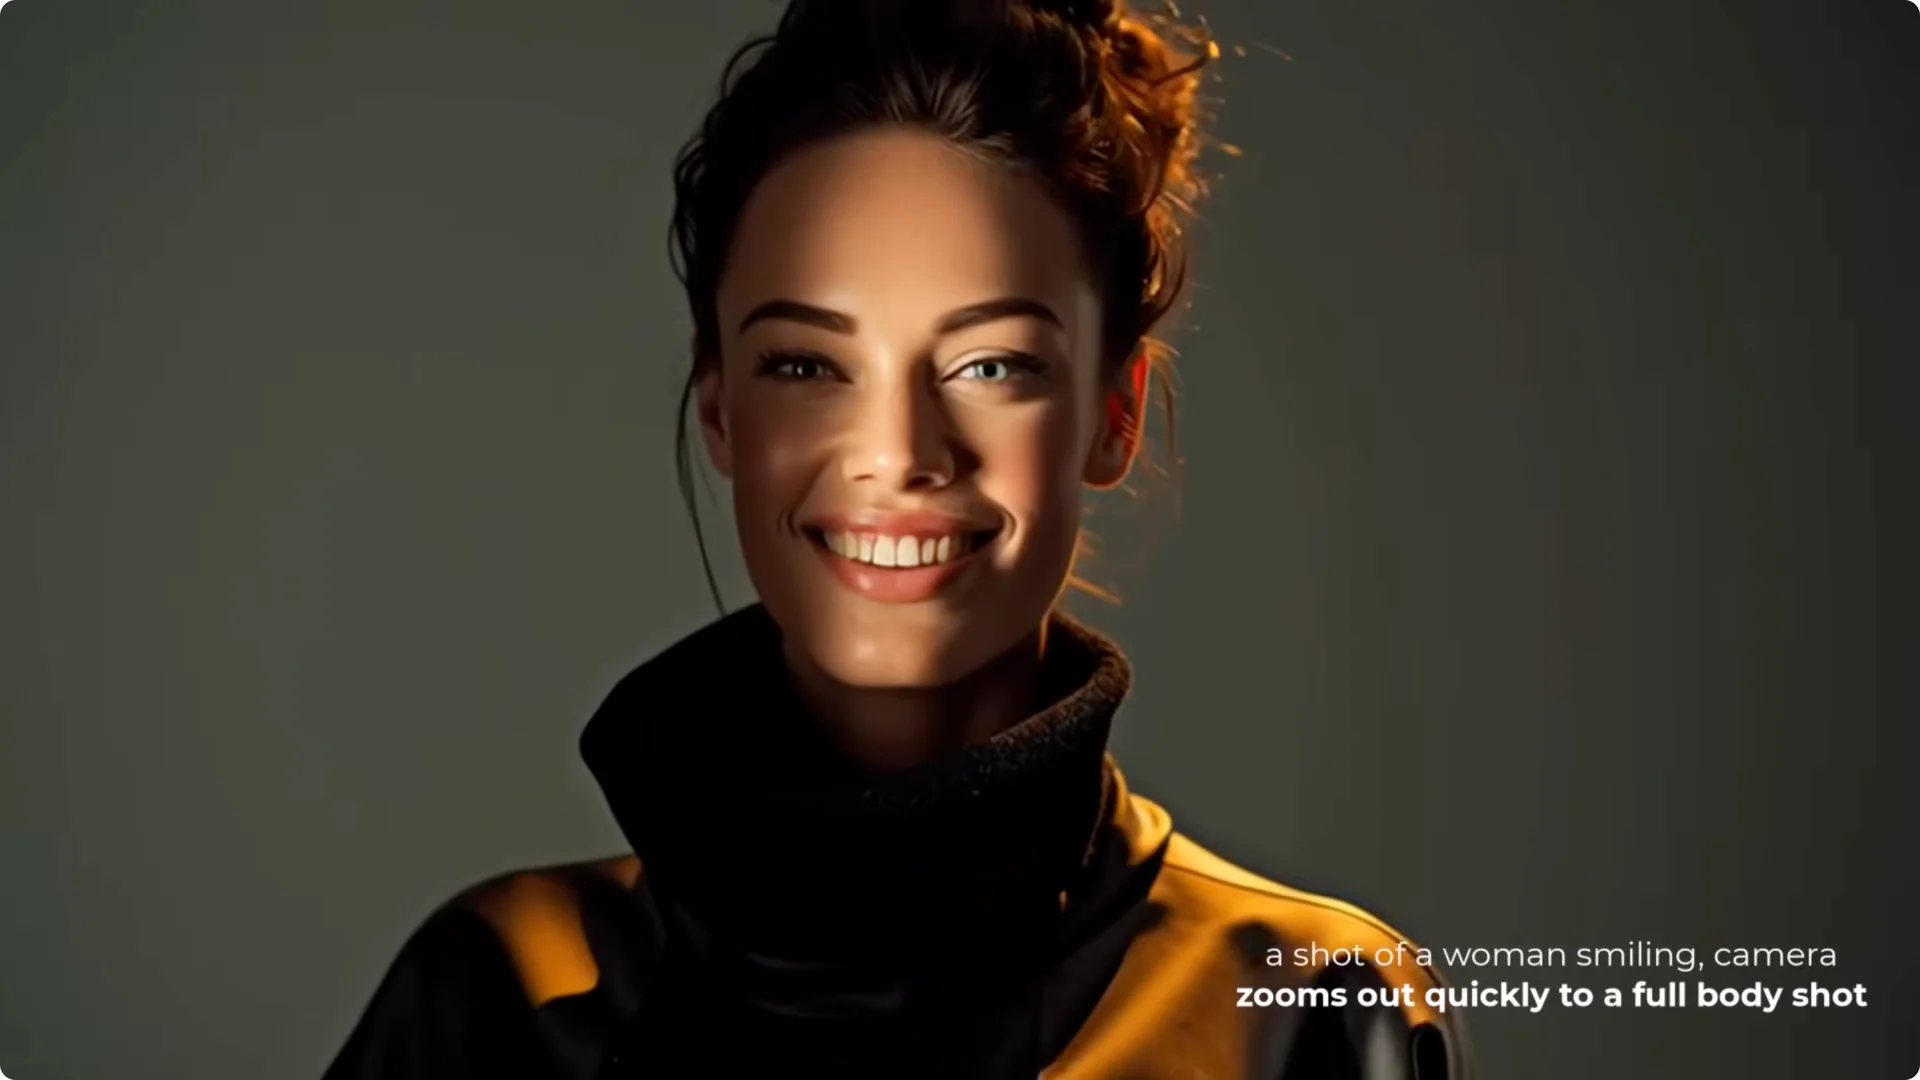
If you describe what you want to zoom to and what you want to show in the scene, like high heels, white pants, and the fact she’s smiling, it will try to render those details, which can encourage a wider frame.
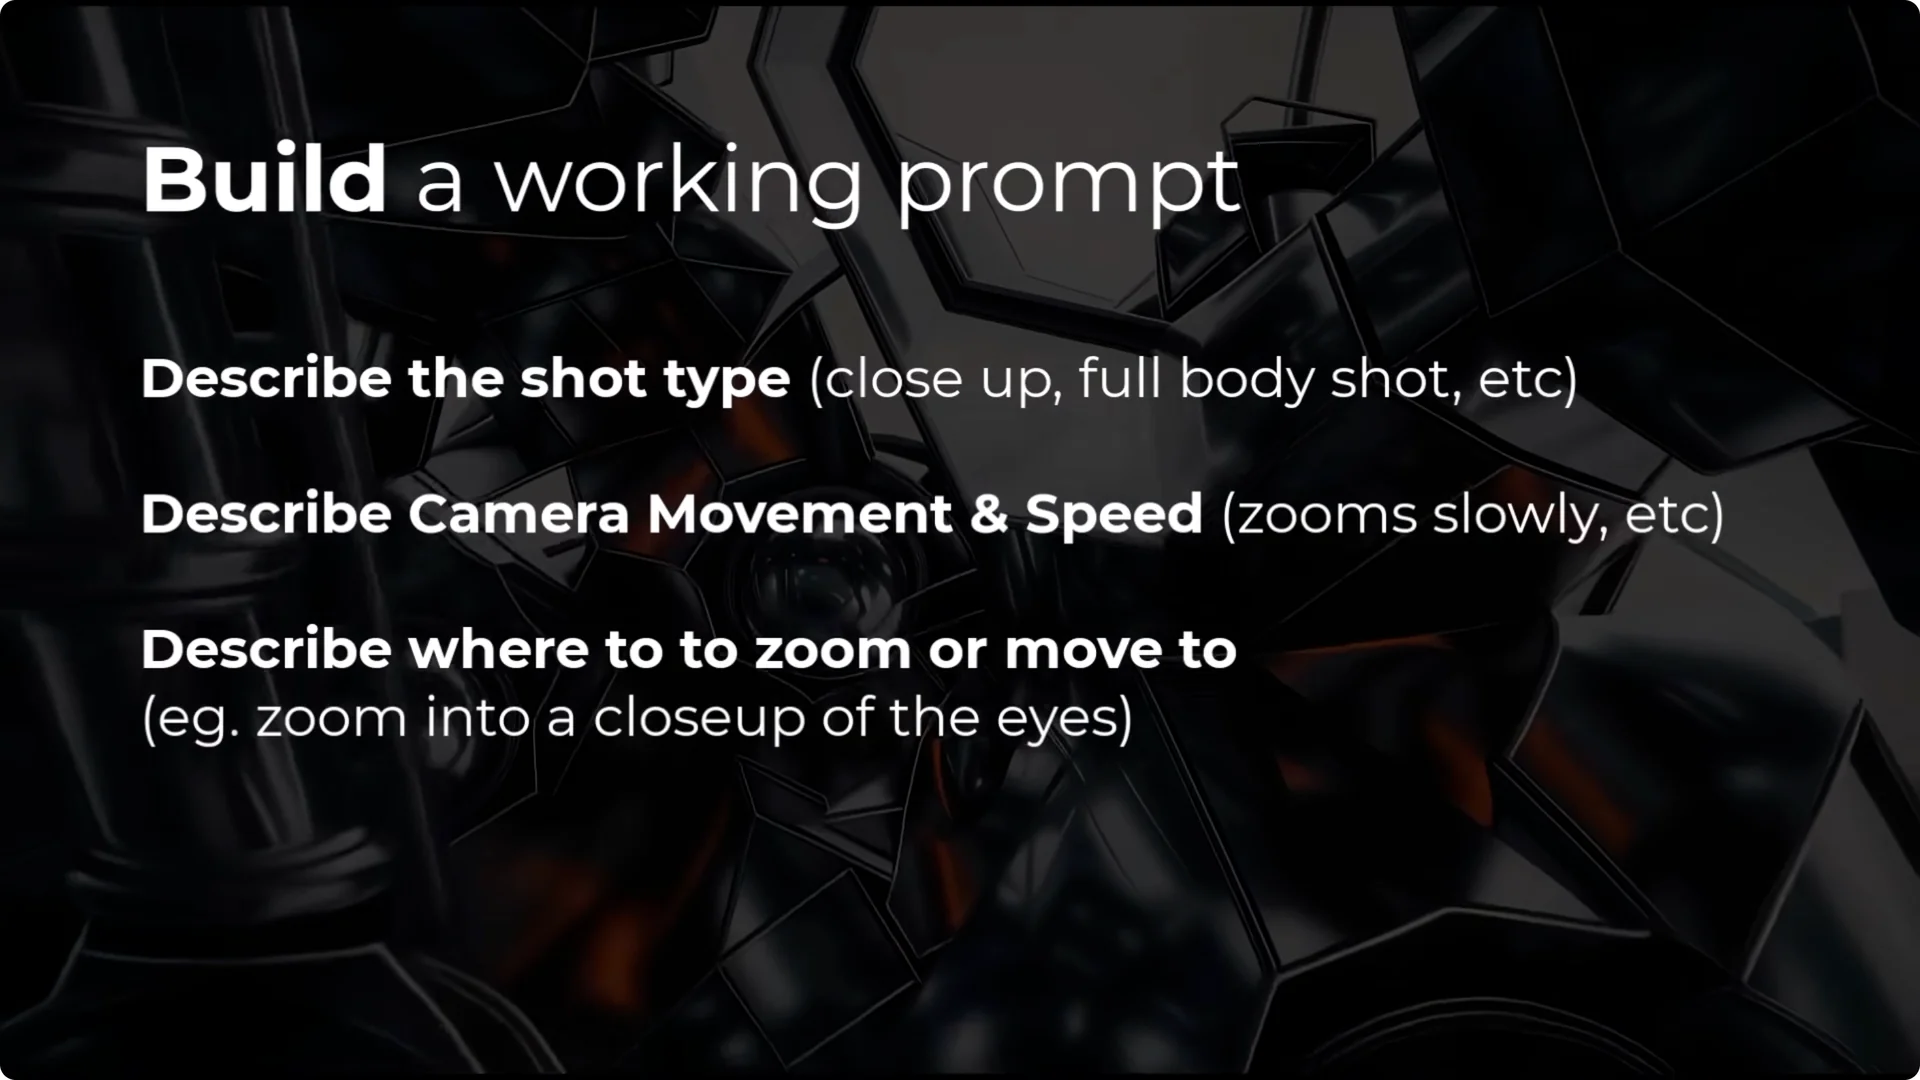
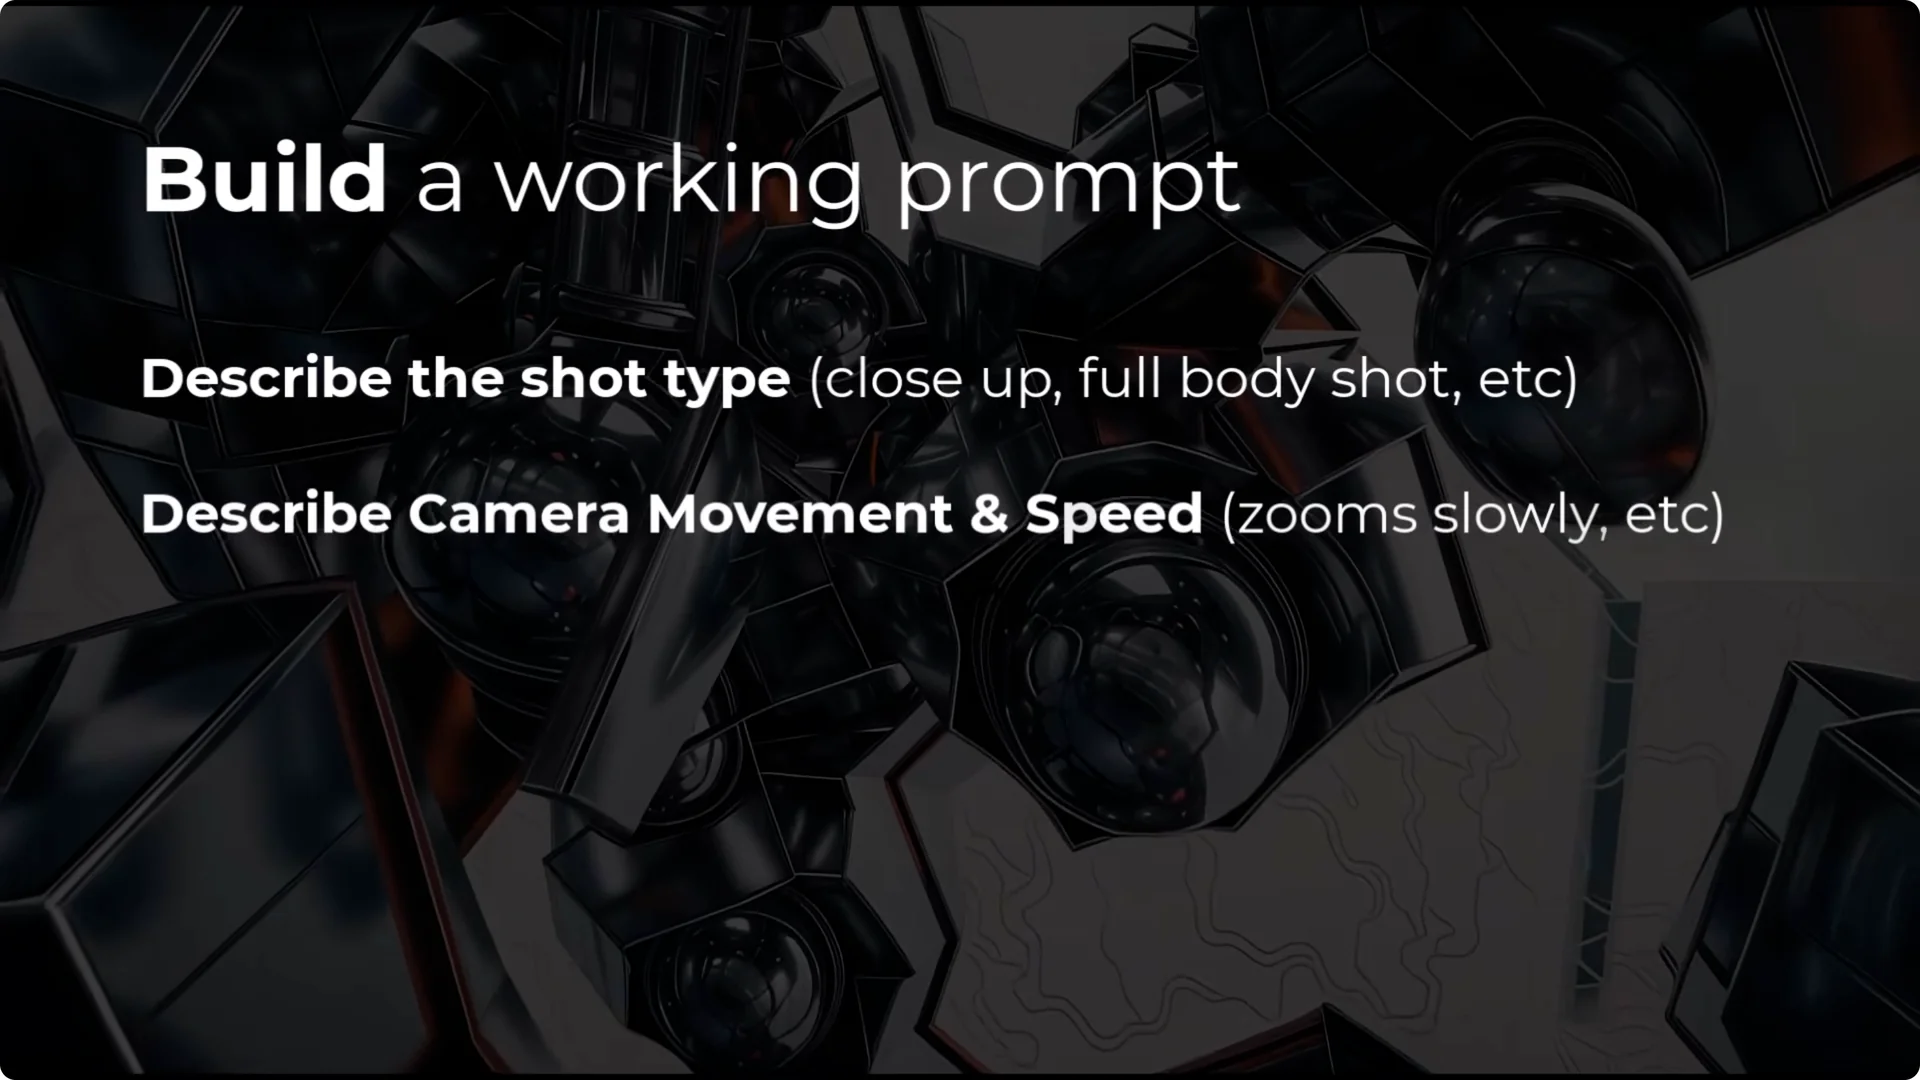
Guidelines:
- Start with the shot type to describe the framing – close-up, full body, etc.
- Describe the camera movement and speed – zooms in slowly, pans quickly.
- Describe where you want the shot to end – for example, close-up or full body.
- If you’re having trouble, describe elements you want to see – hat, hair, shoes. That can force the scene to include them.
This starts to fall apart when panning. Even with “pans left,” the subject might just sit there. Low angle and high angle prompts often don’t return reliable camera movement. I’ll share a solution further down.
Midjourney Video Camera Control: Creating a Static Shot
One common complaint is getting a static shot where the camera doesn’t move. Here’s a quick method that can work for simple shots:
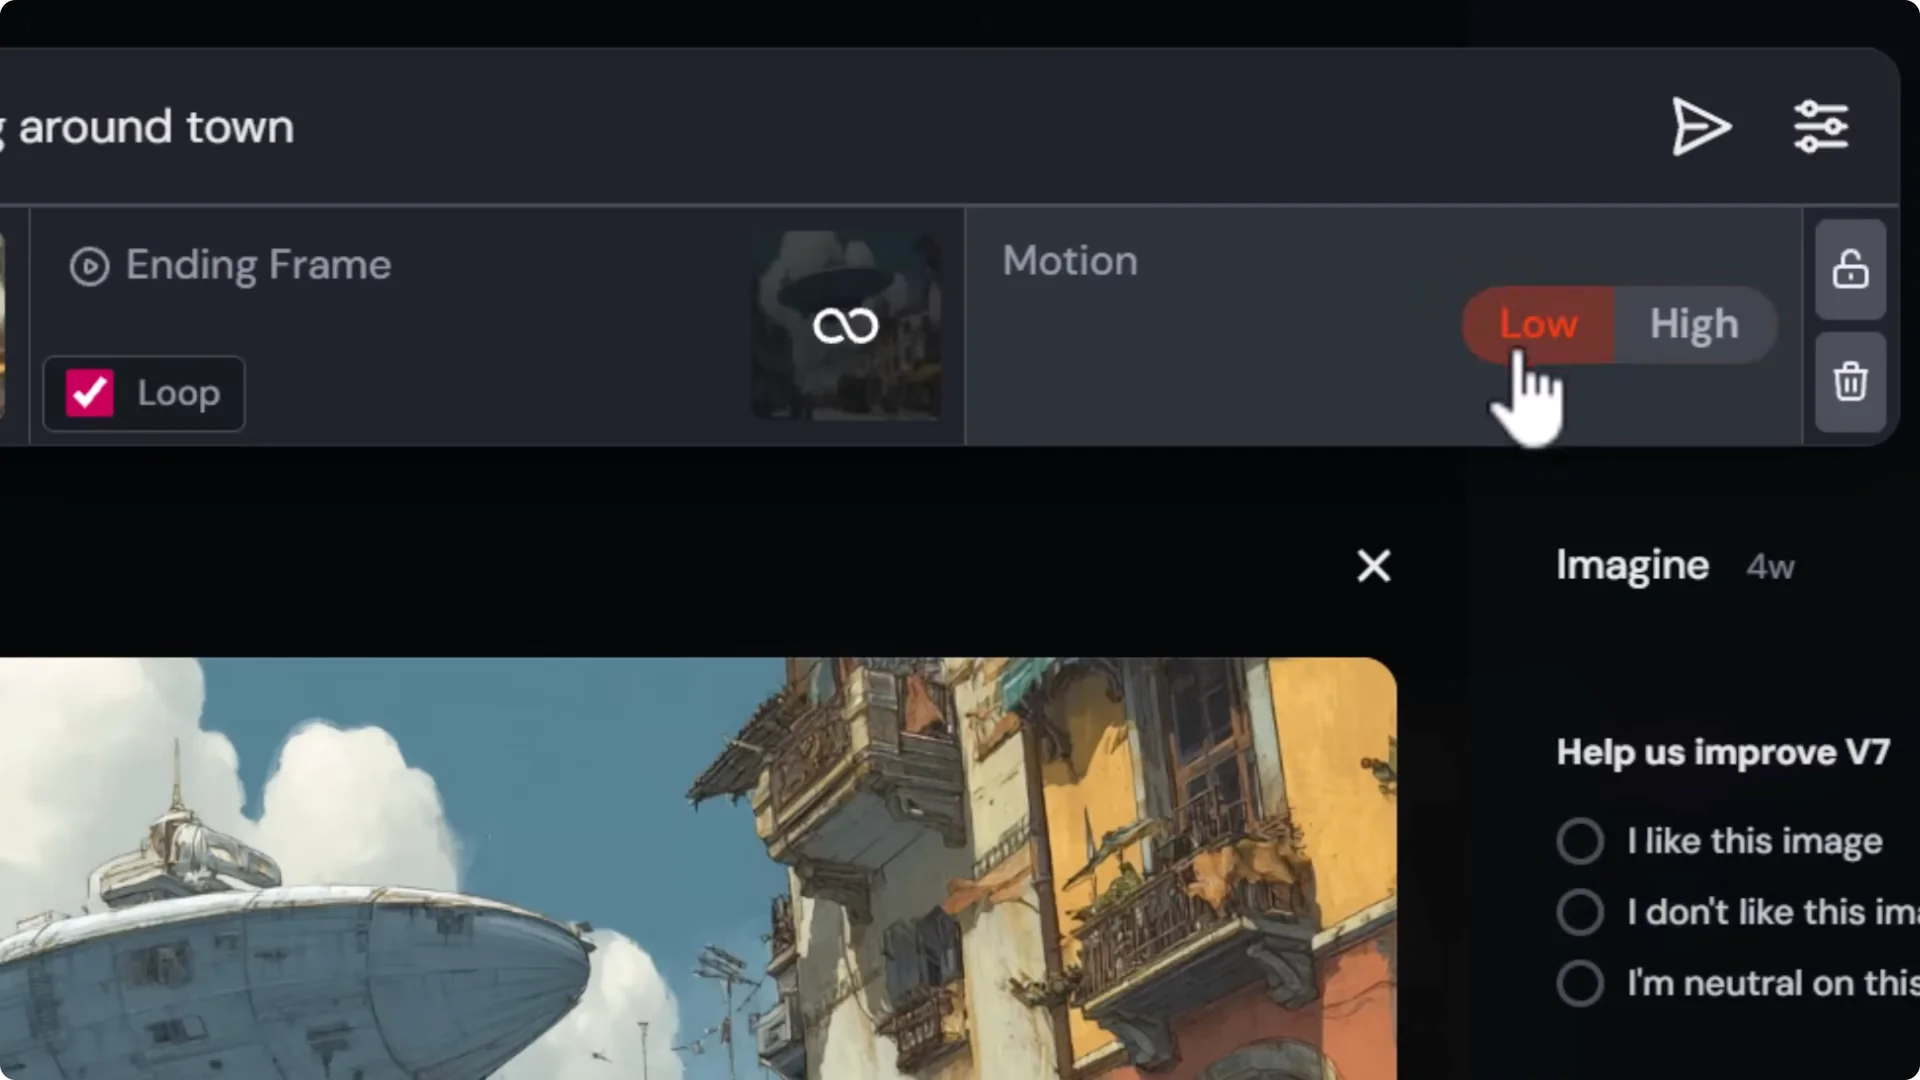
Loop the video so the end frame is the same as the start frame.
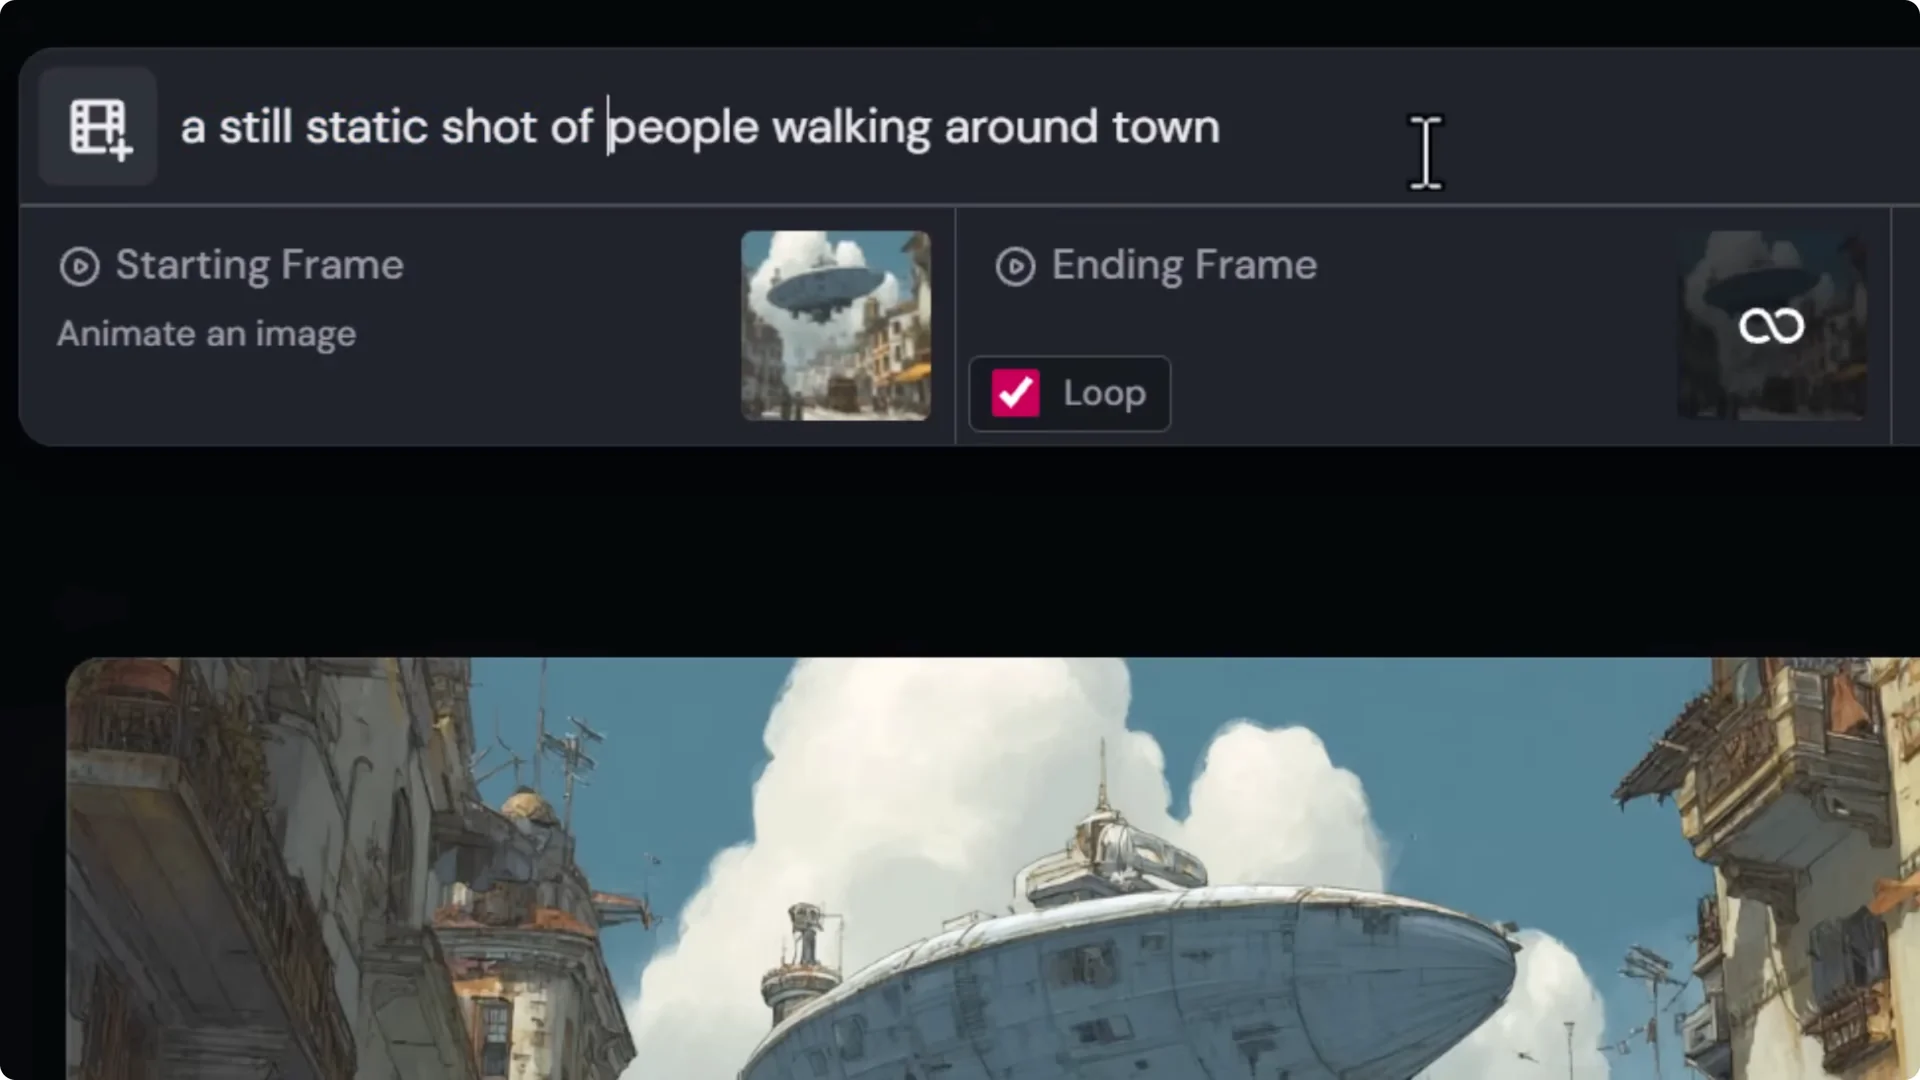
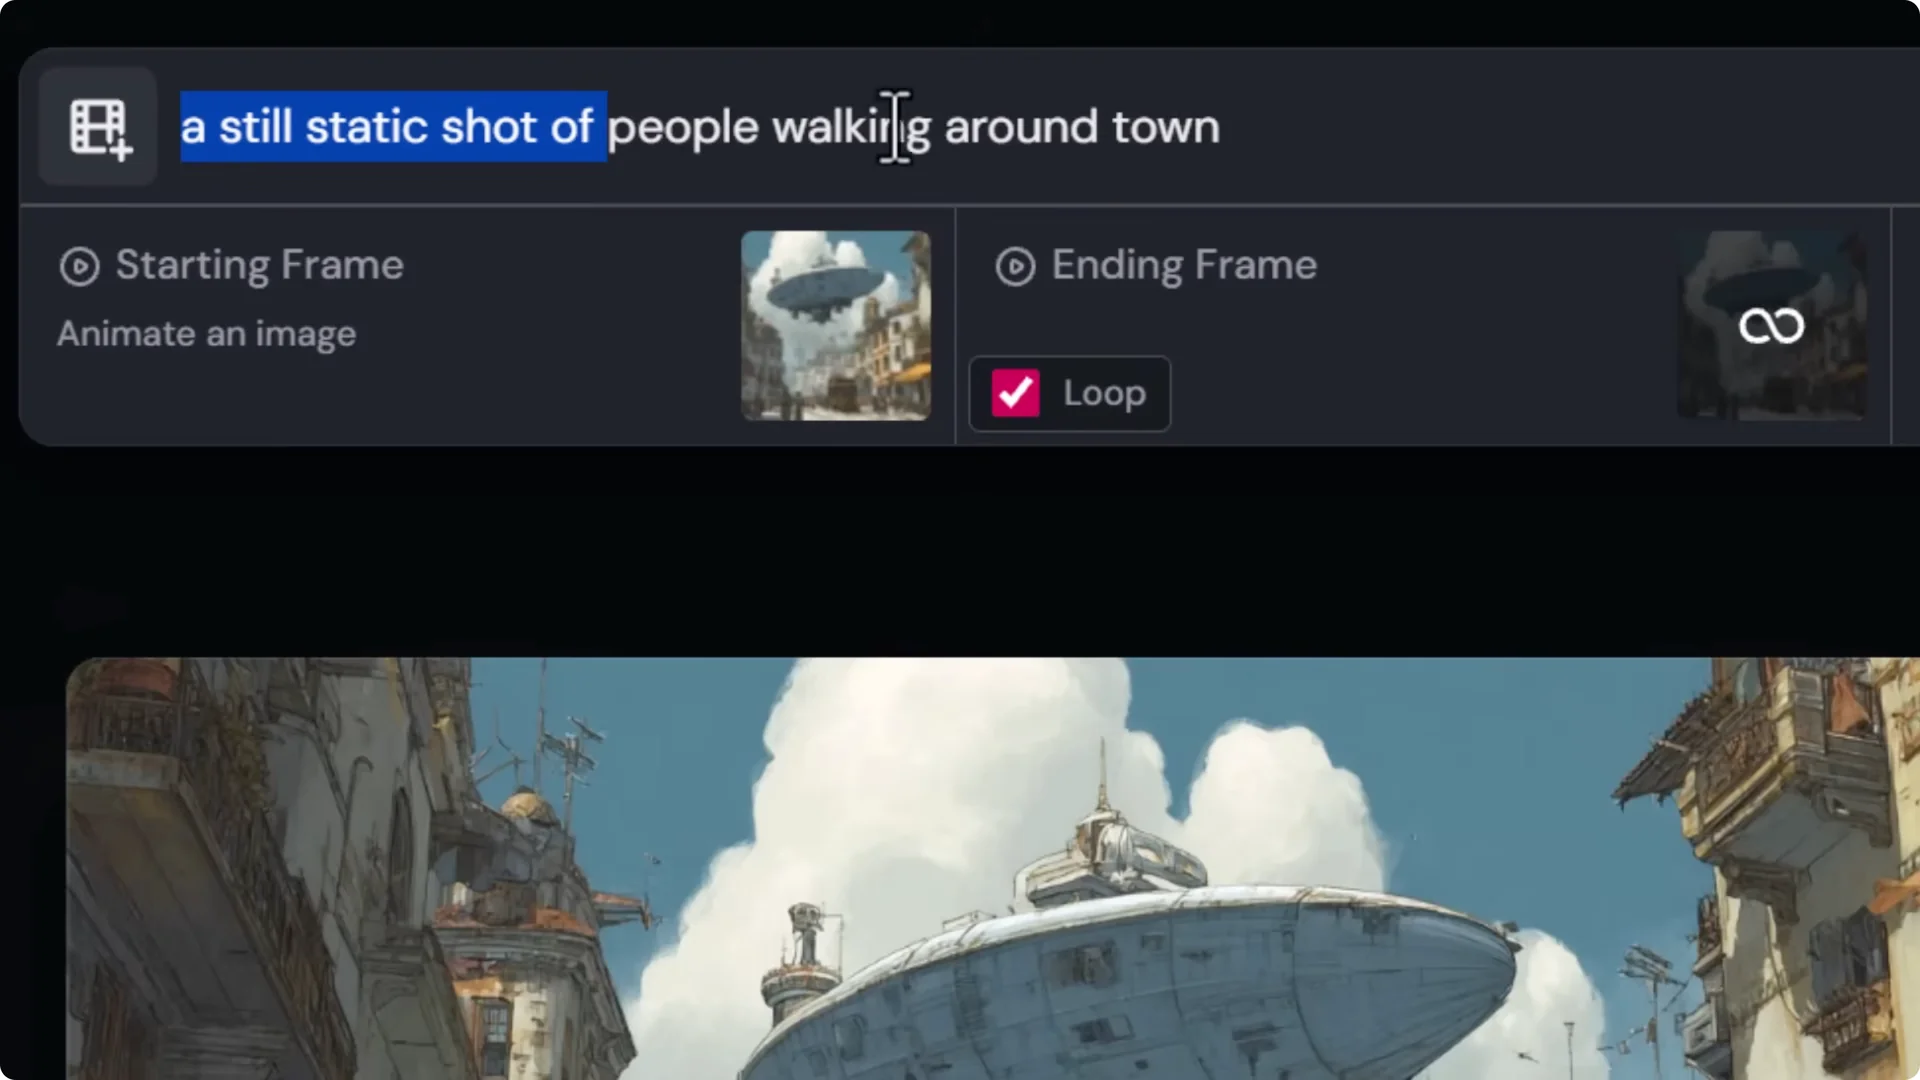
Put “a still static shot of…” at the start of the prompt.
Prompt for as little movement as possible.
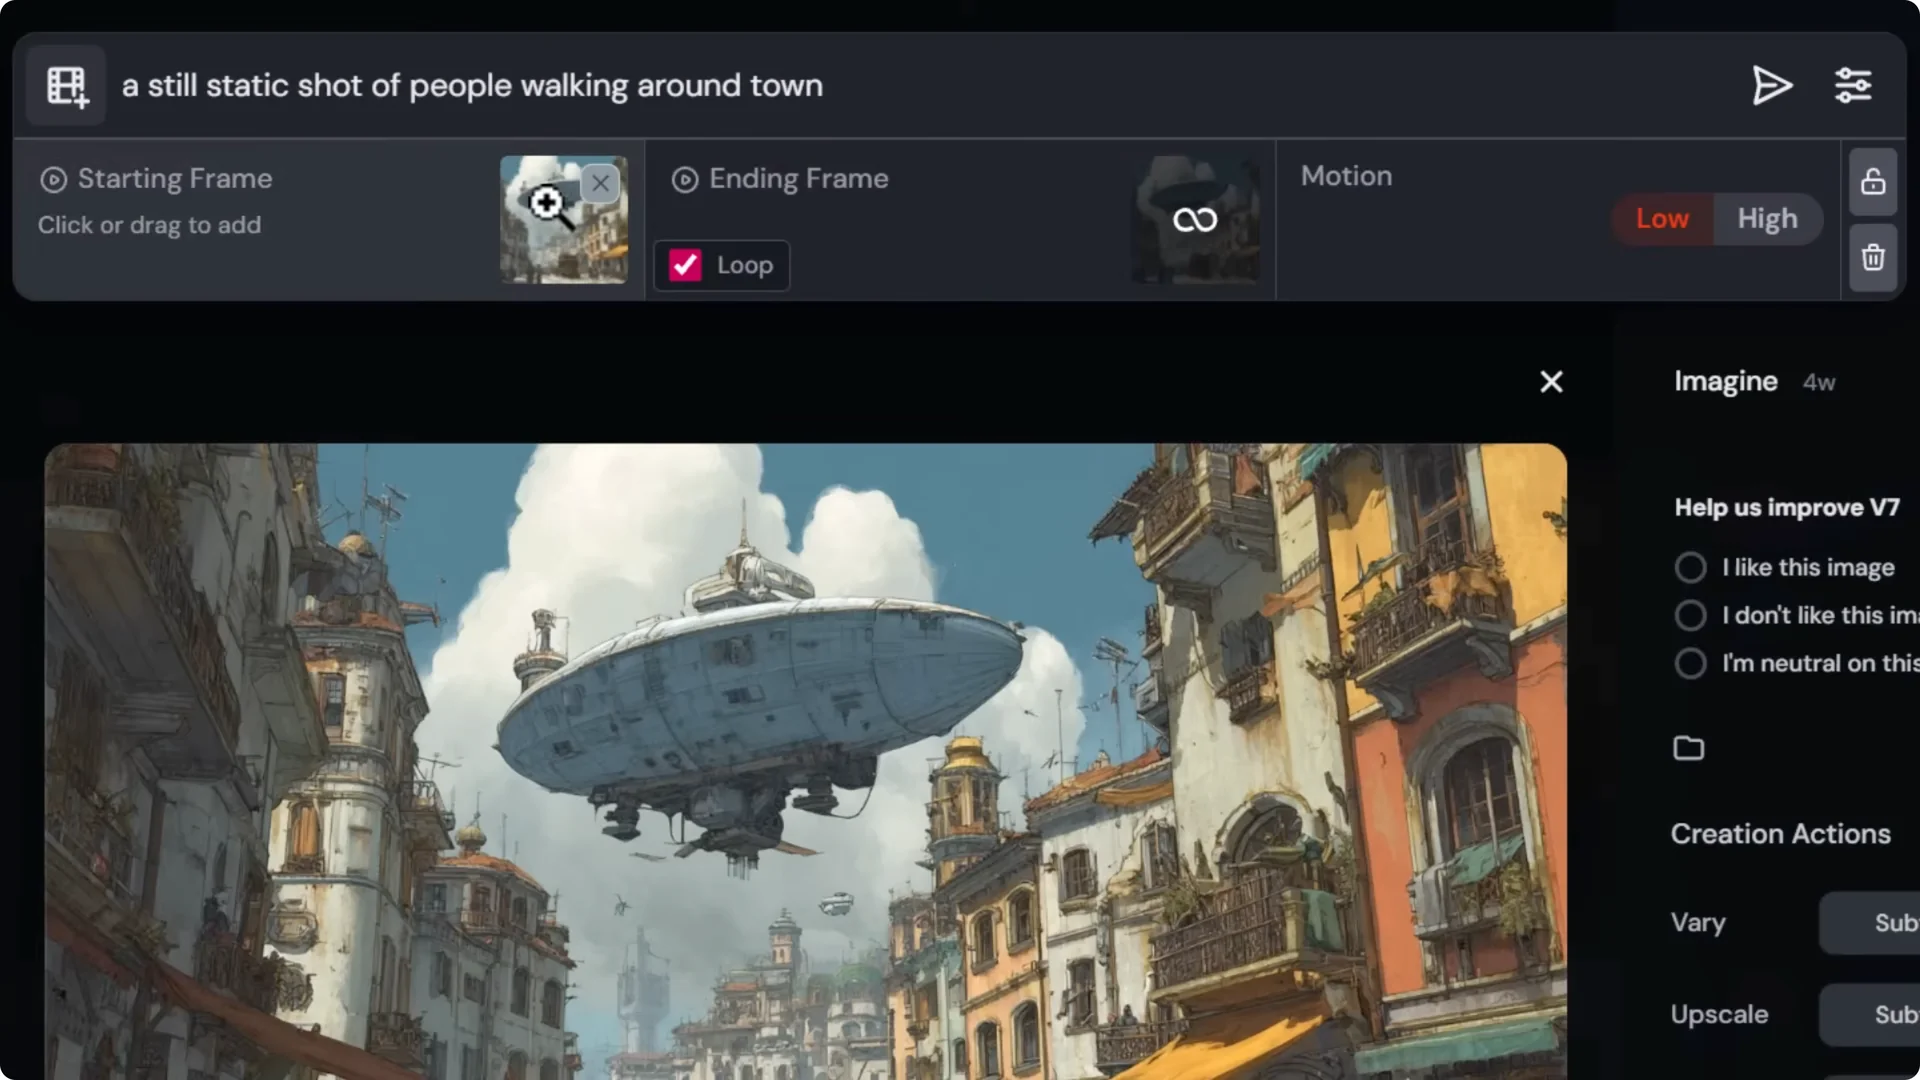
Set motion to low.
This improves your odds, but there are no guarantees. Midjourney tends to add motion. With a few tries, you can often get what you need.
If the camera stays still but the content inside the shot moves in a weird way, use the editor to fix it.
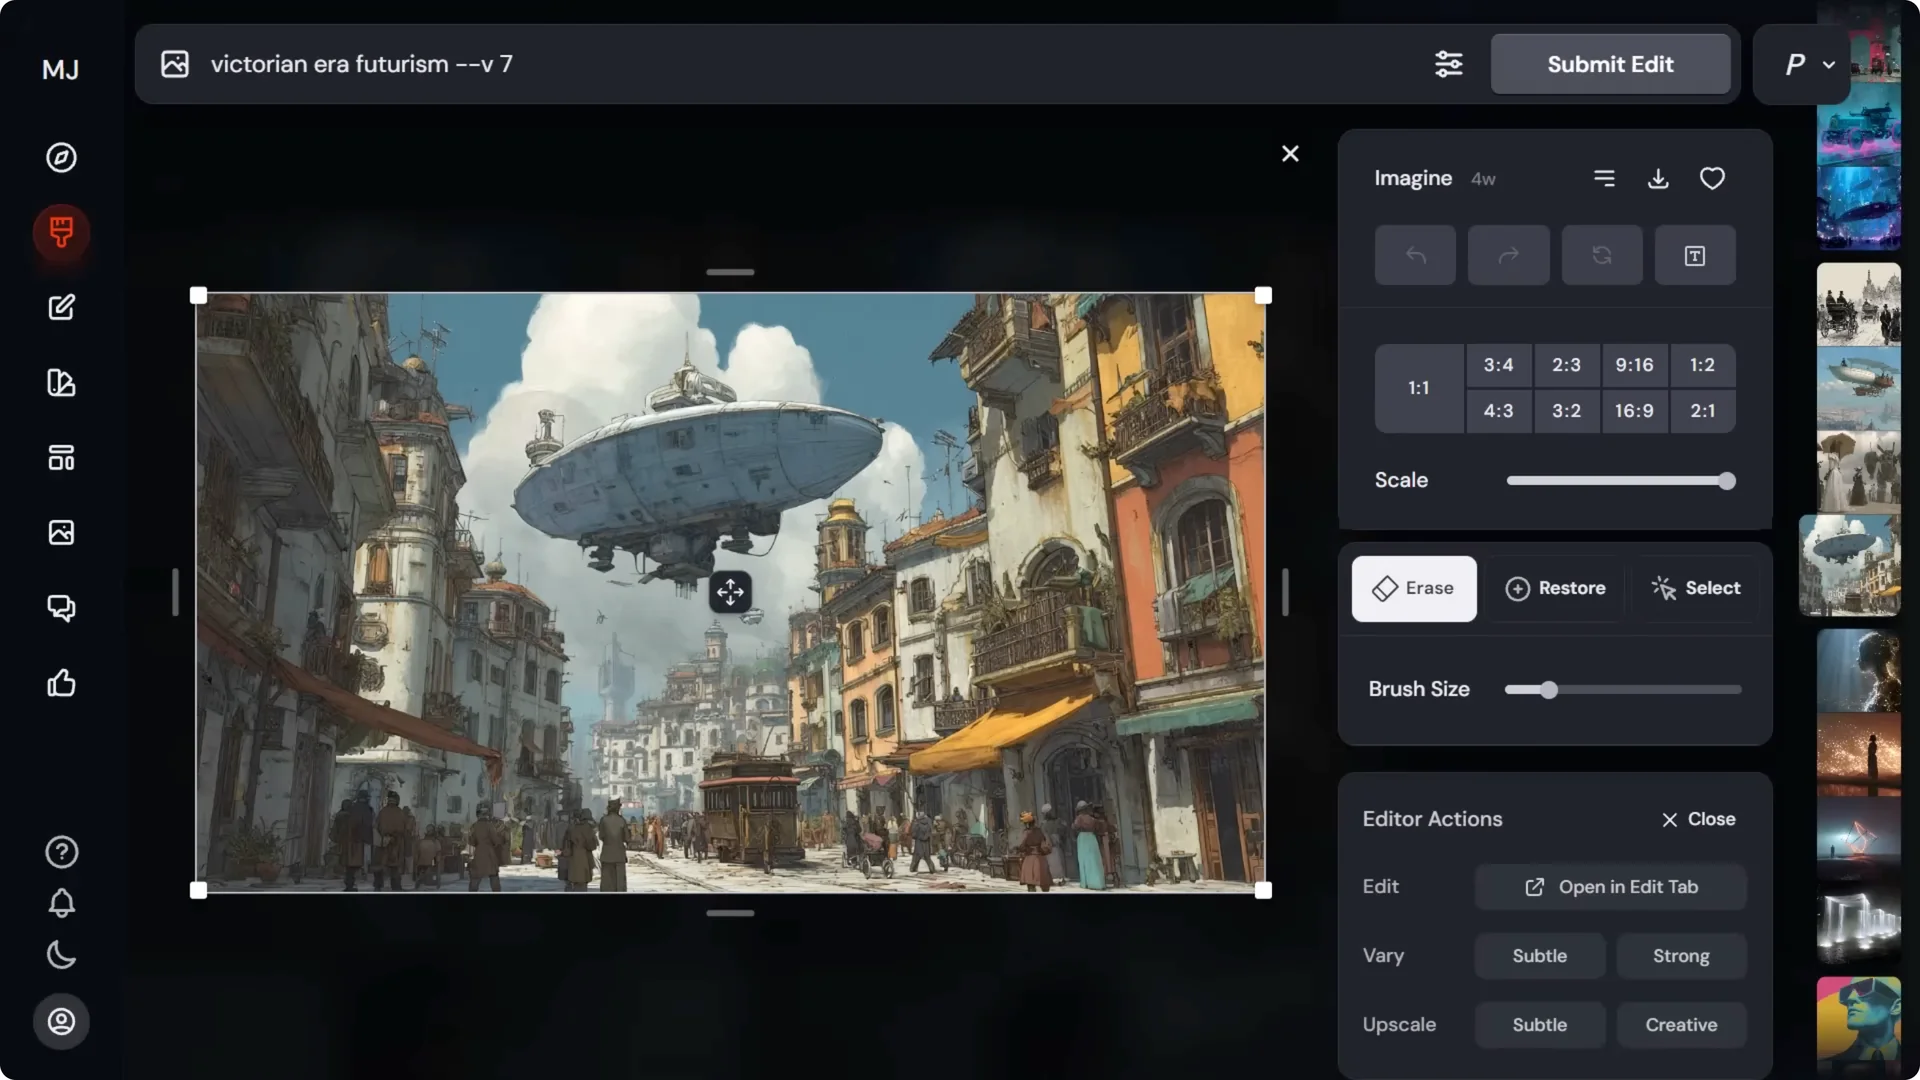
Midjourney Video Camera Control With the Editor – Layers and Object Adjustments
Steps to gain control with layers:
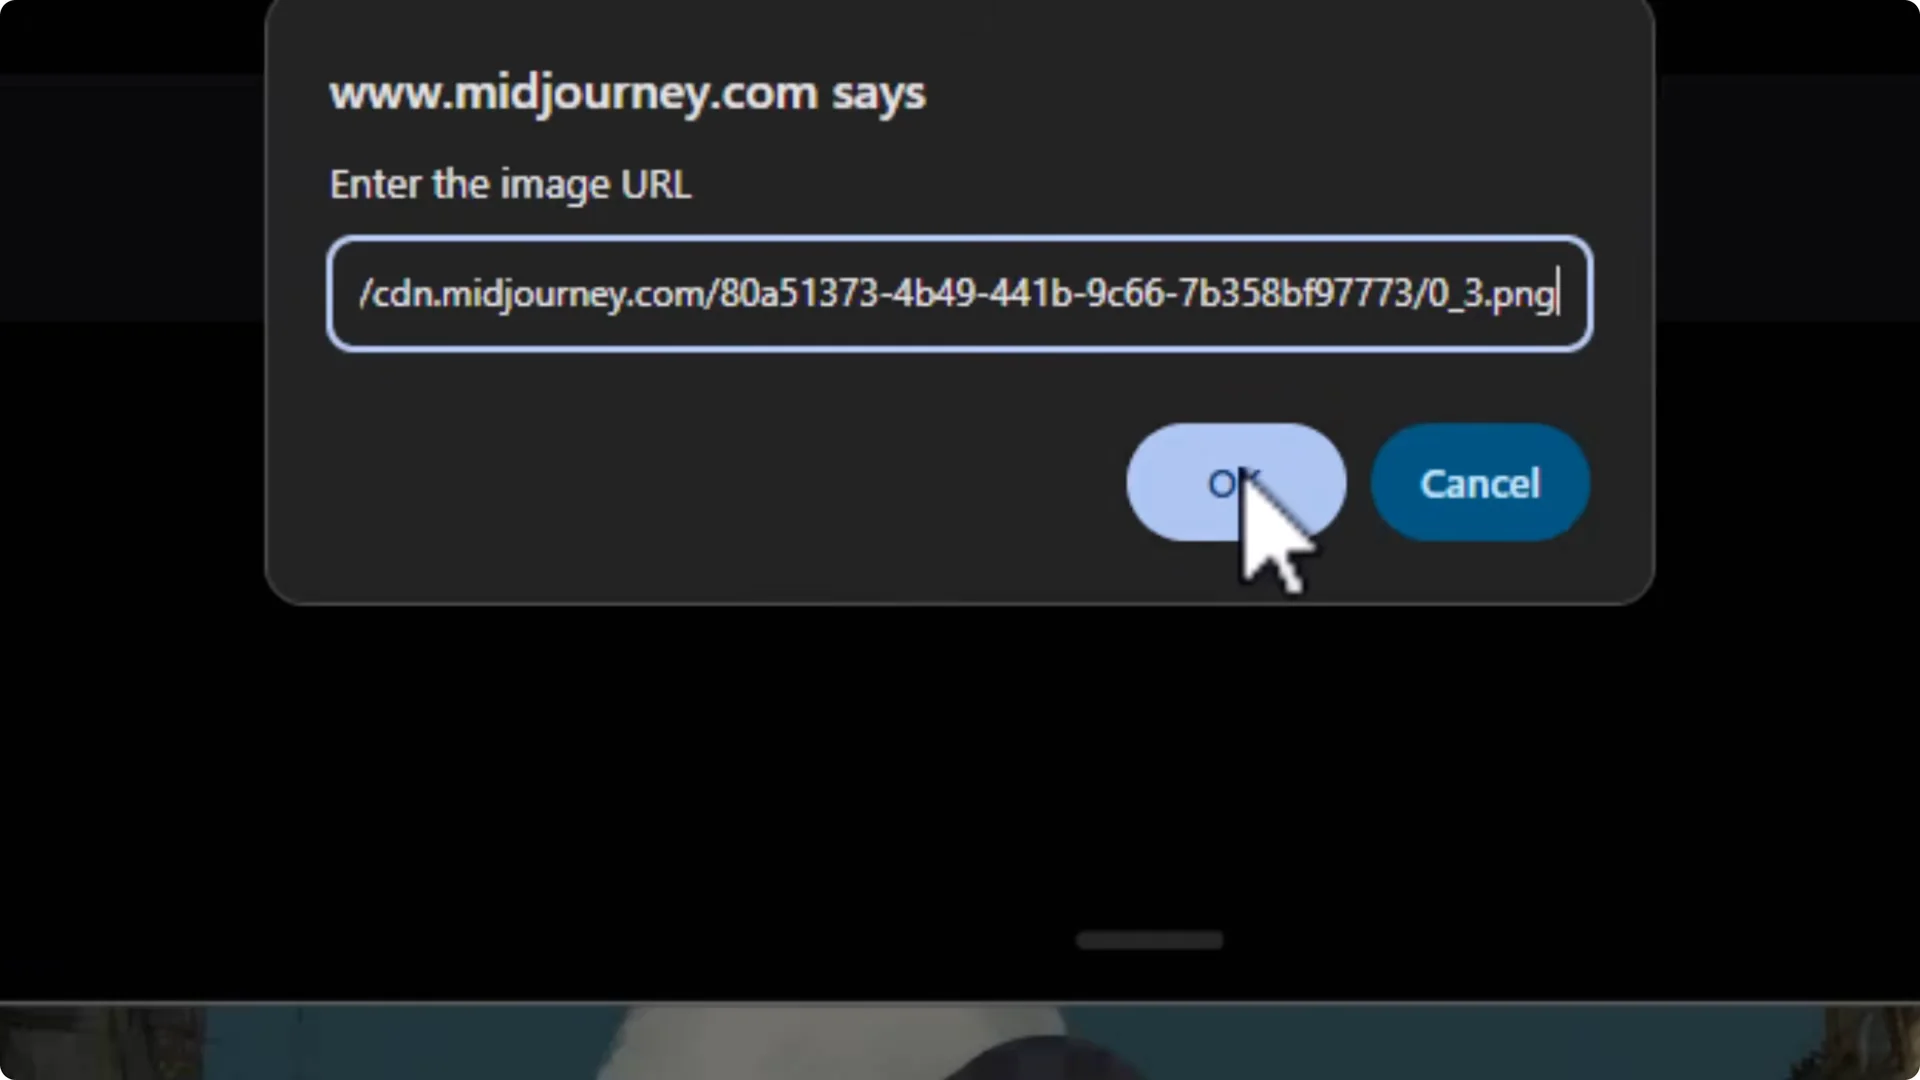
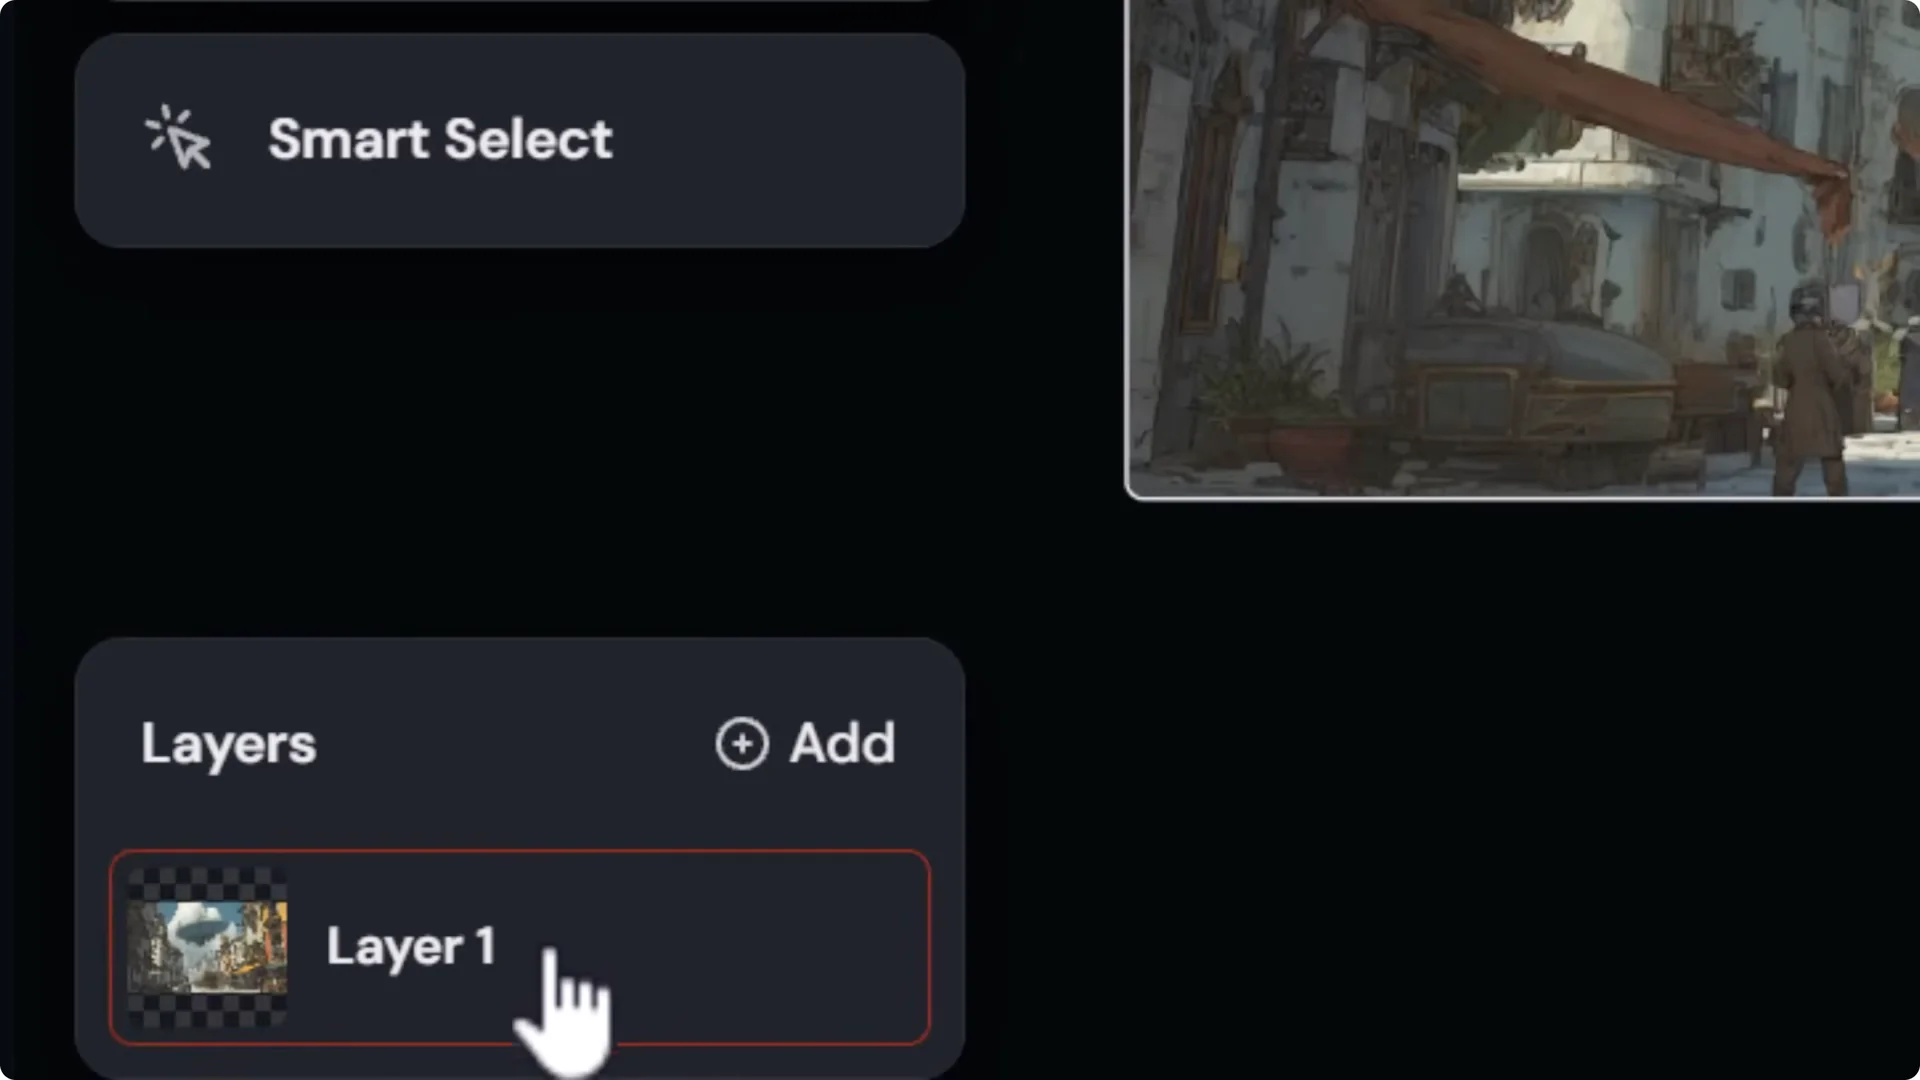
1. Copy the image URL, then open it in the edit tab to use layers.
2. Regenerate areas of the scene:
– Erase people and regenerate them.
– Fill blank areas.
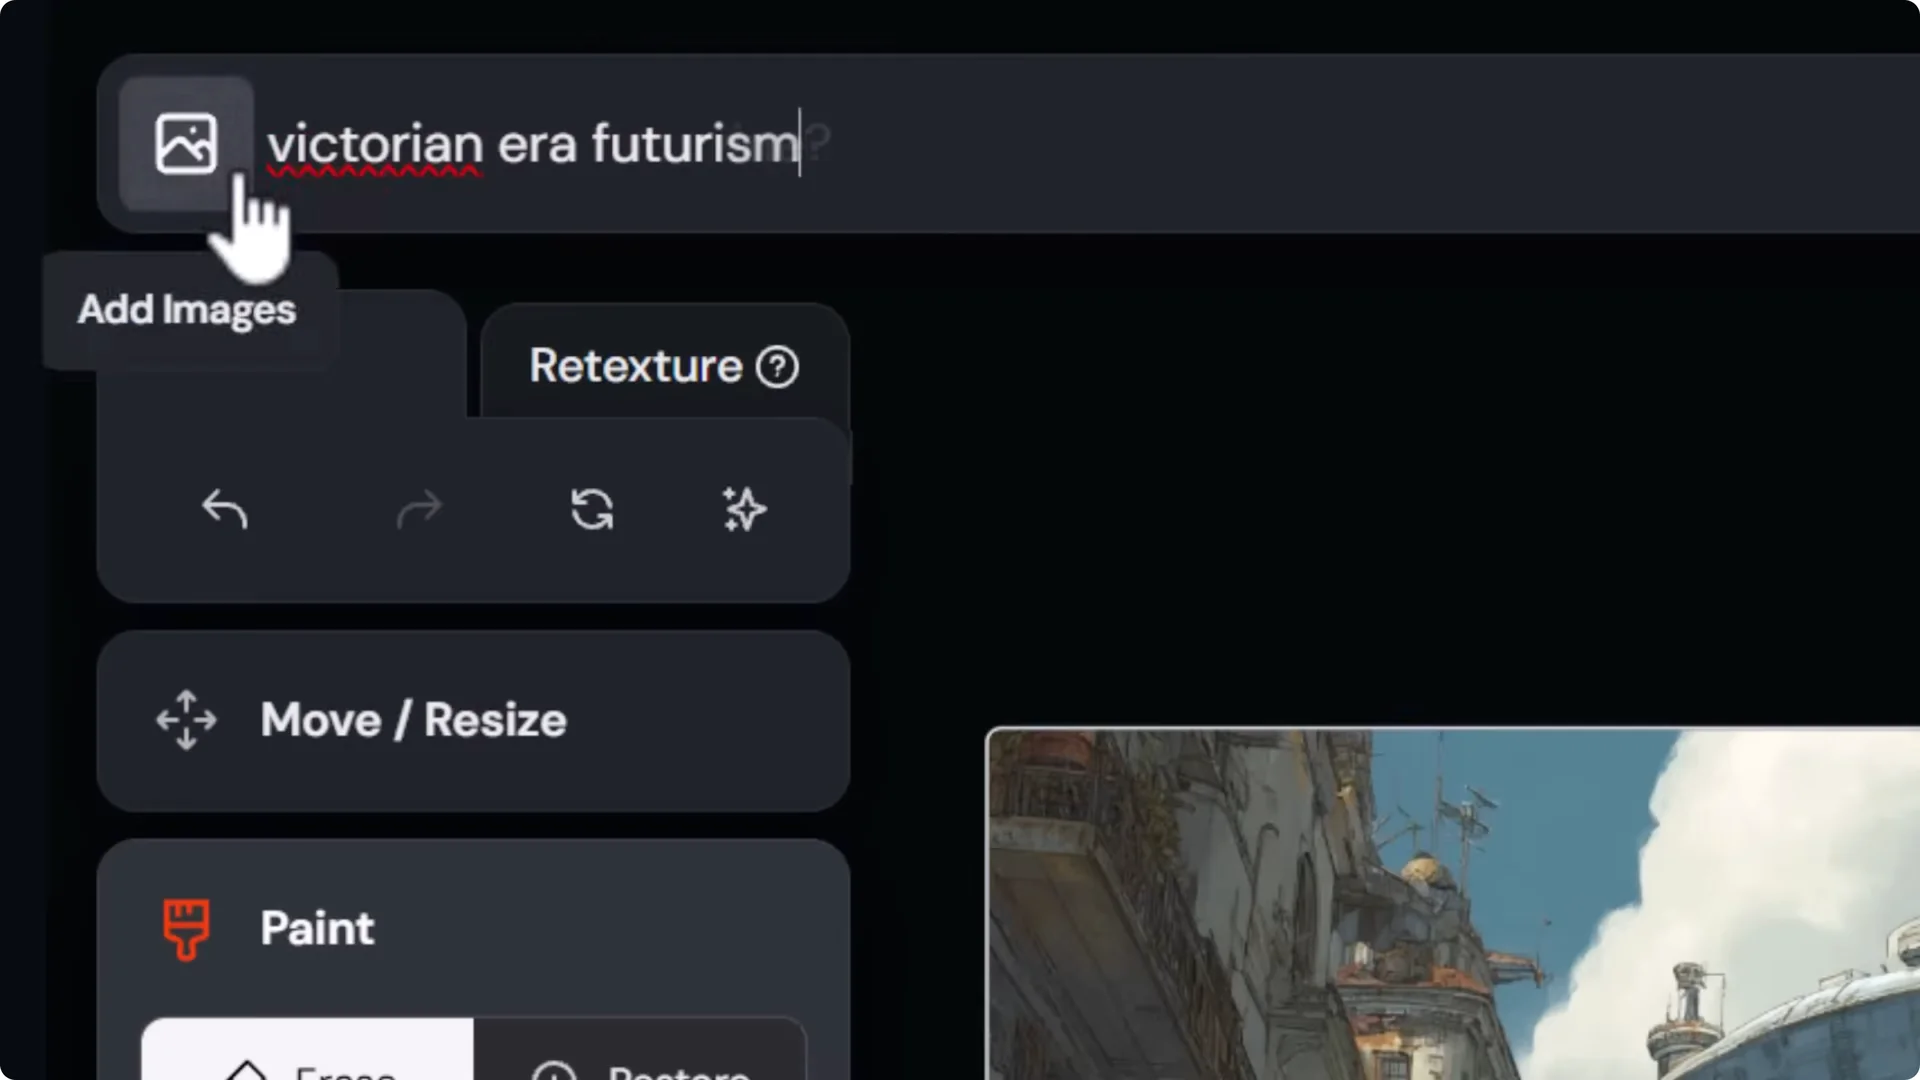
– Use the same base prompt to maintain consistency, for example “Victorian era futurism.”
– Reintroduce people with “people walking.”
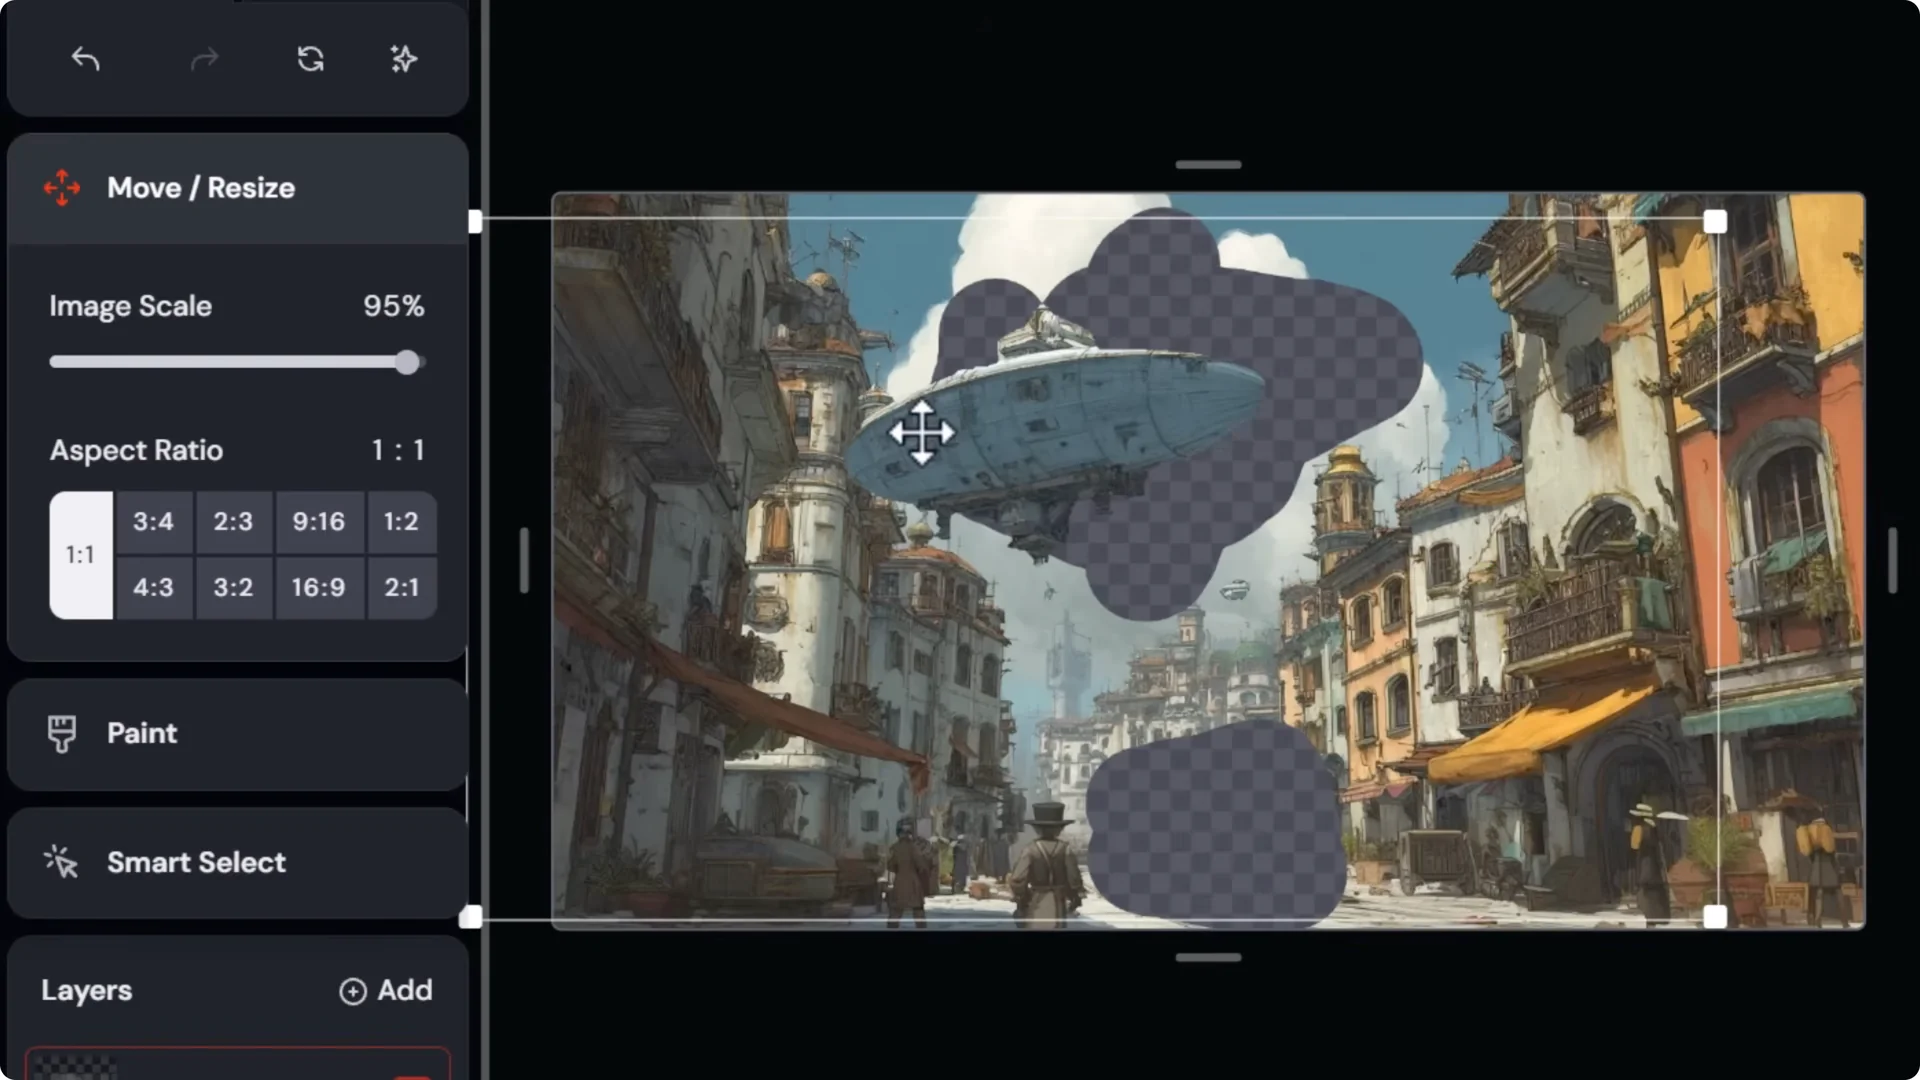
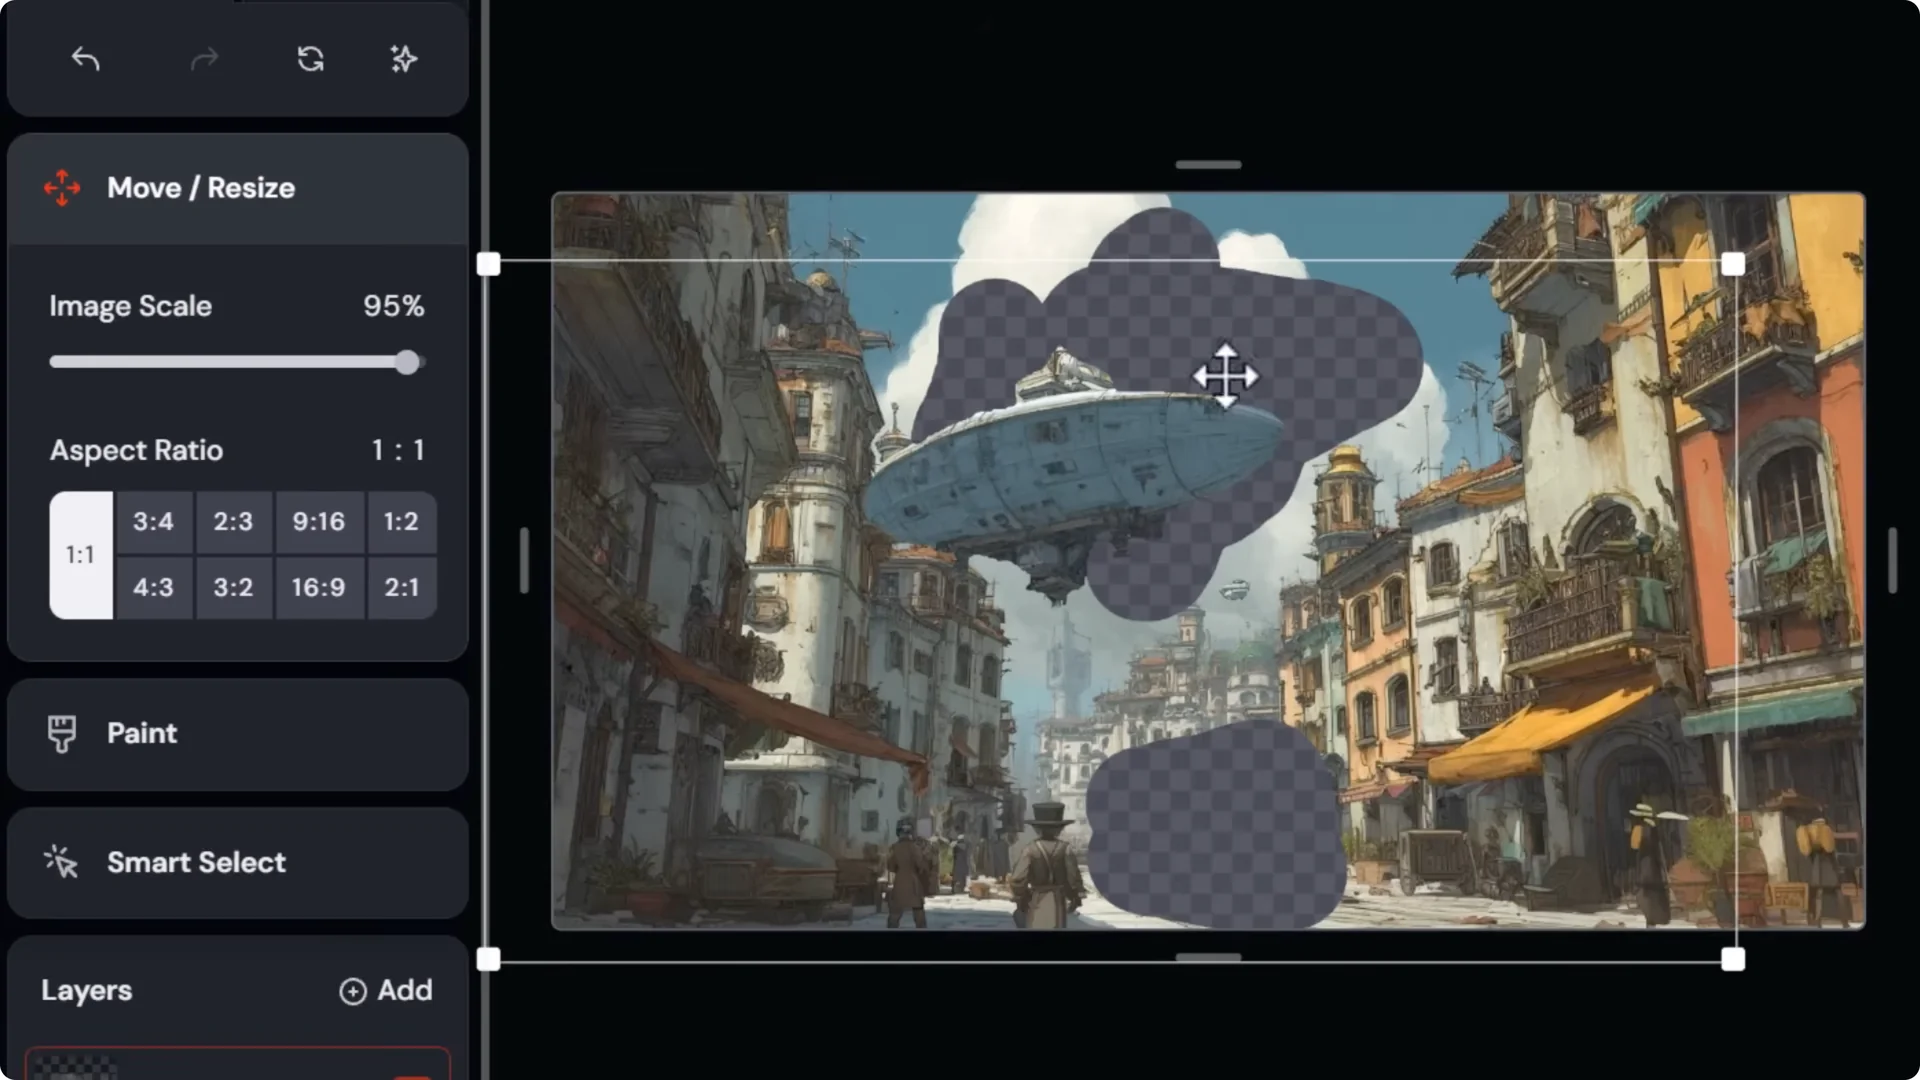
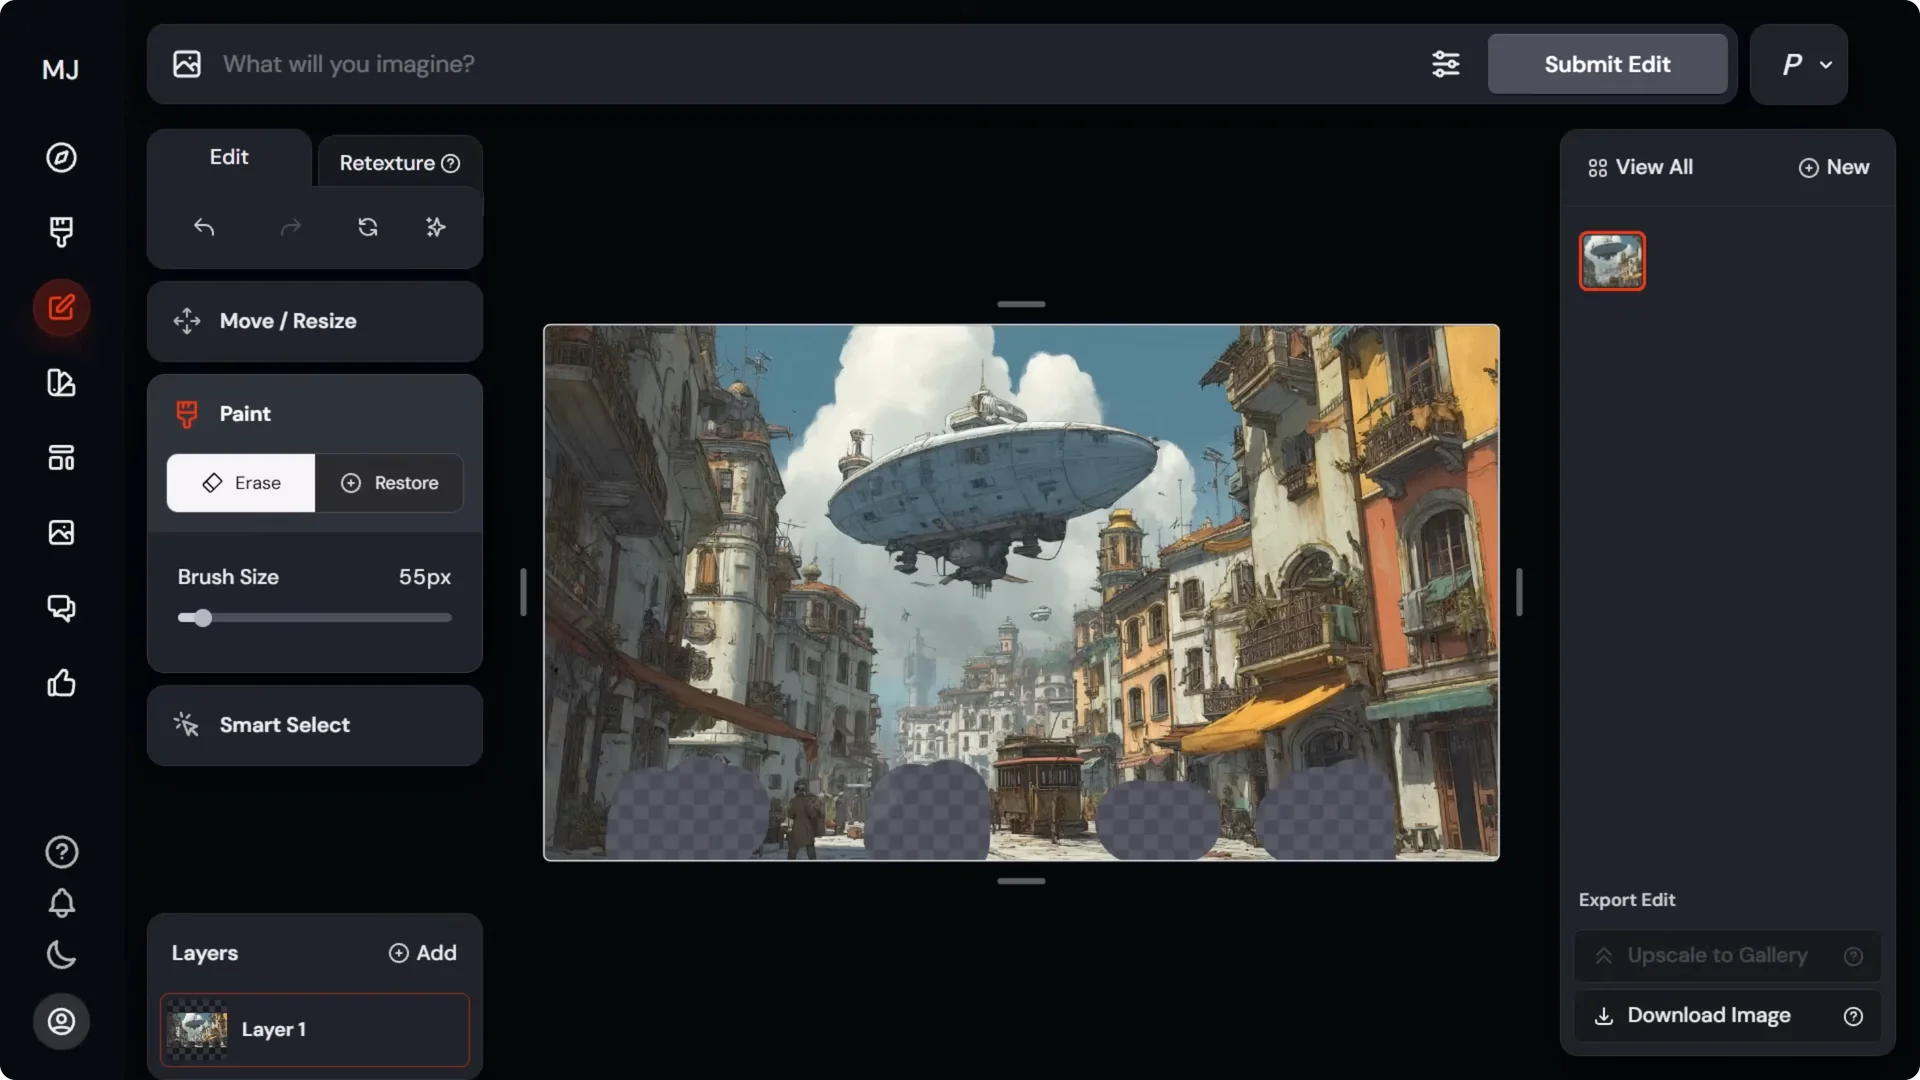
3. Move objects to create end-frame differences:
– Wipe out the blimp and the cart area on the base layer.
– Add a new layer from URL to bring the original image back.
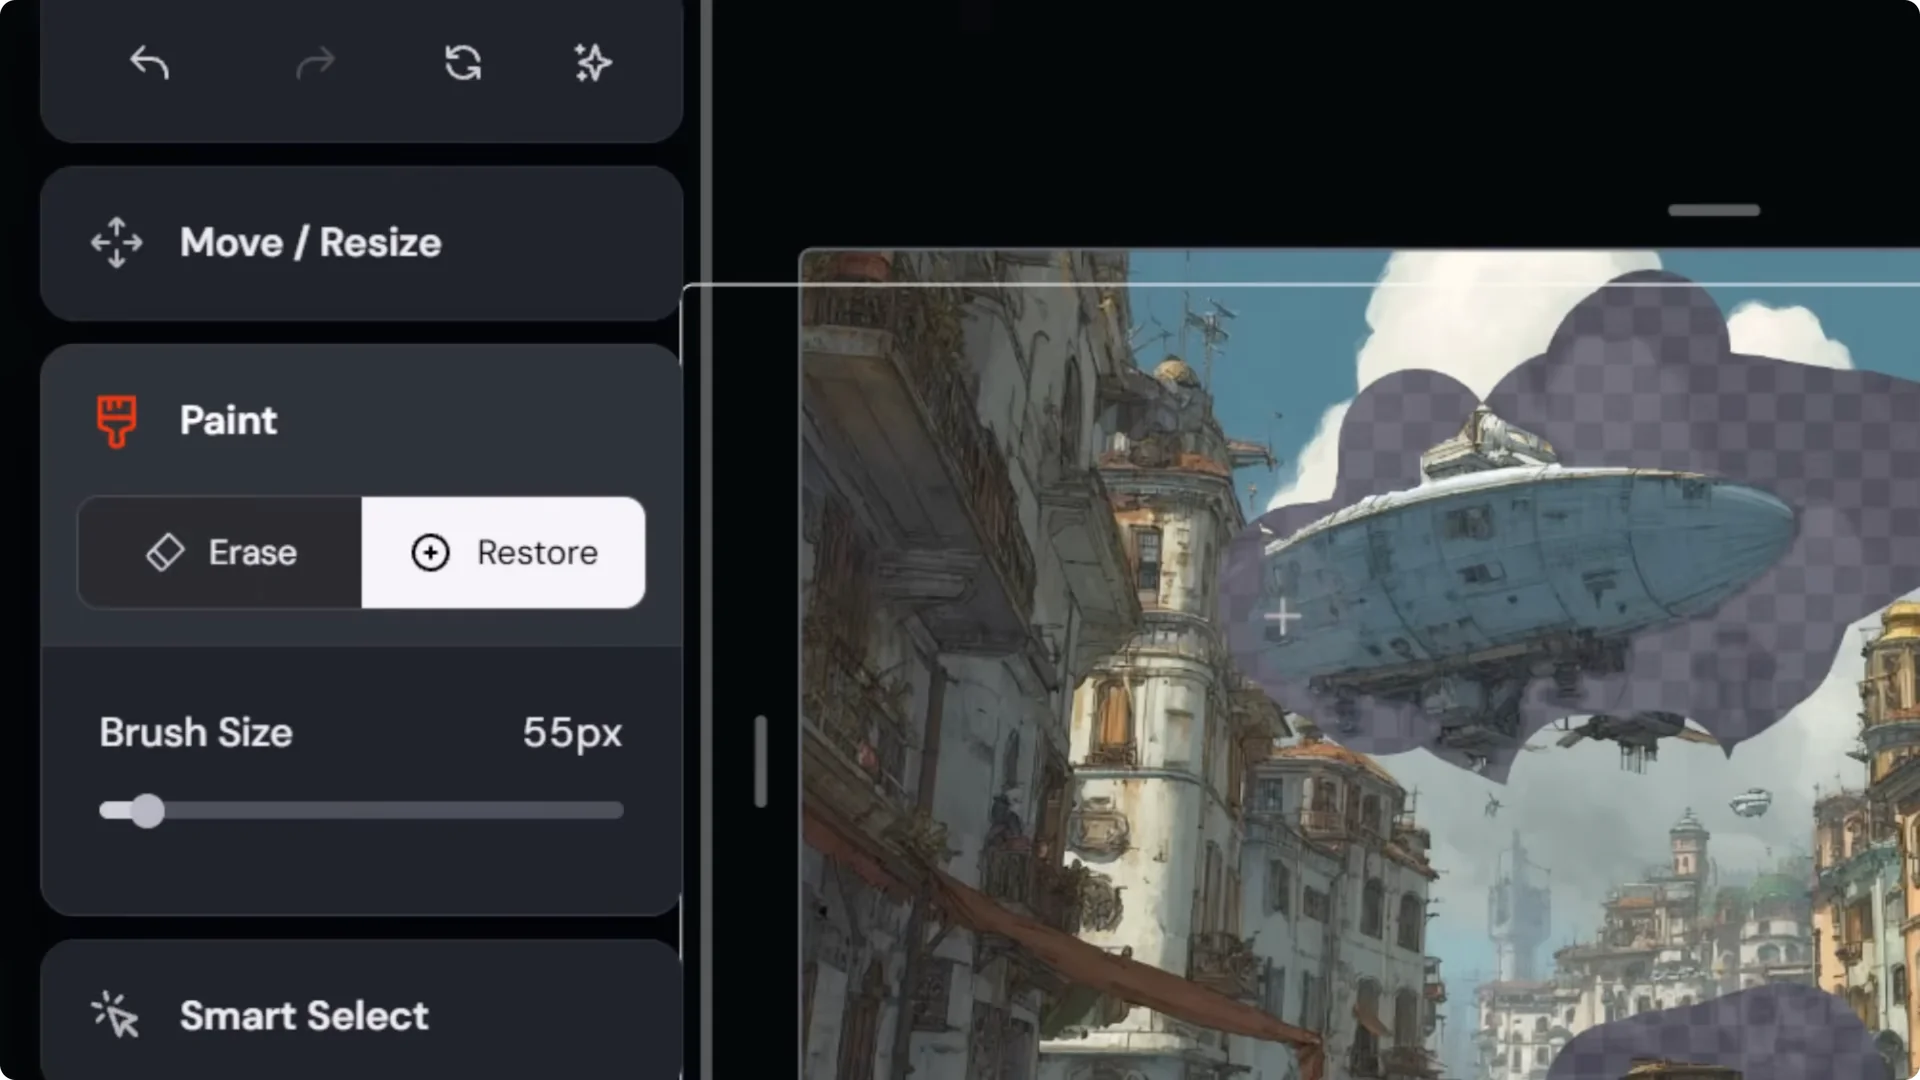
– Smart select the blimp, erase background to isolate it, move it, and slightly shrink it.
– Use the paint tool on both the blimp layer and the bottom layer to create space for blending.
– Repeat the process for the cart.
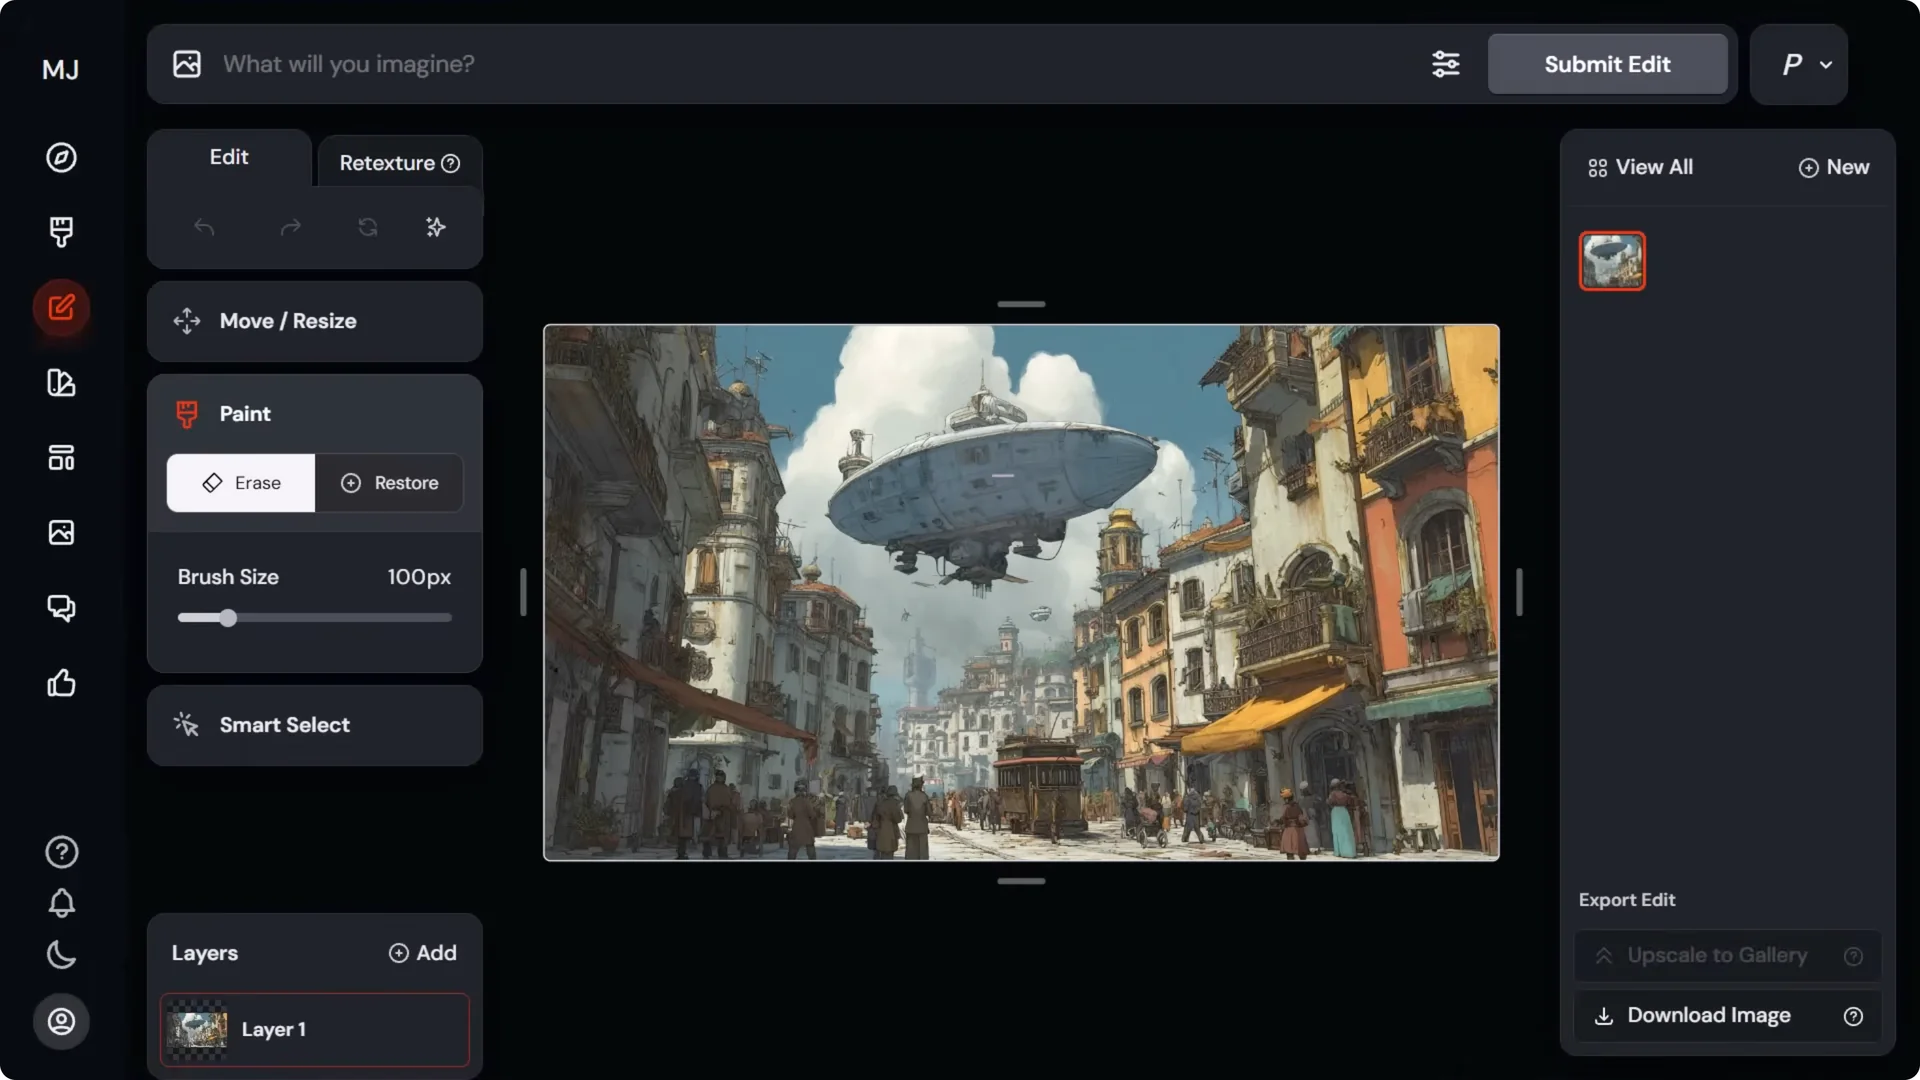
4. If the edit adds details you don’t want:
– Select the blimp layer and use Restore to bring back cloud detail around the blimp.
– Touch up the base layer to remove the right areas and keep what you want.
5. Submit the edit and choose an option where the framing matches the original shot but some items moved.
6. Upscale to gallery to produce a clean end frame.
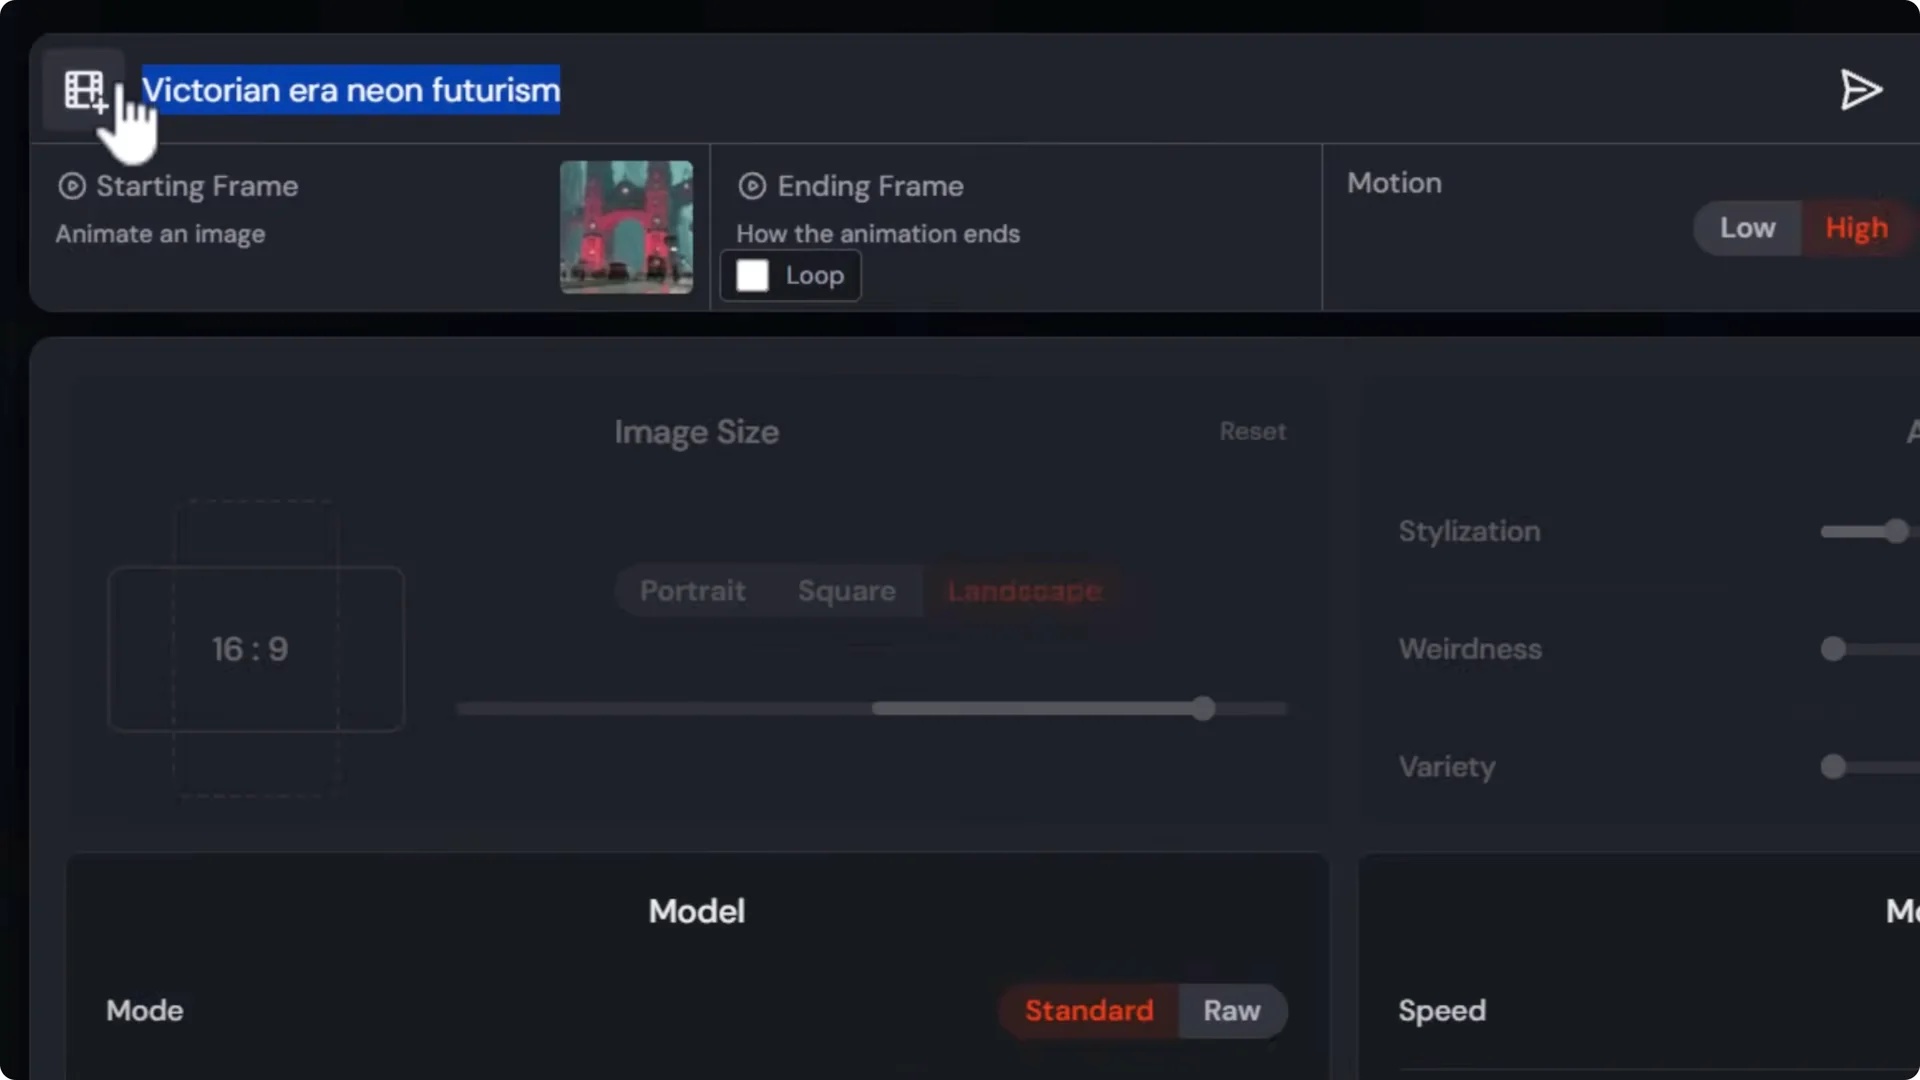
Animate Manually With a Custom End Frame
- Open your original image and animate manually.
- Prompt: “a still shot of people walking around town.”
- Motion low.
- Drag the edited image as the end frame.
- Submit and evaluate. You’ll see slight movement with objects shifting based on the edited end frame.
- Re-prompt or adjust to refine.
You can also remove or add objects in the editor and use that edited version as your end frame. The differences between start and end frames will create motion in the video.
Midjourney Video Camera Control: Building a Sequence
I’ll frame a series of different images, use consistency tools, and create a sequence of videos to edit together.
Setup:
- Take a start frame of a man downtown.
- Open in the editor.
- Shrink or shift the composition slightly.
- Erase part of the scene and add a clown using: “a clown looks at a man in a business suit.”
- Choose an edit as the end frame.
Animate:
- In the original image, animate manually.
- Drag the clown edit in as the ending frame.
- Prompt: “a man in a business suit is walking downtown. The camera moves over to show a clown staring at him.”
- Try motion high and render 4 videos in HD or SD based on your credits. Pick the best result.
If the man takes a step backward at the end, try to minimize it so you can use more of the clip.
Fixing Awkward End Motion With Layered Edits
To bring the man closer to camera at the end without strange backward steps:
1. Upscale the original image 2x and download it.
2. In the editor, erase the man from the base image.
3. Crop the upscaled man externally so he appears larger when placed back into the scene.
4. Drag the cropped man in as a new top layer.
5. Smart select the man and erase the background.
6. On the base layer, create space around him for blending using the paint tool.
7. Prompt: “man downtown next to a clown.” Submit, choose the best, and upscale.
8. Animate manually again, reuse the earlier prompt, replace the old end frame with this new closer shot, and submit.
If the movement still feels fast, adjust the prompt, for example “walking slowly downtown.” This can reduce the speed of the walk. You may still need to trim a bit off the end in your editor.
Midjourney Video Camera Control: Zooming in on the Clown
To vary the sequence with a closer shot of the clown:
1. Download the clown image and crop to zoom while keeping the same aspect ratio.
2. In the editor, open in the edit tab and drag the cropped clown image onto the canvas. Delete the underlying layer.
3. Remove the shoulder with the eraser and fill it by prompting “a clown.”
4. Submit and upscale.
5. Animate manually with: “a clown smiles in a creepy way.” Loop it if you want the expression to land back where it started.
Consistent Characters and Midjourney Video Camera Control
Continue the sequence by making the end frame of one video the start frame of the next:
- Reopen the edited image in the editor.
- Remove the man so he can be reintroduced facing the clown.
- Use version 6.1 for this step.
- Add the man as an image prompt in character references.
- Prompt: “a man is turned facing a clown.”
- If the clown’s face looks unchanged and you want a different expression, swap the character reference to the clown crop, erase the mouth area, and prompt: “clown is smiling at a man.” Choose the creepiest option and upscale.
Animate:
- Animate manually with the earlier frame as start and the new edit as end.
- Prompt: “a man turns around to confront a creepy clown.”
- Motion low often works best here. You’ll see the man turn with the clown reacting.
Extend:
- Use Extend Manually to continue the narrative:
– Prompt: “a clown turns and runs away quickly. The man in the business suit stands looking confused.”
– Not every attempt will work. Pick the successful result.
Changing Camera Angles With Midjourney Video Camera Control
Prompting for angles is tricky. I’ve found this process helpful:
1. Switch to version 7.
2. Drag the man as an omni reference at strength 100.
3. Prompt: “a high angle shot of a man in a business suit looking ahead standing on concrete sidewalk, road on left, shops on the right.”
4. If it matches the reference too closely and the angle isn’t right, adjust:
– Reduce omni strength to around 75 to keep character cues without locking the composition too hard.
– Update the prompt to: “a high angle shot looking down on a man in a business suit…” and describe what you want to see.
5. Reroll and experiment with the omni weight until you get an angle that matches your sequence. Too low can change the character’s look. Too high can restrict the angle.
Pick the image that best fits your previous shots.
Extending Into a High Angle Shot
1. Go back to your prior video and choose Extend Manually.
2. Drag the chosen high-angle image as the end frame.
3. Prompt: “the camera pans up into a high shot, looking down on a man, looking ahead into the distance.”
4. Test motion low and motion high.
5. If you see odd footwork, refine the prompt:
– Adding “looking down on a man standing still looking ahead” can reduce the jittery movement before the walking resumes.
6. After a few rerolls and one prompt adjustment, I got a natural result where the clown runs off, the guy starts to walk, and the camera pulls up.
Now you’ve got a set of consecutive shots that cut together well:
- The man walking and passing the clown.
- The clown close-up smiling.
- The man turning to confront the clown.
- The clown running off as the camera lifts into a high angle.
Editing and Assembly
Use a simple editor like CapCut:
- Import the clips onto a timeline.
- Trim the ends to remove any awkward steps or resets.
- Arrange the shots to tell your short story.
Final Thoughts
Midjourney Video Camera Control works best when you combine prompts with the image editor. Describe the shot, the movement, and the speed. For static shots, loop the frames, say “still static shot,” and keep motion low. Use the editor’s layers to move objects, add or remove elements, and craft end frames that produce cleaner motion. For character consistency and stronger camera control, lean on character references, omni strength adjustments, and manual end frames. Extend your shots to continue actions, test motion low versus high, and expect a few rerolls. By thinking across both images and videos, you get far more control over how your shots look and how your sequences come together.