Including yourself in the images you generate with Midjourney can be done with a couple of simple processes. There are two different methods to cover. The first is to generate yourself within the images.
The second is to take an existing photo and generate around that. I’ll also show how to retain some of the original resolution and detail when doing this, so if you have high resolution images of yourself, with a few additional tools we can make sure that we retain that original resolution in the final image.
Midjourney Face Integration: Generate Yourself Within Images
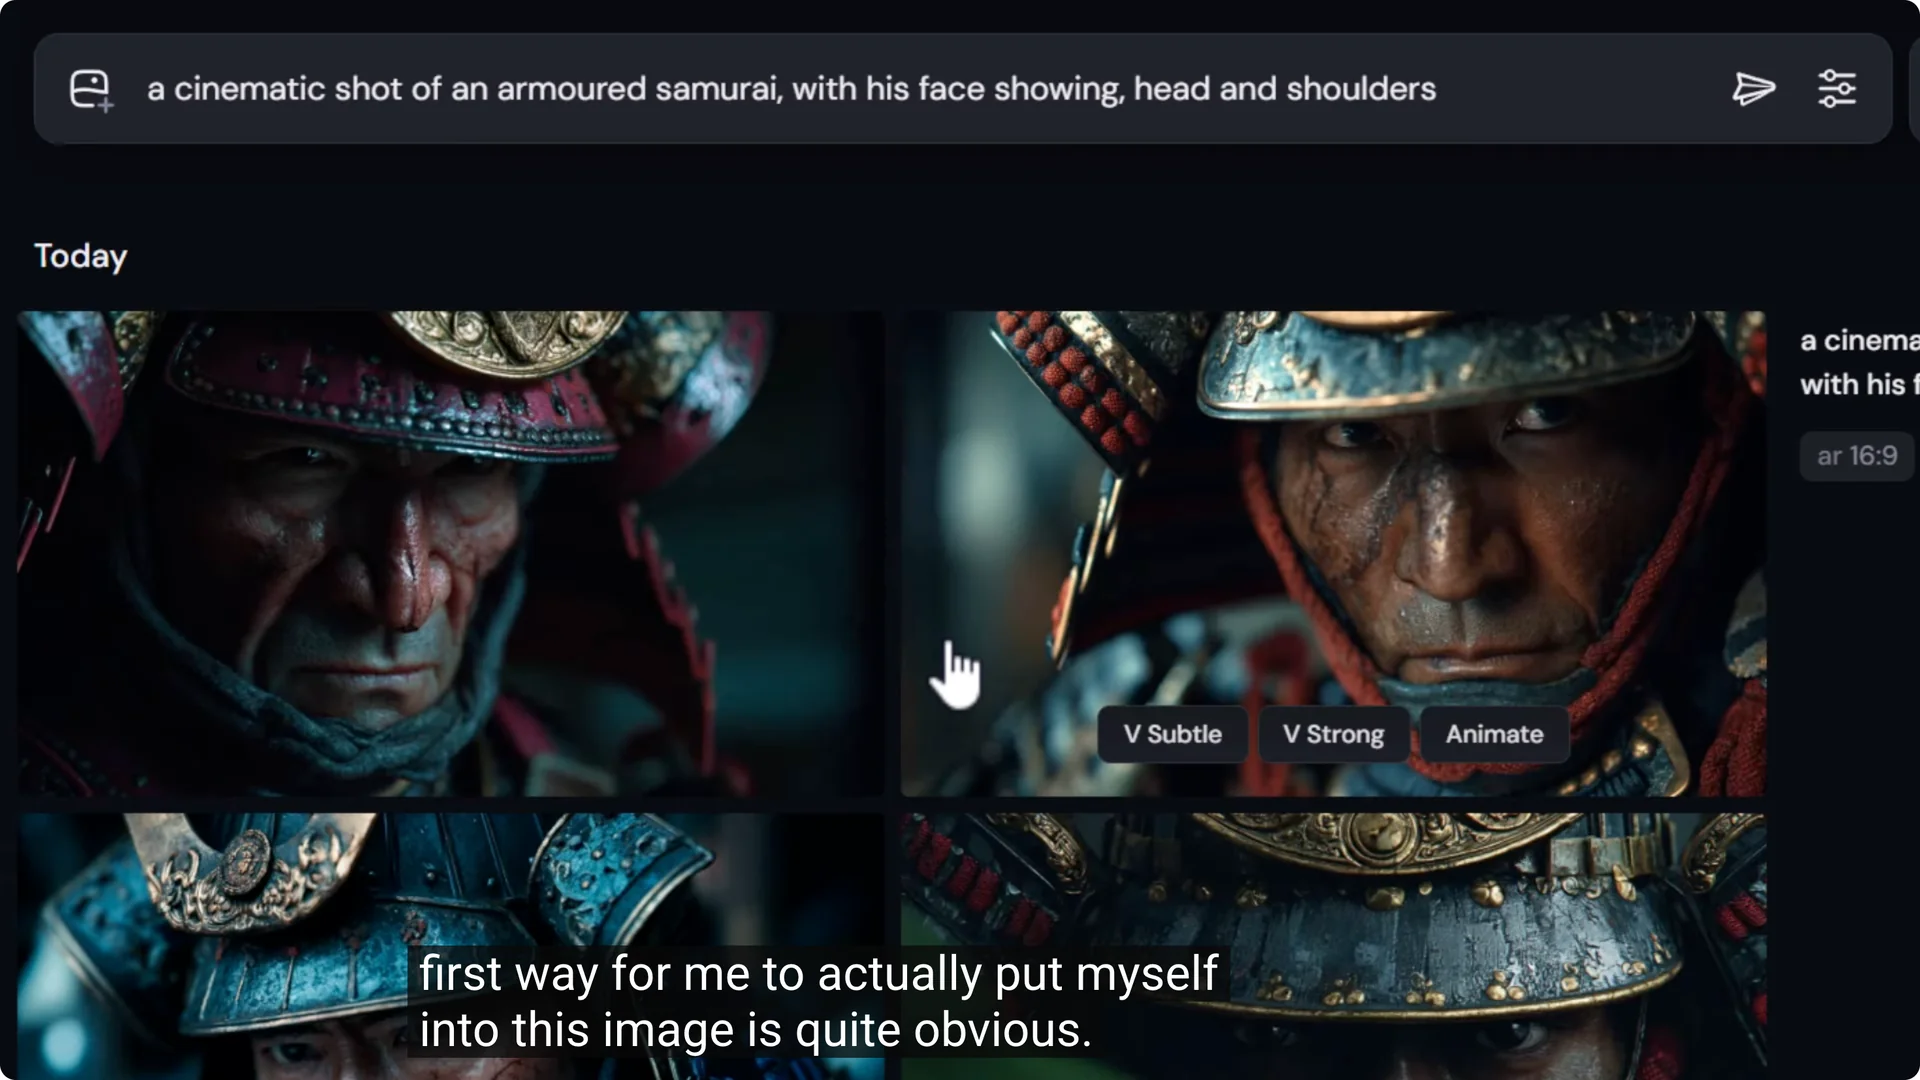
I have an image of an armored samurai, and I want to generate an image with my face inside it. I add the prompt to get something similar to what we have here. To put myself into this image, I drag a photo of me in as an omni reference. Because I’m using version 7, I can add myself as an omni reference and submit. Now I have images of me as an armored samurai.
Adjusting Omni Weight for Better Styling
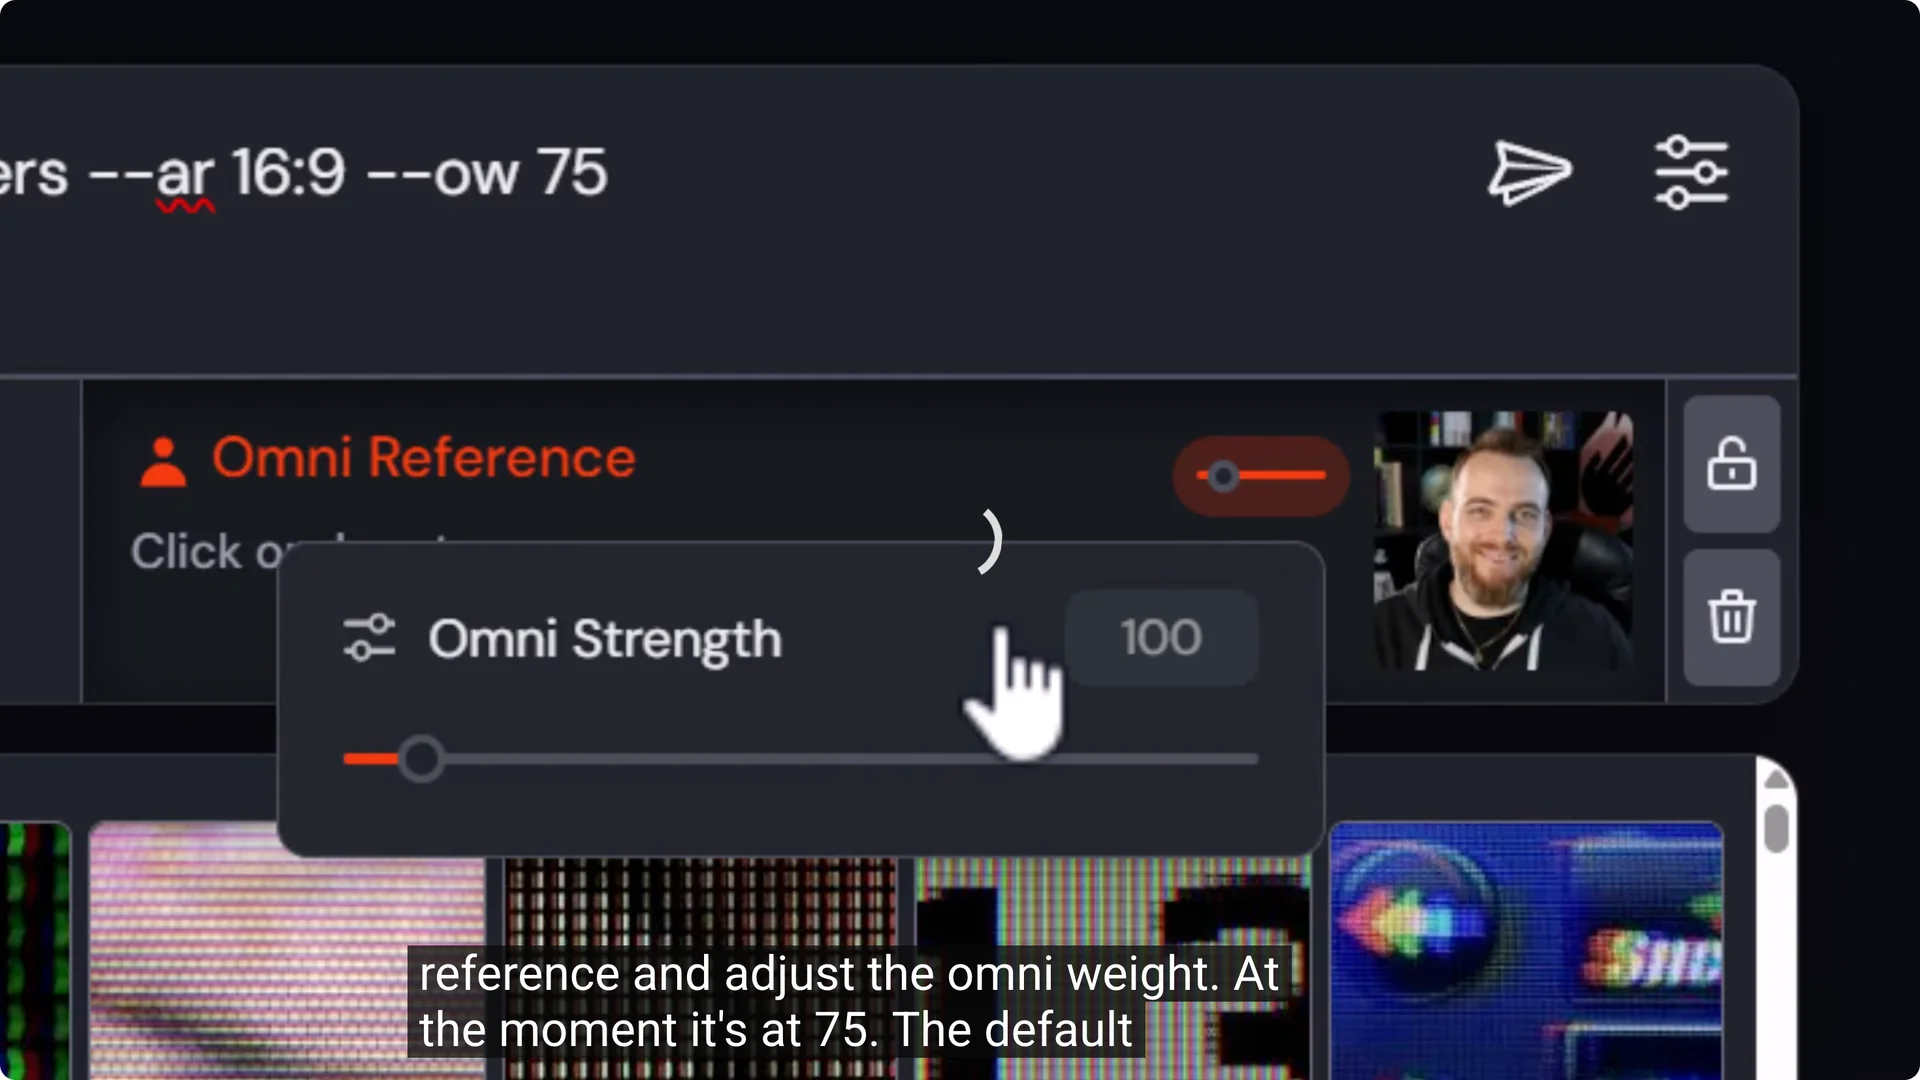
If I want to restyle, or if it’s relying on me too much, I use the same process with the omni reference and adjust the omni weight. The default is 100. If I bring it down to 50, I first remove it from the prompt if it’s up there, then submit. By dialing the strength down, the results more closely resemble the prompt while still looking like me.
That covers a photographic style, which is straightforward. If I want to change the style to something else that’s not photographic, or just completely different, there are a few more steps to make sure it happens the way I want.
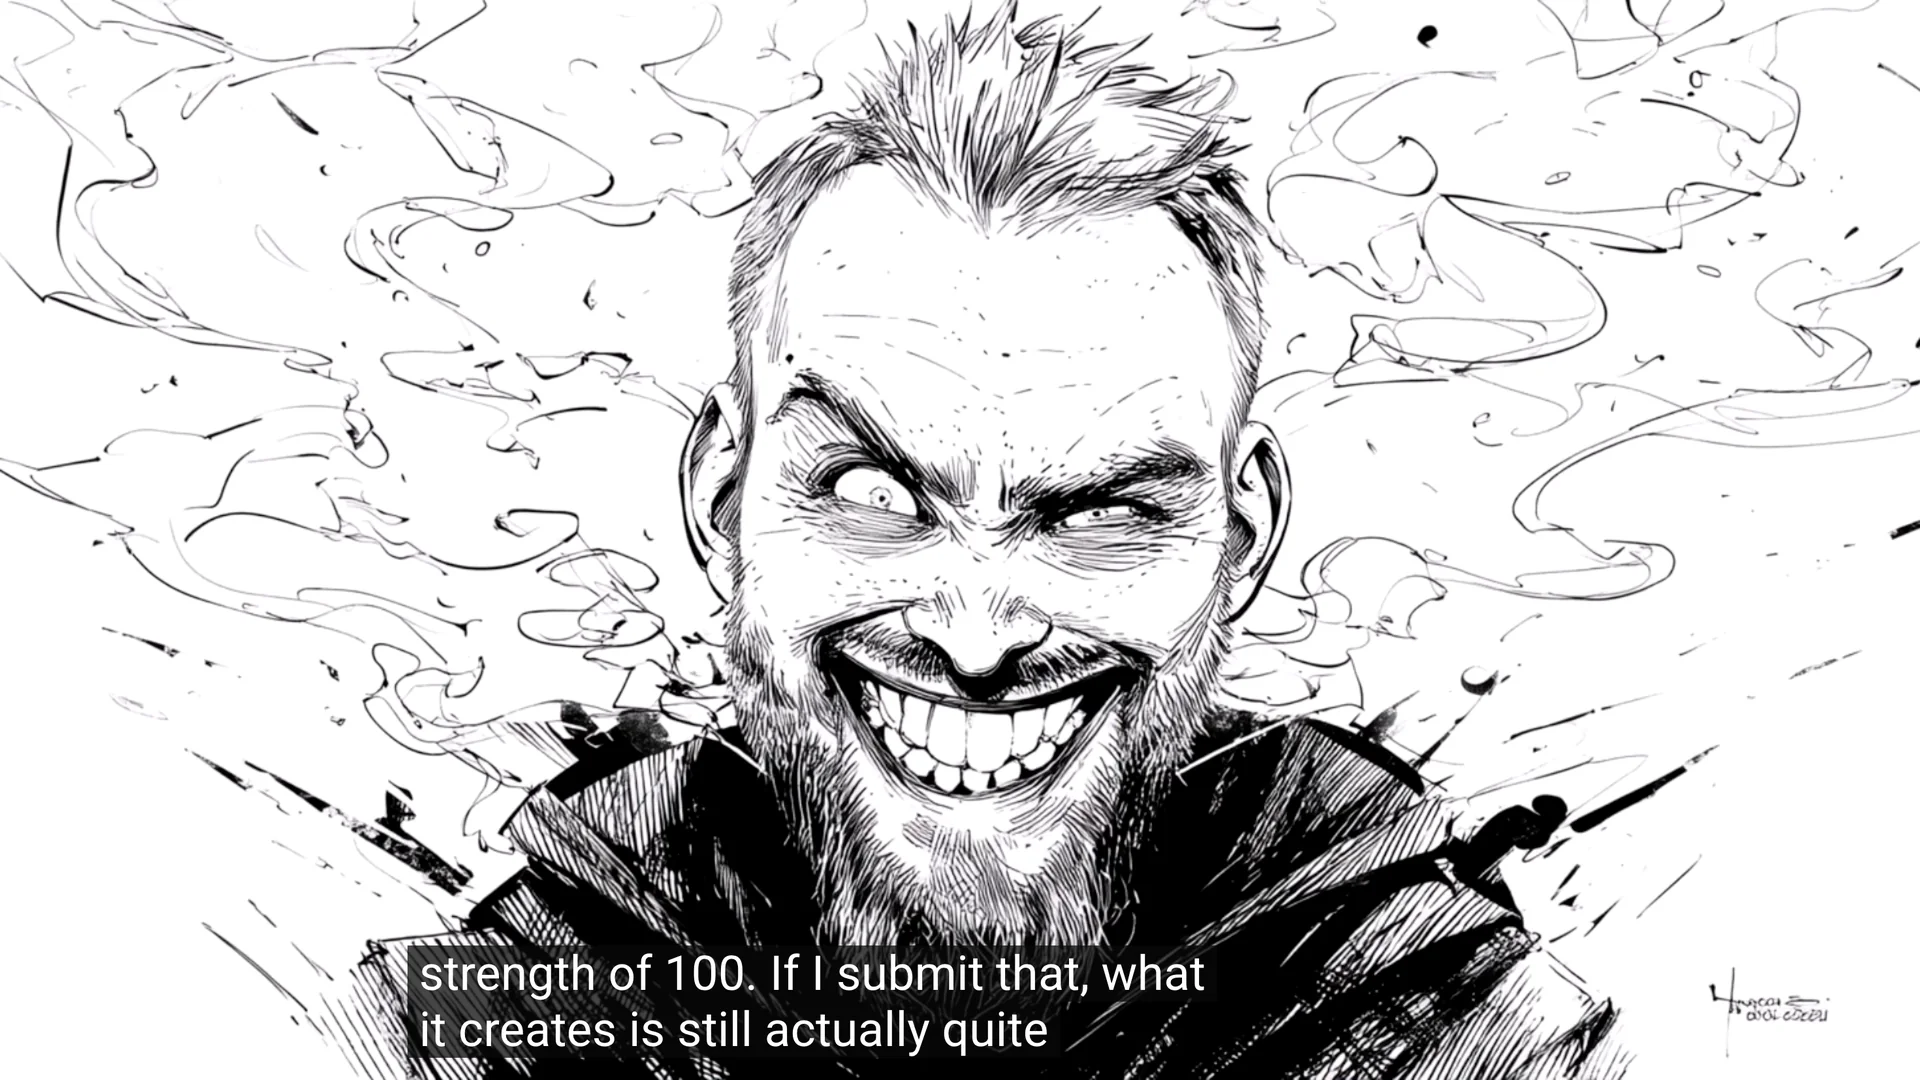
When restyling, we don’t always get the result we’re after. If I type a prompt such as black and white sketch of a crazy man, add myself as an omni reference with the default strength of 100, and submit, what it creates is still quite good.
You can see some look like me, one is more stylized, and one is a little too close to me and doesn’t look as much like a sketch as I’d like.
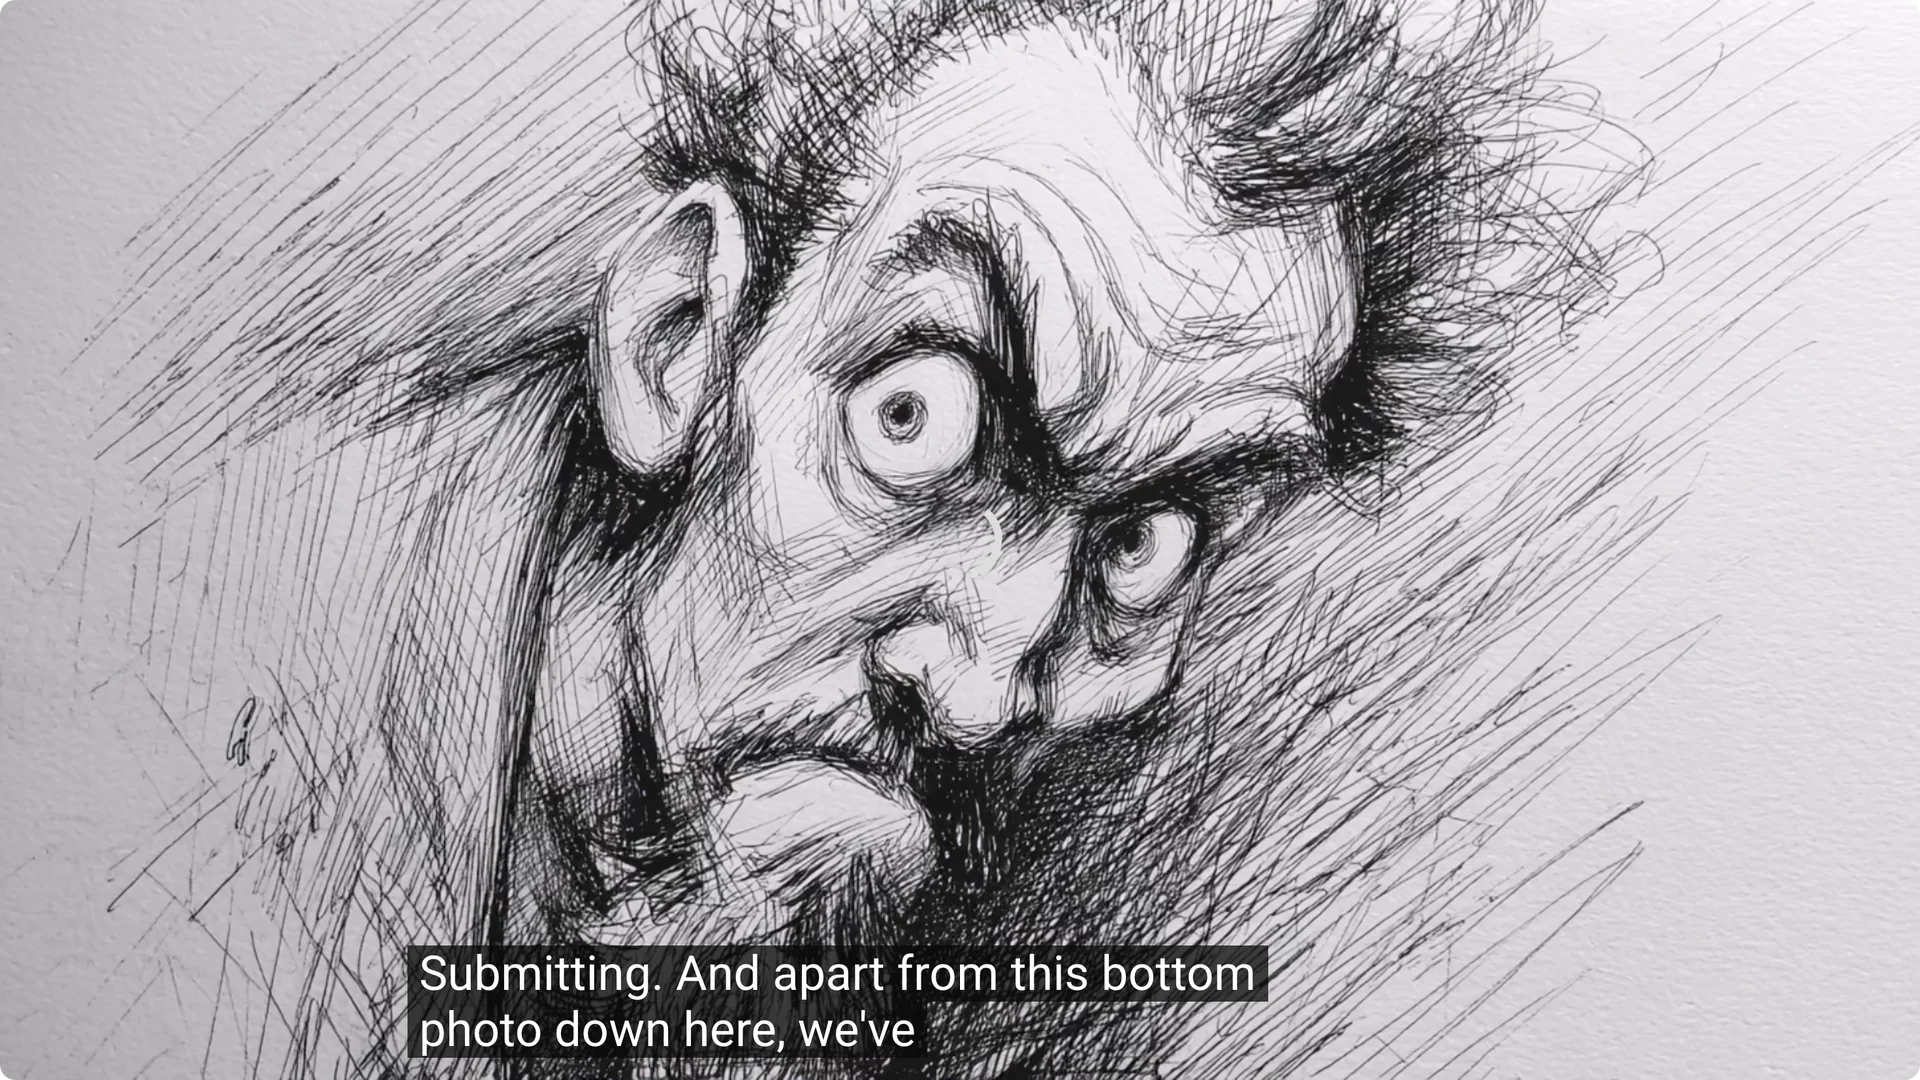
If I want it to be a little more stylized, halve the omni strength to 50 or even less and submit. Apart from one outlier, we loosen up the style and get something closer to the prompt.
You can continue to decrease to 25 to take things to another level. If you keep lowering too much, say an omni weight of 10, it starts to look less like you and more like a crazy drawing.
You can also reverse this and bring the omni strength up to something like 275, so it ends up looking a lot more like me. Take it too far, like a weight of 500, and it starts to add me and the image, which is not what we’re after.
Going too high tends to split things off a bit. You can experiment with almost any style. Lowering the weight allows the style to creep in more. Identify the style in your prompt, then play with the omni weight until you get the desired effect.
Some styles will be easier than others depending on how close they are to your photo. Styles that are radically different require more adjustment, like a Simpsons prompt.
Midjourney Face Integration With Mood Boards
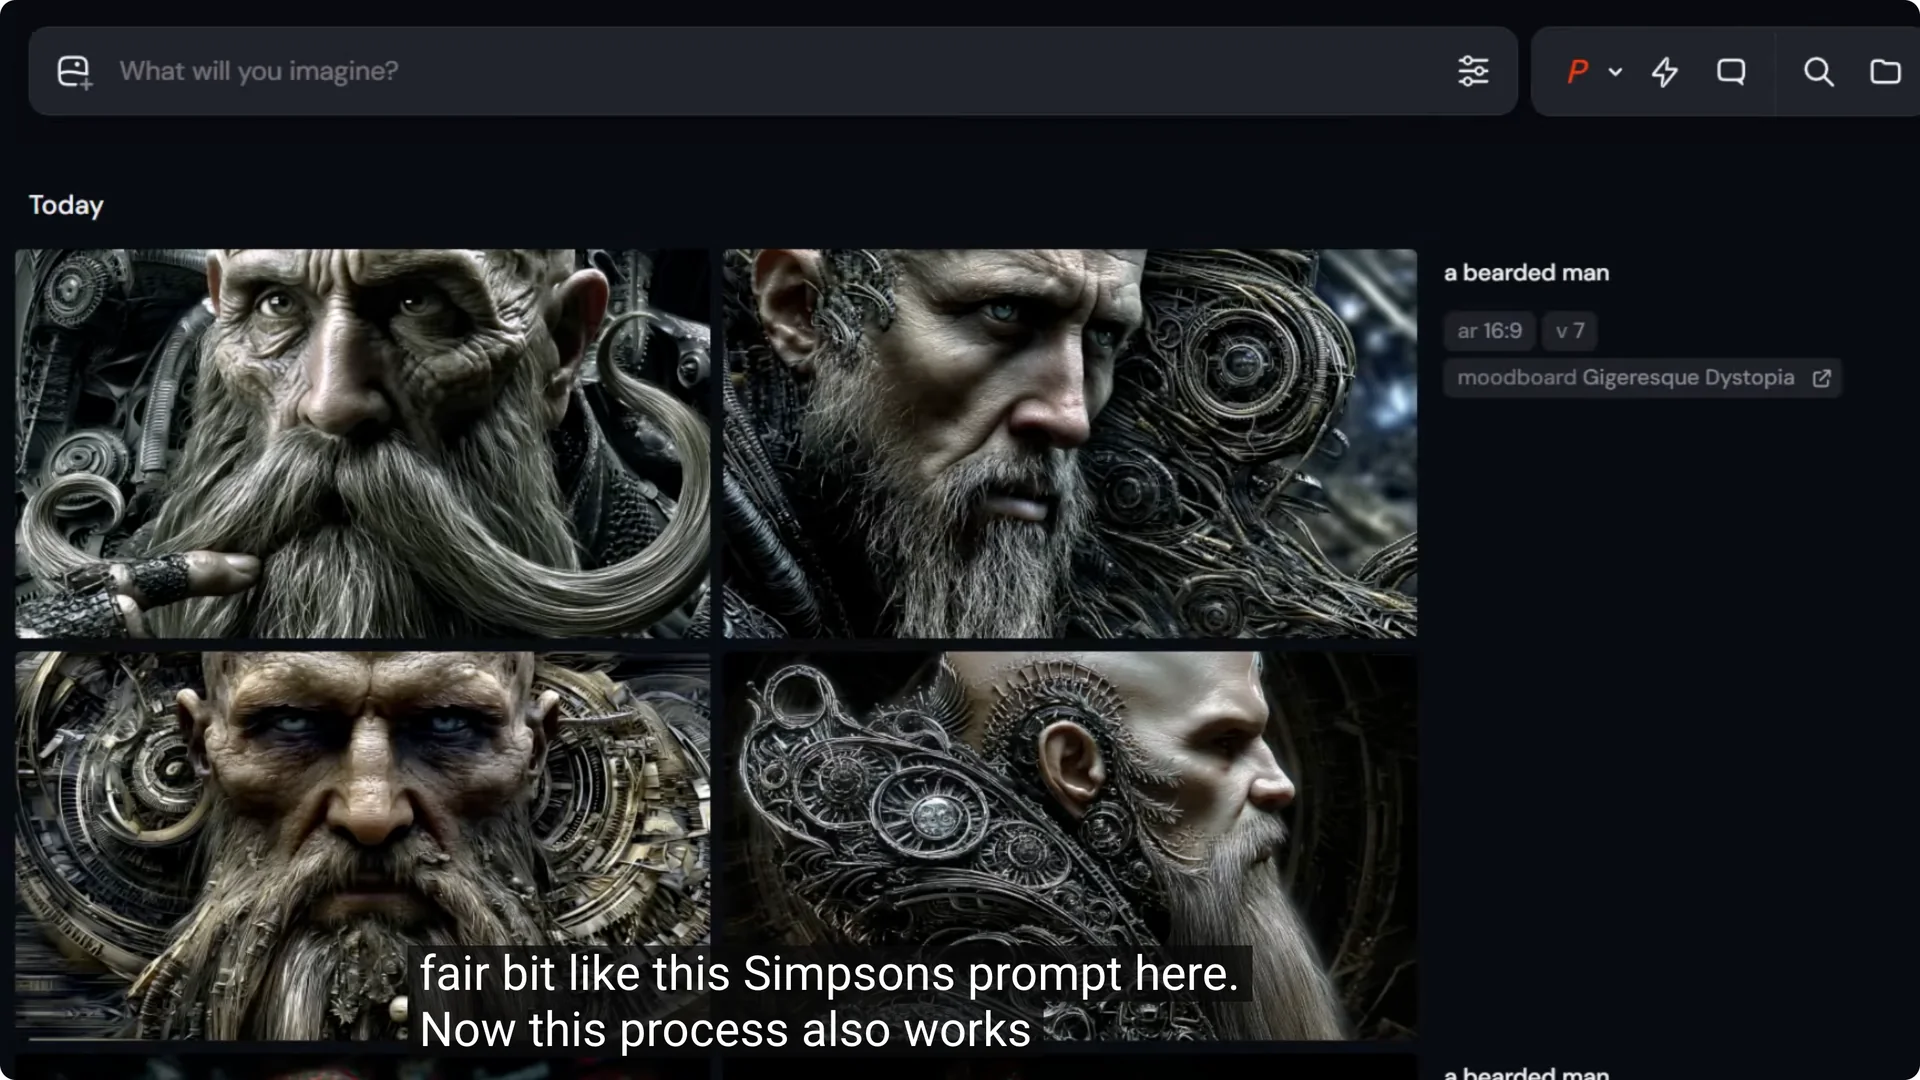
This process also works well with mood boards. I have an image of a bearded man using my gigaresque dystopia mood board.
If I use that prompt, drag my image in as an omni reference, and submit, the same process of adjusting the weight lets us land on something we’re after. Mood boards are a fun and convenient way to take more control over the style of images like these.

At any time with any of these images, you can go into Midjourney, head down to animate, and create an AI video pretty simply and easily. A tool like Midjourney gives you many options of what you can do with the image once you’ve generated it.
Midjourney Face Integration When Omni Reference Isn’t Available
If you’re having trouble getting yourself in the image, or you have an existing image you want to pop your own face into, the omni reference doesn’t work in the editor. You can use an external face swap tool to make that happen.
Picsi AI has a free alternative where you can simply drag and drop in your two images, hit swap, and it will generate the result.
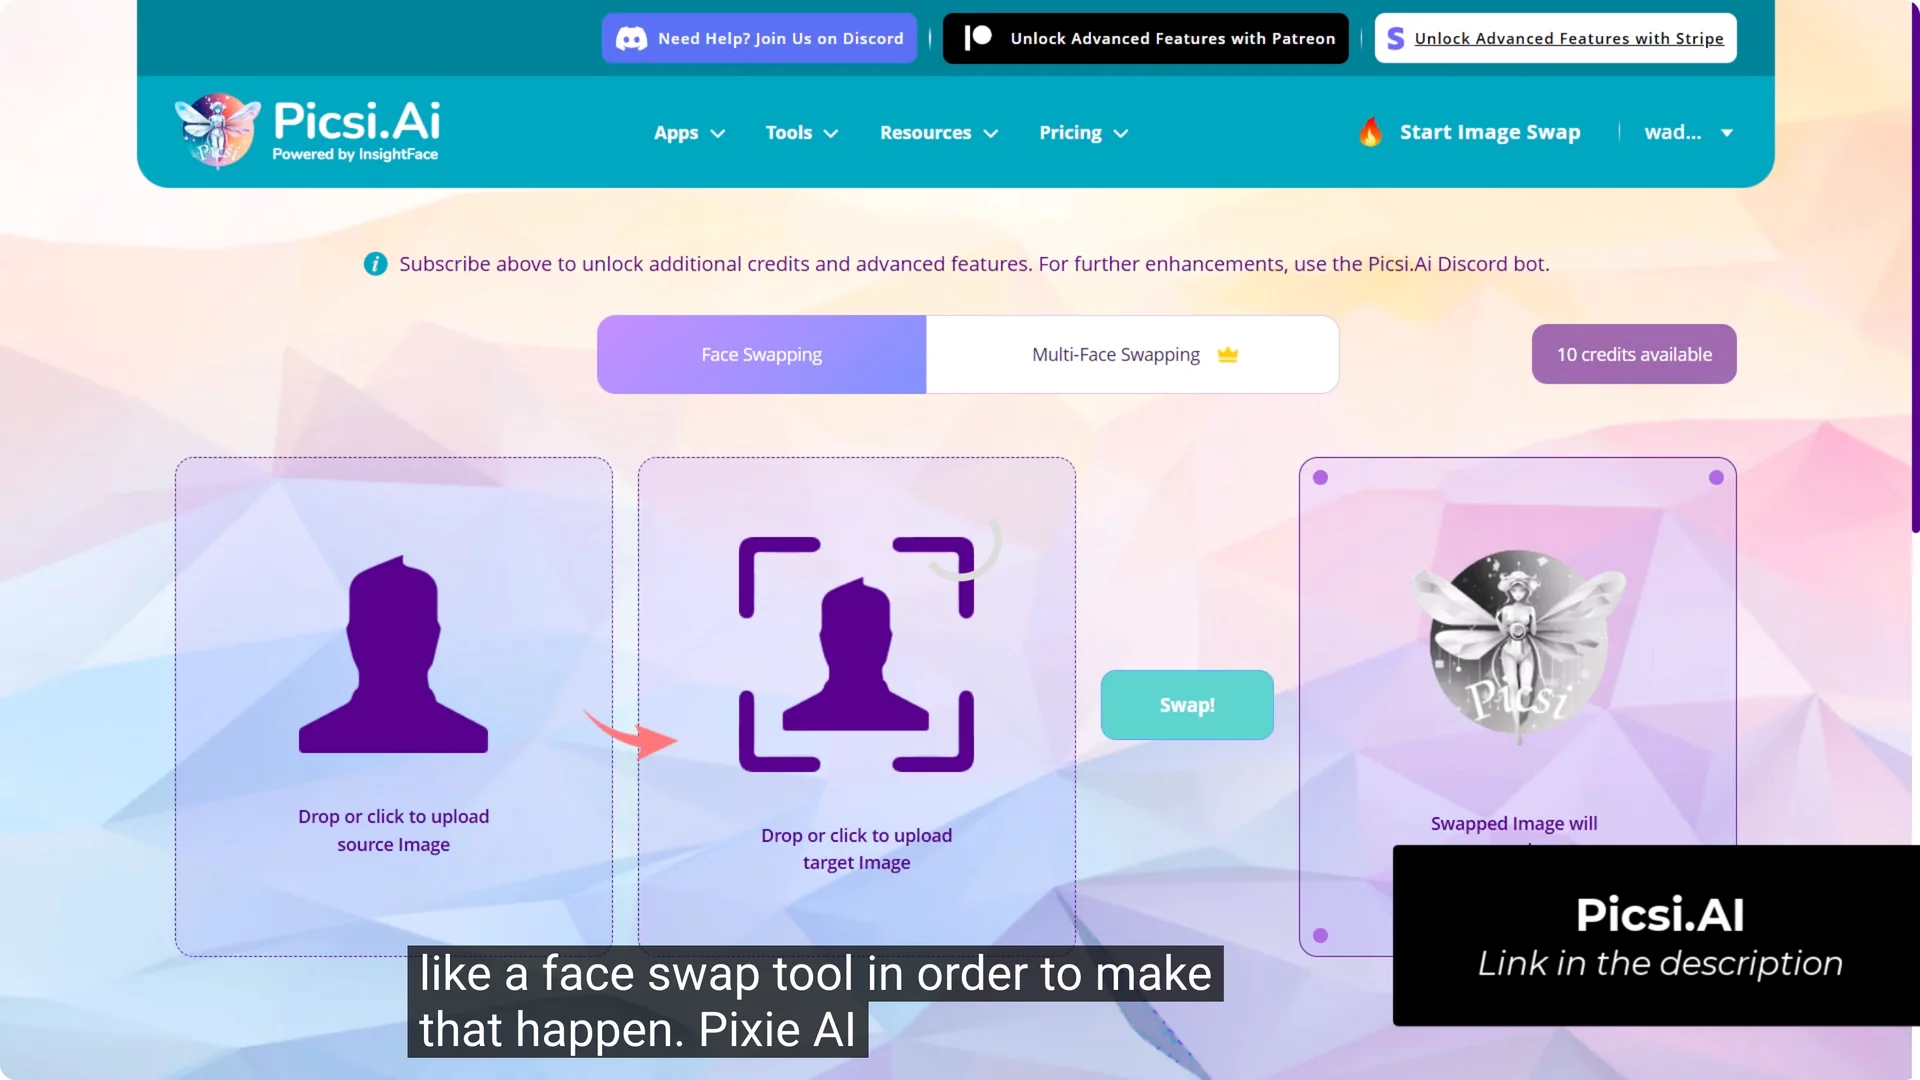
Simple steps:
- Upload the target image and your face photo
- Hit swap
- Download the result
Midjourney Face Integration Using Your Photo as a Base for a Restyled Image
Omni reference doesn’t work in the editor, but there is still a bit you can do if you want to take a different route with the photo you’ve taken.
Keep the Same Framing With Retexture
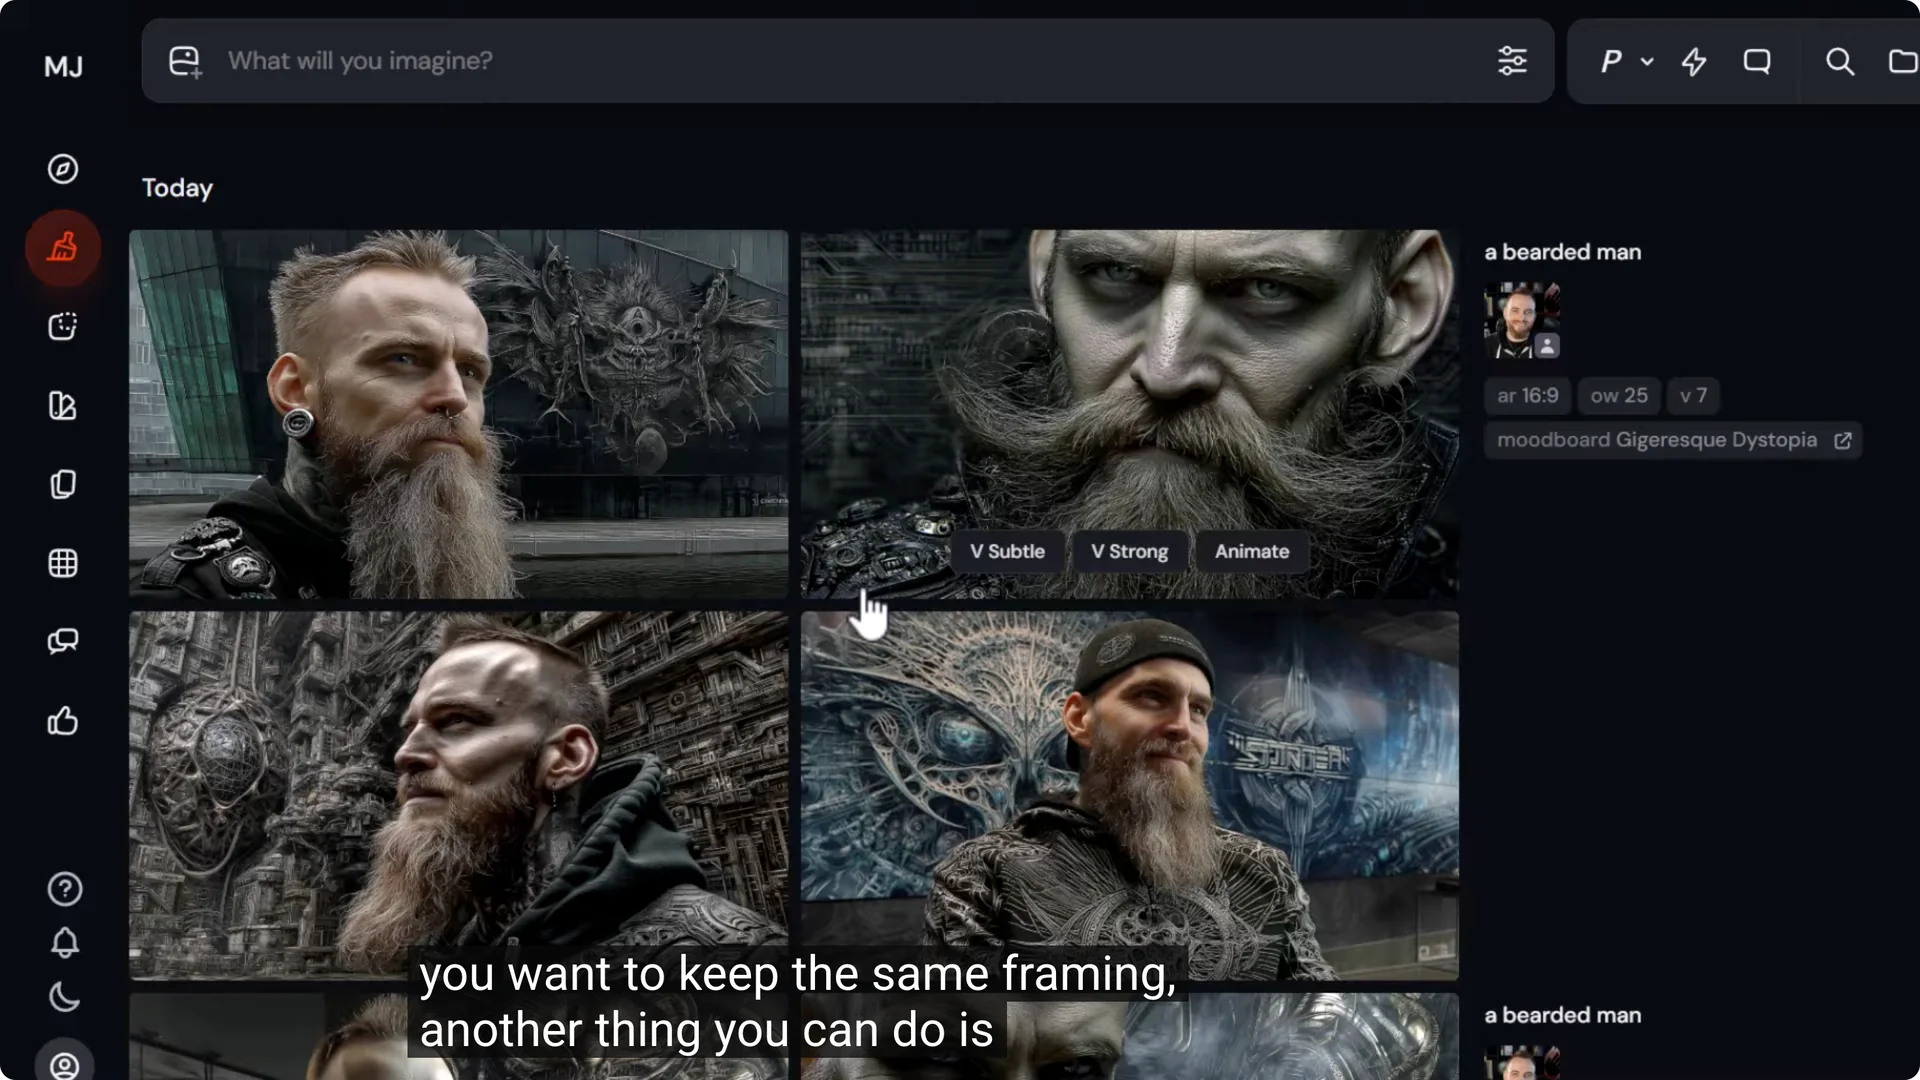
If you want to use the same framing in the original image as a base for another image, use Retexture:
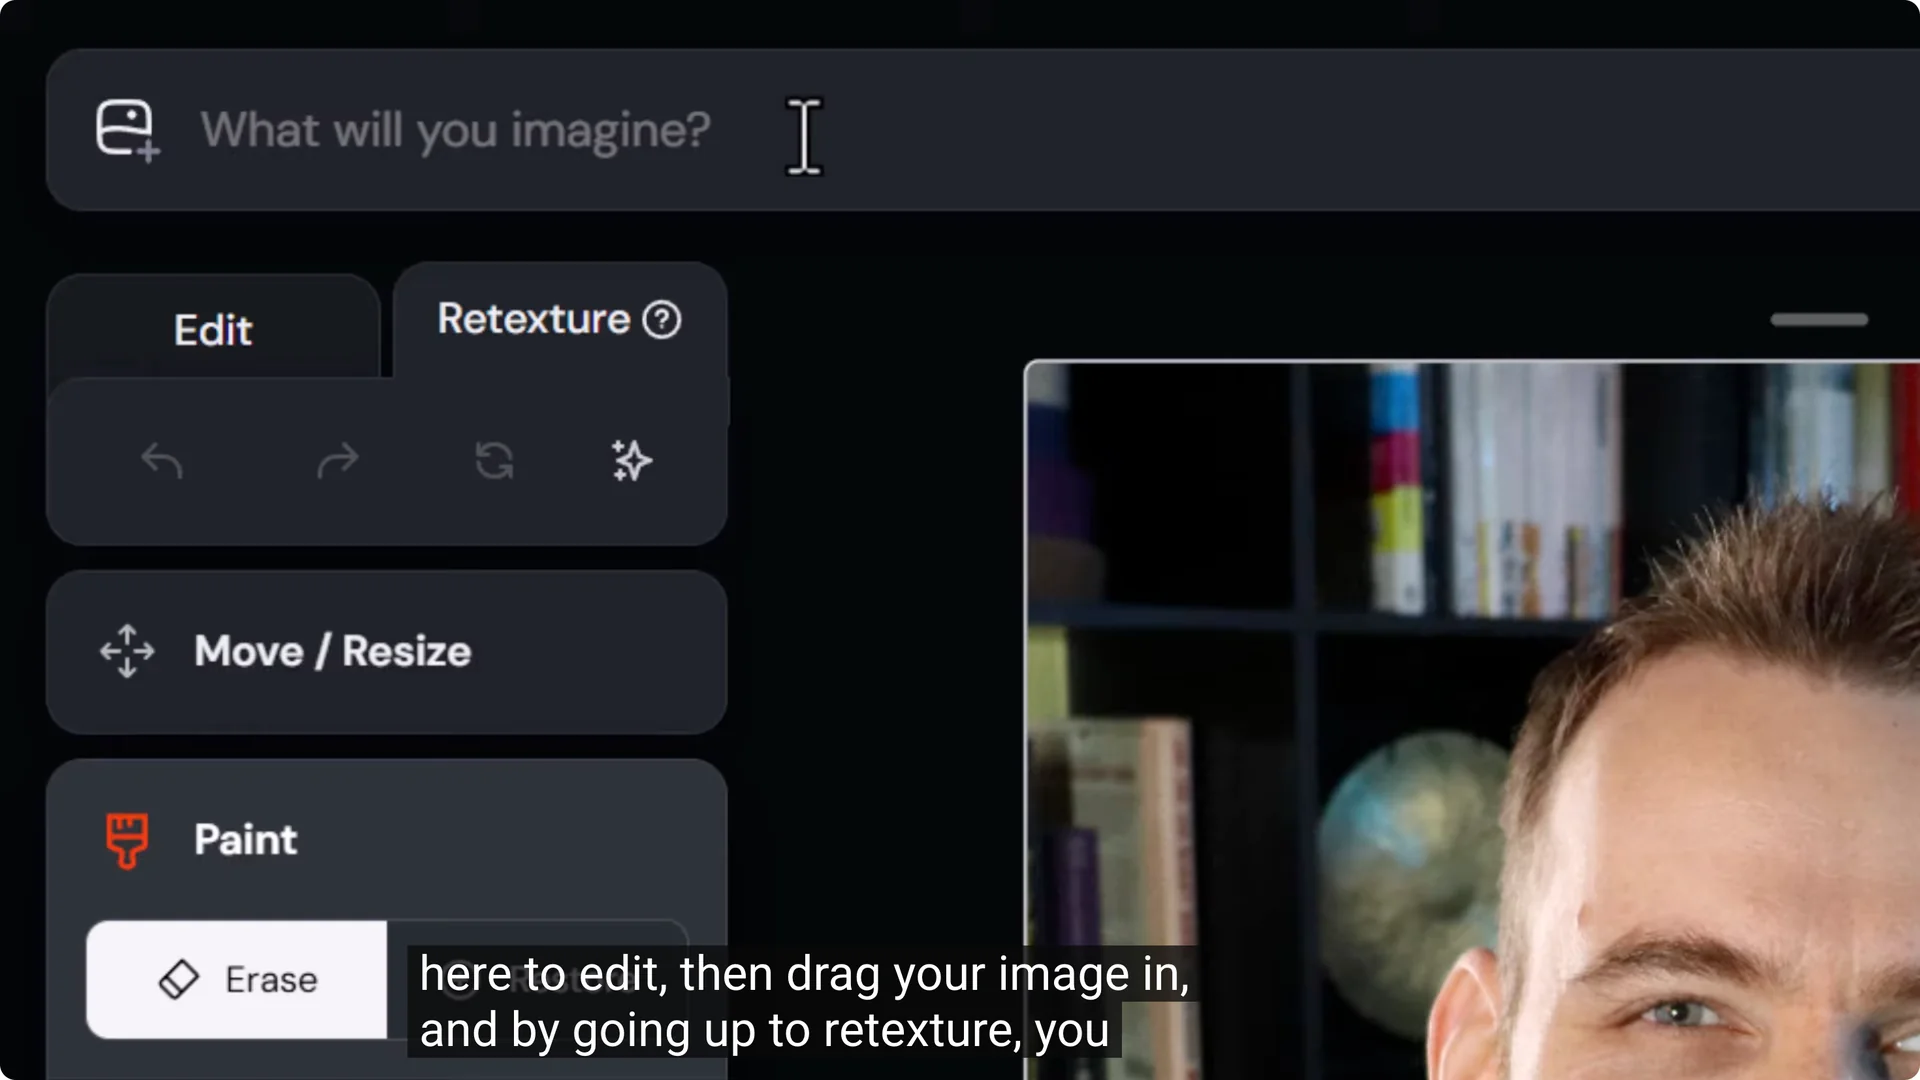
- Go to Edit, then drag your image in
- Go to Retexture
- Type a prompt such as a bearded man in the style of Zdzislaw Beksinski
- Submit
Keeping the same framing, you can generate unique images. You can also return to the original, type bearded man, choose a mood board like desert surrealism, and submit. You can essentially restyle that exact image and keep the framing.
It may start to lose some facial features, which might not be a big problem if that’s the effect you’re after. It’s a versatile method for getting a different and unique style added to your images.
Editing a Photo of You and Retaining Very High Resolution
So far we’ve generated images of ourselves or restyled images of ourselves. If you have an existing photo you want to edit with AI and bring it up to a whole new level while still retaining the original image resolution, here’s a process that involves a few tools.
I have a photo that is 6000 x 4000. If I combine this with other tools, I can work on this image in Midjourney, bring it in, and still retain all the original detail by layering them together. Midjourney doesn’t produce very high resolution photos and definitely not at 6000 x 4000. It doesn’t even meet half of that. That’s why we need these extra tools.
Create the AI Edit in Midjourney’s Editor
- Drag the image into the editor. It comes in, but not at full size, which is fine.
- Use Smart Select and select yourself piece by piece.
- Erase the background, do touch-ups, and add a background.
- Select areas you want to change, type a prompt, and iterate if it struggles.
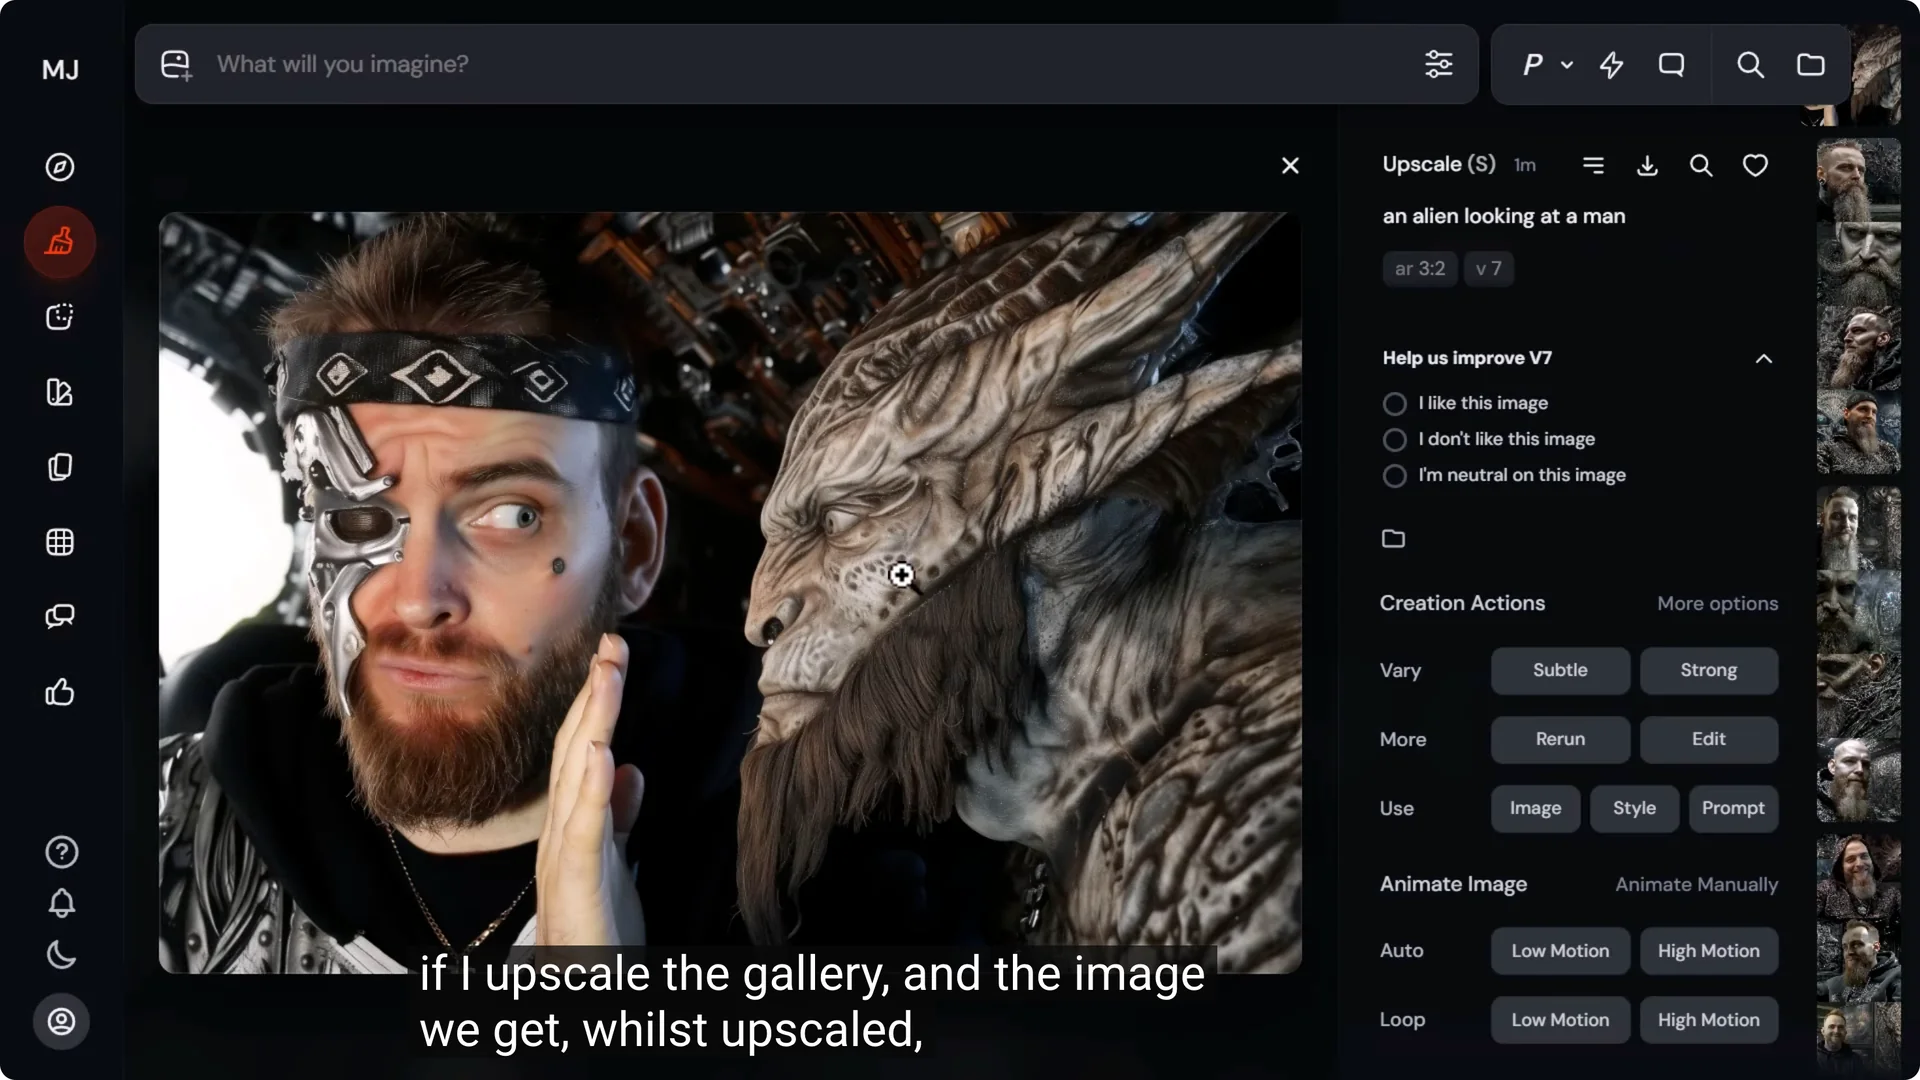
- Add elements as you go. I added a bit of circuitry and a little alien monster staring at me to create a sci-fi image using the Midjourney editor with my photo.
Download and Upscale
After adding edits, I ended up with an image that, when I upscale the gallery, is still not as big as the original photo. It is 2688 x 1792, while the original was 6000 x 4000. It also smoothed out some areas of my skin and I lost a little detail, though the image looks good overall.
We can fix this:
- Download the edited image
- Drag it into Topaz Gigapixel, or use any upscaler you prefer
- Instead of scaling by a percentage, set dimensions in pixels to match the original, 6000 x 4000
- Choose Redefine Realistic with Subtle Creativity and preview
- Export the upscale
Depending on your computer, this can take a while. You can take your time and come back later, or upload to the cloud if you have a cloud account and it will upscale quicker.
Blend the AI Image With Your Real Photo in Photoshop
Once you have the upscale, take that and the original image into Photoshop and layer them together:
- Open the original photo
- Open the upscaled AI image
- Copy and paste to keep the exact same position at the same resolution
- With the AI layer on top, create a mask
- Select black as the brush color and paint on the mask to reveal the original photo under the areas you want, like the face
- Soften edges for a clean blend from the AI photo to the original photo
- If there are parts of the original face you don’t like, like dots or redness around the nose, switch back and paint those areas a little to clean them up
Now the photo actually looks like me. I have a photo that is 6000 x 4000 pixels, which has all of my original facial details apart from the stuff I don’t want, as well as a very detailed alien looking at me. It’s a great way to blend reality with AI so you get the best of both worlds.
Final Thoughts
There are a couple of reliable ways to include yourself in your AI art with Midjourney. Use omni reference to generate yourself within images and adjust omni weight to balance likeness and style. Combine prompts with mood boards to push styles further and animate when you want motion. If omni reference isn’t available in the editor or you need a direct face insert, a face swap tool is a quick fix.
When you want to edit an existing high resolution photo and keep its detail, create the AI version in the Midjourney editor, upscale to match your original dimensions, and blend the two in Photoshop. This gives you stylistic control, a strong likeness, and the resolution needed for professional use.