Midjourney have released the new Style Creator. It’s a simple tool that lets you pick a few images and generate a style in their interface. I’m going to show you exactly how it works and explore the results to see if it’s any good.
Midjourney Style Creator Tutorial: Getting Started
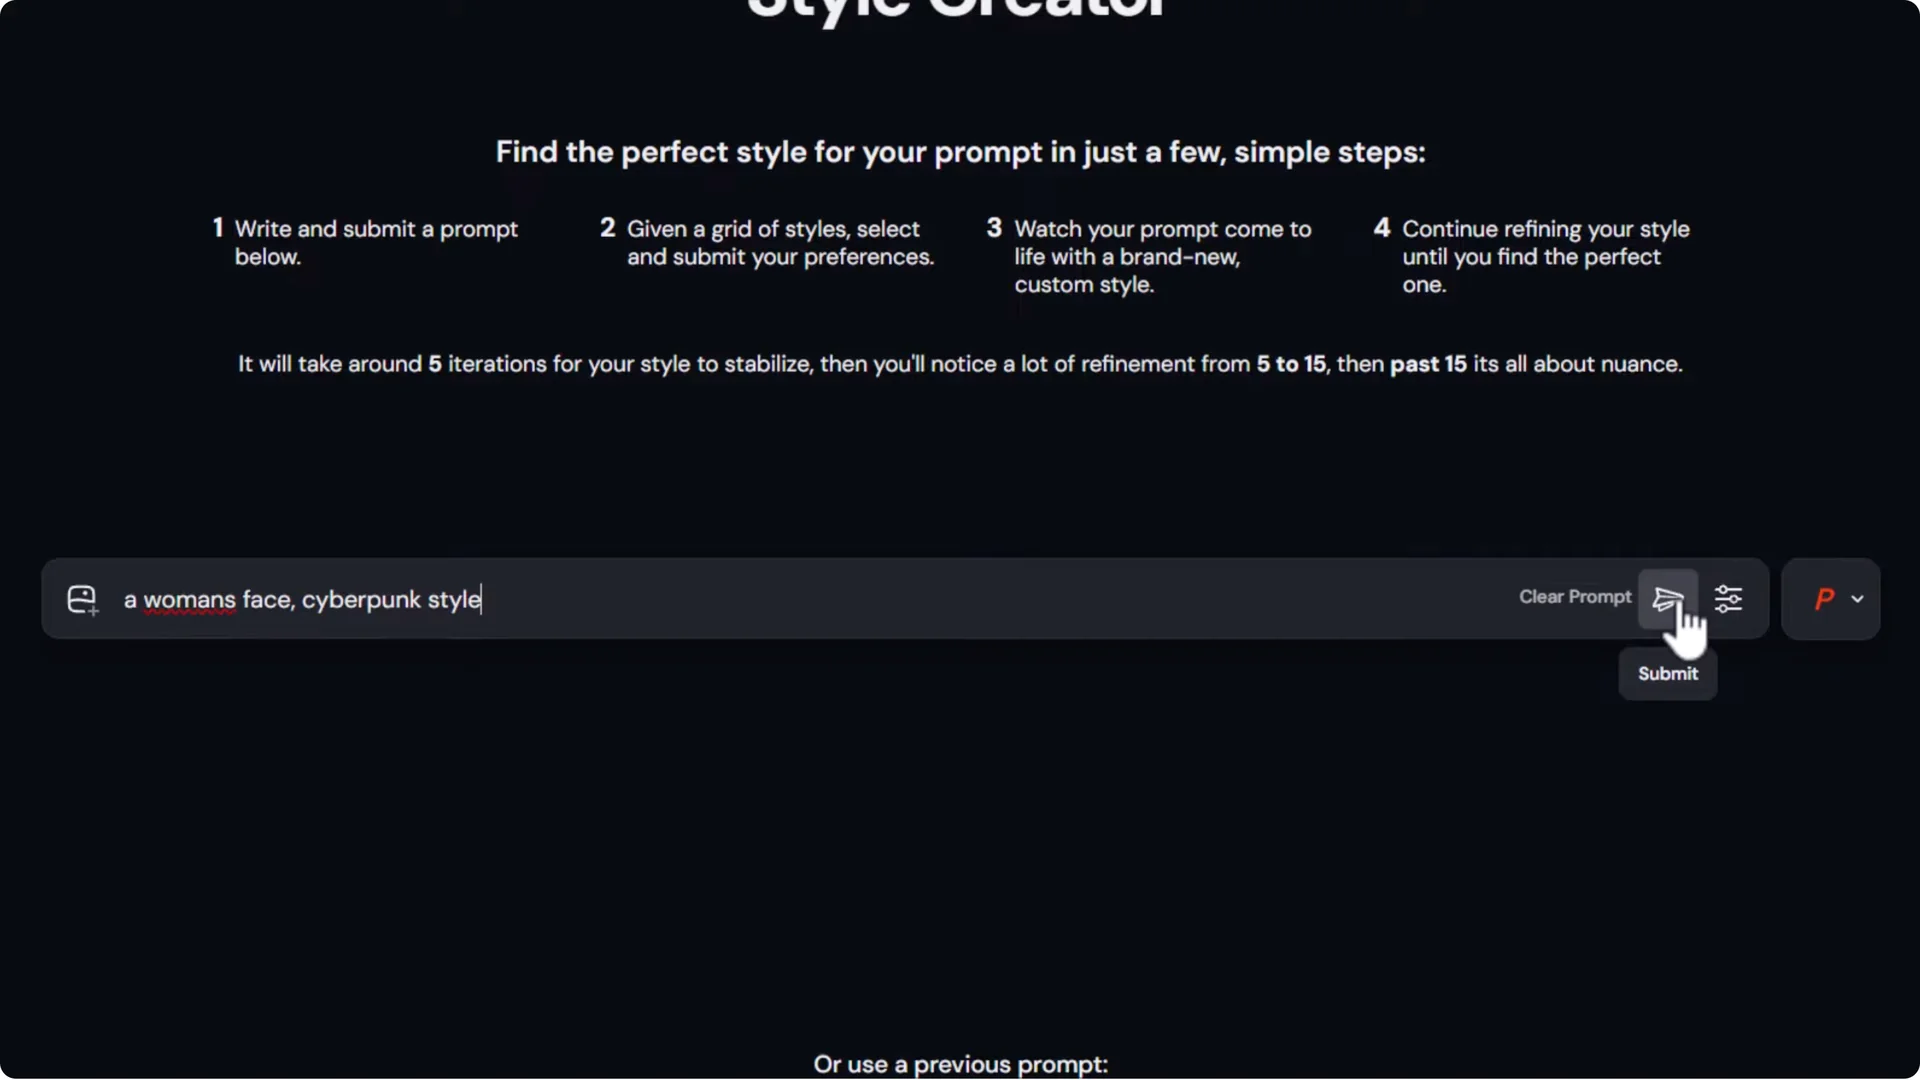
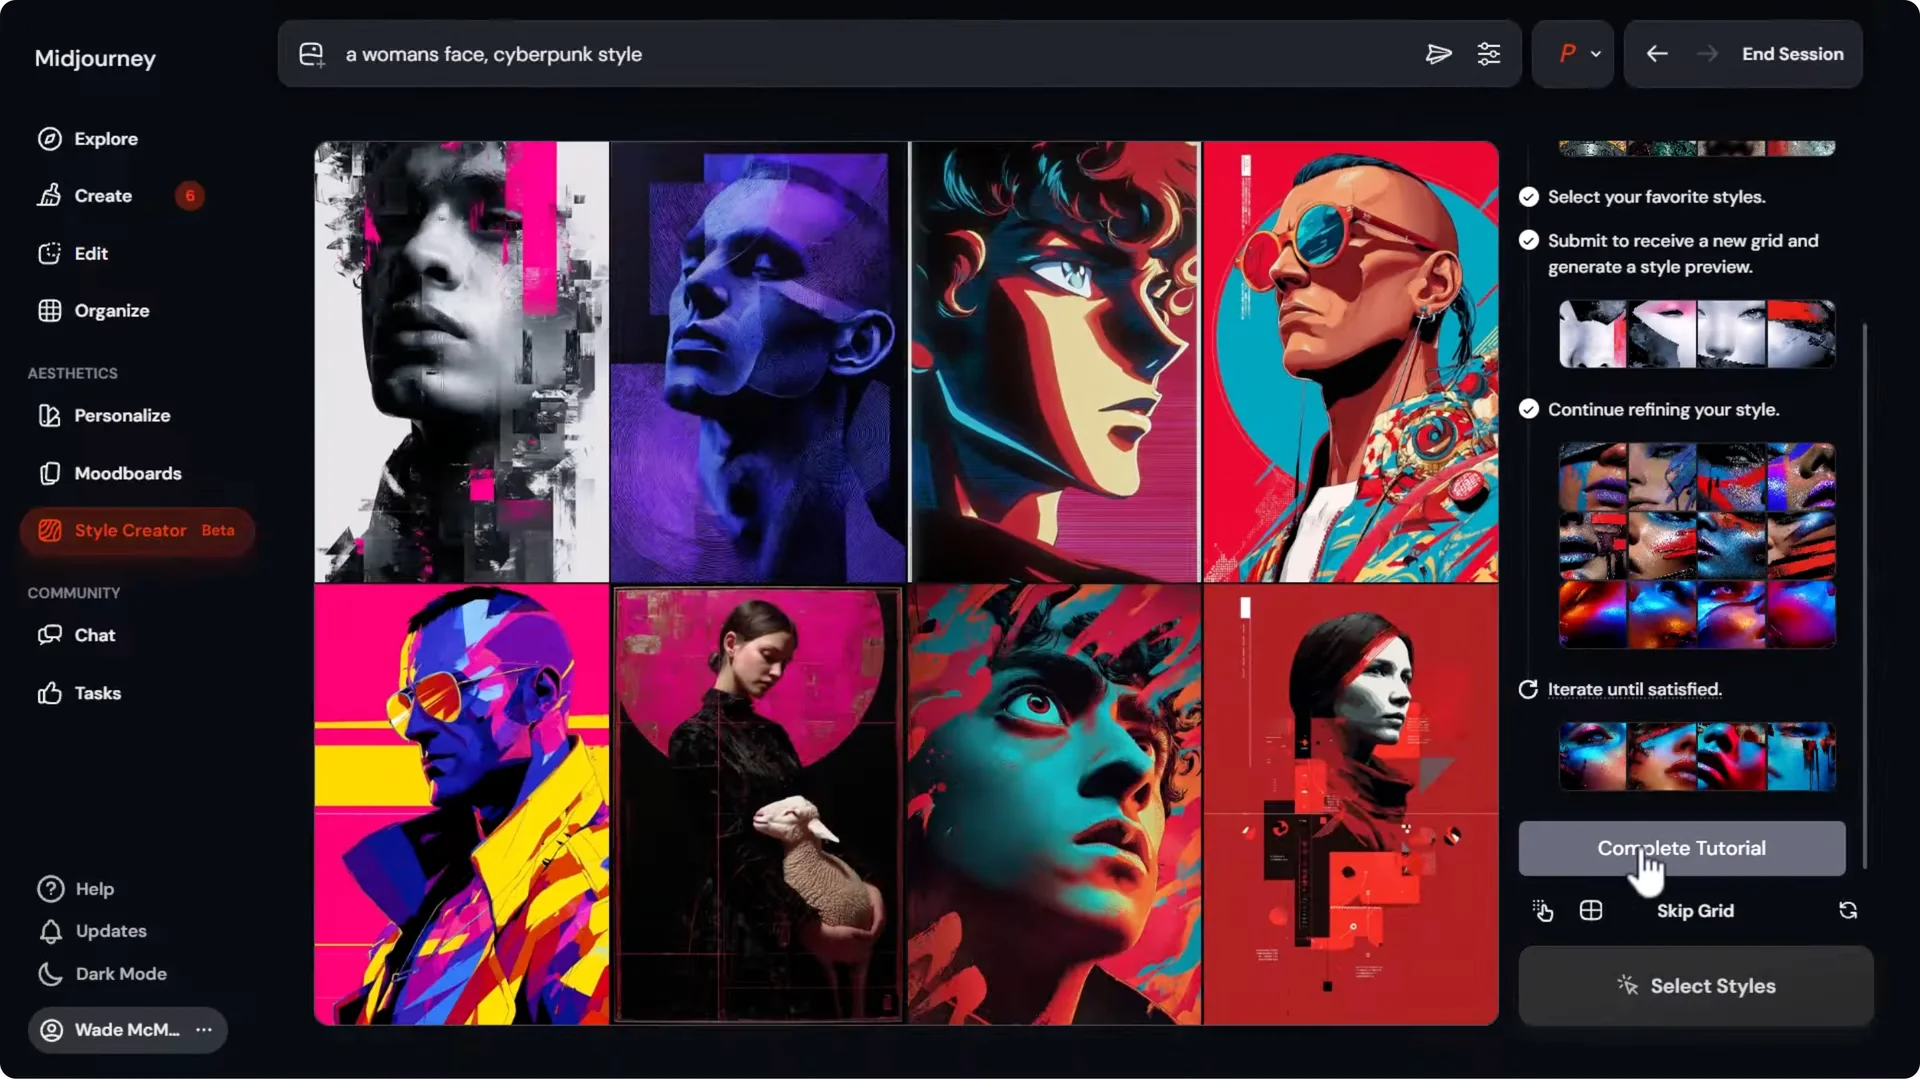
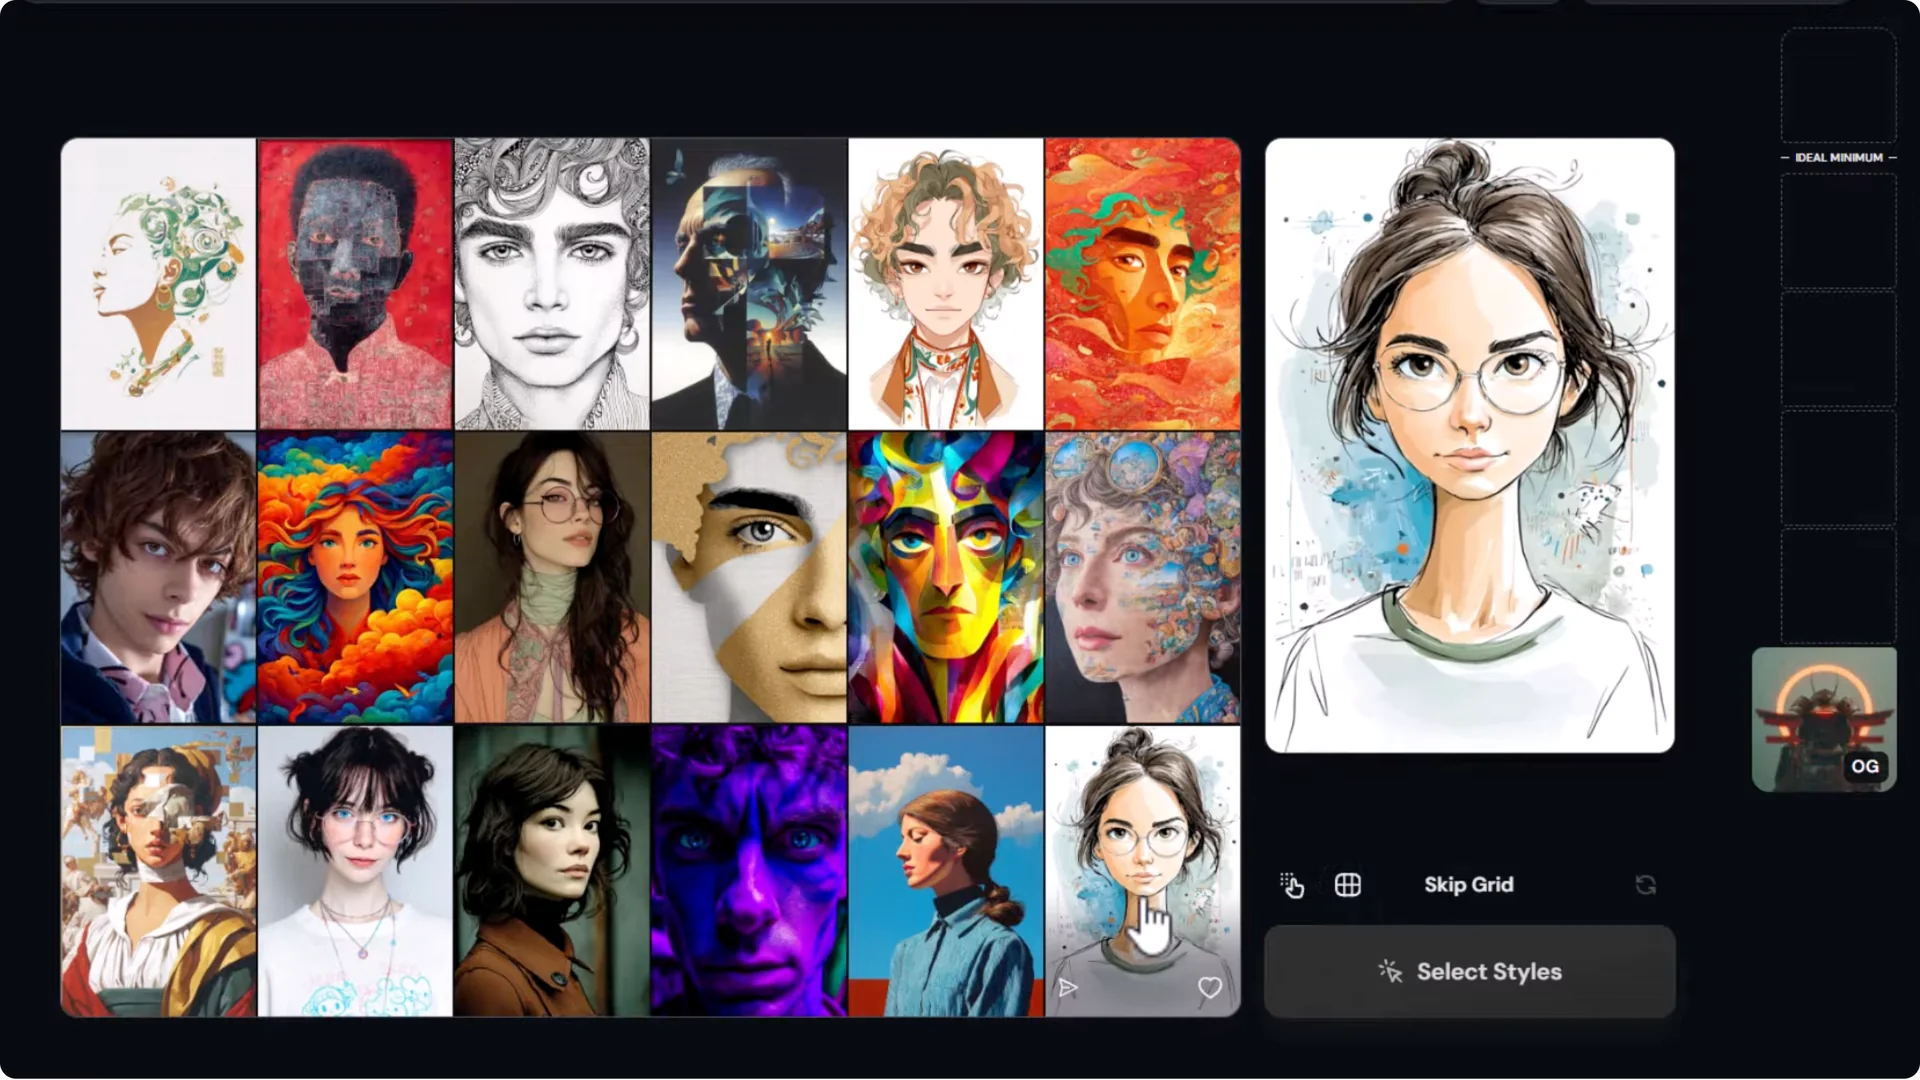
The interface groups a few areas to make it easier to navigate. When you head to Style Creator, it gives you some steps up top. You can start with your most recent prompt, or type a new one.
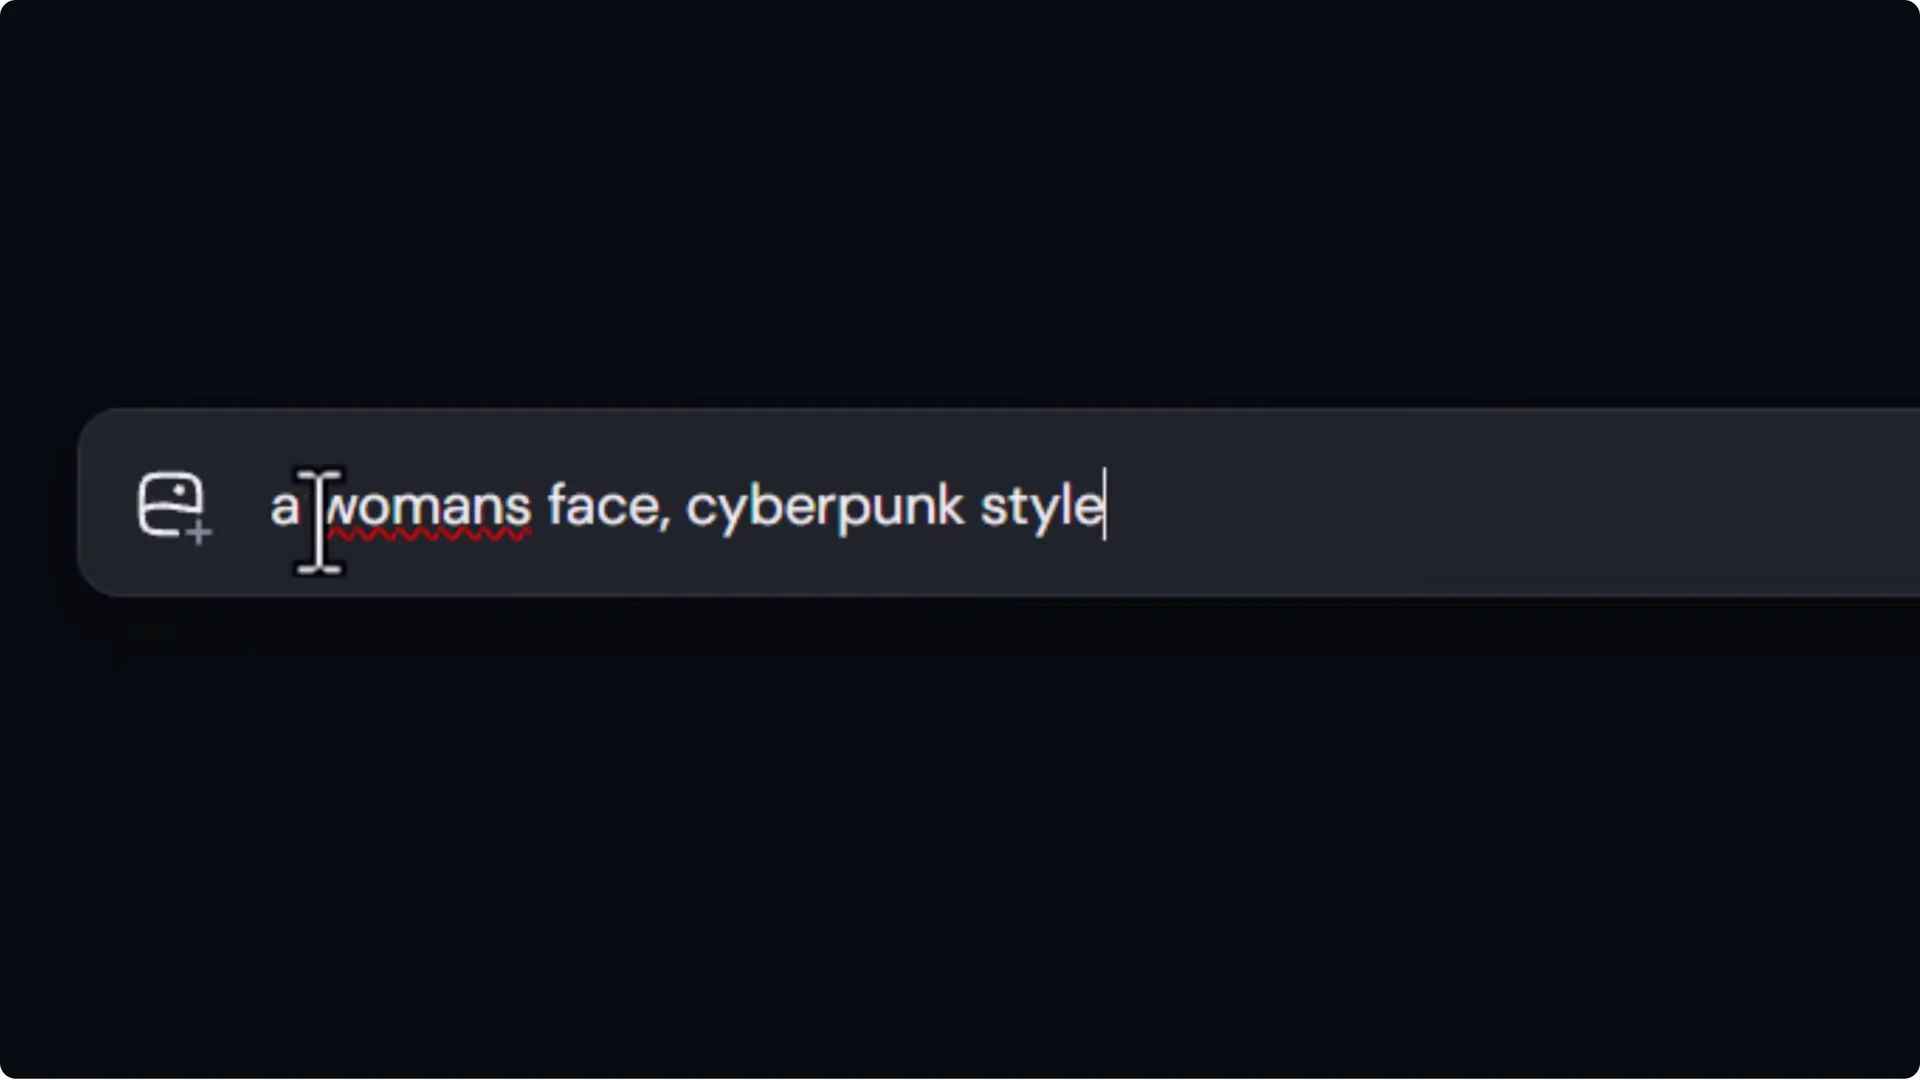
- I tried: “a woman’s face, cyberpunk style.”
- Personalization is on.
- Click Submit.
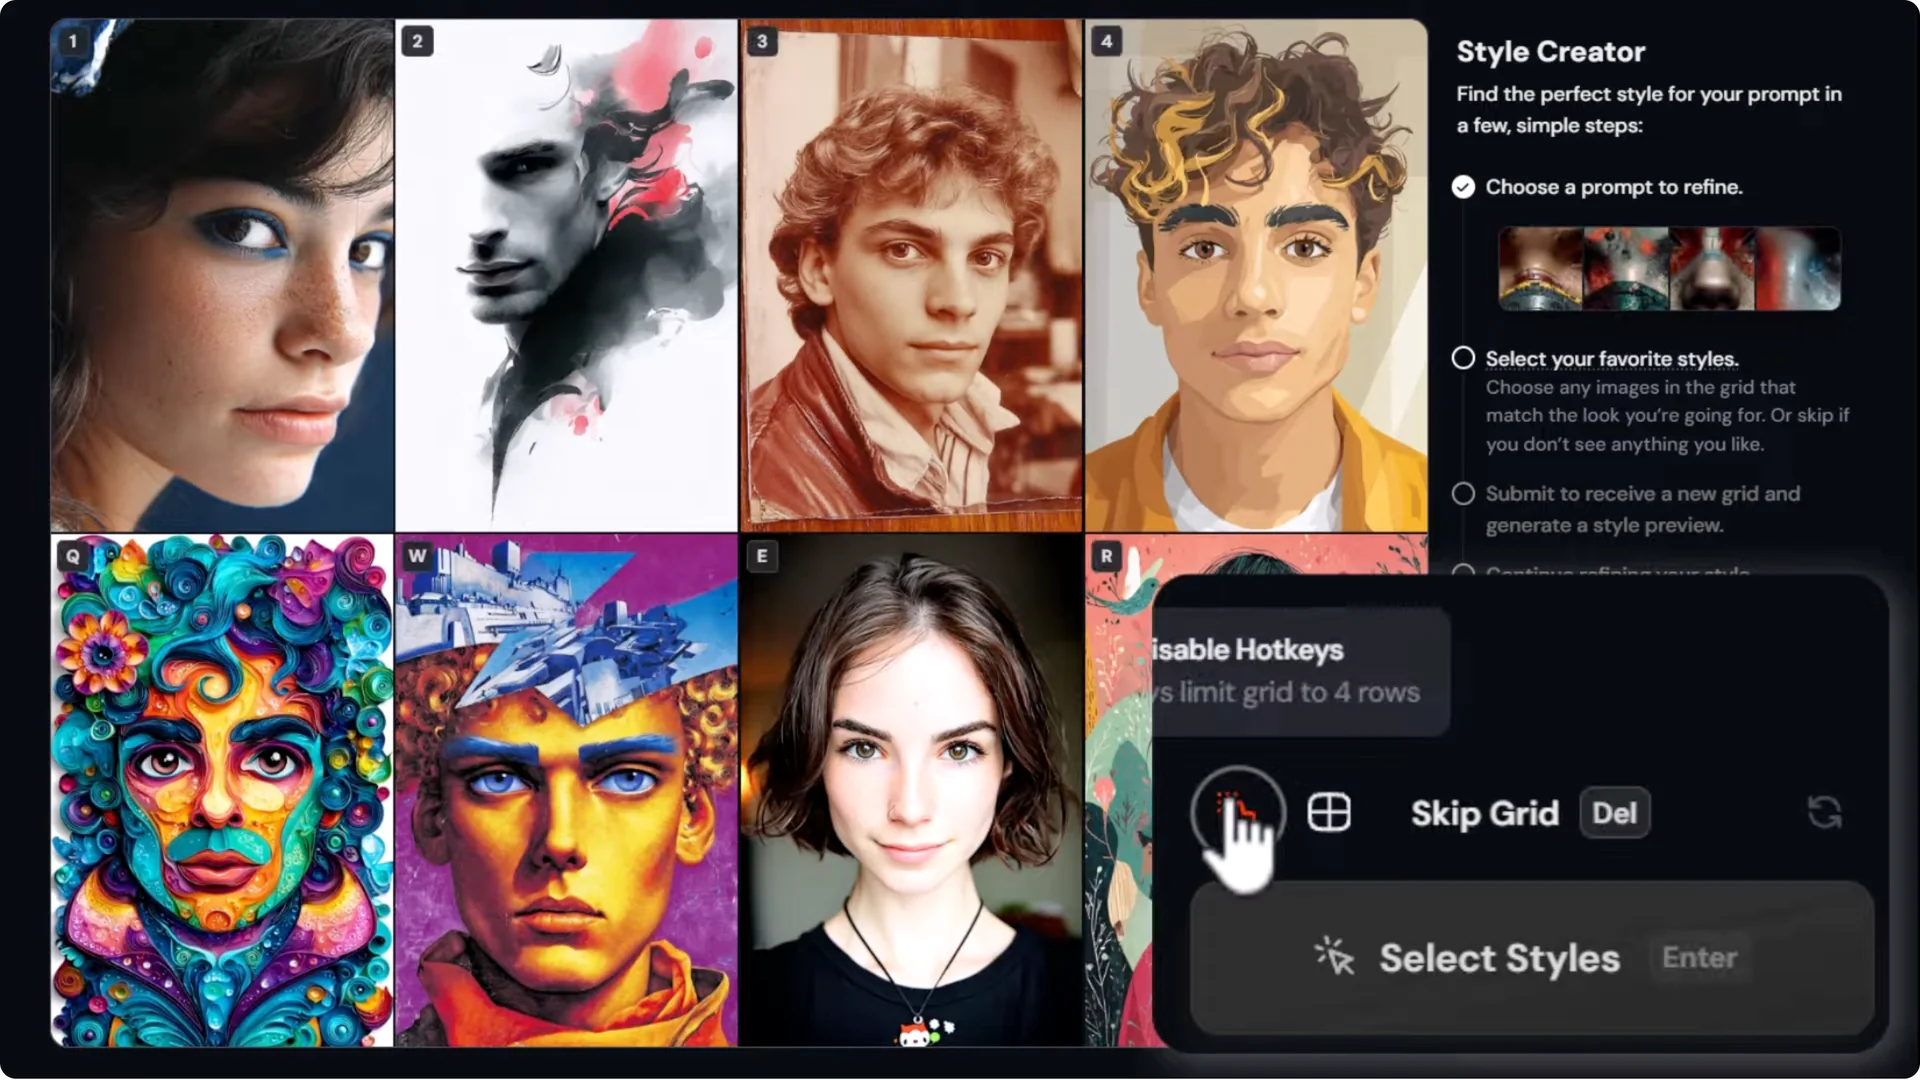
You get a grid of images and pick the ones closest to the style you want to create. You can switch between a bigger or smaller grid.
You can also enable hotkeys and hit 1, 2, 3, 4 or Q, W, E, R to select. I used my mouse and chose a couple of favorites, then clicked Refine Style.
Selecting and refining
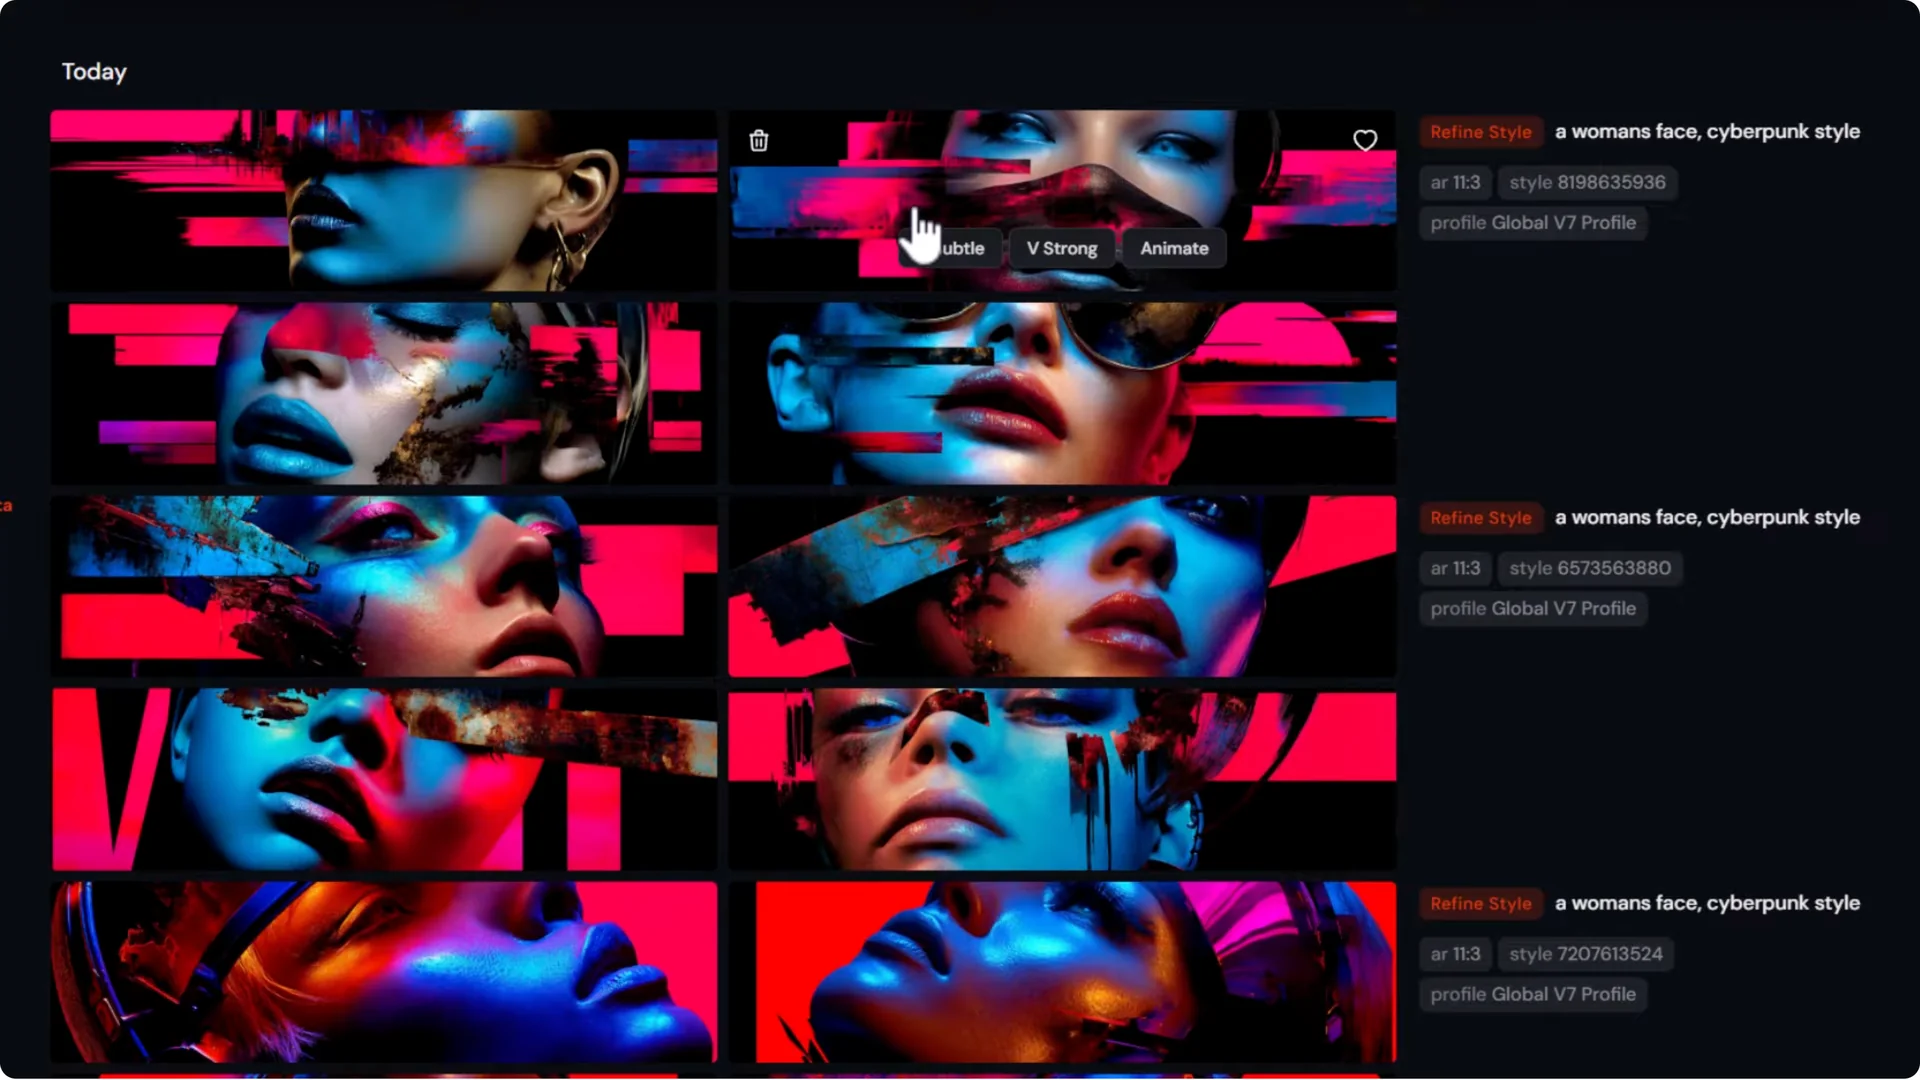
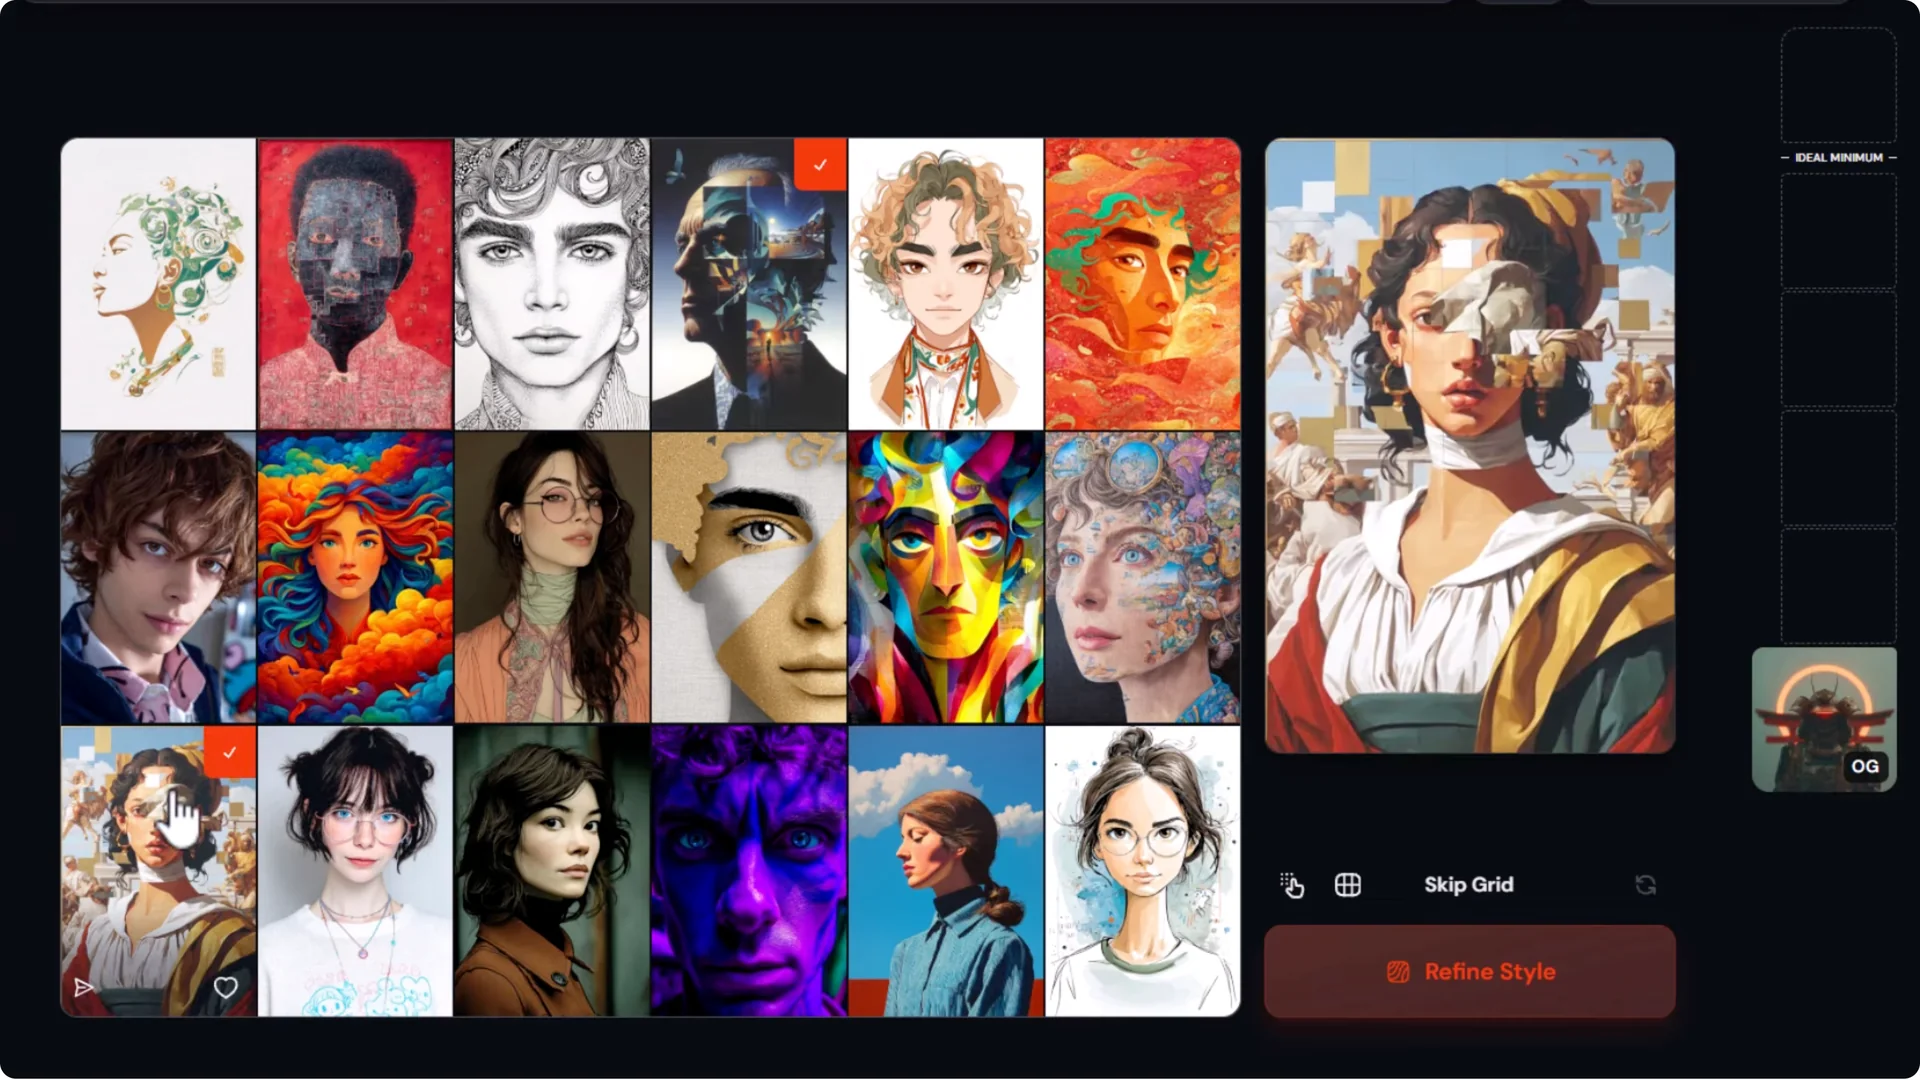
From here you continue to refine:
- Pick a few styles you like.
- Click Refine.
- Repeat that process a few times to lock in a style.
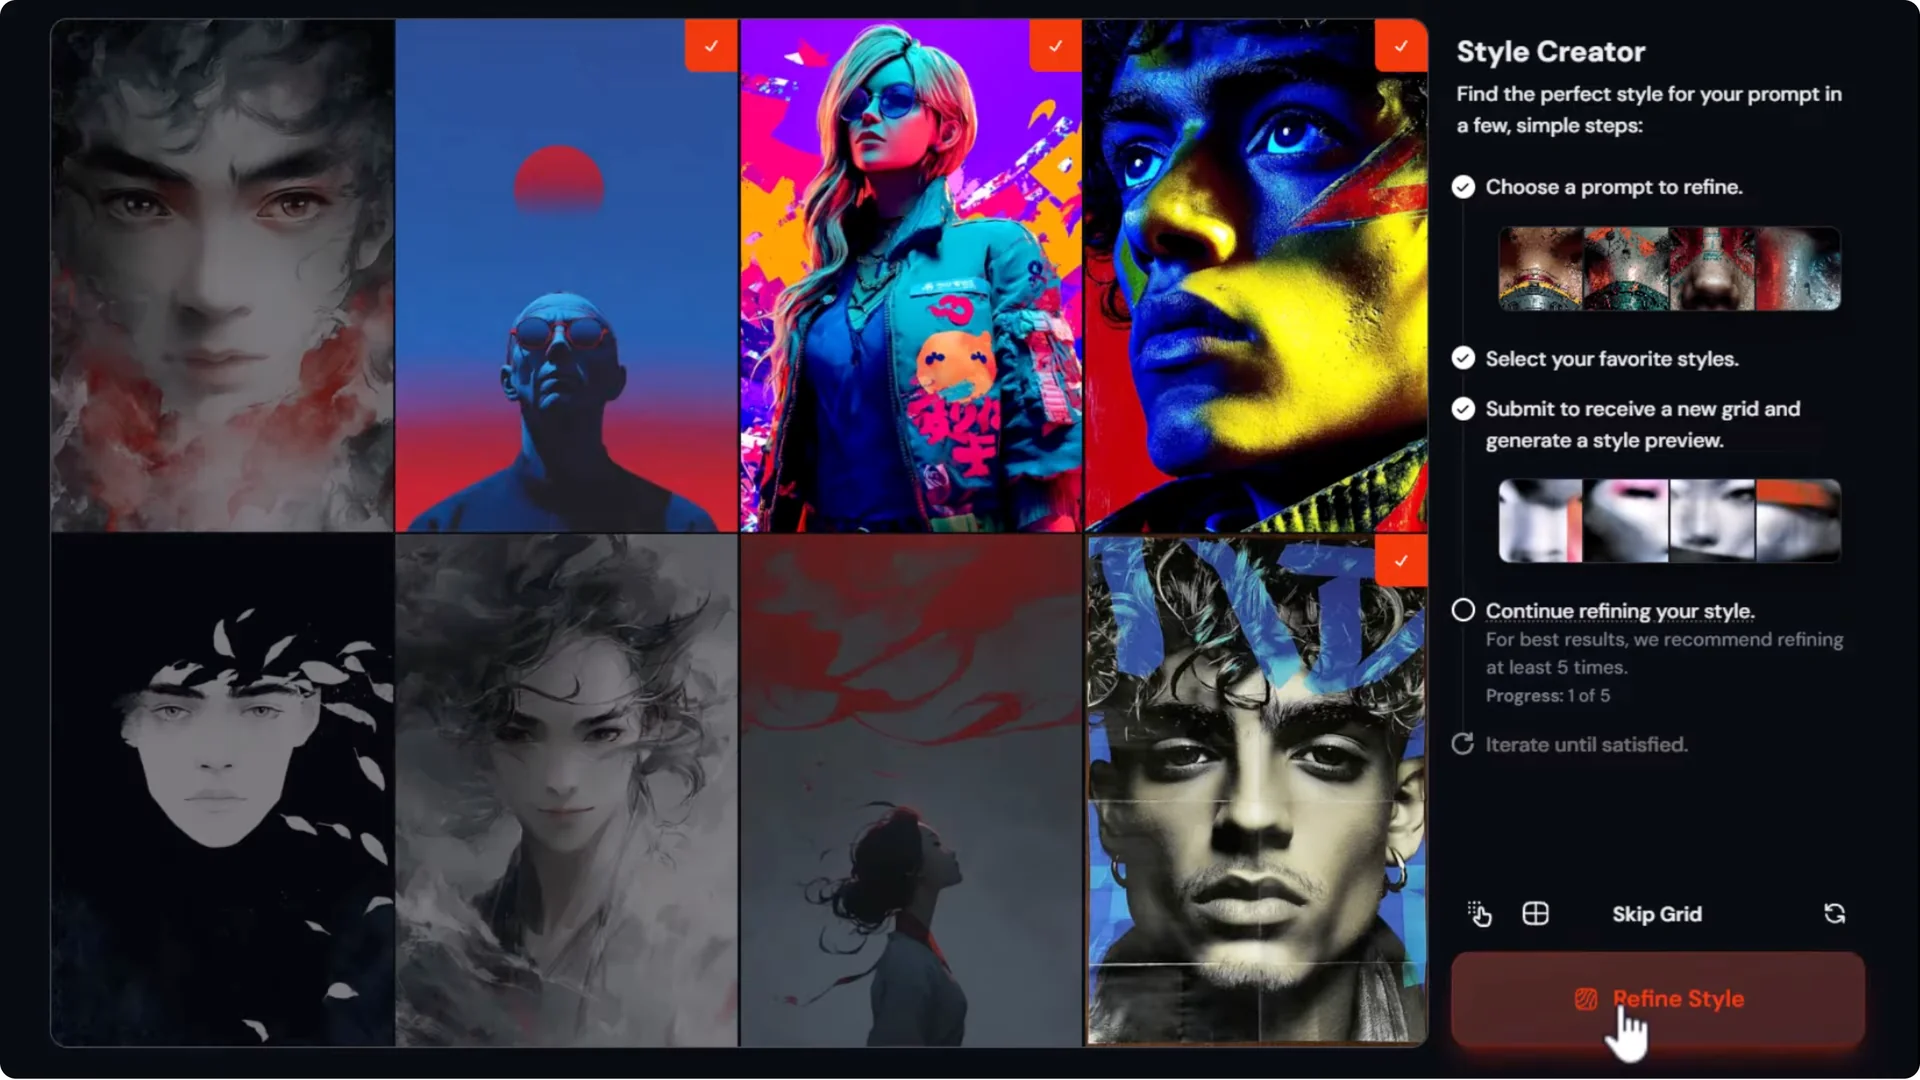
As you go, you’ll see example outputs on the right. You can end the session or complete the tutorial the first time you run through it. I also liked a glitch style in this run and ran with that.
Checking results in Create
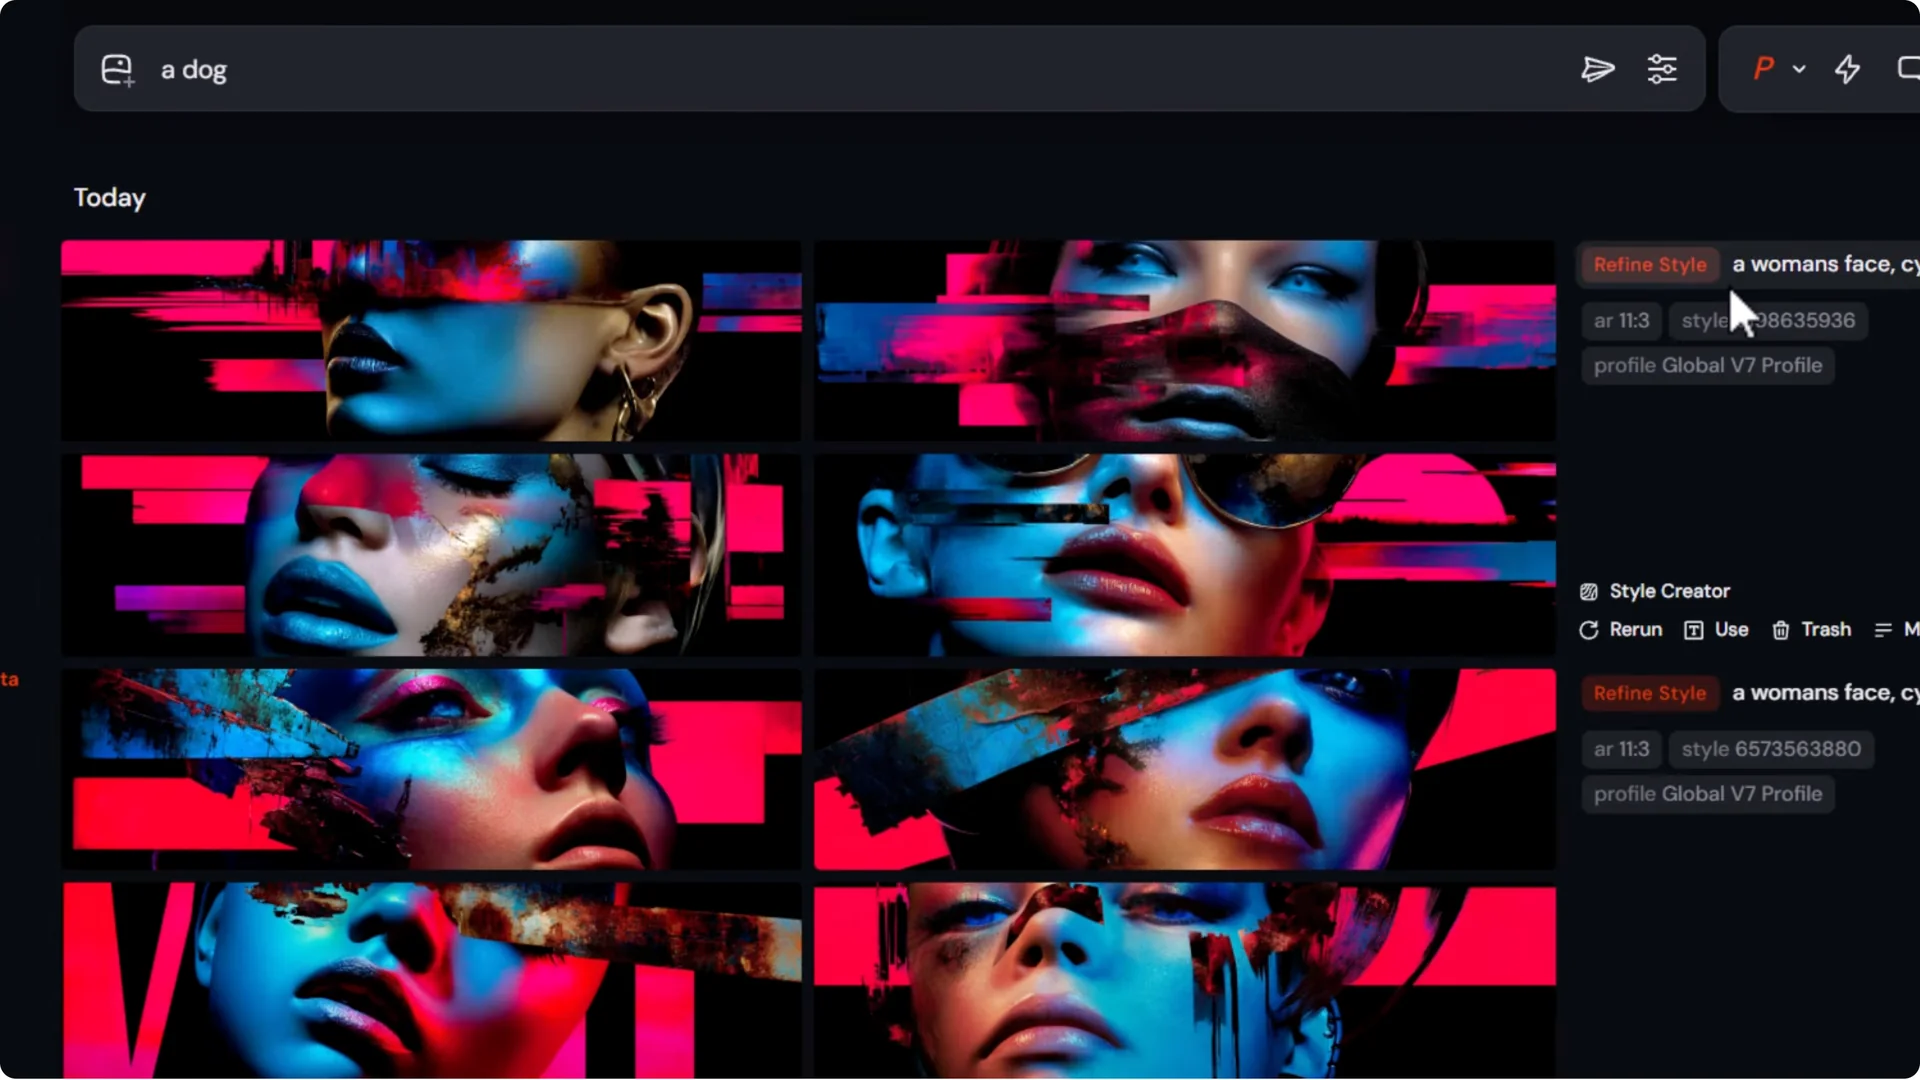
I headed over to my Create tab. The images were created at the last aspect ratio I used for my profile image, and I could see some styles I liked. My only complaint is I didn’t get to choose a style in my head and chase it. I had to work with what Midjourney gave me, but there were still some cool styles.
- Each image has a style code you can use.
- I changed aspect ratio to square, prompted for a dog, added the style, and submitted.
- The results were solid.
Midjourney Style Creator Tutorial: Second Pass Interface
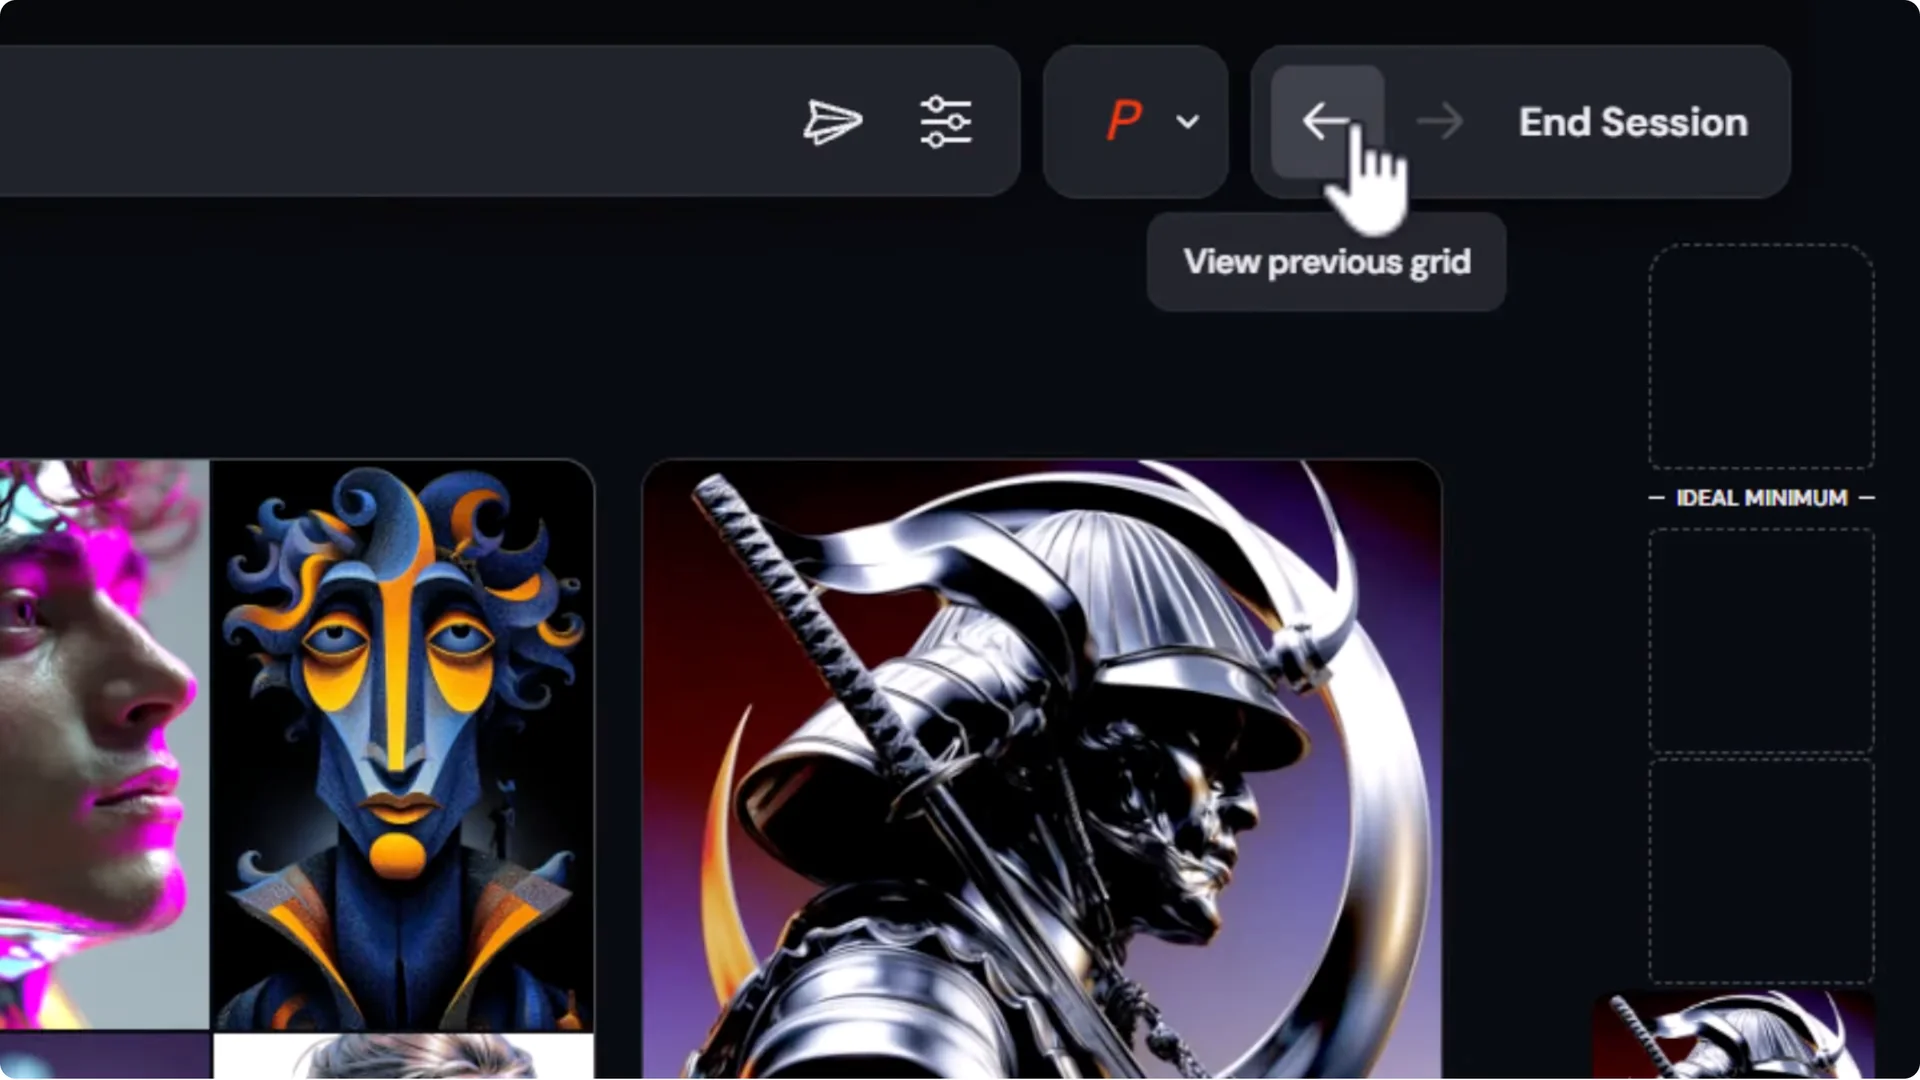
On the second run, the interface looks a bit different. It generates the image from your test prompt on the right and shows the styles on the left to choose from. You’ll see a few steps until you reach the ideal minimum for your style.
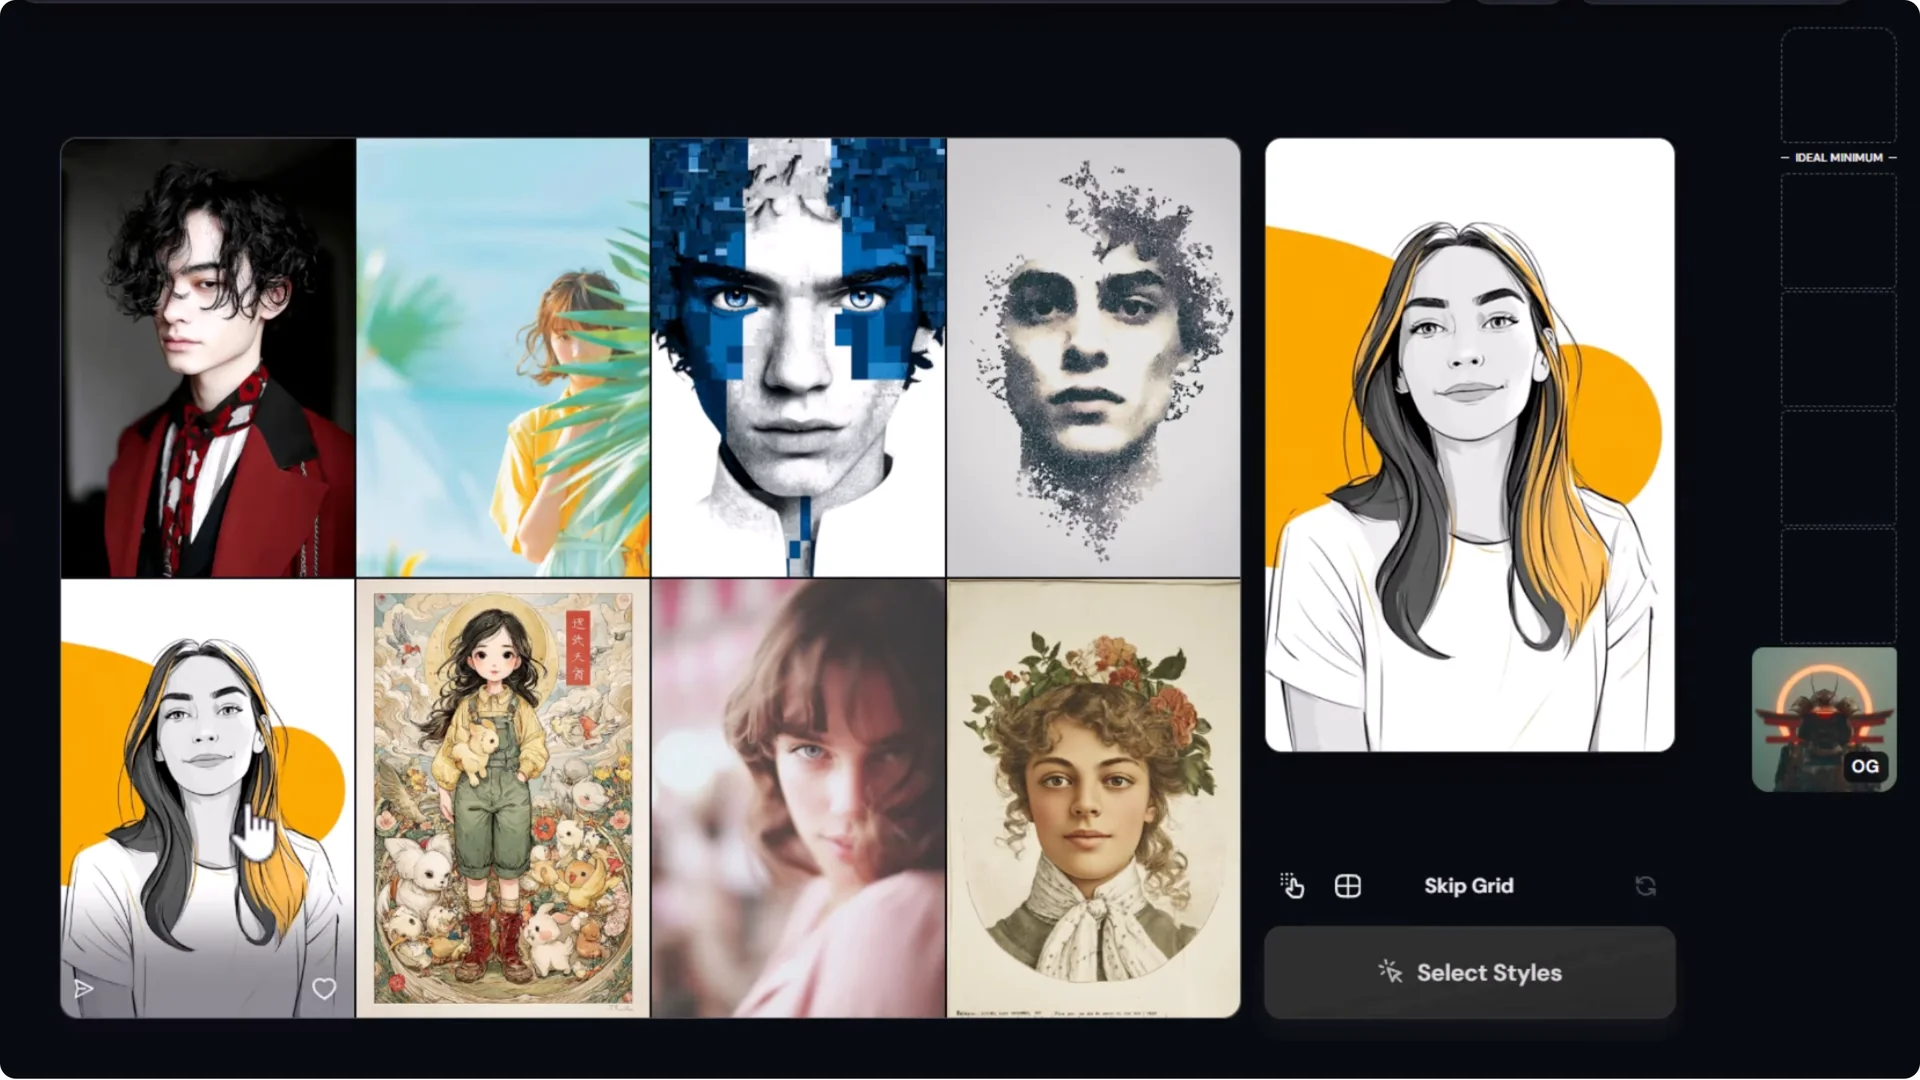
- If you don’t like a grid, skip it.
- Enable hotkeys if you like.
- Use a bigger grid for more options.
I tried a “samurai” prompt to test the look. I chose a surreal style and refined. I also tried a couple of metallic styles and refined again, which gave me a look a bit different to what I first aimed for. You can branch off like this.
Branching into multiple directions
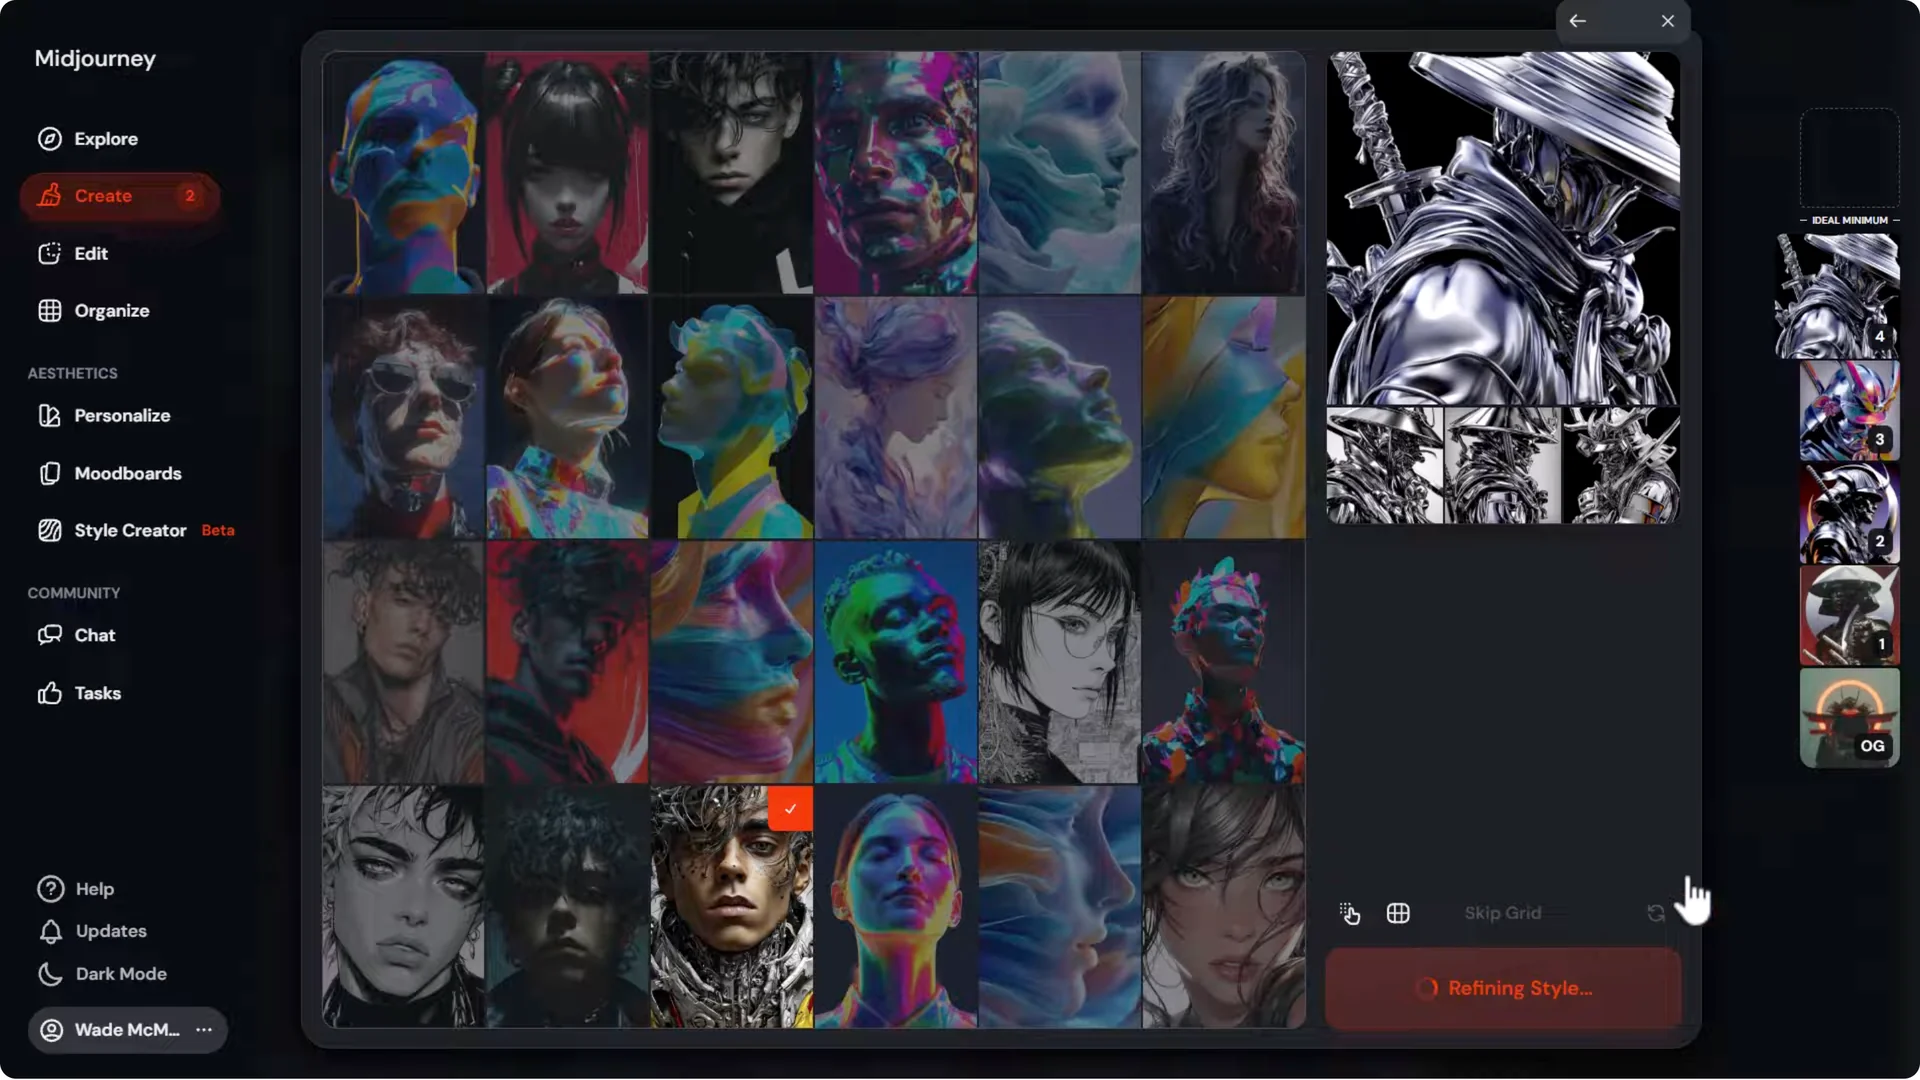
- Open the Create tab in a new tab to capture each step’s outputs.
- Each image there has a style code.
- You can continue to refine from any point.
I tabbed back to Style Creator and used the arrows to go back and forward. I unticked earlier choices, focused on more surreal styles, and continued to refine. It’s a bit repetitive, but this is what you need to do to get something relatively consistent.
On the right, I surpassed the ideal minimum. I could keep going, but this looked good.
Styles at every step
Back in Create, every single image had a style code associated with it, so I effectively created a style at each step. If I wanted to keep refining my metallic style, I could jump back into Style Creator and push further down that route.
- Keep a style in mind when scanning grids.
- Skip until you see options that match the style you’re targeting.
- Don’t just pick the best of what you see. Pick what matches your intent.
I needed one more for the ideal minimum, skipped a few grids, found a decent complement, refined again, and ended up with a metallic samurai look that worked well.
Midjourney Style Creator Tutorial: Tips for Consistency
- Have a style in mind and search for it as you go.
- Focus on a common theme across selections to build a coherent style.
- Skip grids often until you find what you’re after.
- Pick consistent colors and illustration types to drive cohesion.
Results and Observations
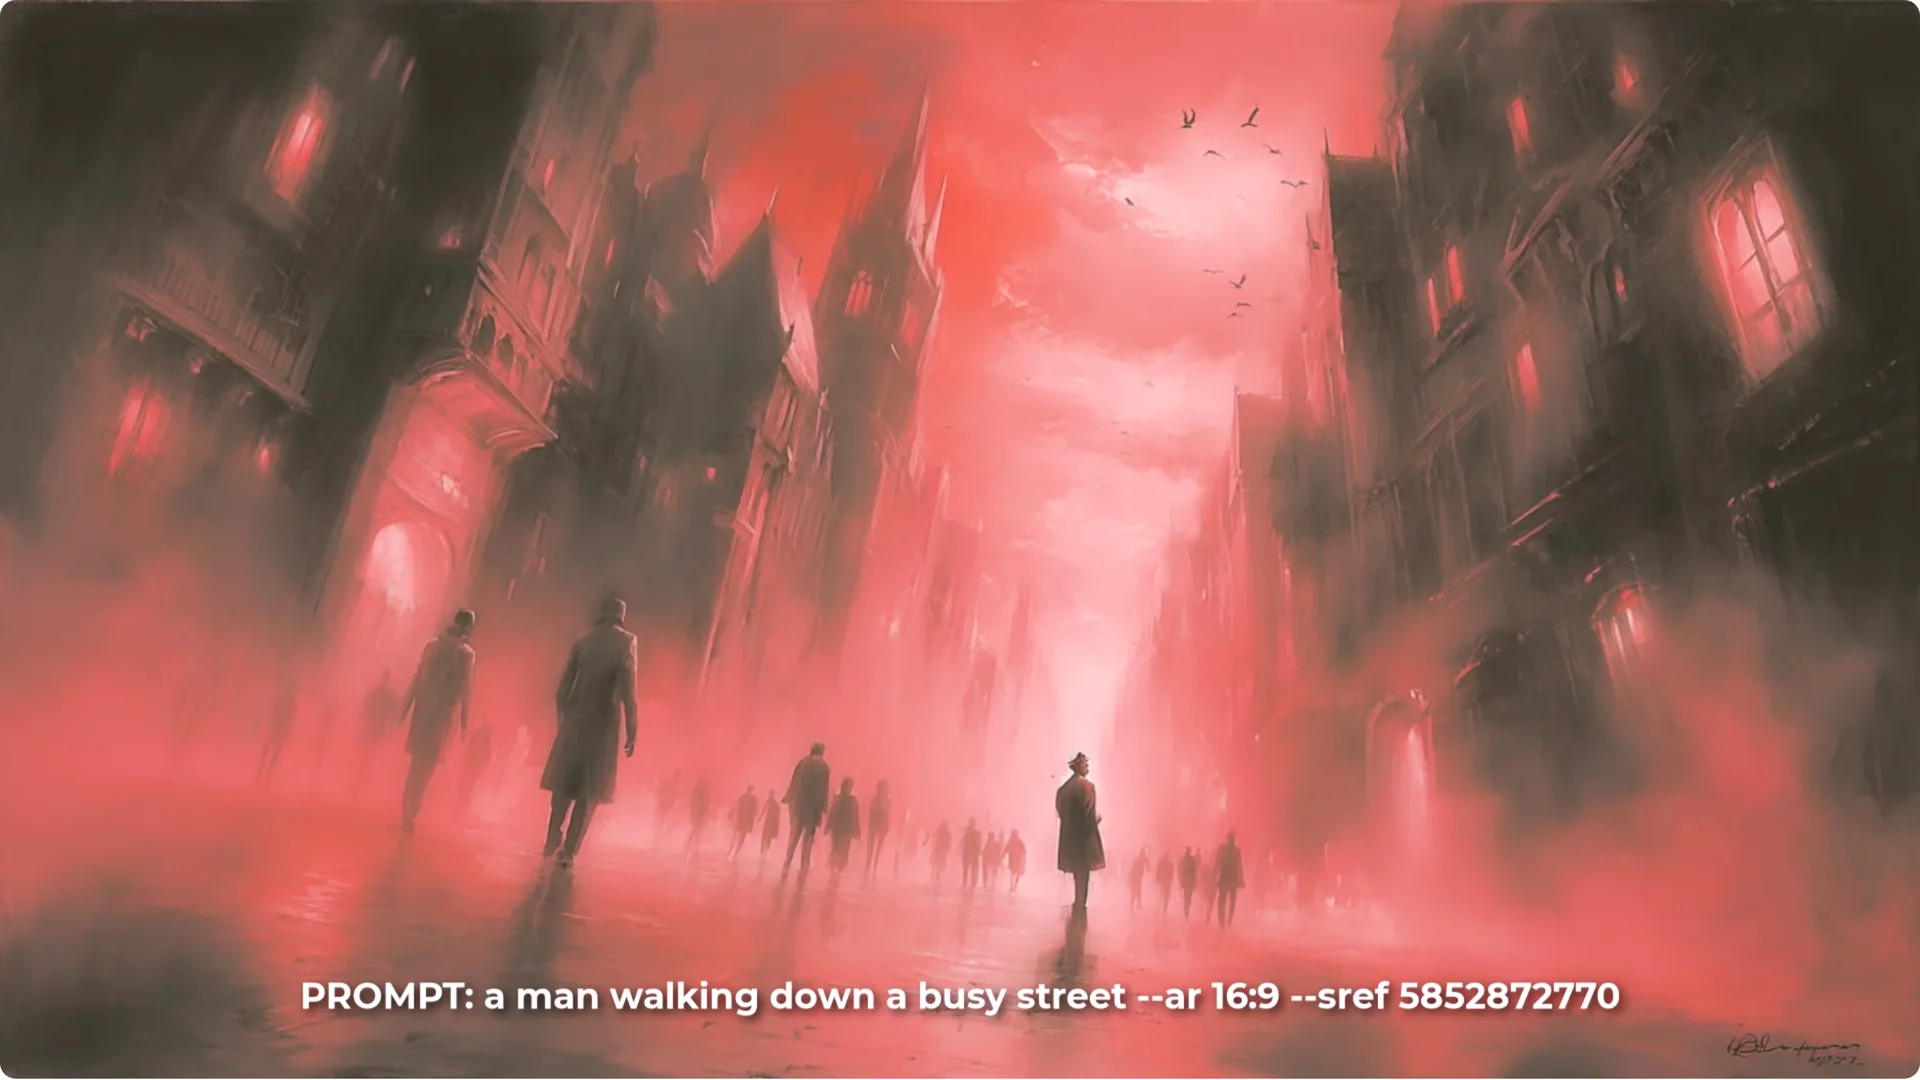
These codes are very consistent from image to image. For one run, each image had a red feel. I focused on a foggy, very red style, skipped a lot of grids, and nailed down what I wanted. You can get some unique styles. Maybe not what you first thought of, but still cool and with a nice vibe.
I moved on and worked on a metallic one, which produced a consistent effect with metallic surfaces. Some interpretations were very cool. It’s fun to create styles with the Style Creator. You can build codes by taking your time and focusing on particular image traits.
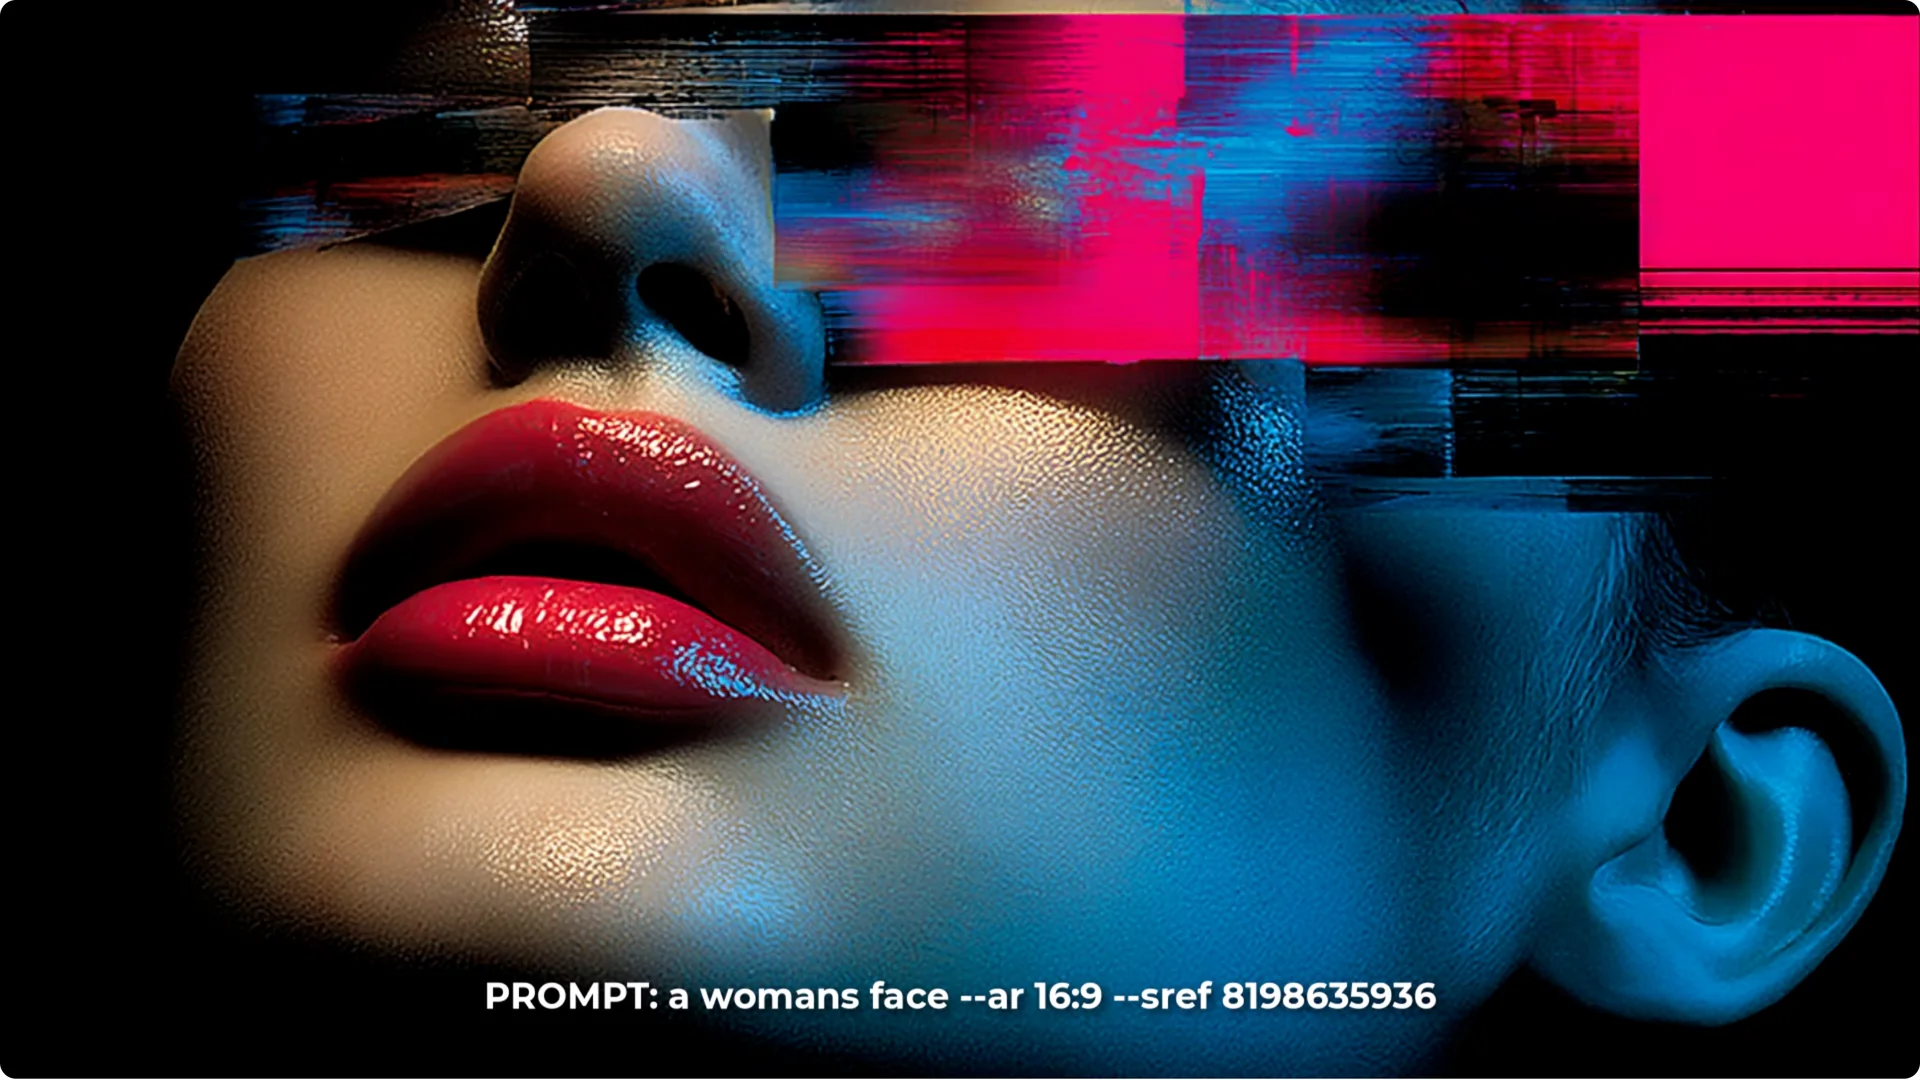
Another style I created was very unique. I wouldn’t have known what to name it. Going after colors helps.
Pick a consistent color if you want a colored style, and keep illustration types consistent to get something like that glitchy, painty, artistic vibe. The surreal code I made also had a consistent feel with lots of three-dimensional type objects.
Overall, I love the consistency and the ability to take your time picking out certain things. What I don’t like is that you can’t come in with an idea and chase it directly. You have to go through the grids and work with what’s available. You get cool results, but it’s not the most optimized way to create a style.
Alternatives to the Style Creator
Style Explorer
You might be able to find a style in the Style Explorer.
- Go to Explore, then Styles.
- Search for something like “sci-fi glitch” to load styles that match the idea you’re after.
- Heart the styles you like, then open Likes to find them later.
While using Style Creator, you can also click a button to try a prompt with a style. It will submit your last prompt with the new style and apply it like any other style code from the Style Explorer. You’ll see sref instead of style. This is another way to discover styles while you’re building.
Mood boards
Mood boards are another solid option.
- Generate images with a prompted style and include those in a mood board.
- Or search for styled images online that you want to replicate and add them to your mood boards.
- It’s not a style code, but it’s still just a parameter. You have d-p and whatever code it gives you.
- It’s more or less the same process, with a bit more control over the final result.
Final Thoughts
The Style Creator can produce consistent, distinctive looks if you take your time to refine and skip aggressively until you see what you want. It’s great for exploring and locking in vibes like red fog, metallic surfaces, glitchy paint, or surreal forms. If you already have a precise style in mind, the Style Explorer or mood boards can be a faster, more direct route.