I use AI to help create a vector t-shirt design that you can sell on a print on demand site or supply to a commercial t-shirt printer. The process is primarily conceptual so you can apply it to whatever programs you prefer.
For this walkthrough I use MidJourney and Inkscape. Inkscape is free vector design software, so if you are new to this process you can download it and start working straight away.
Most of the best designs out there have a strong focal point that grabs your attention. Create that first, then add other design elements like borders or text around it.
Generate a Focus Graphic with AI for a MidJourney Vector T-Shirt Design
Crafting the prompt
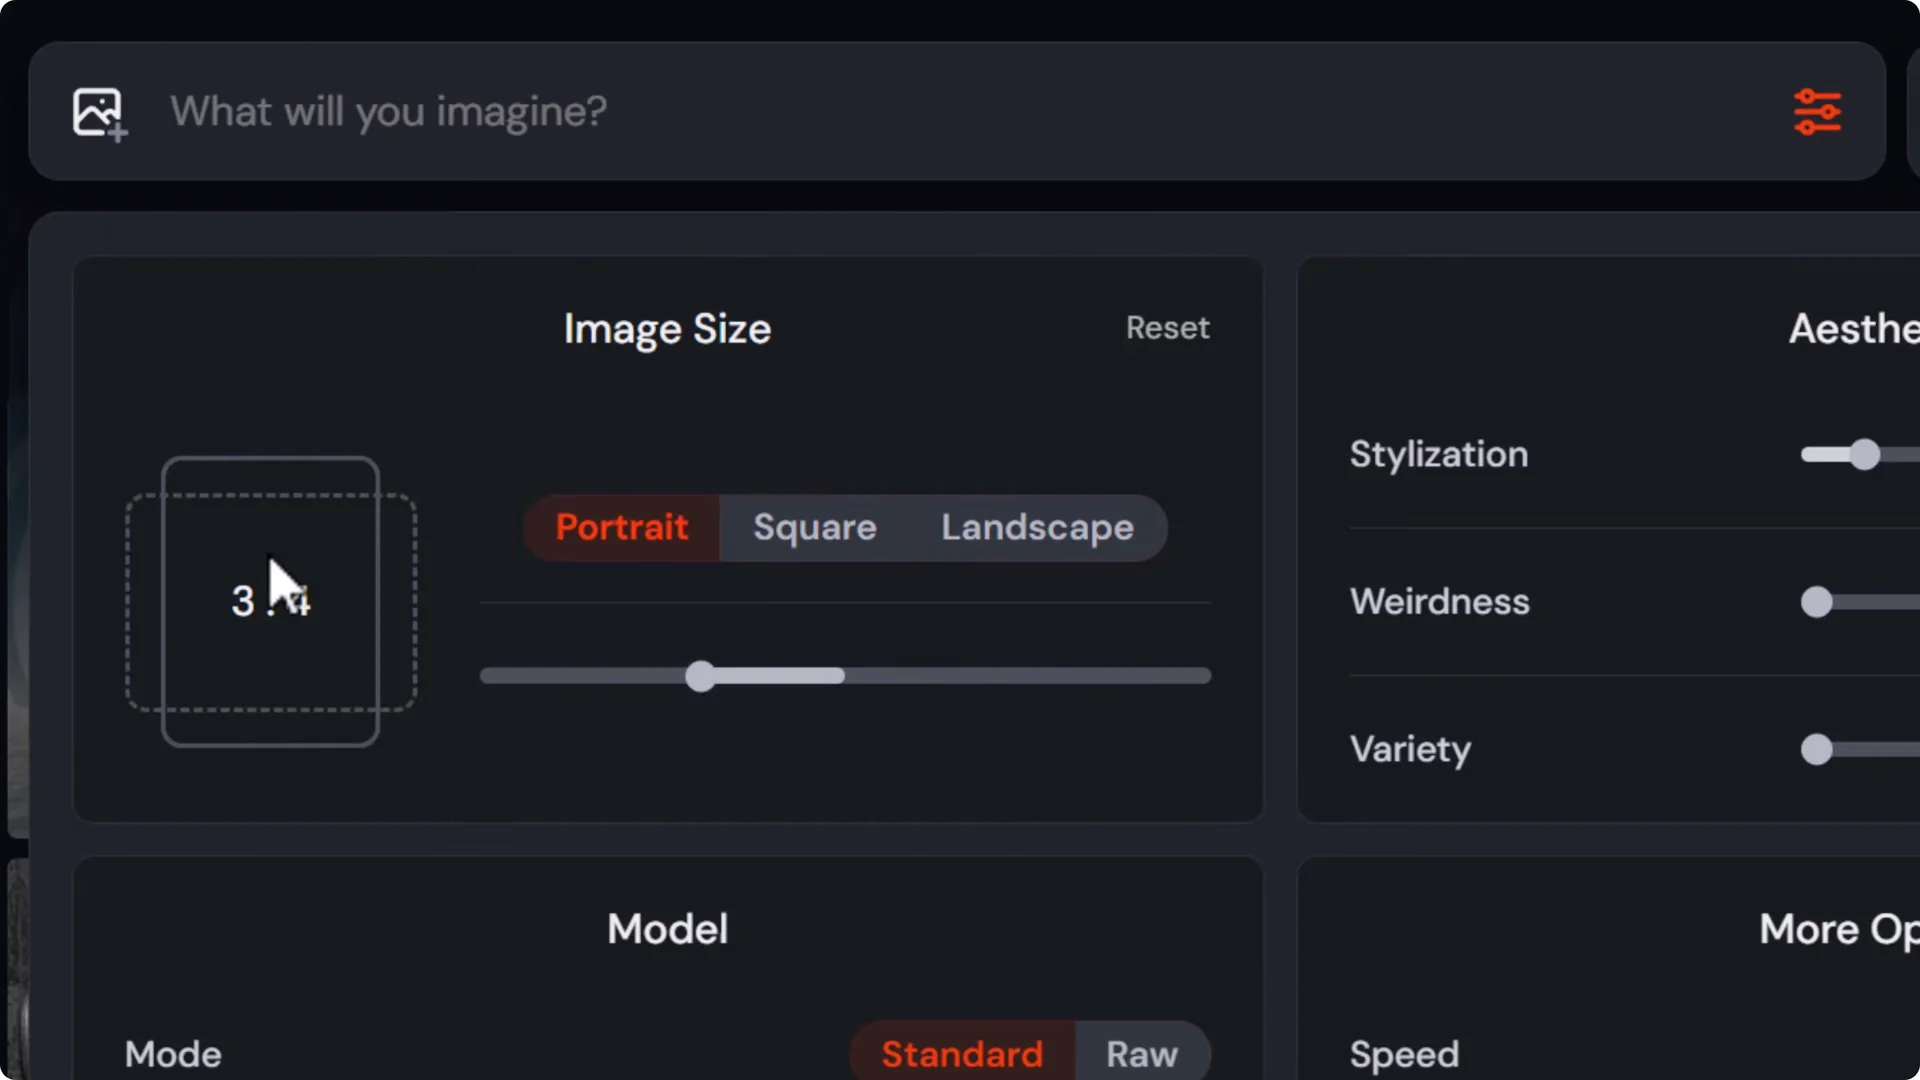
- Set a tall aspect ratio to fit a shirt. I use 3:4.
- Include in your prompt:
– Subject
– Color palette
– The words vector or vector art
– T-shirt design
– Background color
– Styles or elements you may add later
- Add a negative prompt to avoid mockups on shirts inside the image. I add -no mockup.
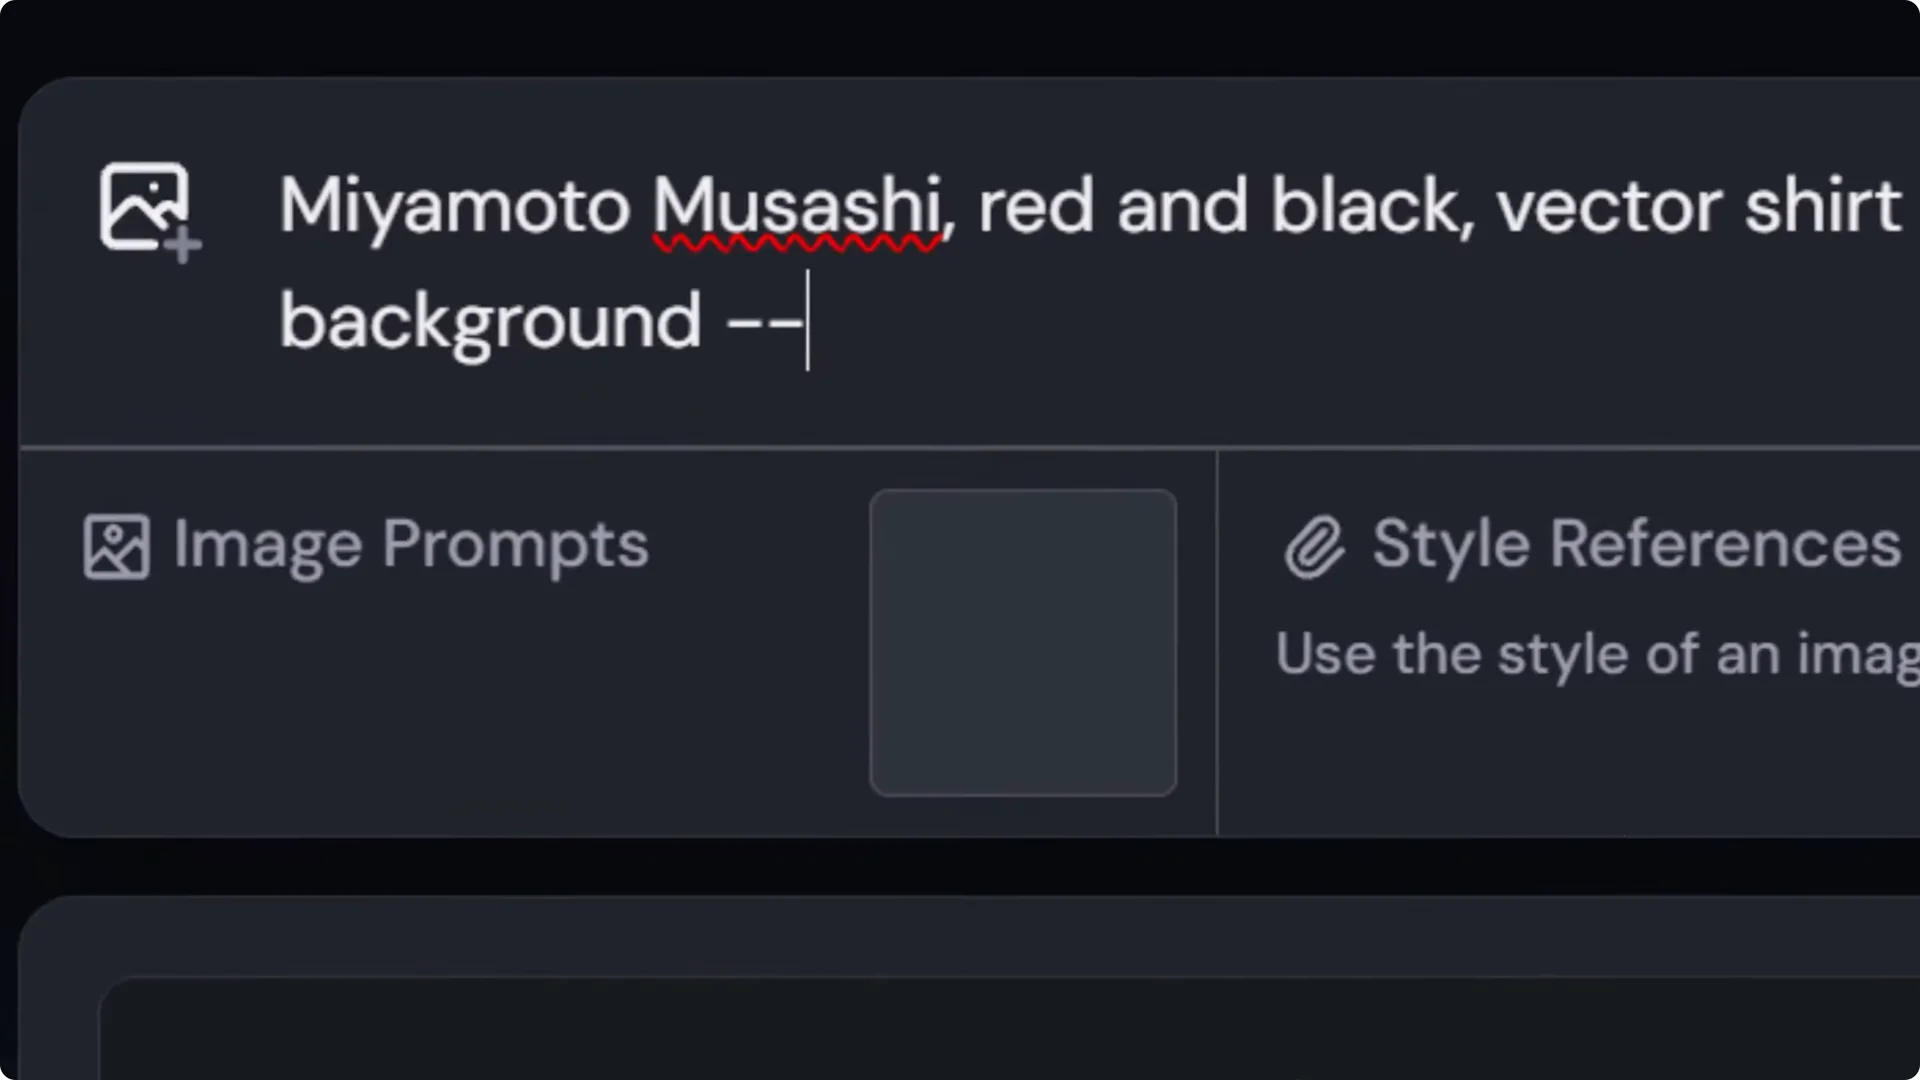
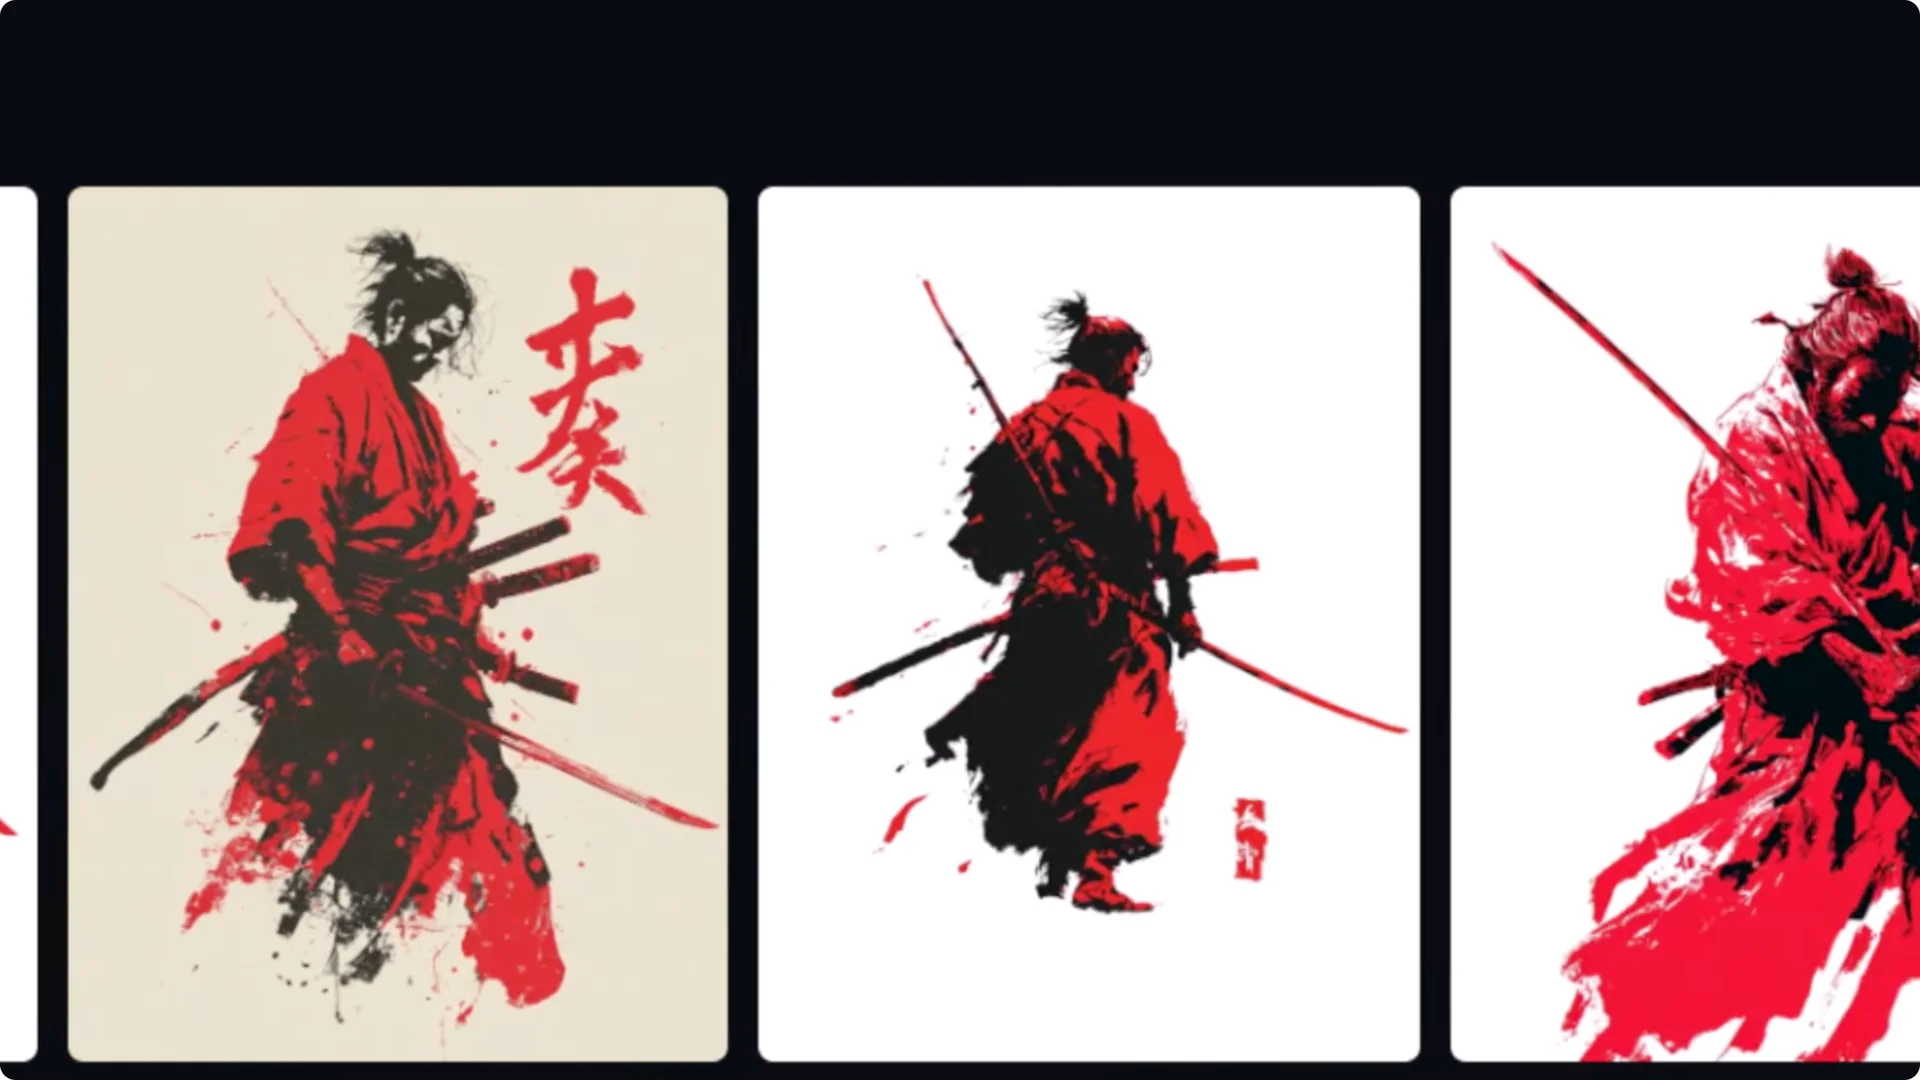
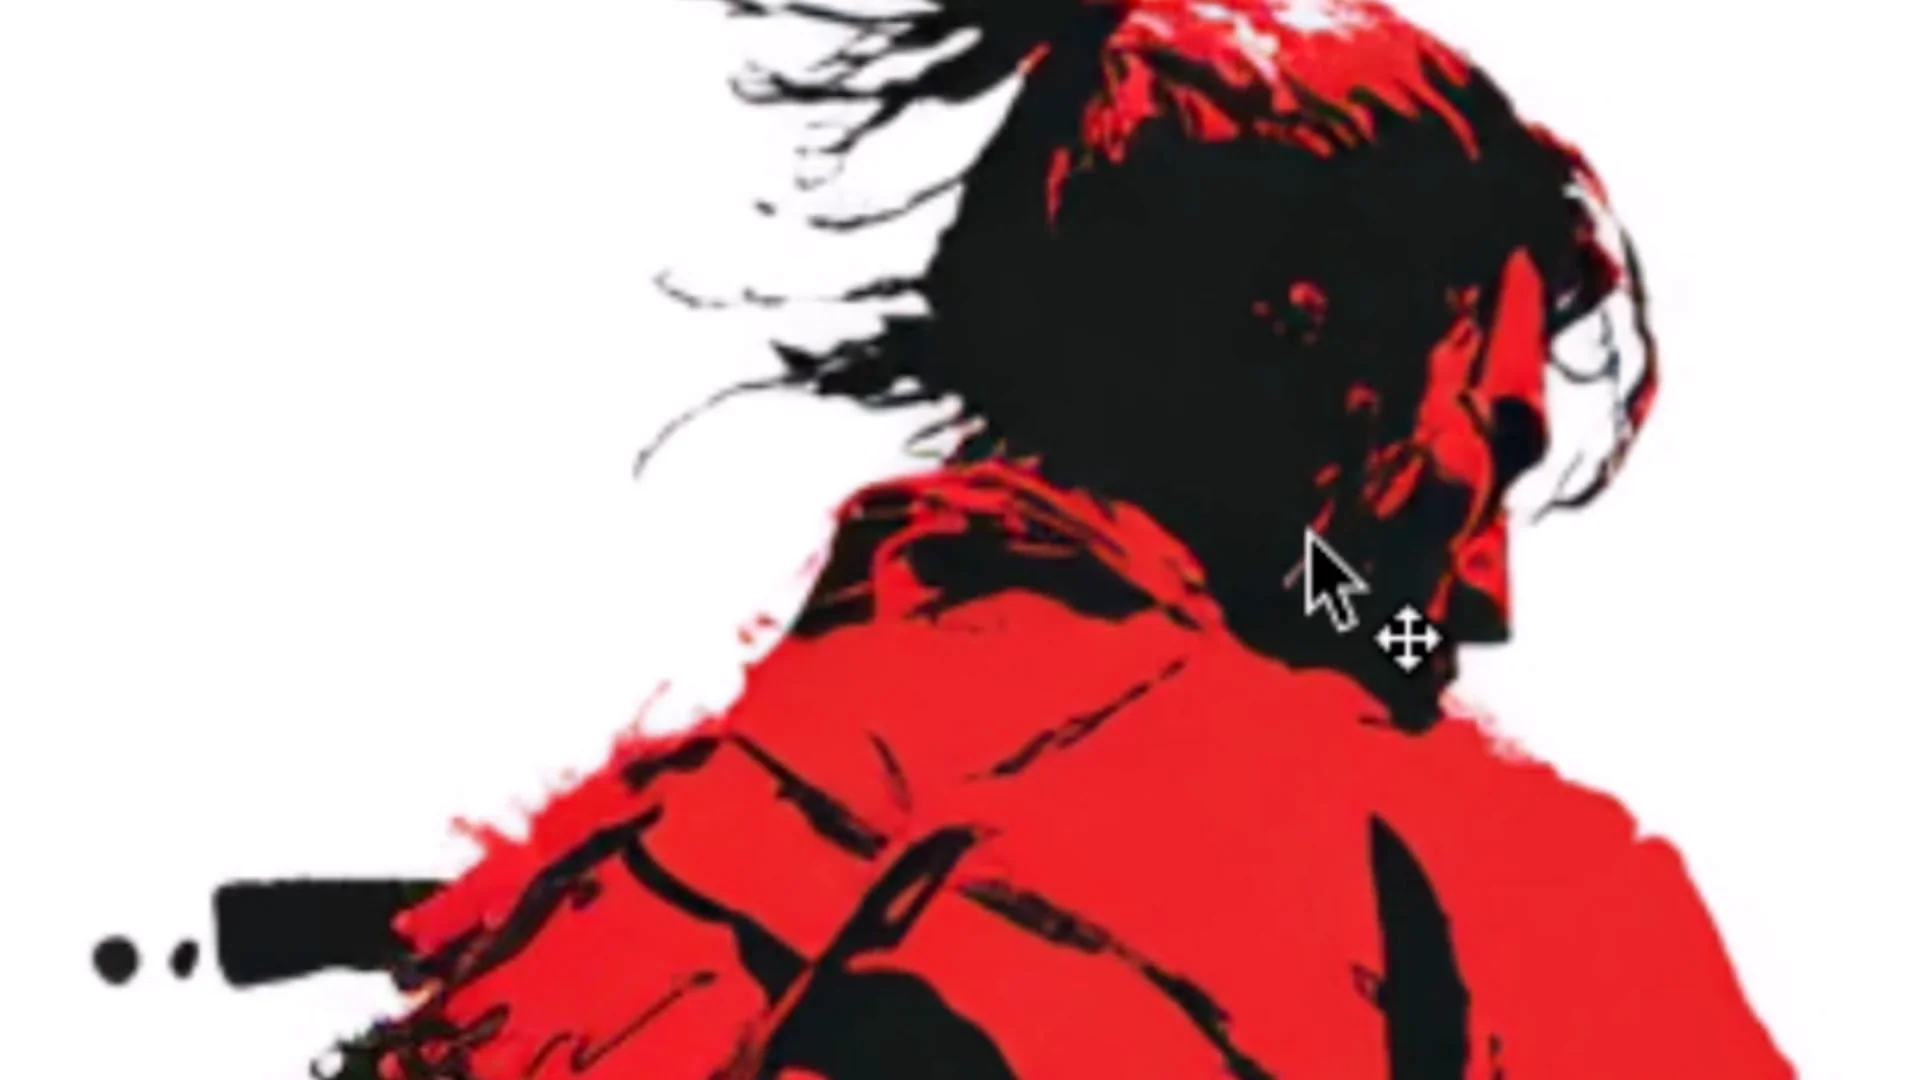
I start with my subject, which is Mimoto Masashi.
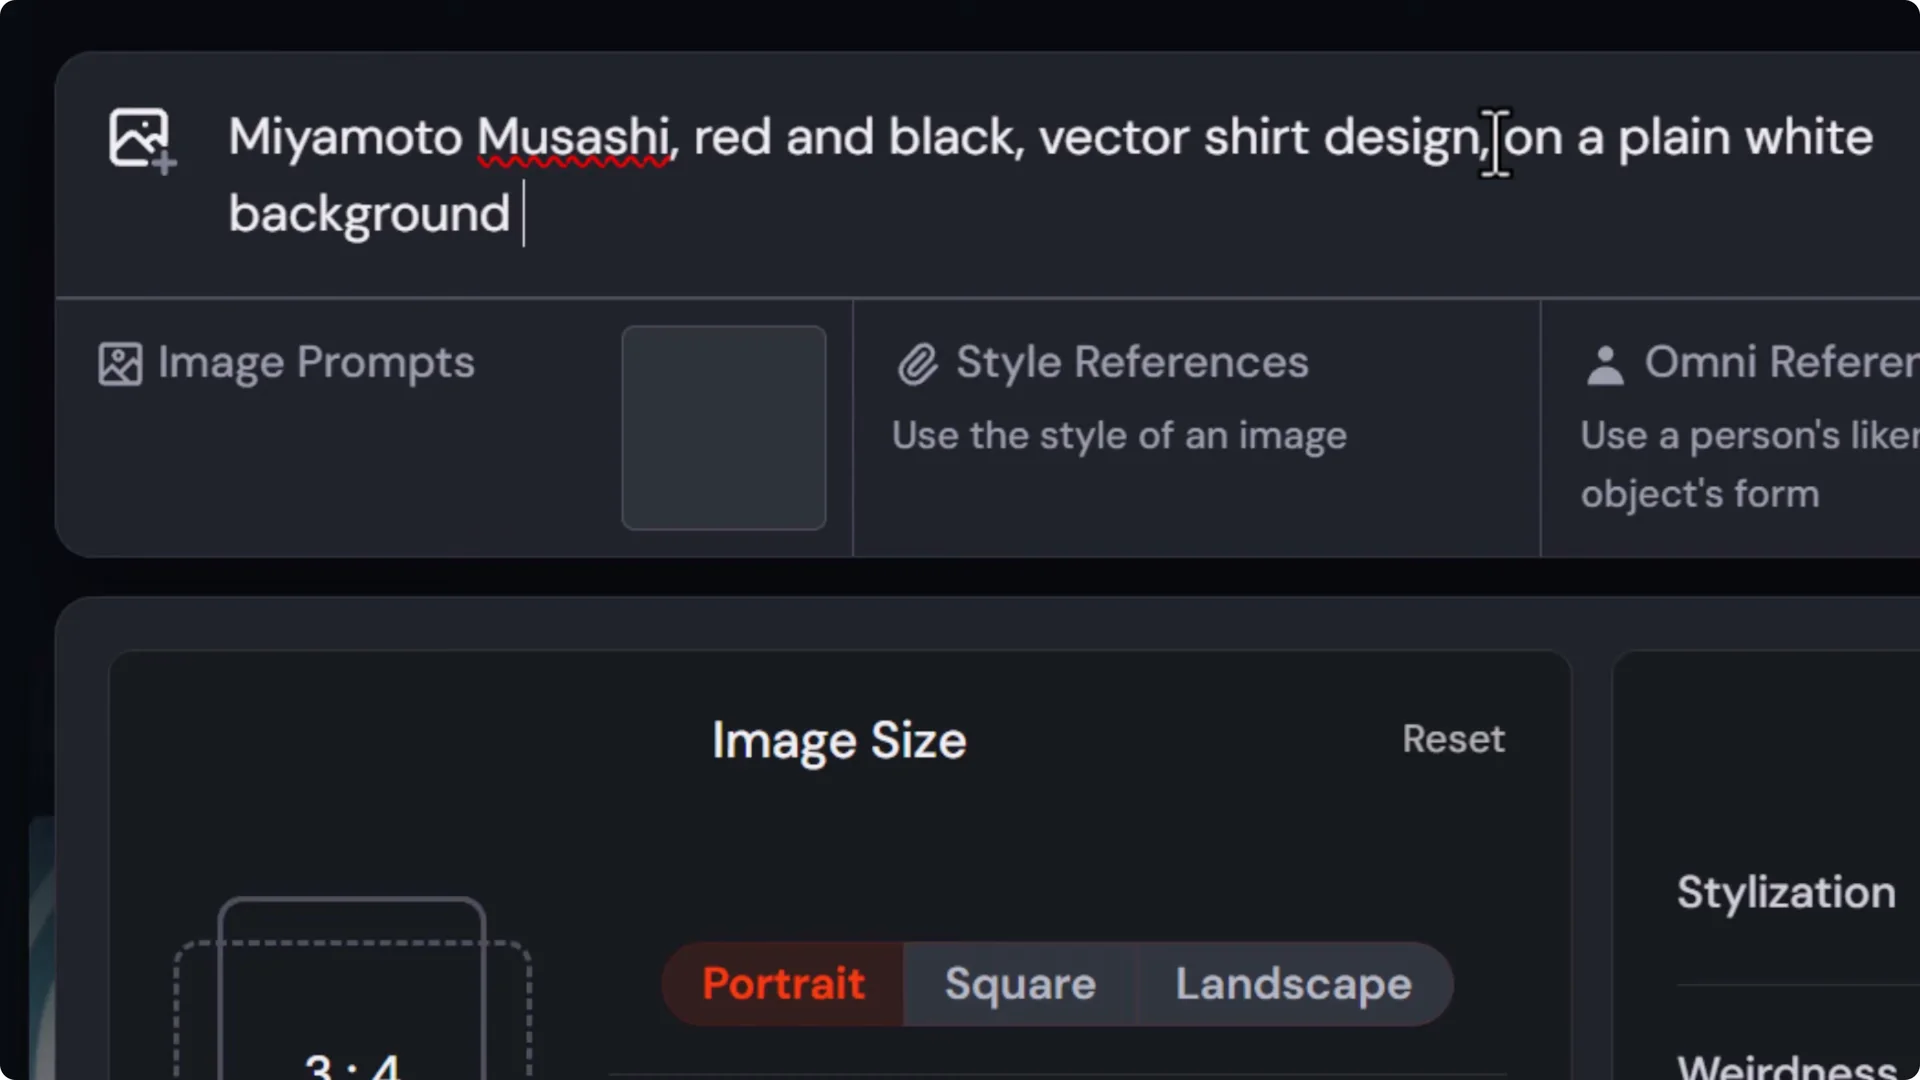
I create a Masashi themed t-shirt with a quote. I mention vector and shirt design, put it on a plain white background to keep things clean and design friendly, and add the negative word to prevent mockups.
This prompt formula works across most AI art platforms. If you are not using MidJourney, find the negative words option where you type your prompt and add mockup there.
Selecting and refining the output
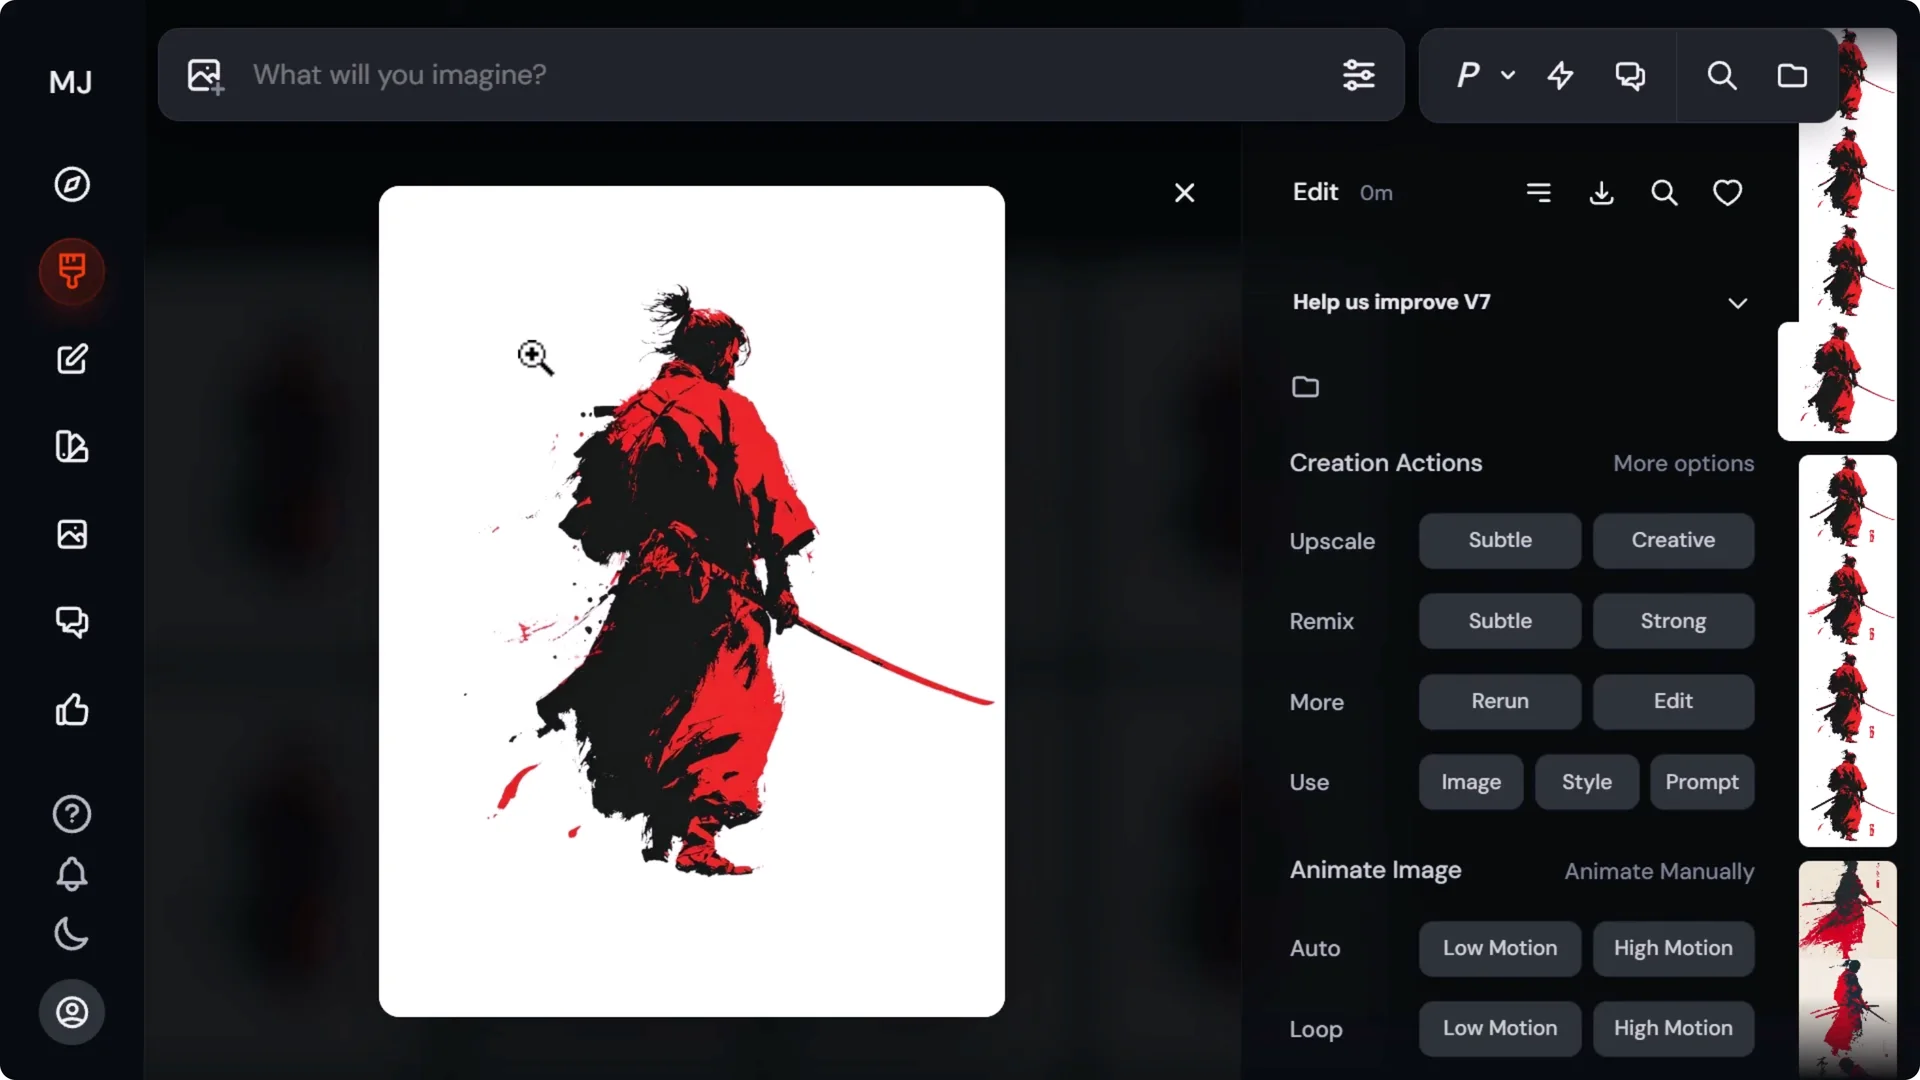
I ended up with four images. They all have the black and white look, clean design, and plenty of space around them. I could use any one of these on a t-shirt except the last one where the legs get cut off.
I like going through a few variations, then picking the best from a variety of images. I really like one from the first lot of generations, so I work on that.

Retry prompts, make adjustments, and tweak what you are after. Keep trying until you find something you want to work with.
One issue is that this guy has too many swords in the image, so I edit those out. I use a brush tool to mask out the swords I want to remove and prompt something simple like white since we have a clean white background.
It is not always perfect, so keep refining in the editor until you get the final result.
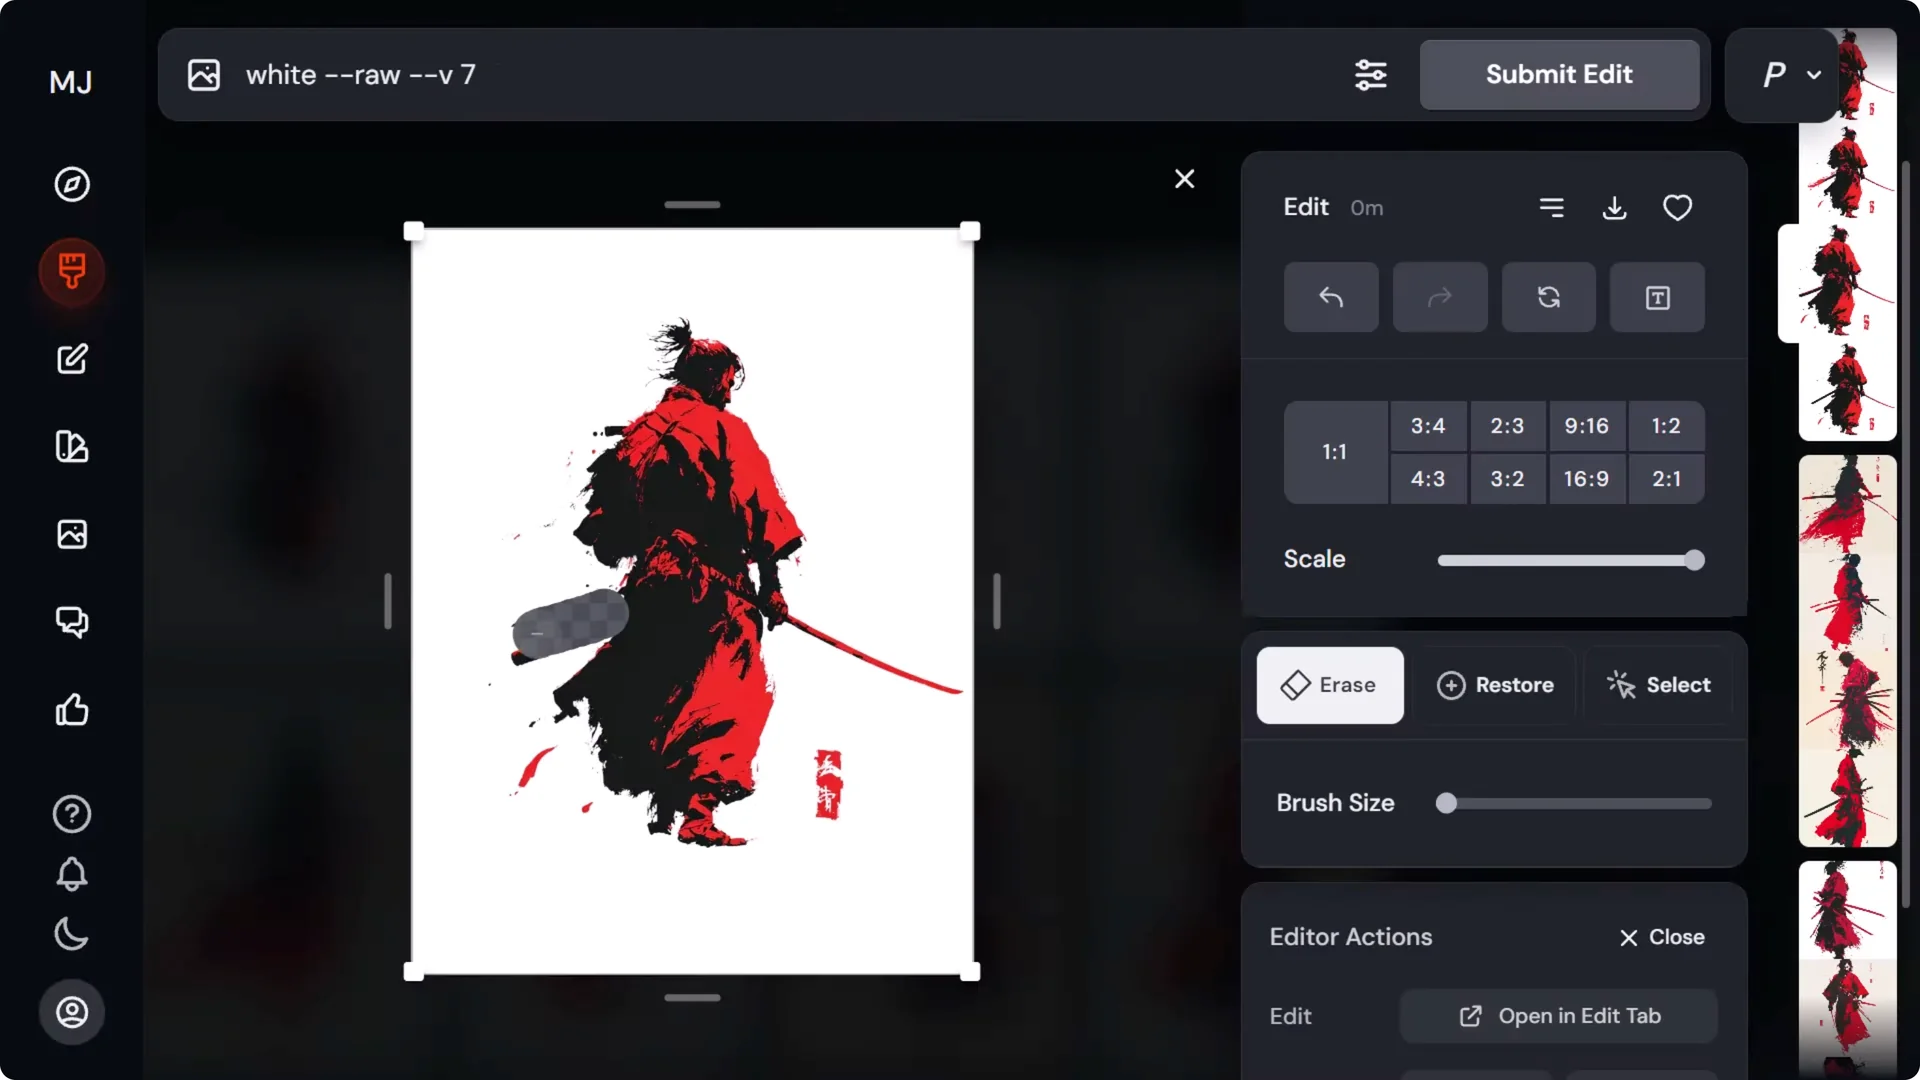
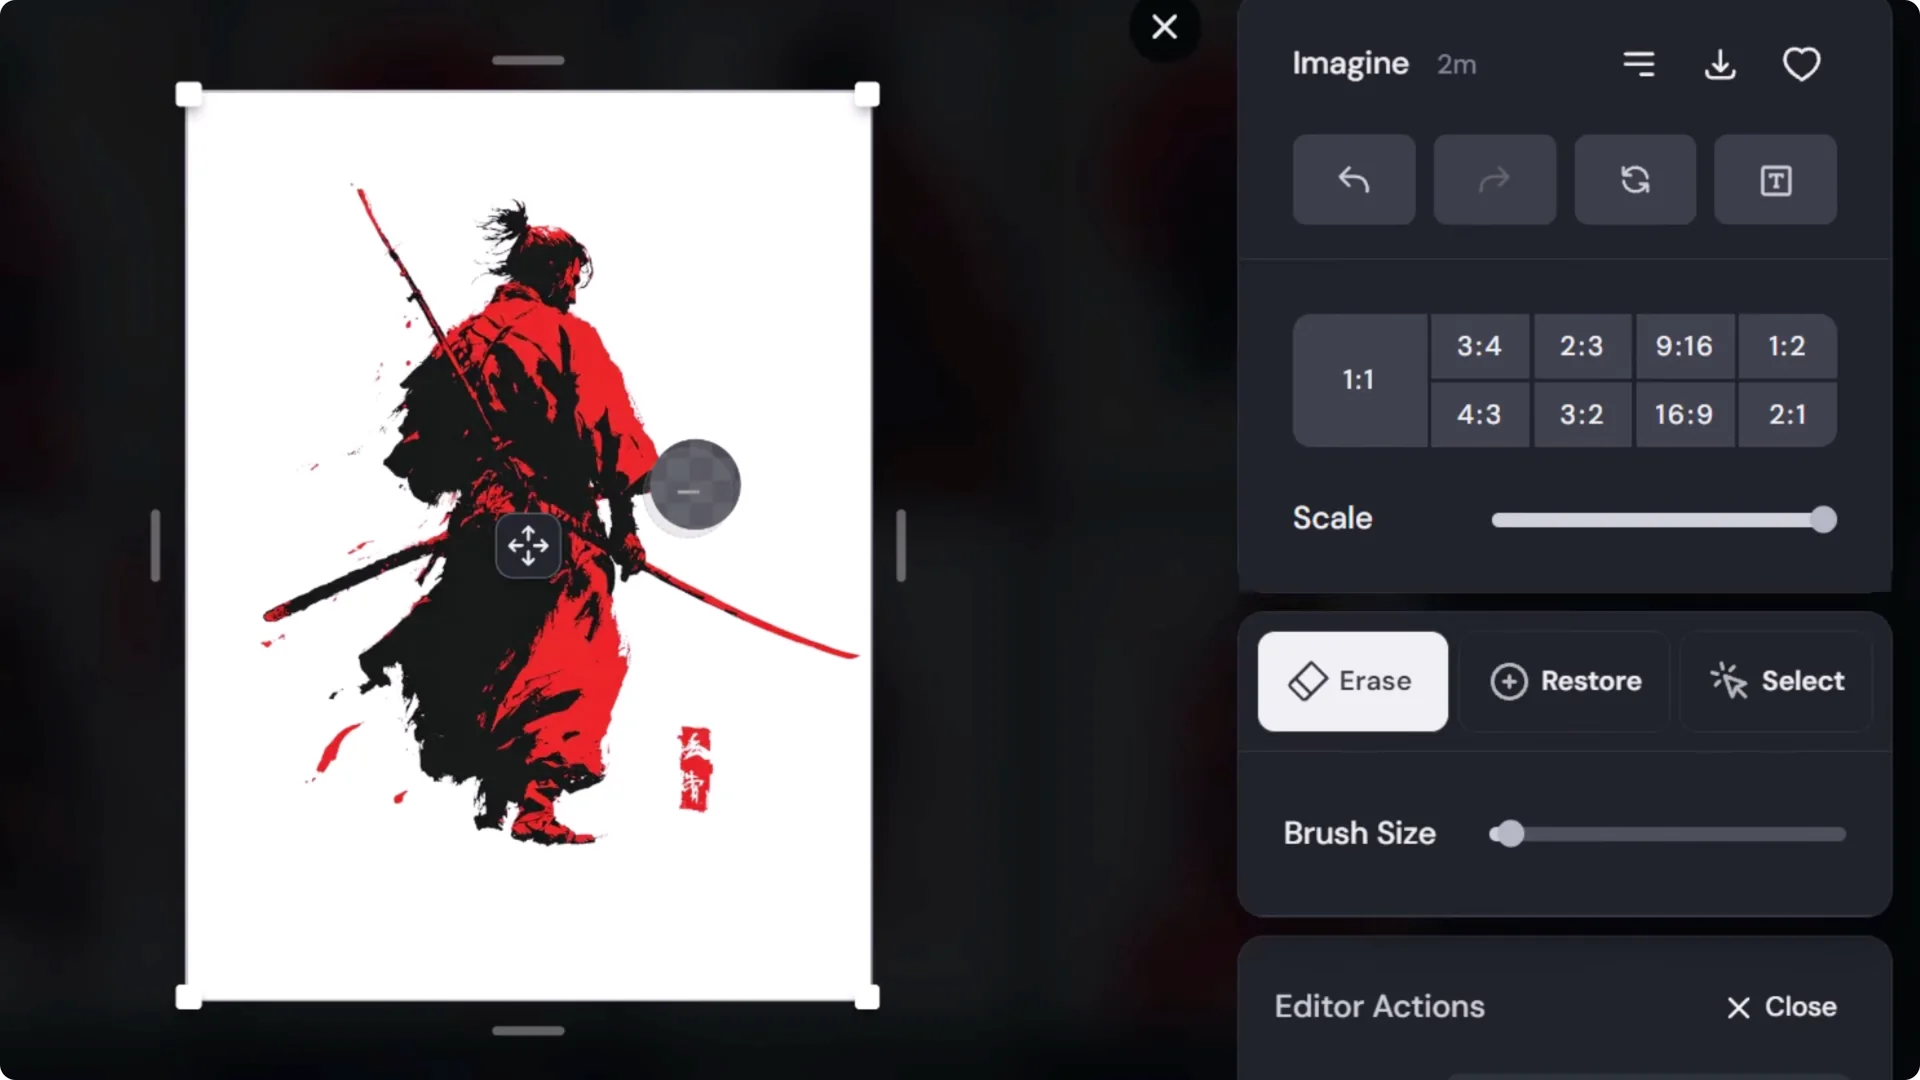
It is important to fix up details. You want pride in your work and a cohesive result. Most platforms have some form of editor that allows small changes like this. Learn your platform to find where you can fix details.
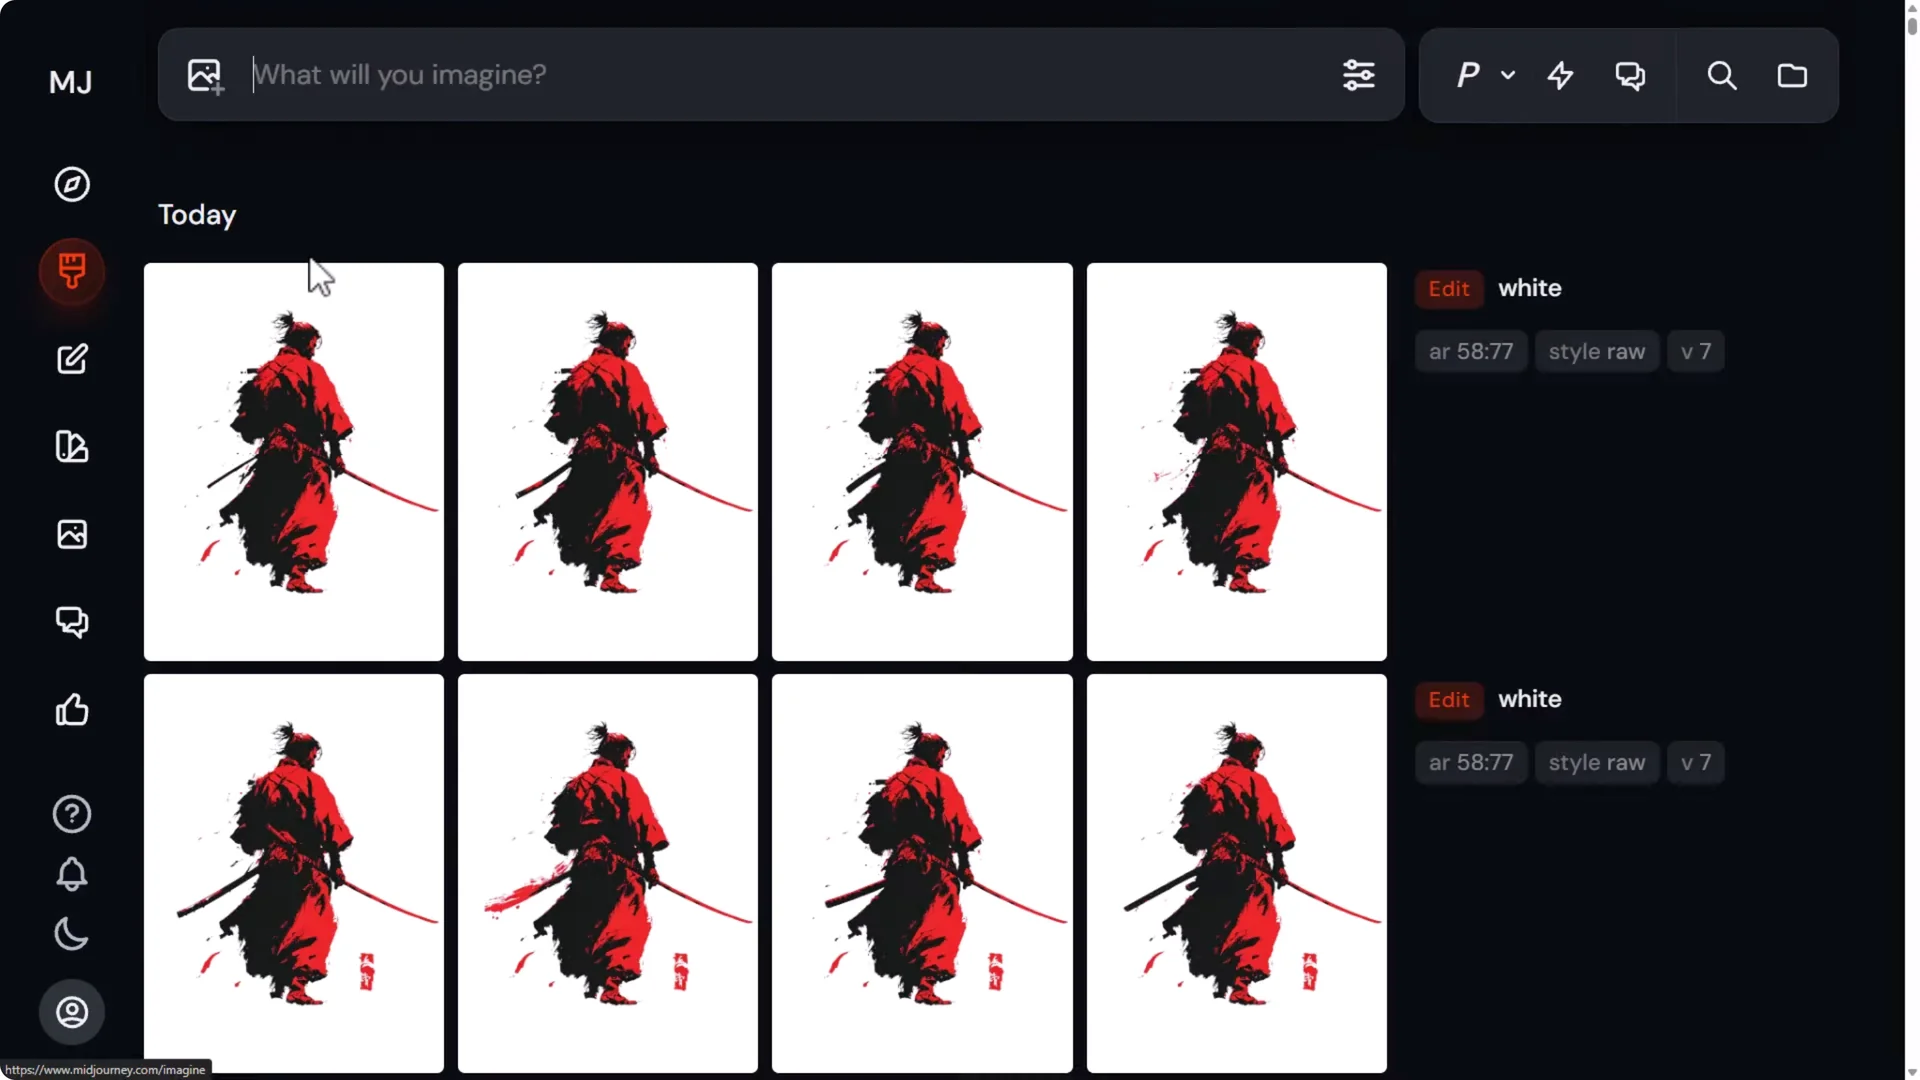
I have the final result I am happy to work with. I download it as is.
Convert the Bitmap to Vector for a MidJourney Vector T-Shirt Design
After this step, we go into vector design software to import the design and start making edits and laying things out. Most vector design software has bitmap to vector conversion built in, but some are not that good.
Inkscape has a decent converter. Adobe Illustrator and Corel Draw can also convert to vector effectively.
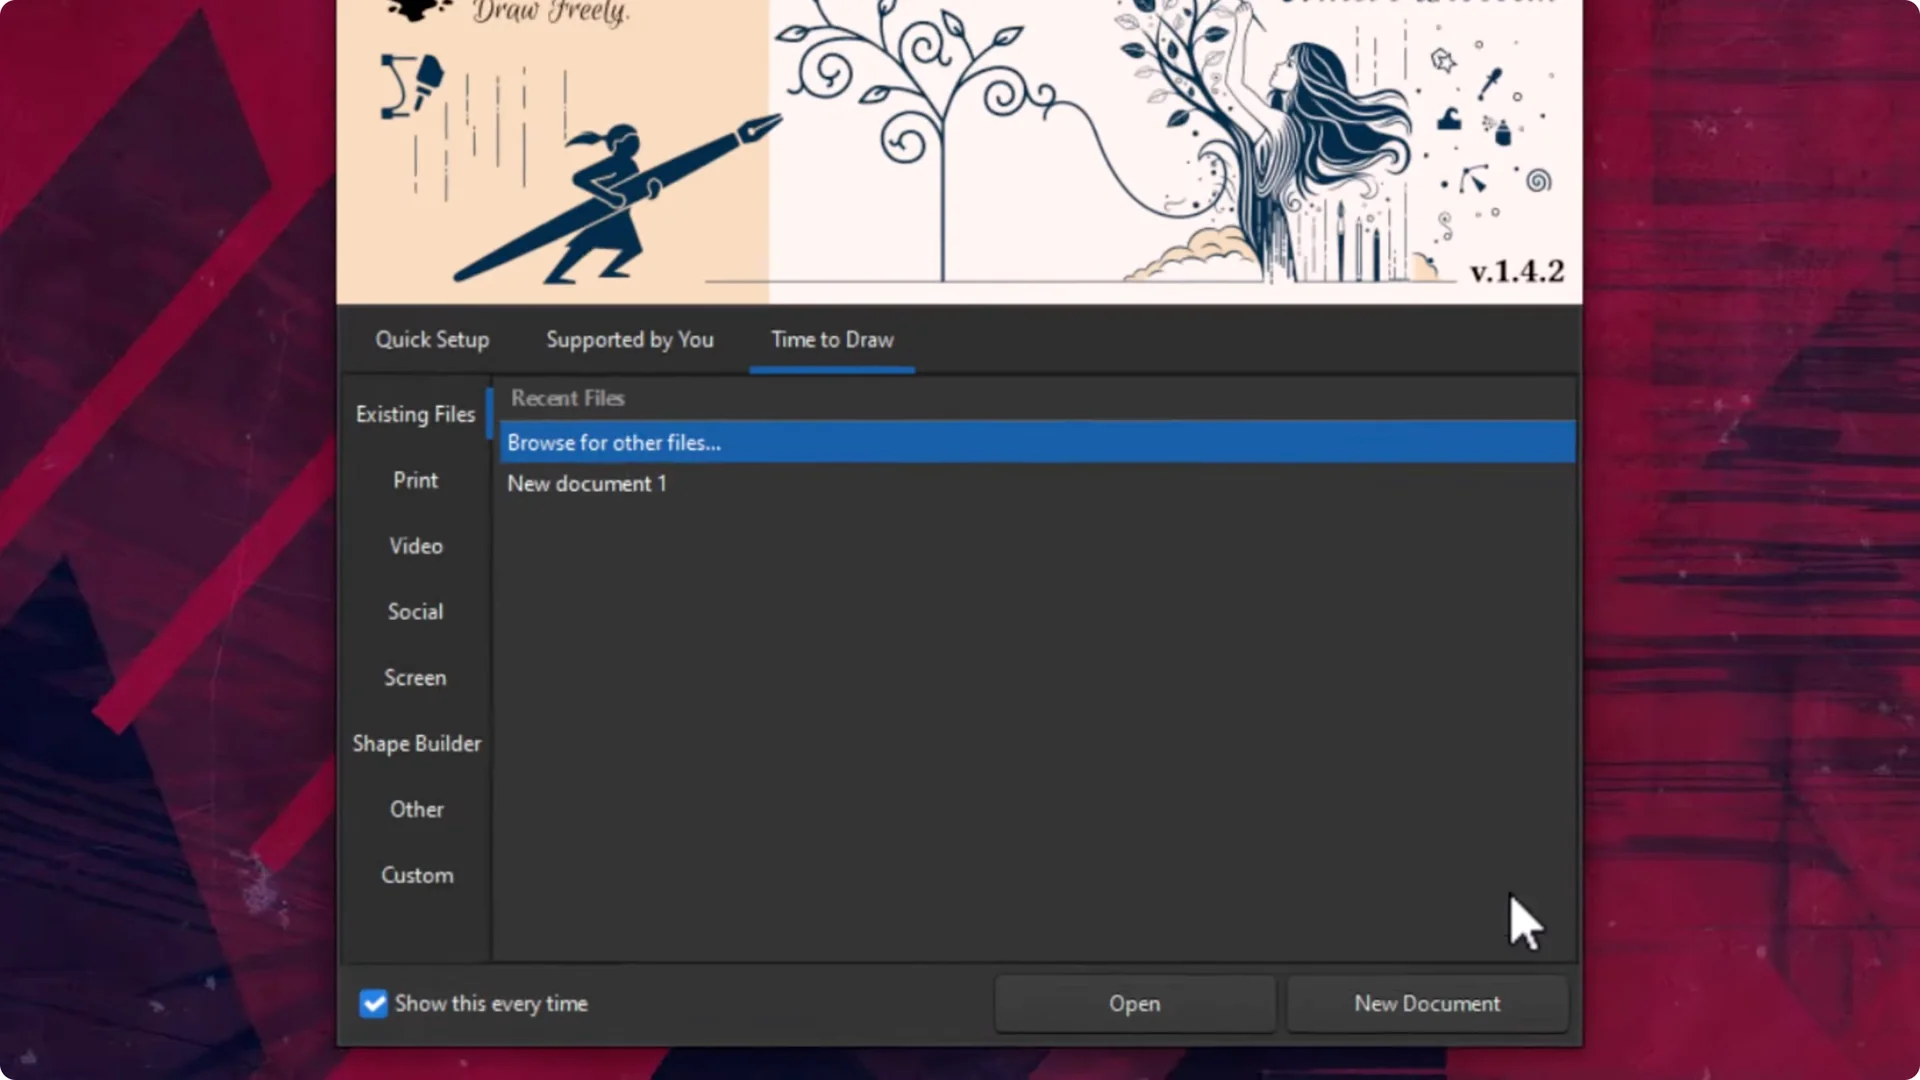
If you have not already got it, head to inkscape.org, download the current stable version, install it, and open it. Create a new document, then drag and drop your image into Inkscape’s canvas. Leave the import options at default and click OK. Resize it to fit. If it warps, hold Control to keep proportions.
Vectorizing in Inkscape – step by step
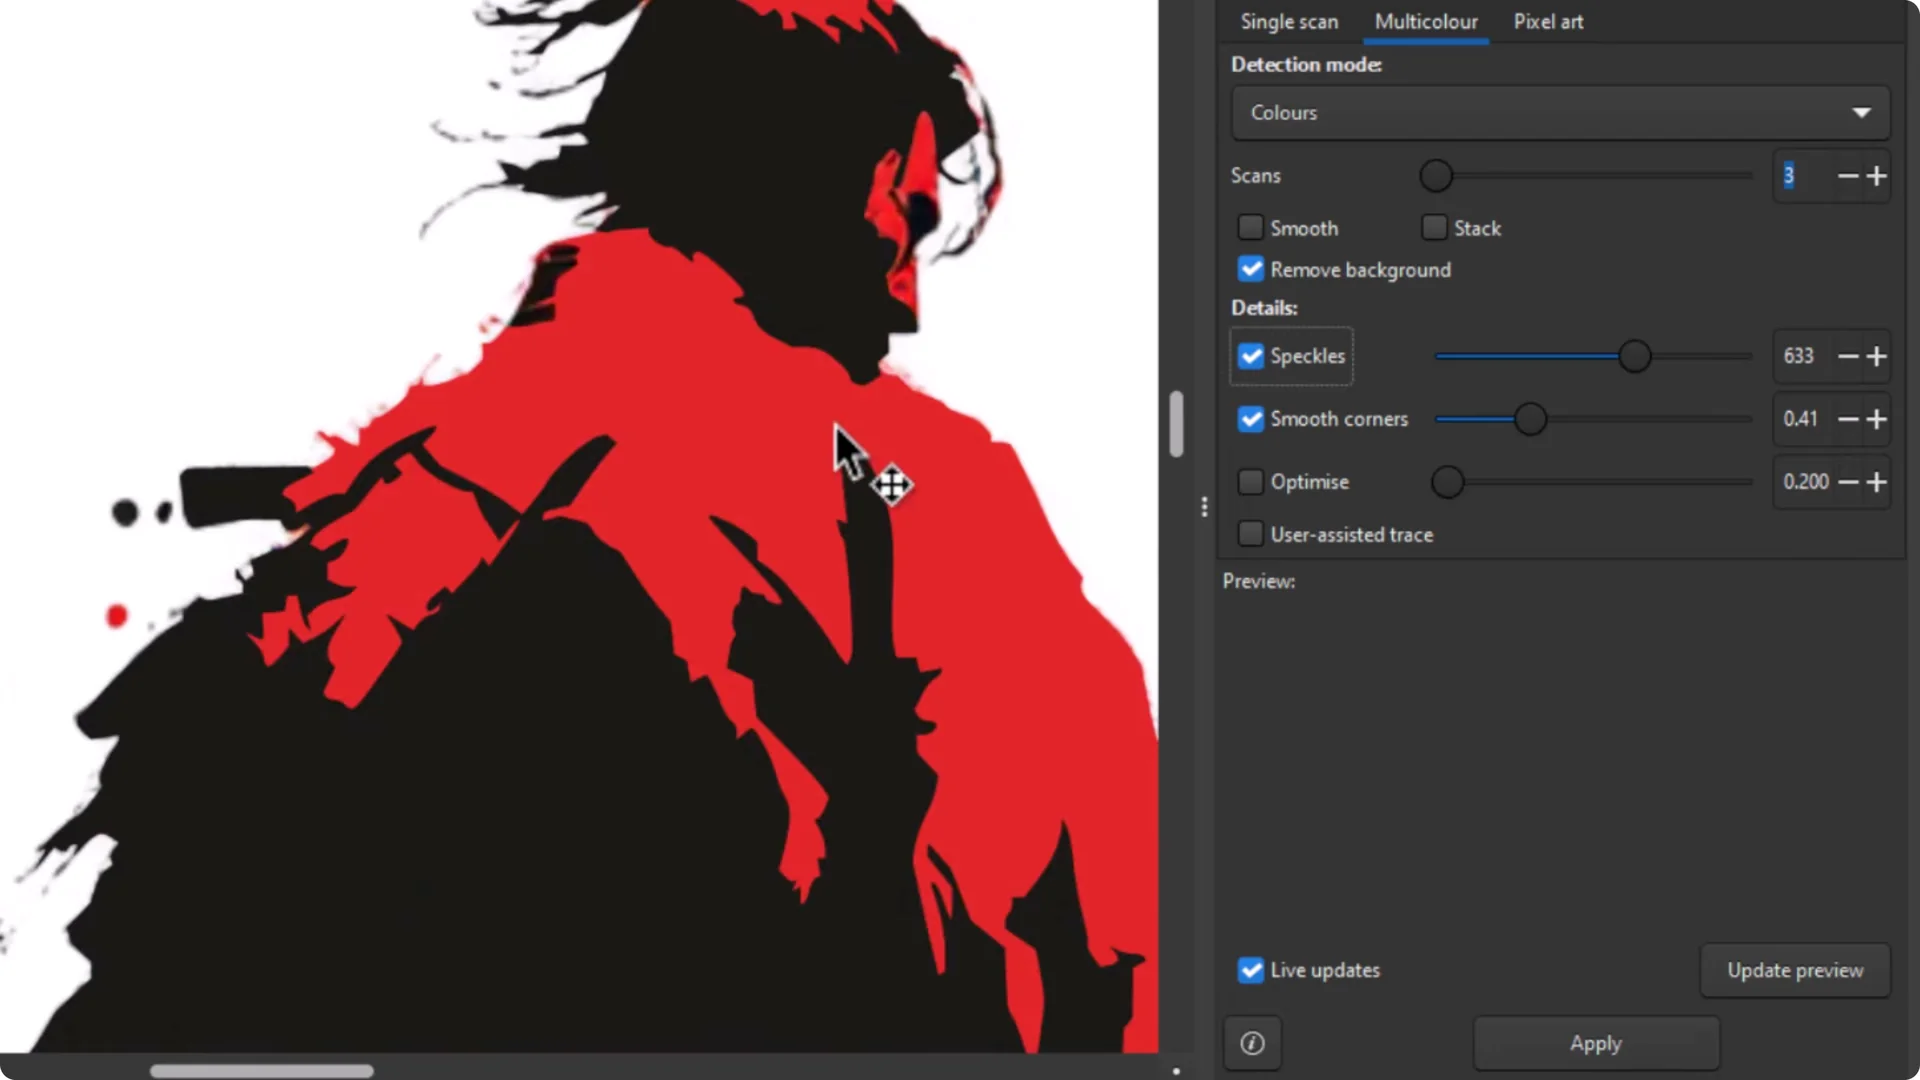
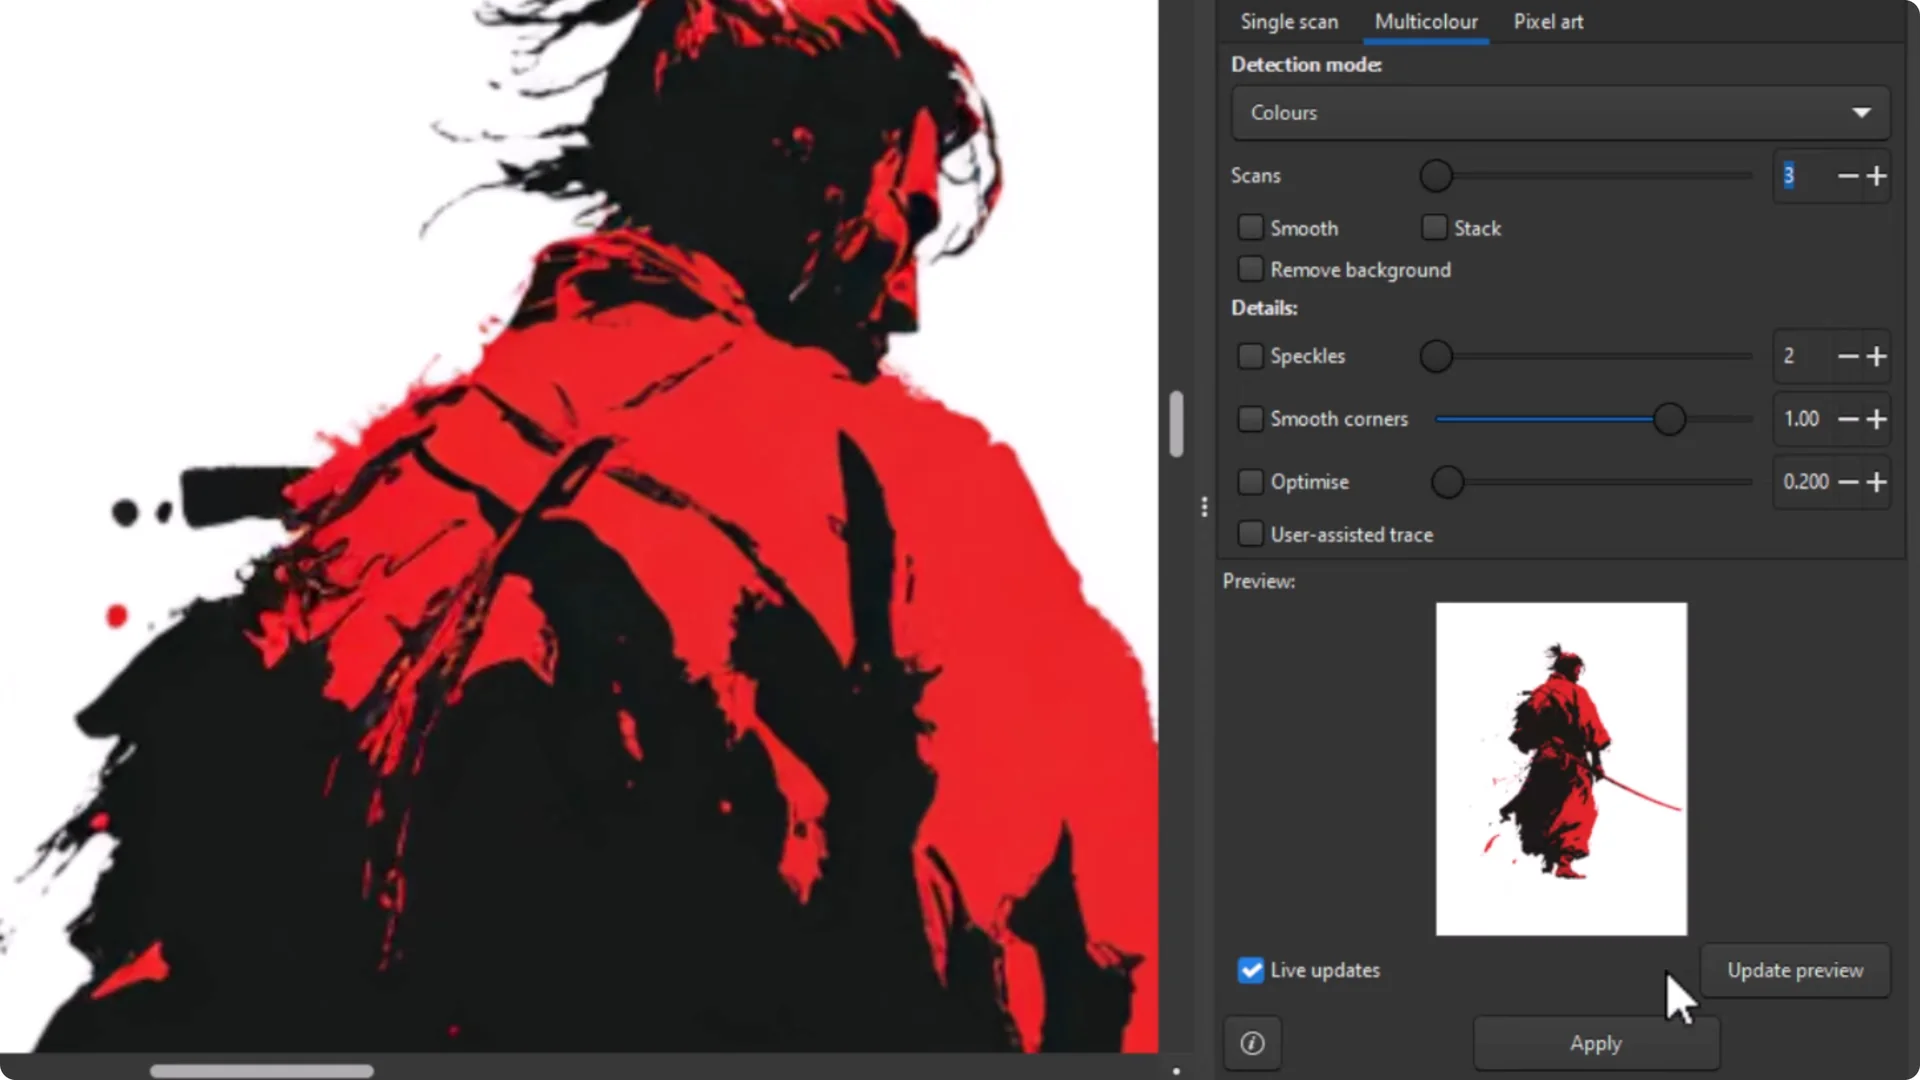
- Right click the image and choose Trace Bitmap.
- Choose Multicolor.
- Switch Detection mode to Colors.
- Set Scans to 3, since I am working with white, black, and red.
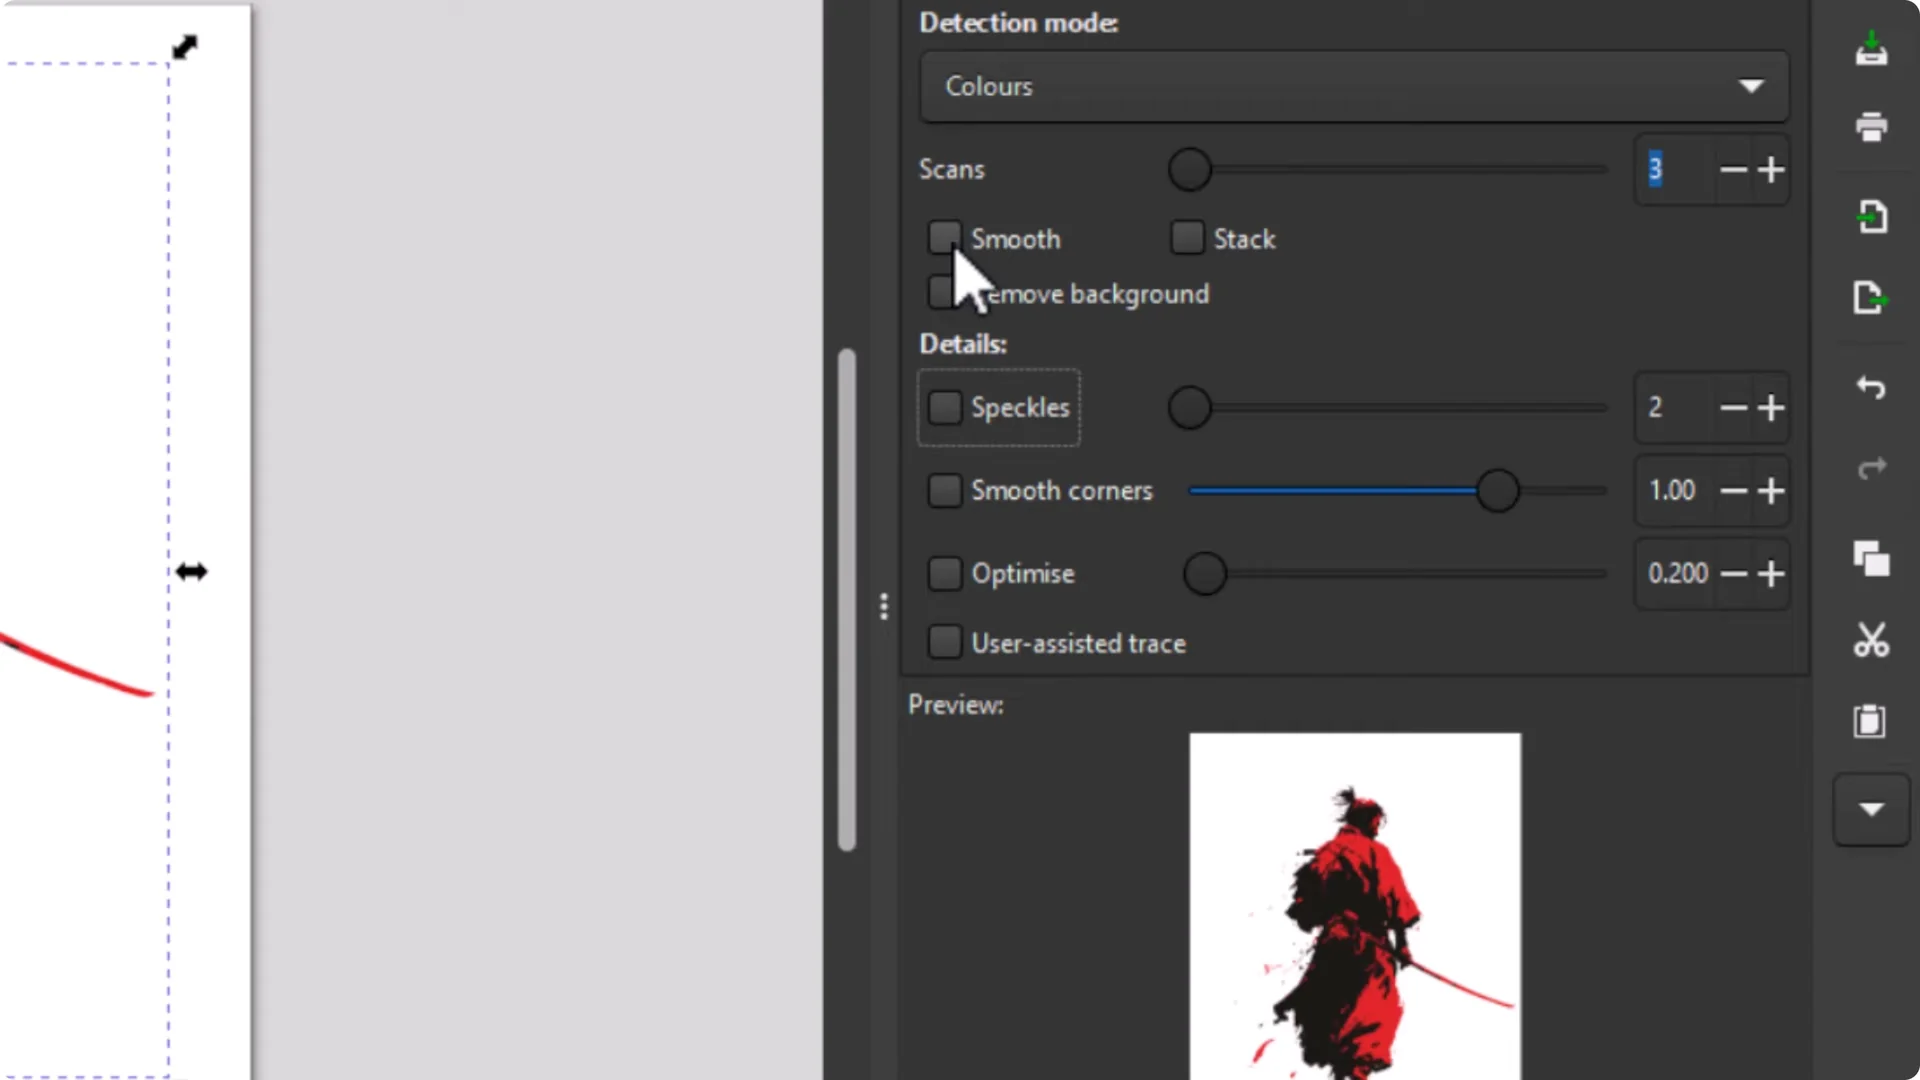
- Turn off the extra settings to start clean.
- Test Smooth. If you lose too much detail, undo and turn it off.
- Try Smooth corners and adjust slightly if the corners are too sharp.
- Remove background so the figure is transparent.
- Click Apply, inspect, and tweak sliders like Smooth corners and Speckles until you get the best result for your image.
- Undo and reapply as needed until you are happy.

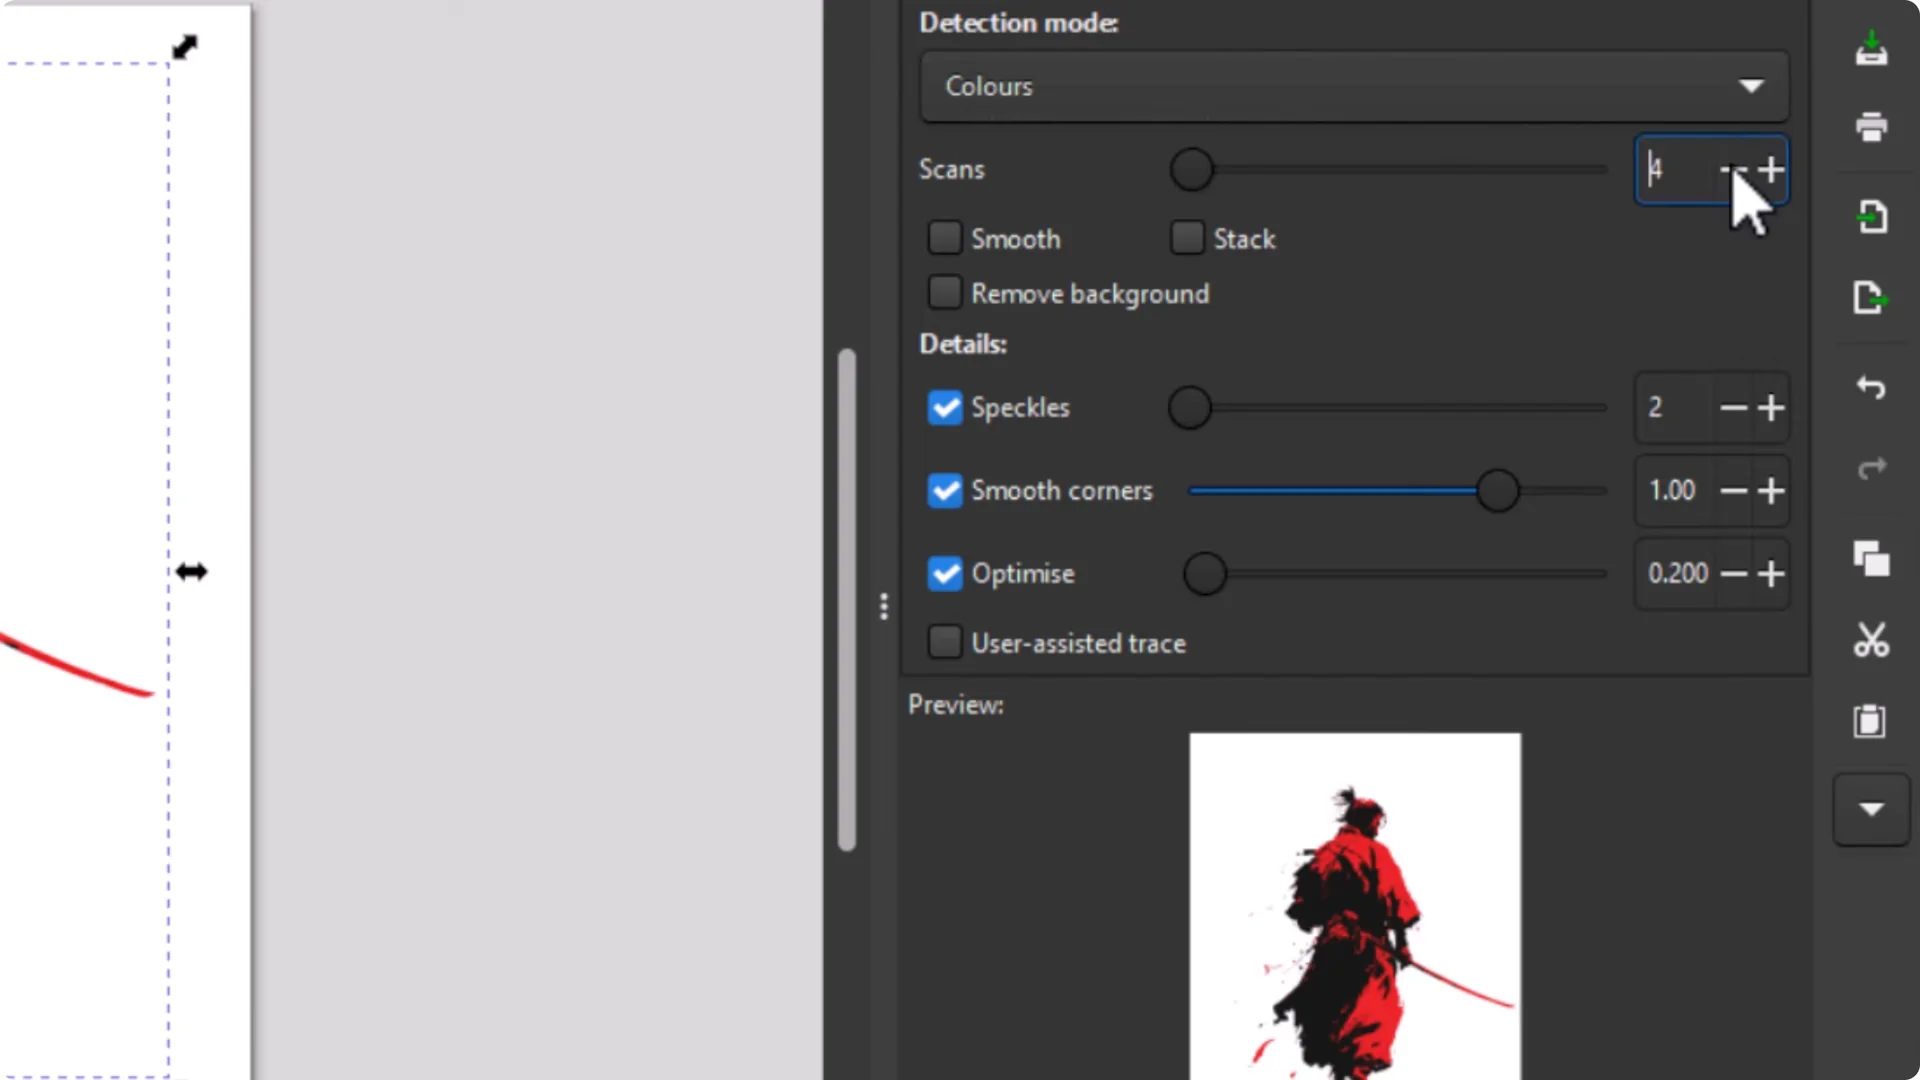

Which settings you use depends on each image. Every image is different. Adjust the preview until you find what you want.
Keep images very flat with simple shapes. They can have a lot of detail, but avoid gradients and fades. Aim for nice flat colors with solid shapes so it converts cleanly to vector.
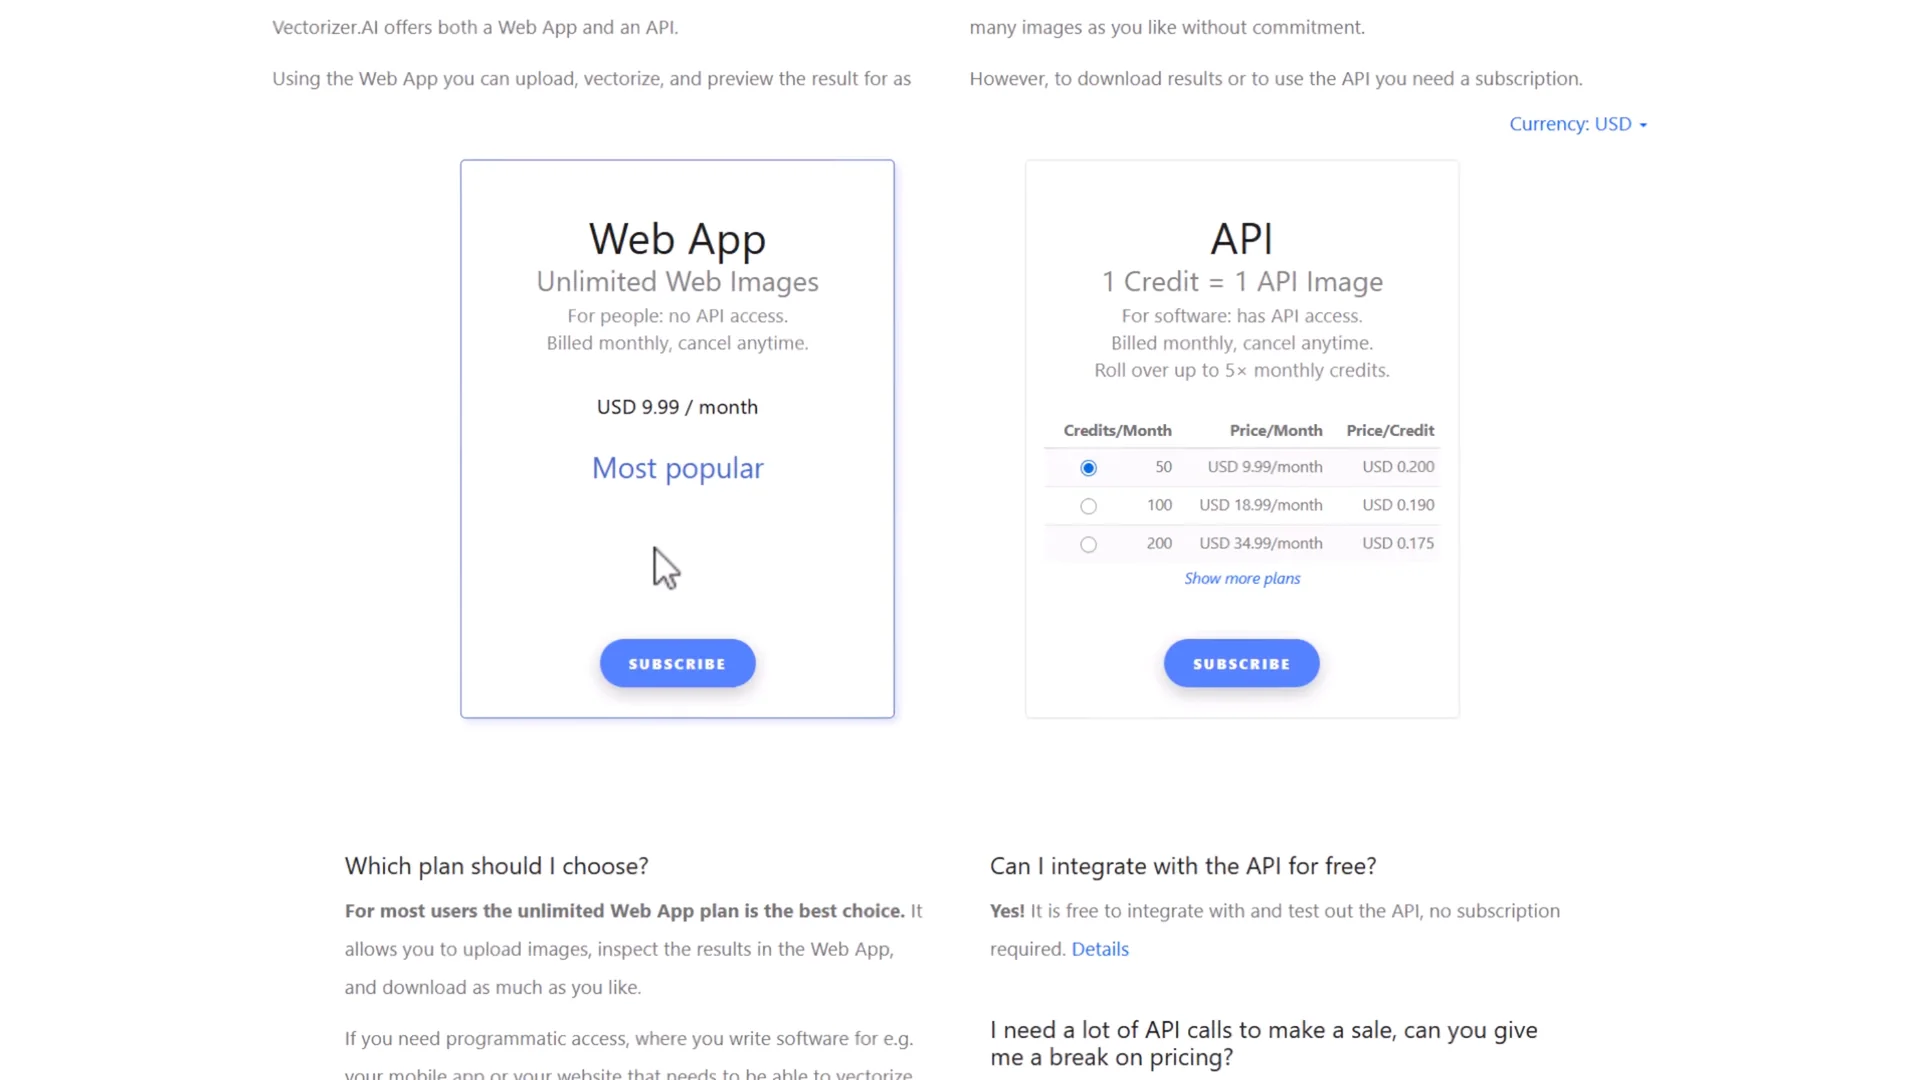
Alternate vectorization option
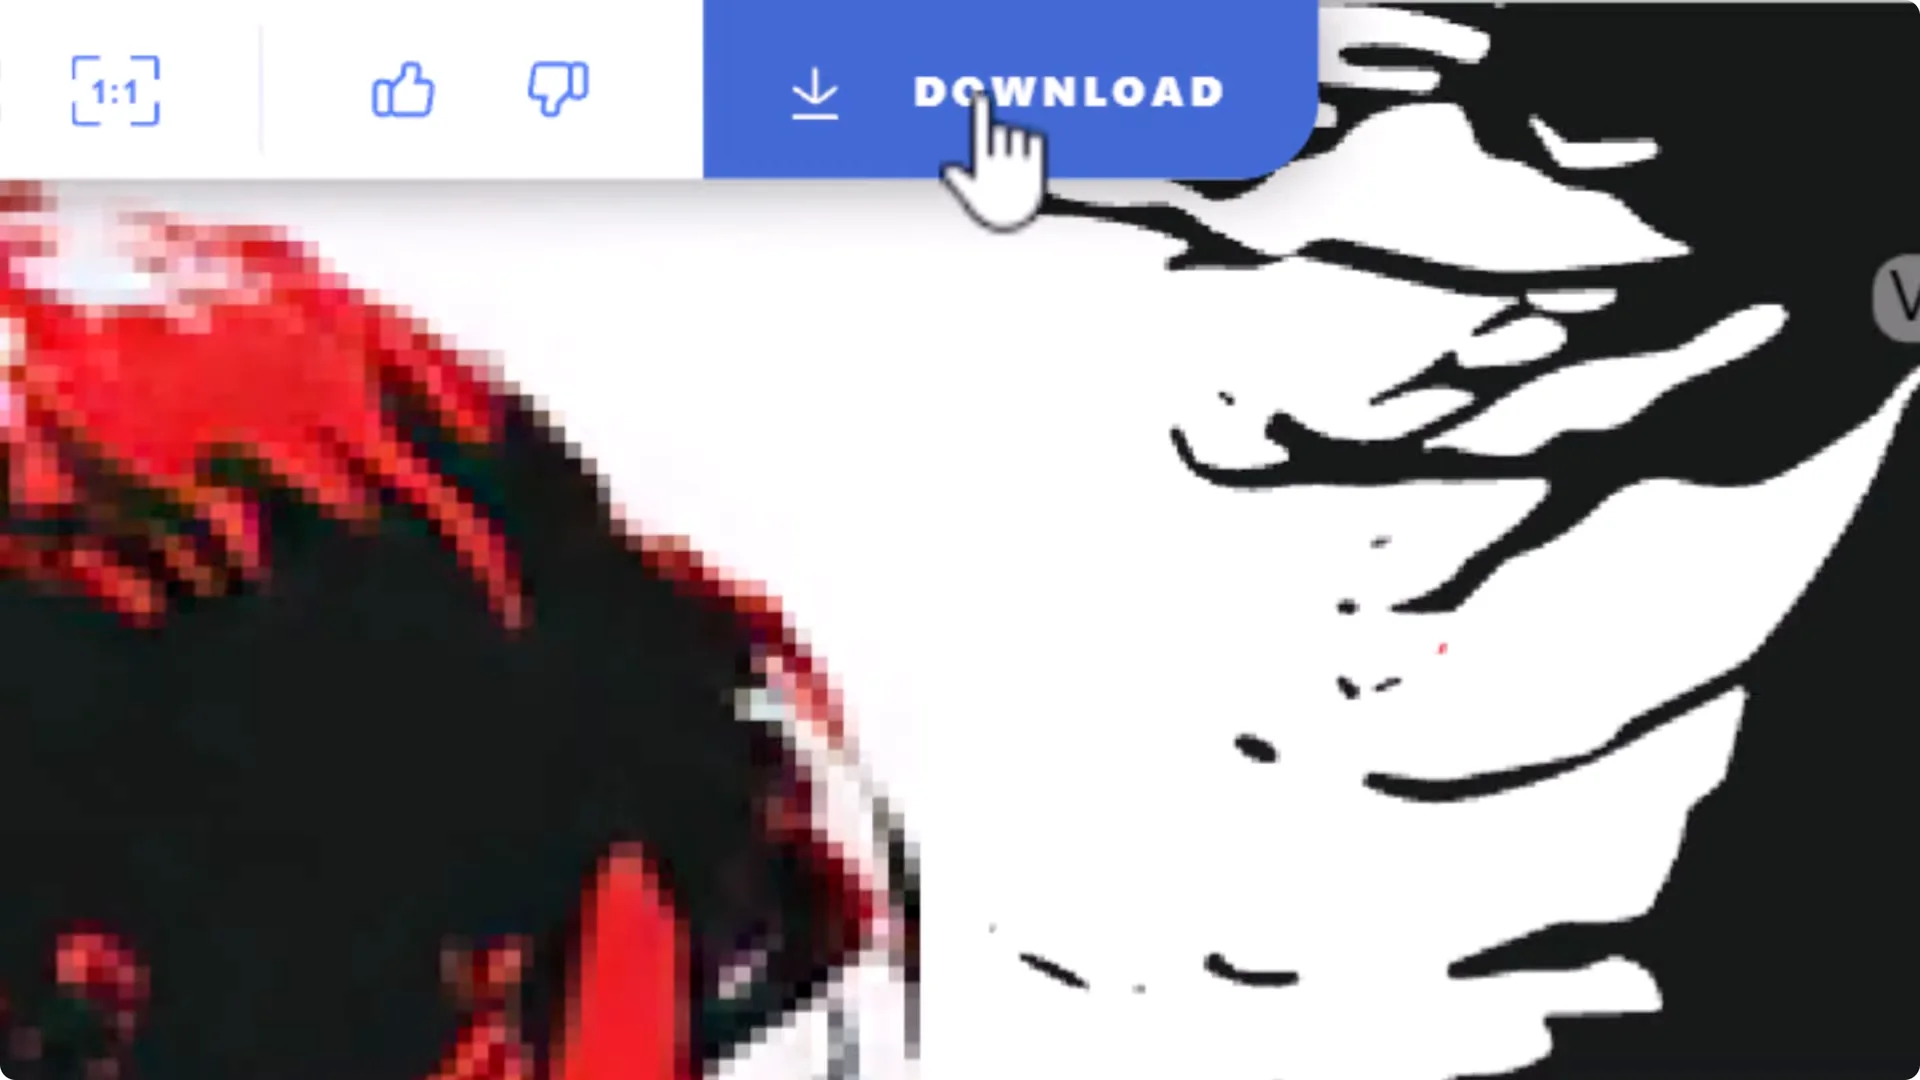
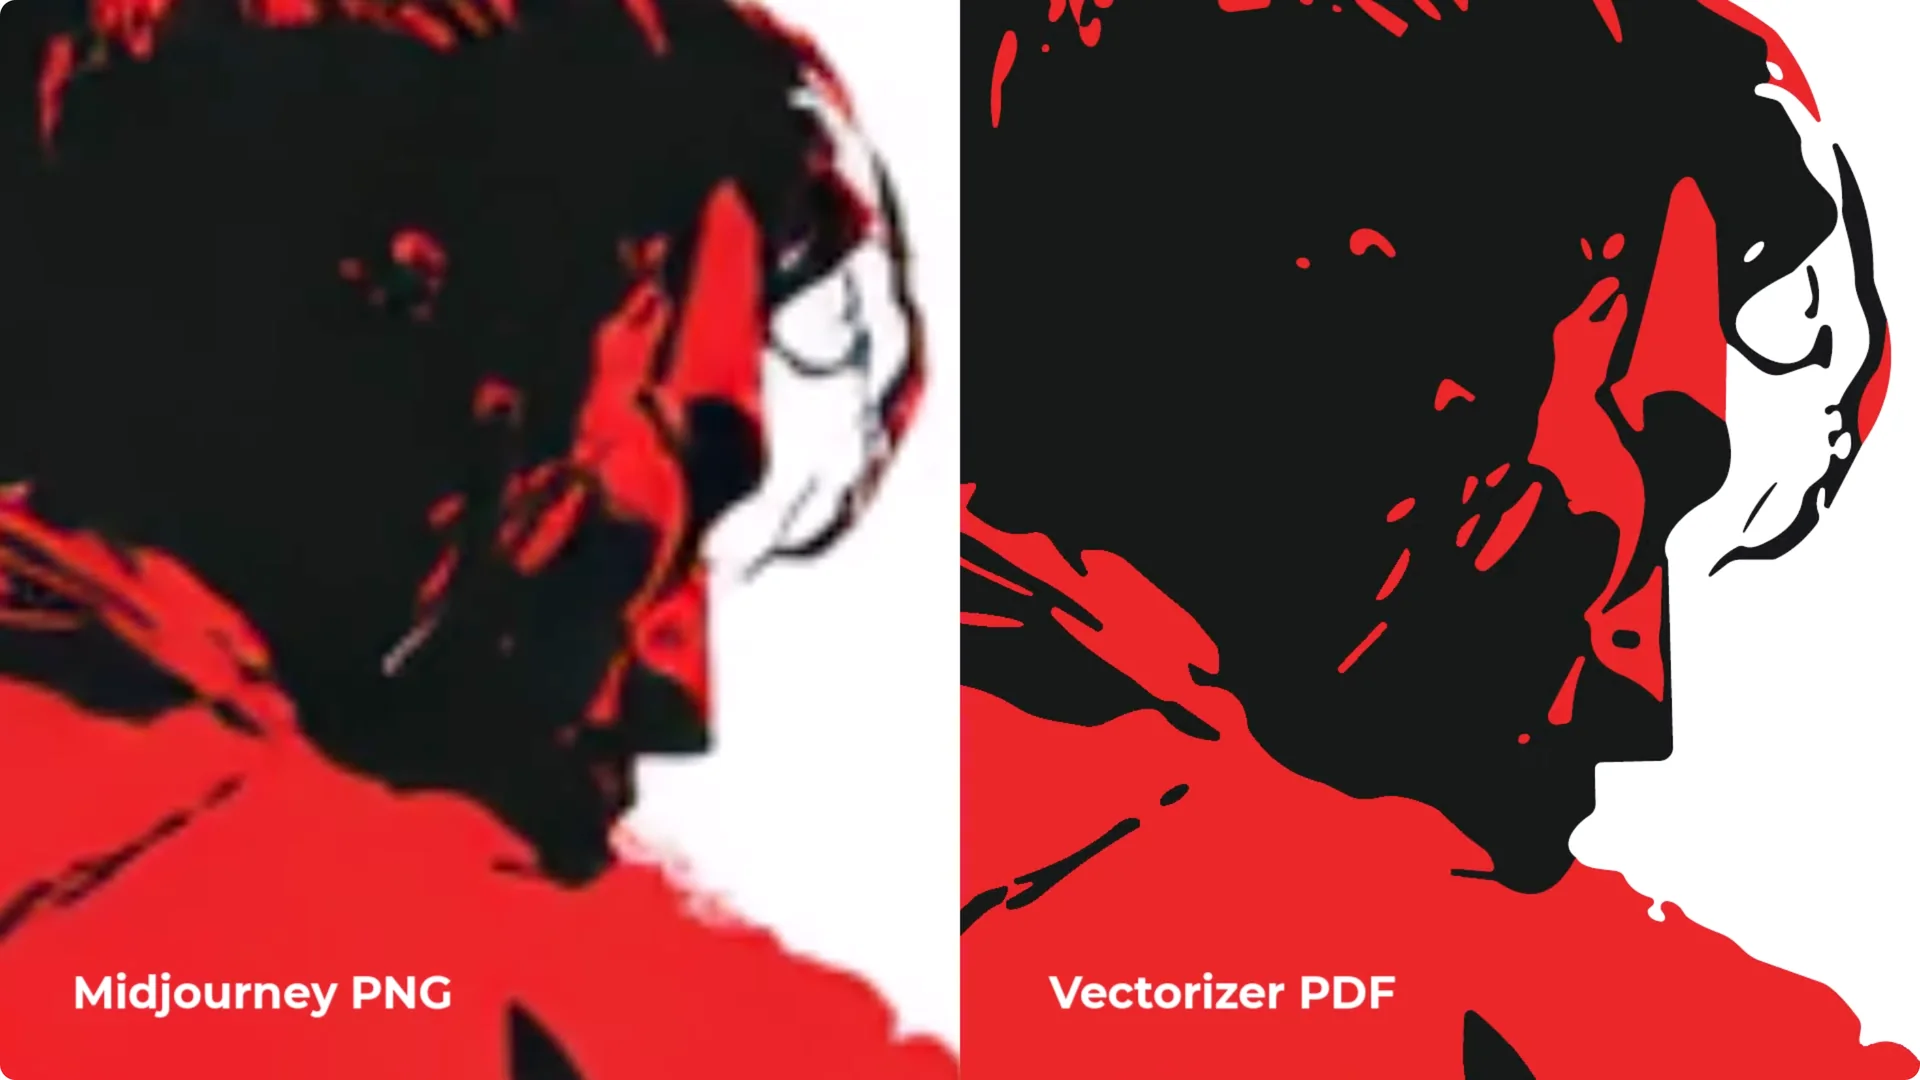
Another solution is vectorzer. Drag and drop your MidJourney file, it scans and traces it into a high quality vector image. If you are happy with the preview, download as a PDF.
This is a premium app. I have used it before, signed up for a premium plan, downloaded the vector graphic, and it looks sharp. The vector file is ready to use, and we can move on to the next step.
Design the Layout with Vector Design Software for a MidJourney Vector T-Shirt Design
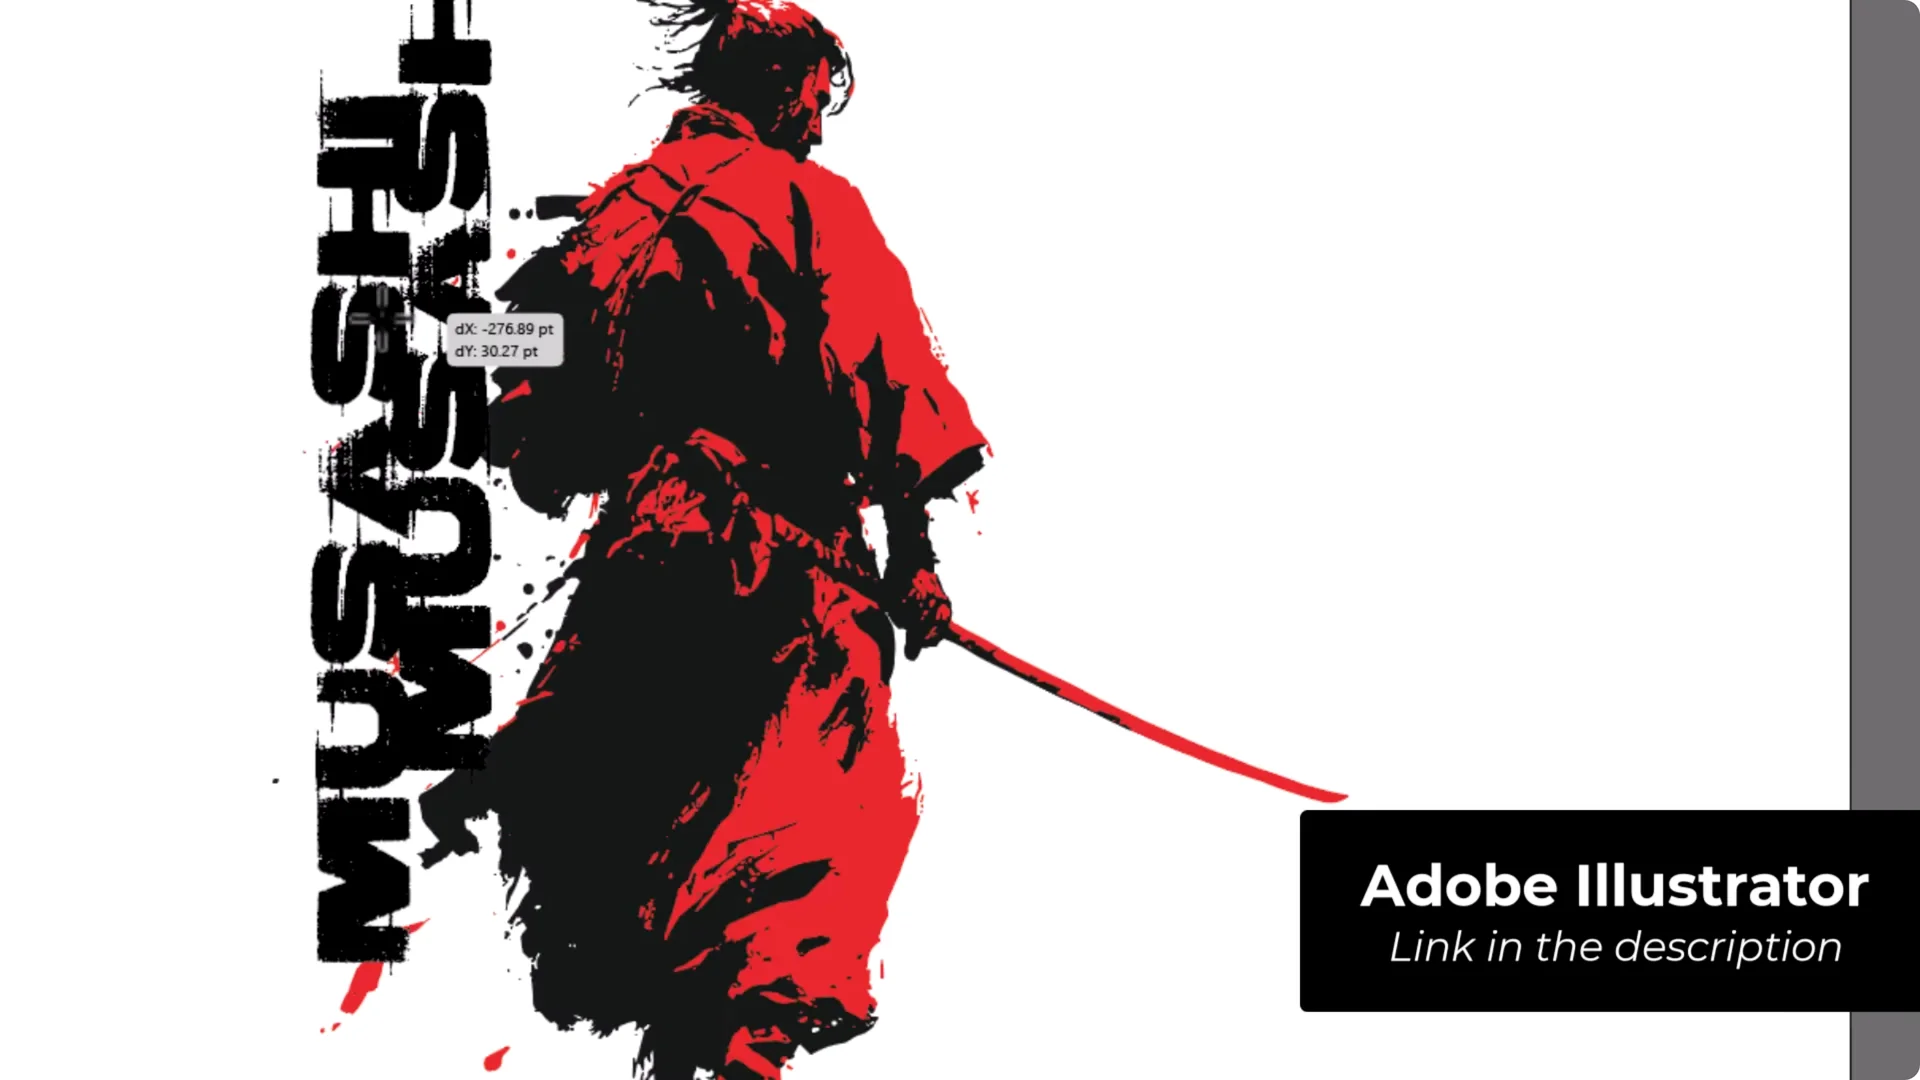
If you are going to do this long term as a professional designer, you will get the best results choosing something like Adobe Illustrator and learning that platform. It is the industry standard for creating these kinds of designs.
Corel Draw is another good example. I used a combination of both Illustrator and Corel Draw as a graphic designer for 20 years. Because Inkscape is free, this is a nice place to start.
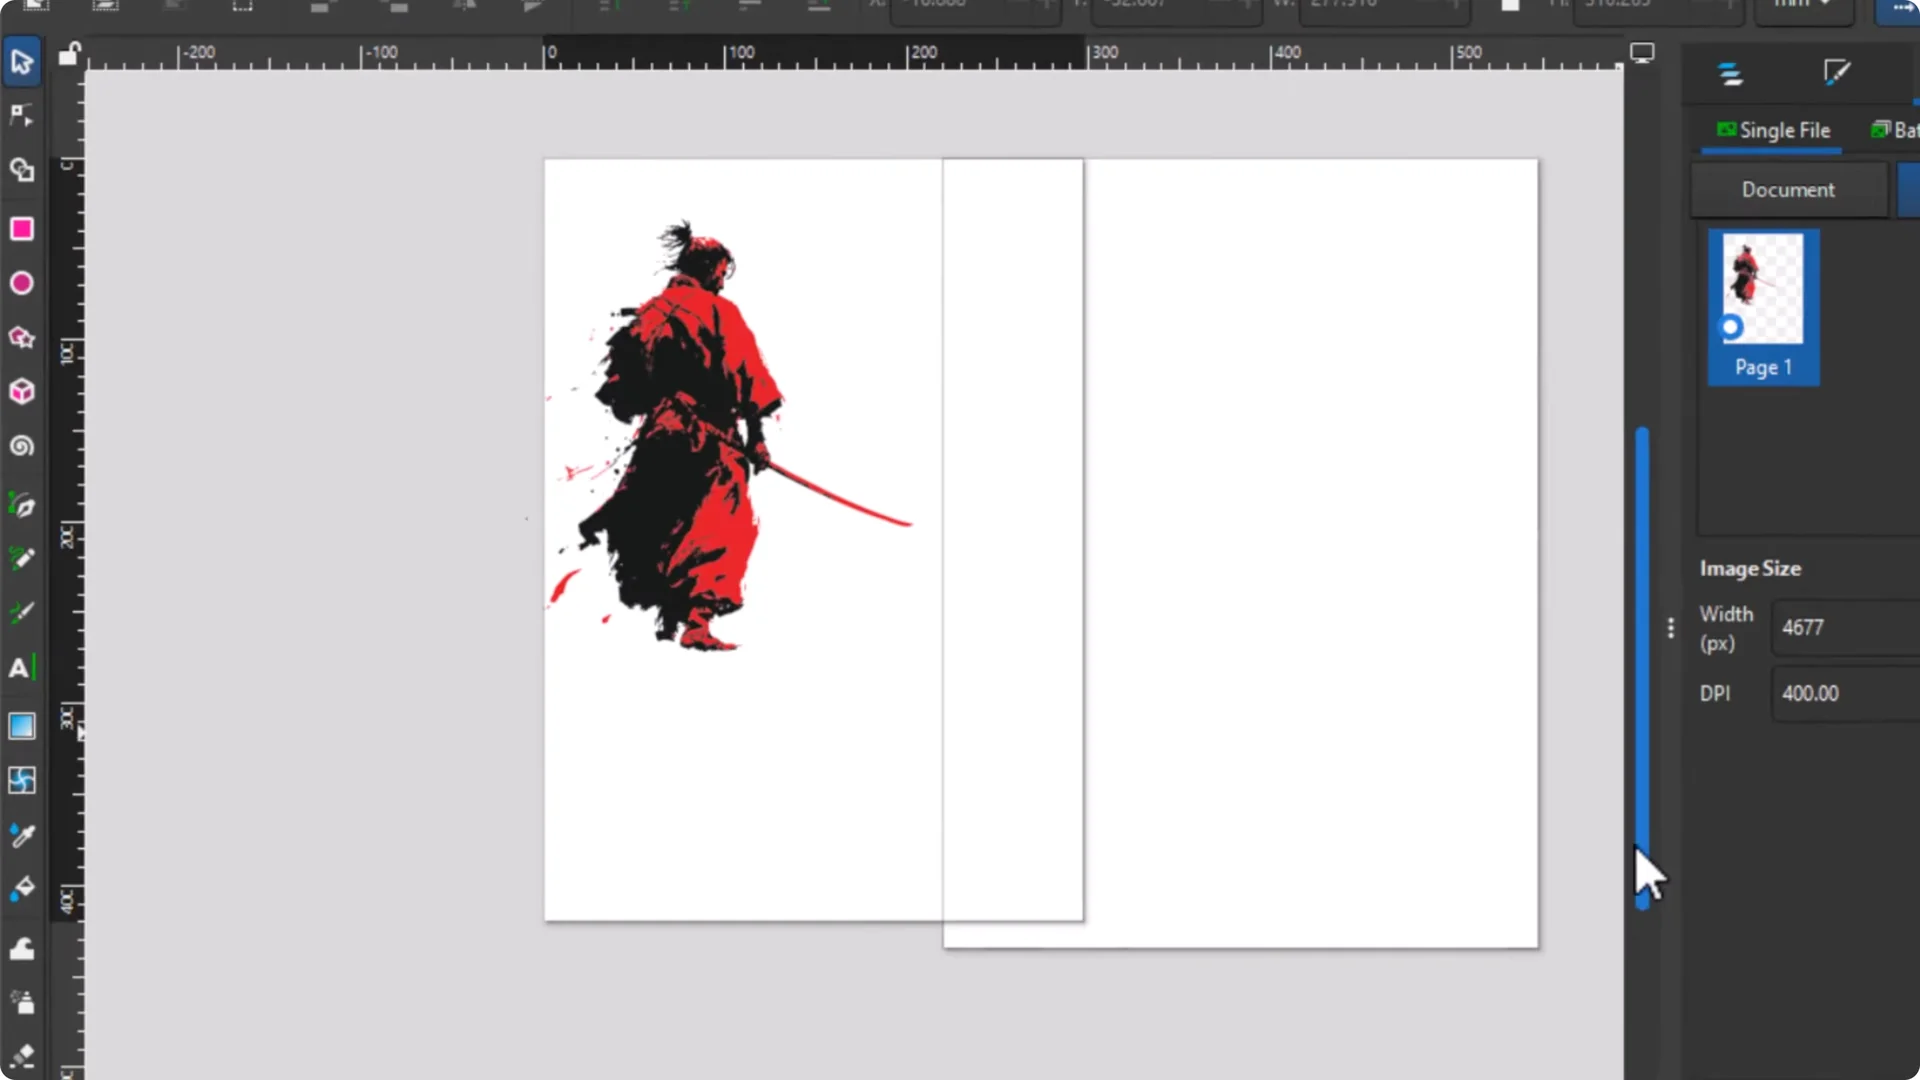
Document setup and positioning
At the moment I have two separate pages, which I do not want. Click the Pages tool at the bottom left, select the extra page, and hit Delete. Go back to the arrow tool and move the figure into place.
This is a Mashi themed shirt, so I add a Mashi quote. I search for Misashi quotes and look for a good quote to go by. I like this one: do nothing, which is of no use.
You can use the same template and save a number of quotes, then upload them all. Create one after another easily, or switch it out and use the same template for various personalities and their quotes. Stockpile quotes to create various designs later on.
Building the quote block
I want a block that runs down the side next to him. Use the Text tool, click, and type the quote. Zoom in and enlarge it. Break it up into lines to get the block effect and choose a different font.
With the Text tool selected, change the font. Blow Brush has a nice feel, but the letters are close together, so it is a bit hard to read. Select all, go to the spacing and rotation controls, and increase the spacing between letters so it is easier to read.
If you are not happy with the fonts on your computer, check Google Fonts or Font Squirrel to download commercial-use fonts.
Break the quote into several lines. Right click and duplicate the text object several times. Double click to edit each line.
Select the lines and move them over. Drag a guideline from the ruler to help align. Adjust width visually. It overlaps a little, but it balances out. Line up the rest to that width. Select them all, move into position, and enlarge as needed. Delete the guides. Select the whole quote area, right click, and Group it. Position it so the sword does not cross over too much and it remains legible. Make it almost the same height as the figure.
Adding name and color matching
Add his name with the Text tool: Miamoto Mousashi. Place it so it works with the layout. It blends with the quote, so make it red. Click red, or use the Dropper tool to sample the exact red from the illustration for a perfect match.
Now we have the MidJourney graphic, text, and name. You could stop there and upload, or even just stop at the MidJourney graphic if you feel it will sell. I want to add some design elements to dress it up for more impact.
Adding brush stroke elements
For free vector elements, I use Pixabay. You cannot simply download an element and sell it directly. It has to be part of a larger design. Go to Vectors, search for brush strokes, and pick a brush stroke set. Download the vector graphic as SVG.
Back in Inkscape:
- File – Import the SVG brush pack.
- Keep the default import option and click OK.
- It imports huge. Hold Control and use the mouse wheel to zoom out, then resize.
- Right click – Ungroup to select individual strokes.
- Pick the strokes you like, hold Shift to select multiple, and move them away. Delete the rest.
- Position two strokes top and bottom as a border.
- Hold Shift to select both, use the Dropper tool, and sample the red from the illustration.
- Group the whole design again and resize if needed.
- Center the composition. Leave some space around it so POD sites do not push the art to the very edge.
Check the File and Export for Print – MidJourney Vector T-Shirt Design
If you want to send this to a professional printer, export a PDF. For Redbubble, use PNG. Zazzle accepts PDF and Spreadshirt accepts SVG. You cannot export a CMYK file from Inkscape, so use Adobe Illustrator or Corel Draw if supplying a CMYK file to a commercial printer. This workflow works well for print on demand services.
Clean up artifacts
Check spelling and make sure everything you intend is on the design. There can be small mistakes from the vector conversion that hide in the artwork.
To find white specks or leftover background:
- Draw a rectangle over the entire design with the box tool.
- Fill it with a color like yellow so it contrasts.
- Open Layers and Objects, drag the rectangle to the bottom under the final object.
- Zoom in. If you see white specks, hold Control while clicking to select through the group, then Delete those objects.
- Remove the yellow box once cleaned.
Resize page and save
Use the Pages tool to resize the page around the design, leaving even space top and bottom and side to side. Save as you go.
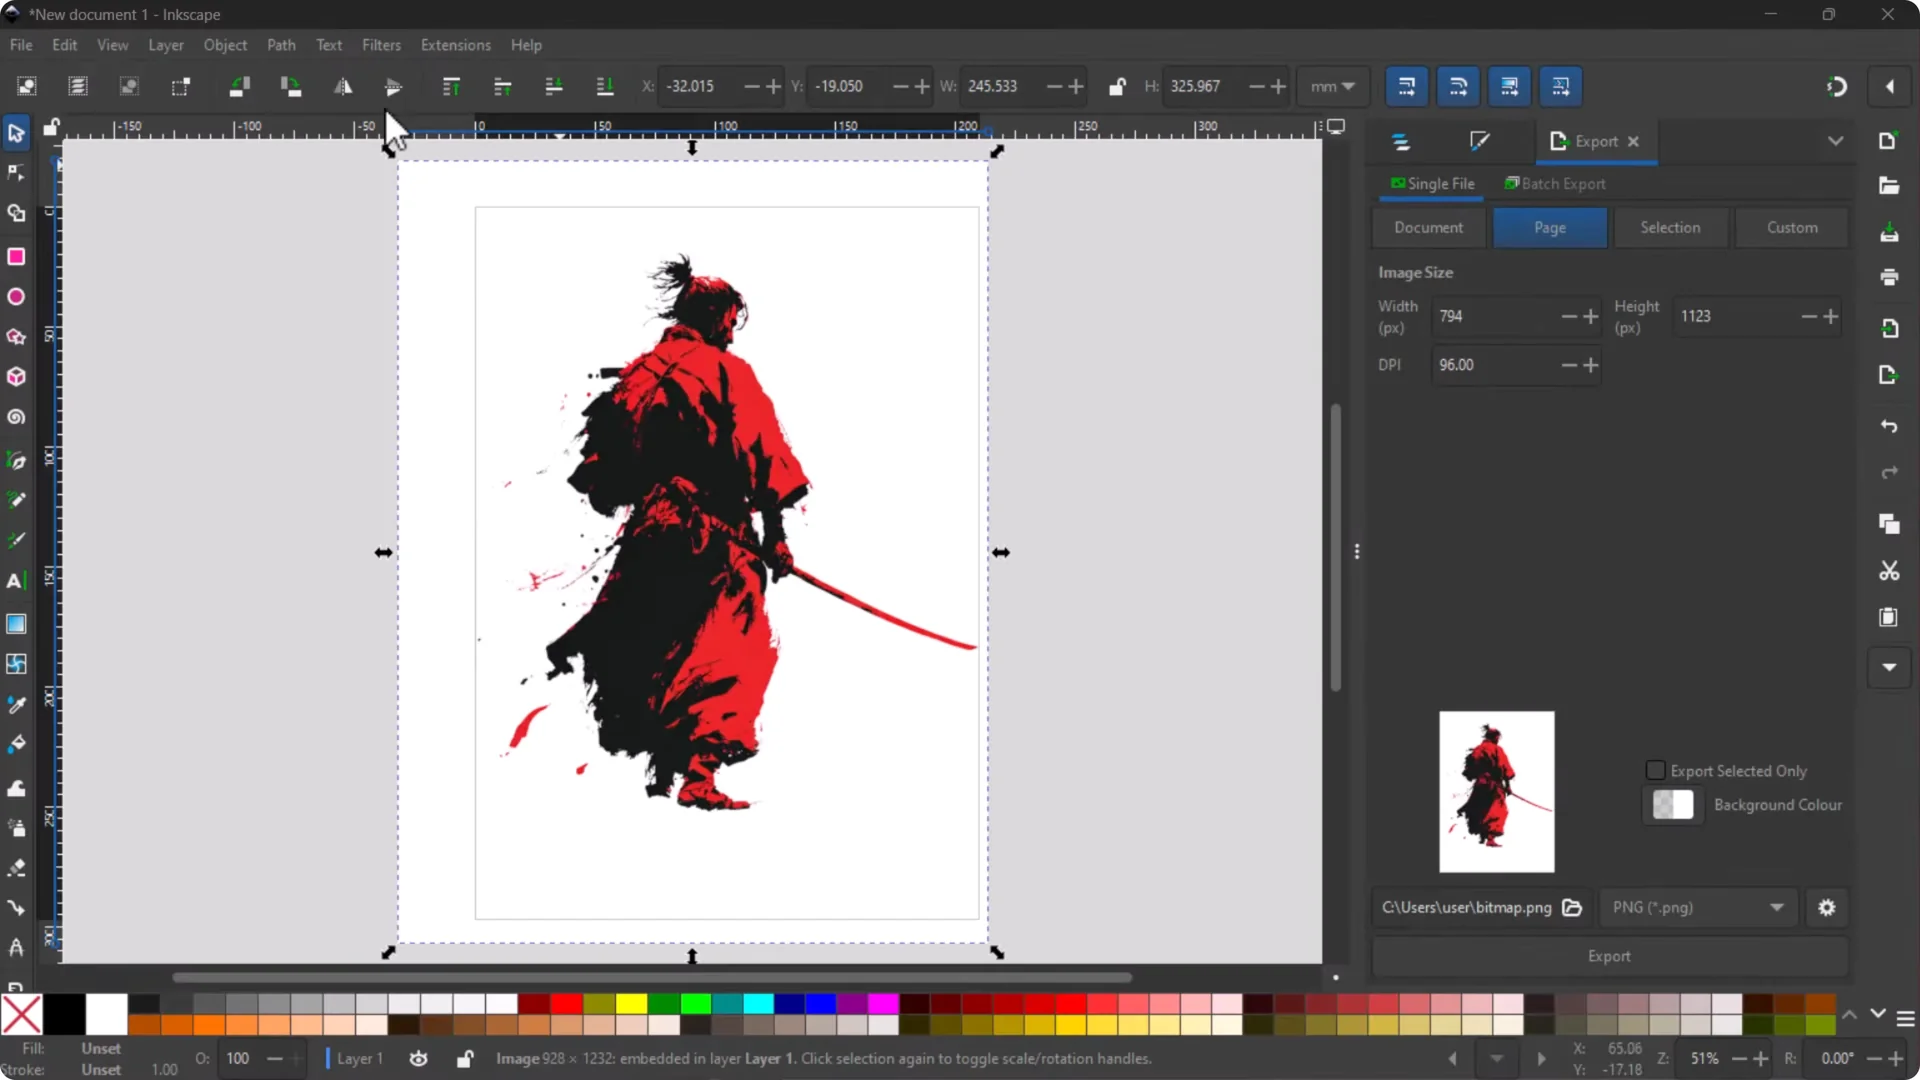
Export settings for PDF and PNG
- Open Export.
- Choose the page to export.
- Set DPI. I go to 400.
- Choose PDF or PNG from the format dropdown.
- For PDF, open the options cog:
– Convert text to paths so there are no font issues.
– Rasterize effects, and match the resolution, for example 400.
- Choose your export folder, then export.
- Export both a transparent PNG and a vector PDF.
You will have your transparent PNG, your working SVG, any brush assets, and your PDF. Open the PDF and zoom in. If lines are crisp, it is vector. The PNG is ready for a print on demand service like Redbubble.
Upload to Print on Demand and SEO Tips – MidJourney Vector T-Shirt Design
If you are sending the file to a commercial printer, contact them, ask what they need, send the file, and start the conversation so you can supply what works for their setup. For print on demand, many sites prefer a bitmap file like PNG. Zazzle accepts PDF and Spreadshirt accepts SVG, but I will show Redbubble with PNG.
It is worth converting to vector earlier because it gives more flexibility for editing and lets you output a larger, cleaner PNG or a true vector file for platforms that accept it.
Redbubble upload steps
- Sign up for Redbubble and go to Add New Work.
- Upload your PNG.
- Fill out the title, tags, and description to target what people search for.
Example title:
- Samurai Mousashi, do nothing, which is of no use
Tags to consider, separated by commas:
- samurai, miiamoto, mousashi, no use, buudo, war, Japan, martial arts, sword, katana
Description:
- Include the same core keywords and the quote in a natural sentence, for example: famous and legendary samurai Miiamoto Mashi and his quote in a cool martial arts theme style design.
Change default product background colors if needed. Check each product in the list:
- Click an item to scale and reposition the design
- Center horizontally or vertically
- Replace the image for a specific product if needed
- Enable or disable products you want to sell
You can get a bit artistic on certain items, like moving the art on a phone case so part of the figure is cropped for effect.
When done:
- Choose the category, for example design and illustration, digital art
- Mark mature content if required
- Confirm you have the right to sell the design
- Save work and preview the listing
Summary and Tips to Sell More – MidJourney Vector T-Shirt Design
The workflow:
- Create an image with an AI art platform like MidJourney, Leonardo AI, or similar
- Convert that design into vector
- Bring it into vector design software
- Add text or other elements to polish the design
- Export a vector PDF or a high resolution transparent PNG
- Upload to a print on demand service or send to a commercial printer
It is not a simple case of just uploading designs and expecting the marketplace to make you a ton of money. Learn the business and the skills behind print on demand. AI is not the solution by itself. It is part of a larger skill set that makes things easier and quicker.
Tips that can help you sell more:
- Optimize for search with clear titles, targeted tags, and keyword-rich descriptions
- Promote your designs on social media like Instagram and Pinterest to bring traffic to your products or store
- Niche down your store. For a Mousashi martial arts theme, create multiple designs around famous martial arts quotes or jiu-jitsu belt colors and build a martial arts themed niche store
- Set up an email newsletter. Offer a simple freebie to grow your list, send valuable tips around your niche, and occasionally promote your shirts
- Keep creating designs. More designs increase your chances of one or two breaking through and can drive profile traffic to your other work
- Keep learning design and print on demand. Learn from experts so you can improve your chances of turning this into a reliable income stream
Final thoughts: this is a simple, repeatable process. The more you learn about vector design software and the more you practice, the better your MidJourney vector t-shirt designs will get.