MidJourney version 7 is now live. Things are looking a little bit different, and the first thing you’ll notice when you switch to version 7 is that it asks you to personalize the model. This is the first model that has personalization turned on by default.
MidJourney V7 Personalization – Getting Started
Switch to Version 7
- Go to Settings and switch from 6.1 to version 7.
- On your first prompt, you’ll be asked to unlock personalization.
Step-by-Step: Unlock MidJourney V7 Personalization
- Click Unlock Personalization.
- Rank up to 200 images by choosing which aesthetic you prefer – left or right.
– Press 1 for left, 2 for right, or 3 to skip.
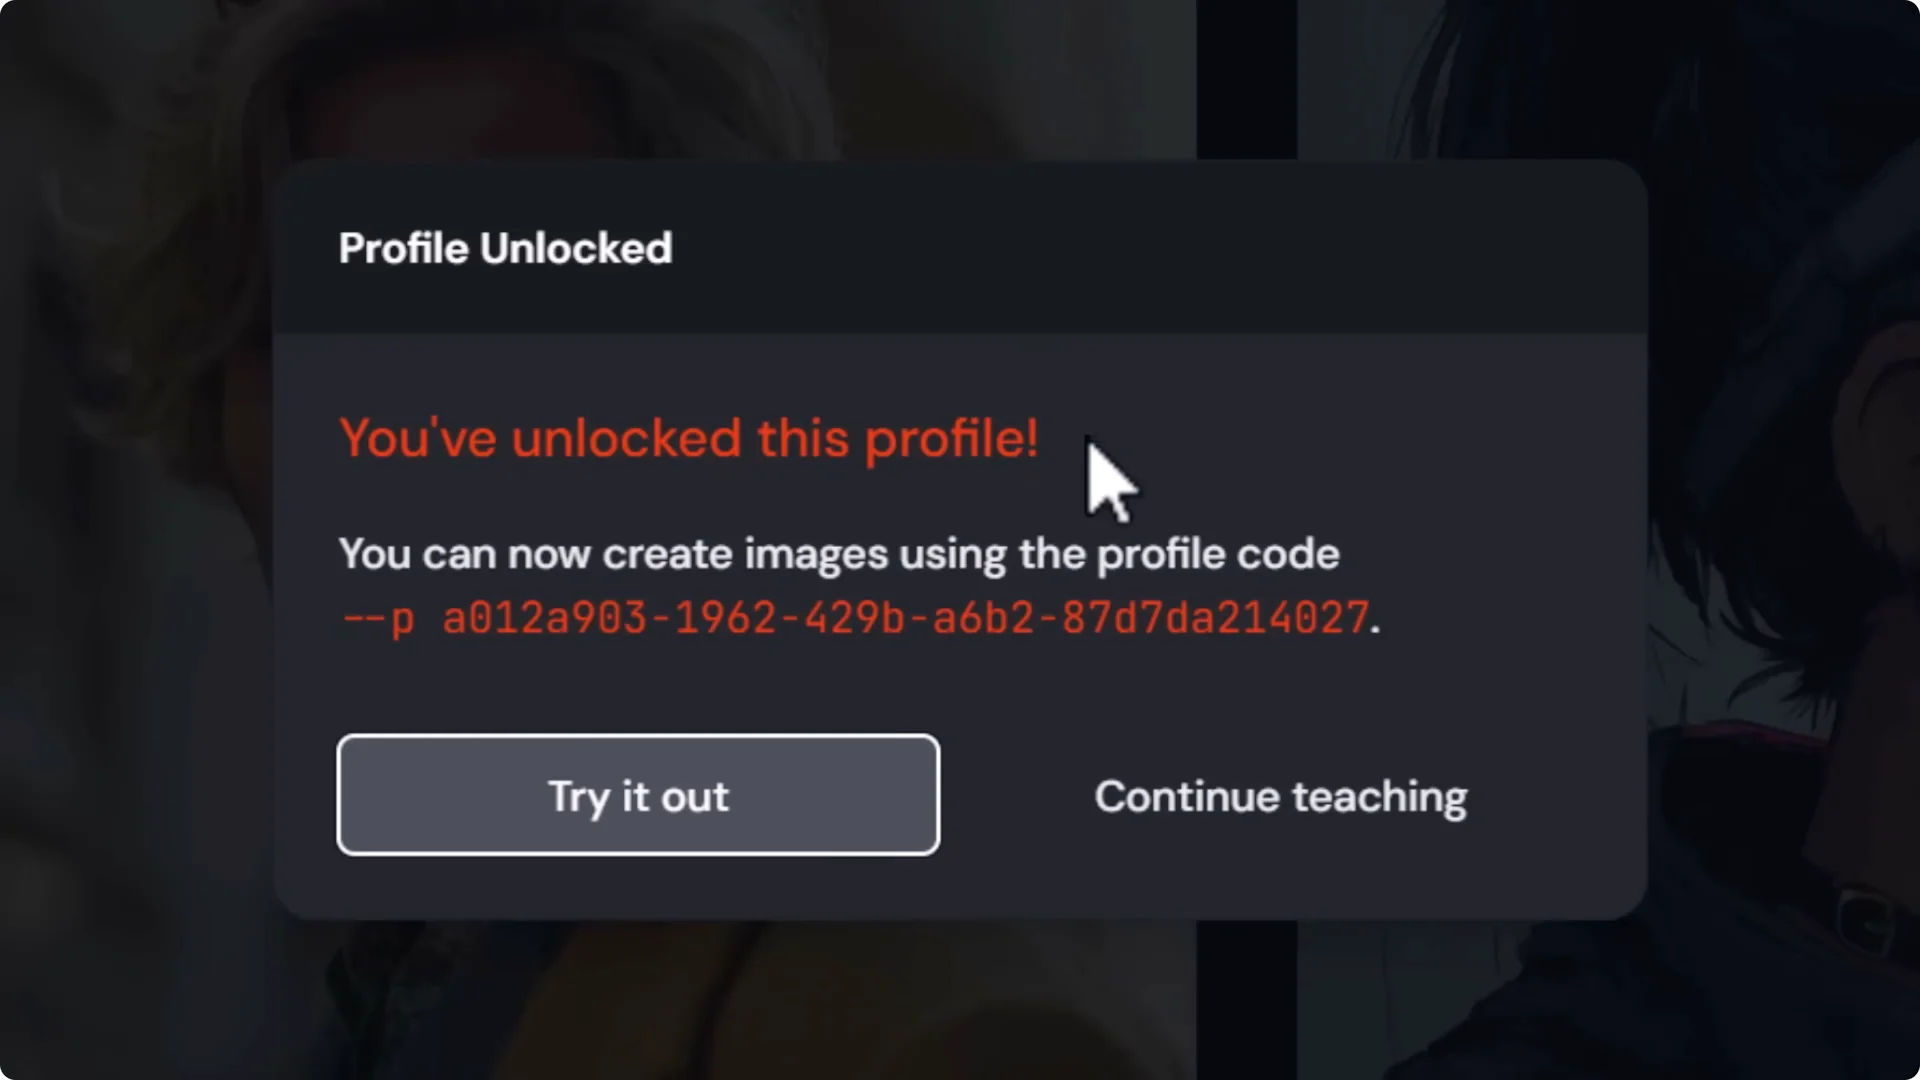
- Once you finish ranking, you’ll see a message that you’ve unlocked your profile.
Toggle Personalization for Control
Even though version 7 has personalization on by default, you can turn it off. With version 7 selected, turn personalization off and run the same prompt.
The quality remains high, but the style will be completely different compared to your personalized model. This gives you more control over your images in MidJourney.
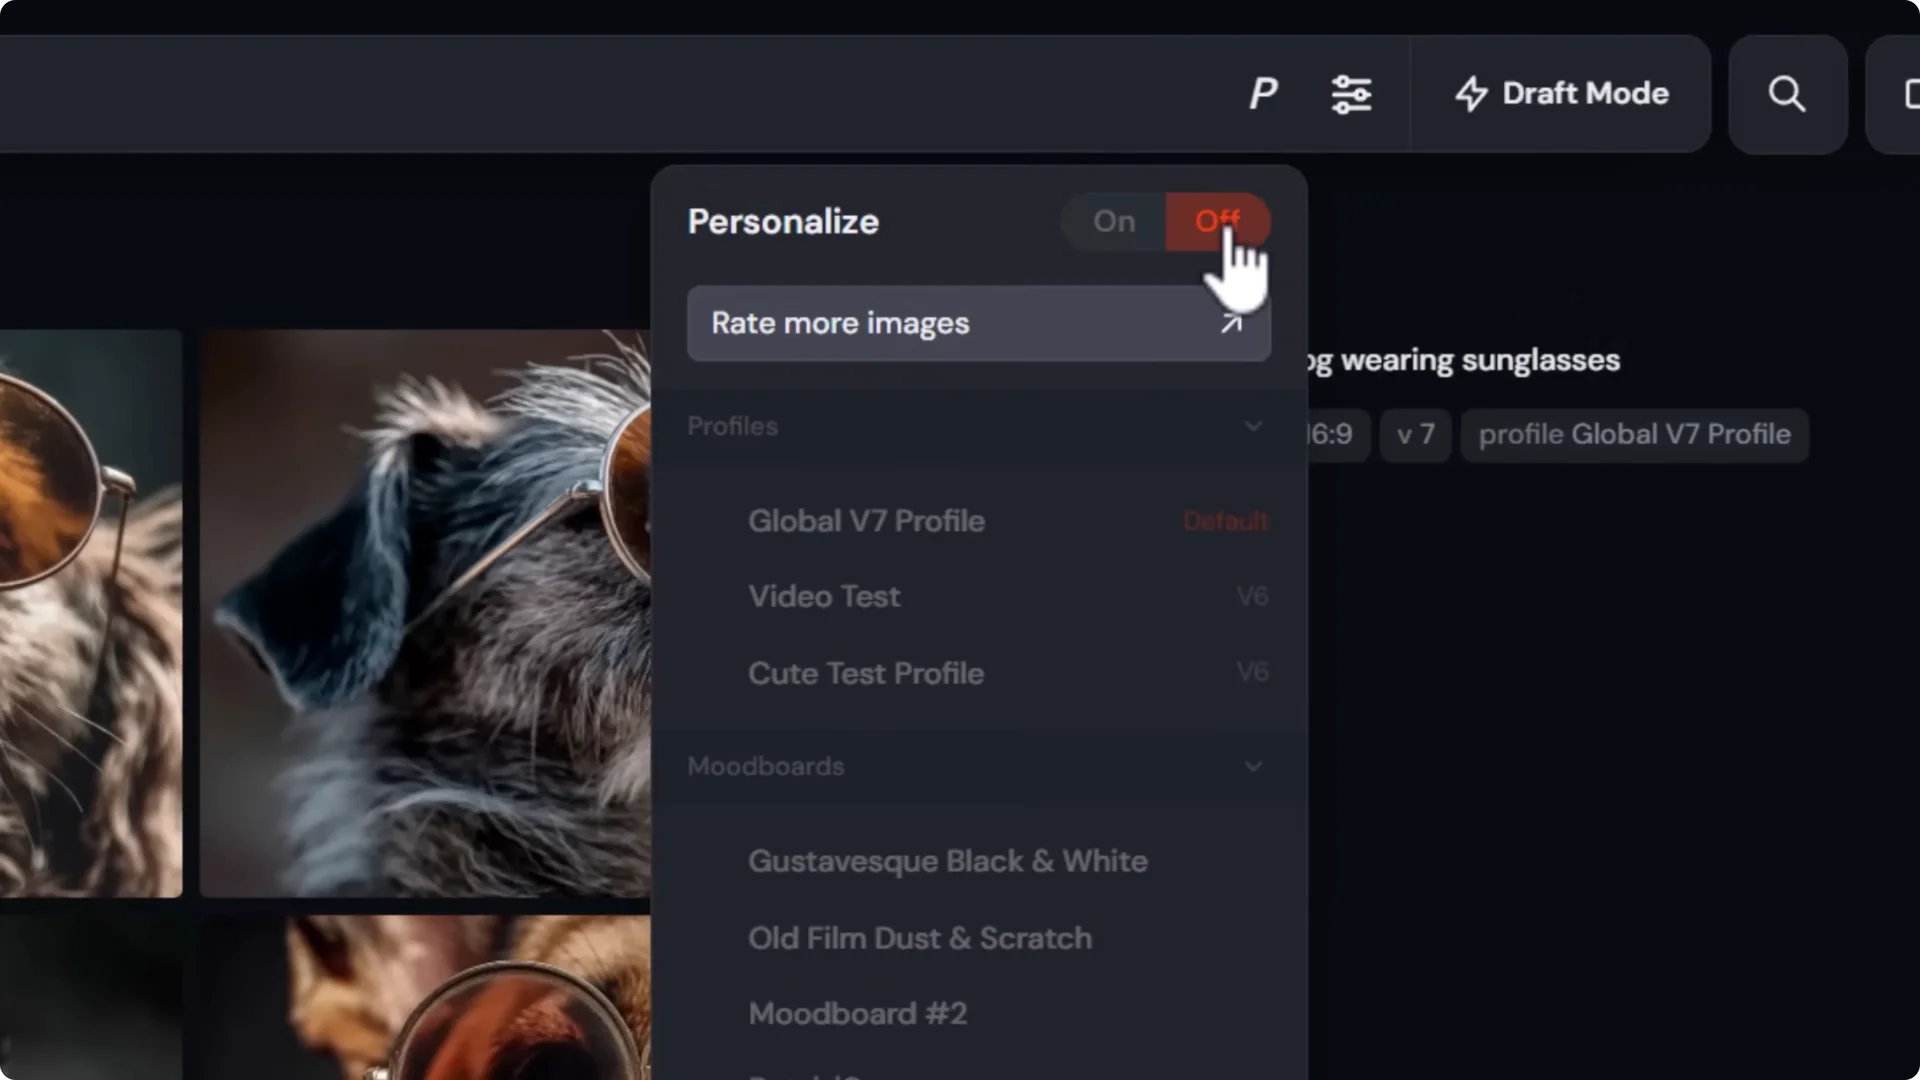
Image Quality and Detail in Version 7
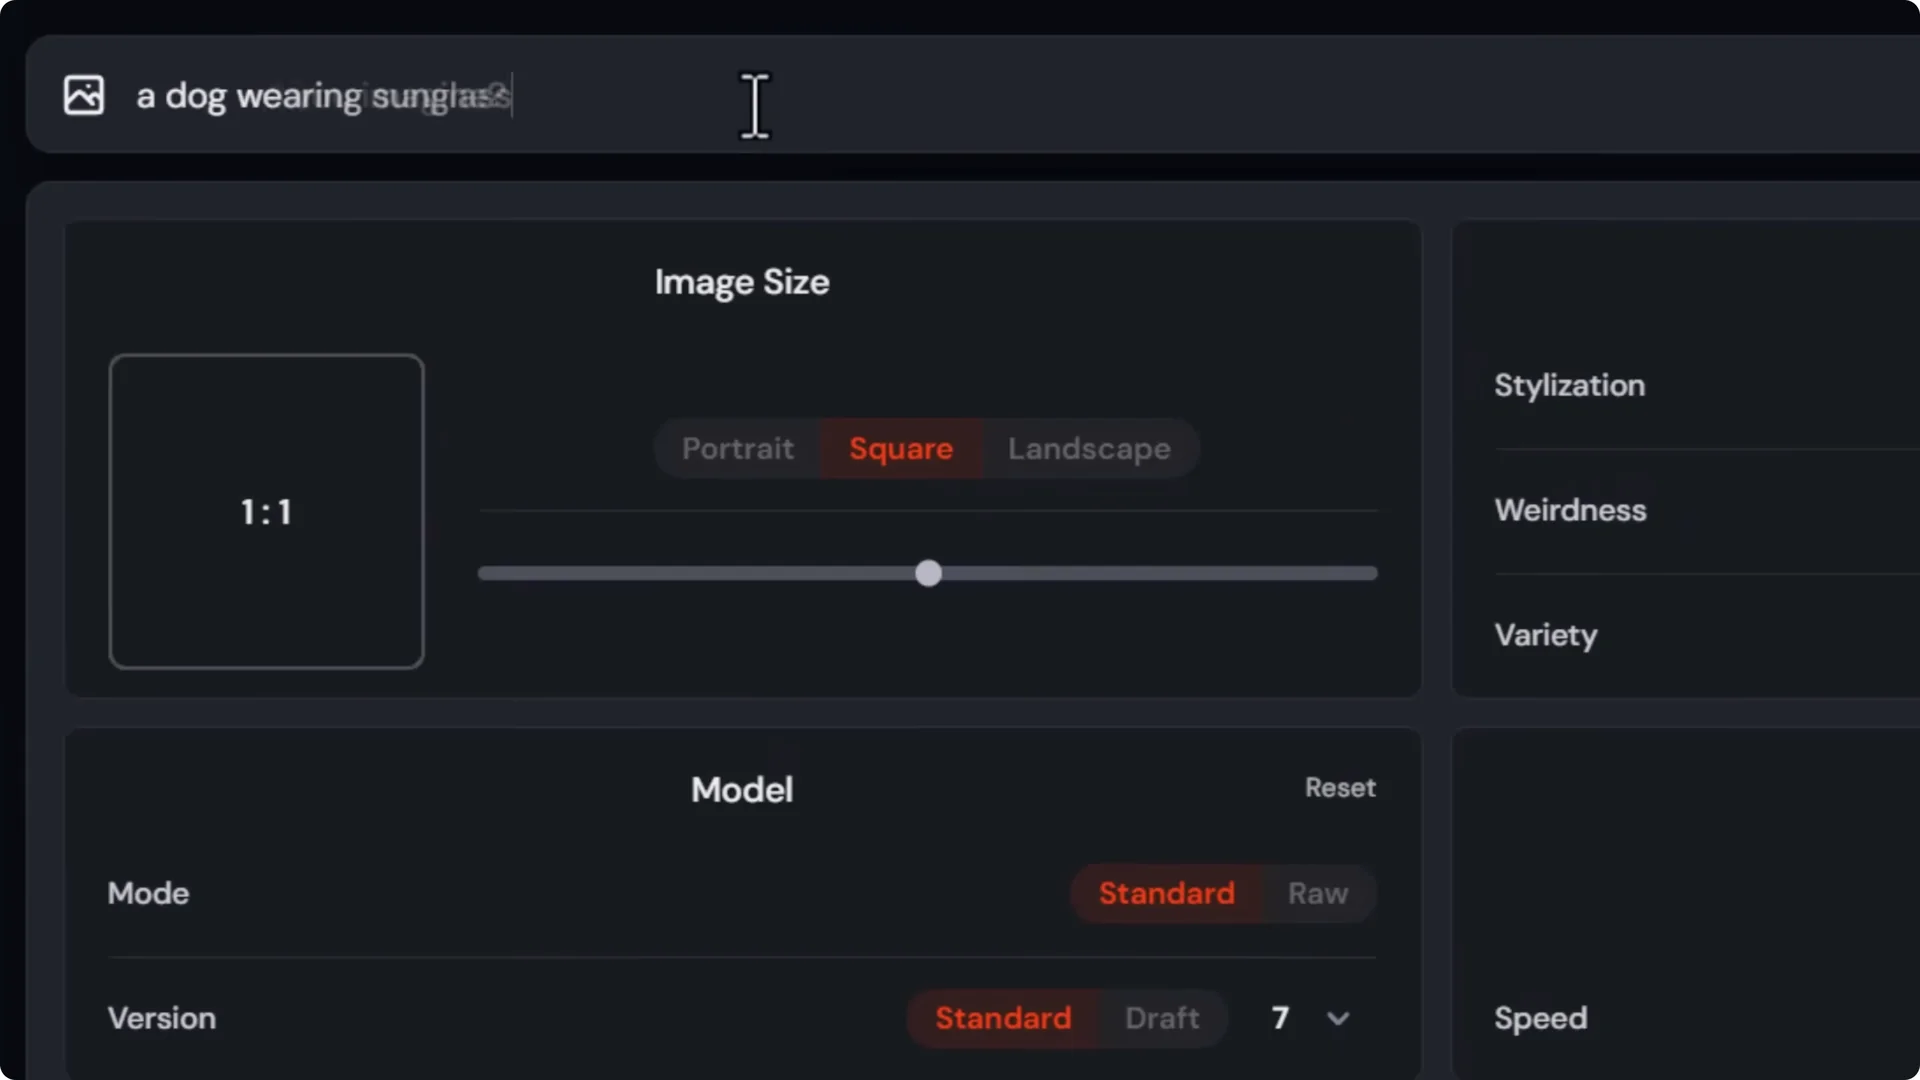
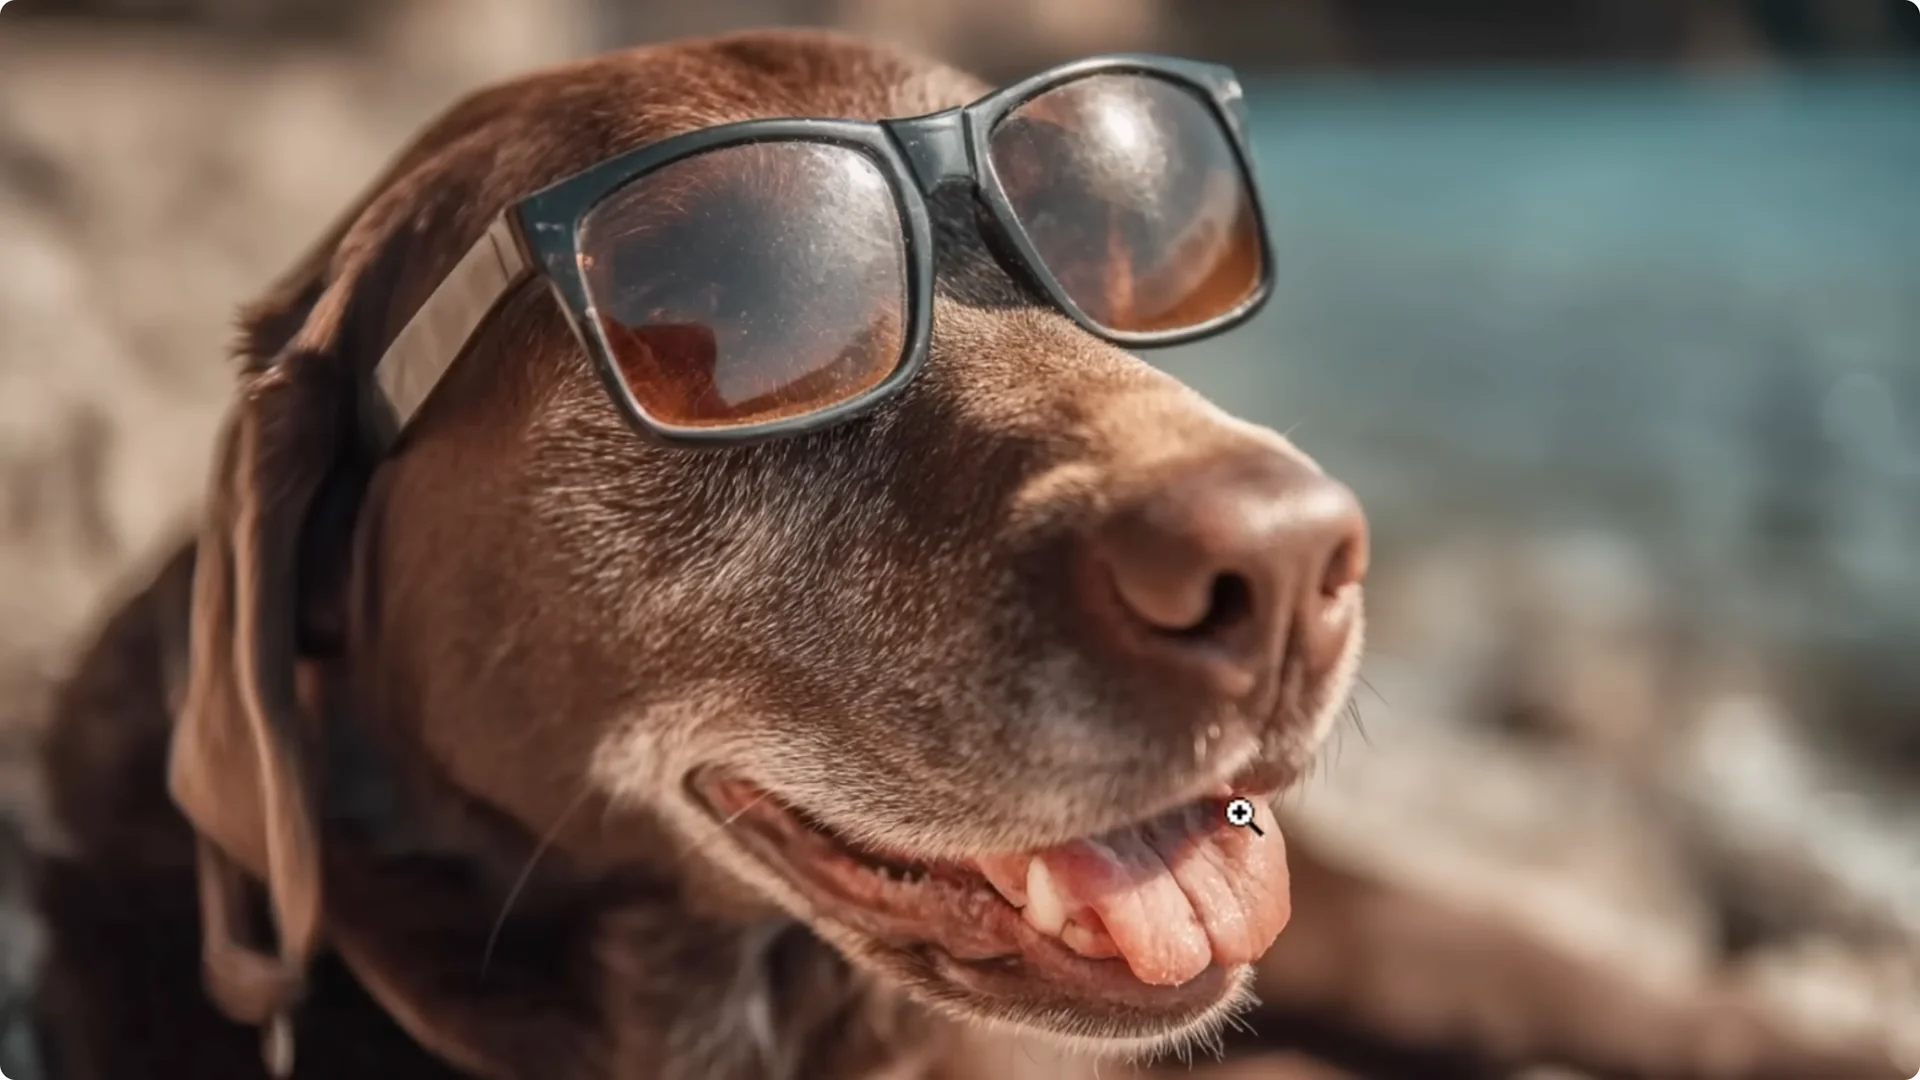
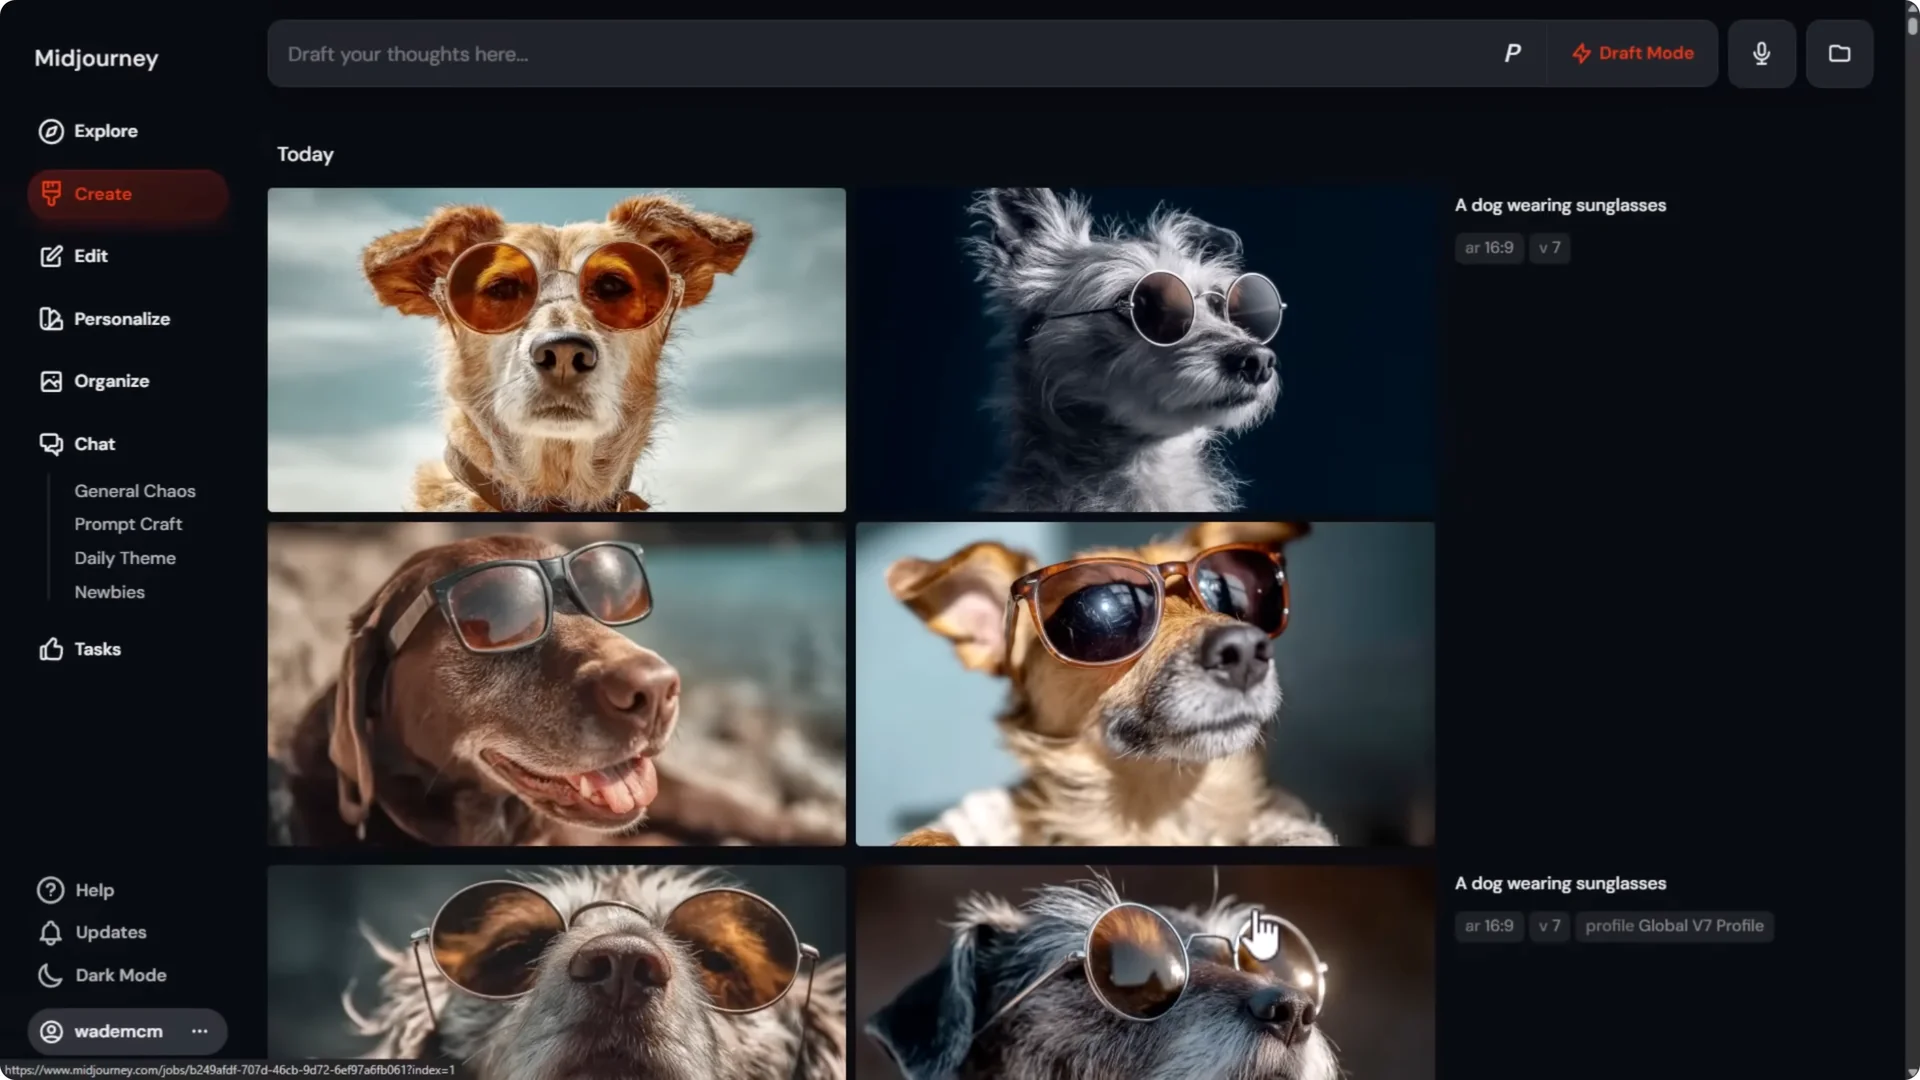
I set the aspect ratio to 16-9 and generated “a dog wearing sunglasses.” The quality is outstanding down to the finer details.
Scratches on the lens, little bits of hair, the tooth, the tongue, and the tiny pieces on the lenses are all there.
Every tiny hair has its own place. I’m a big fan of what they’ve done with this model and I can’t wait to play with it further.
Modes, Speed, and Draft Workflows
At the moment, there is no Fast mode. They’re working on that. You either have Relax or Turbo. Some things may be slower or faster. I set it to Turbo to pump more images out.
Draft Mode – Rapid Iteration
Draft mode is impressive. You can use it like a chat, work on some images at lower quality, and then enhance when you’re ready.
Step-by-step:
1. Click Draft Mode and Begin.
2. Type your prompt, or use voice input.
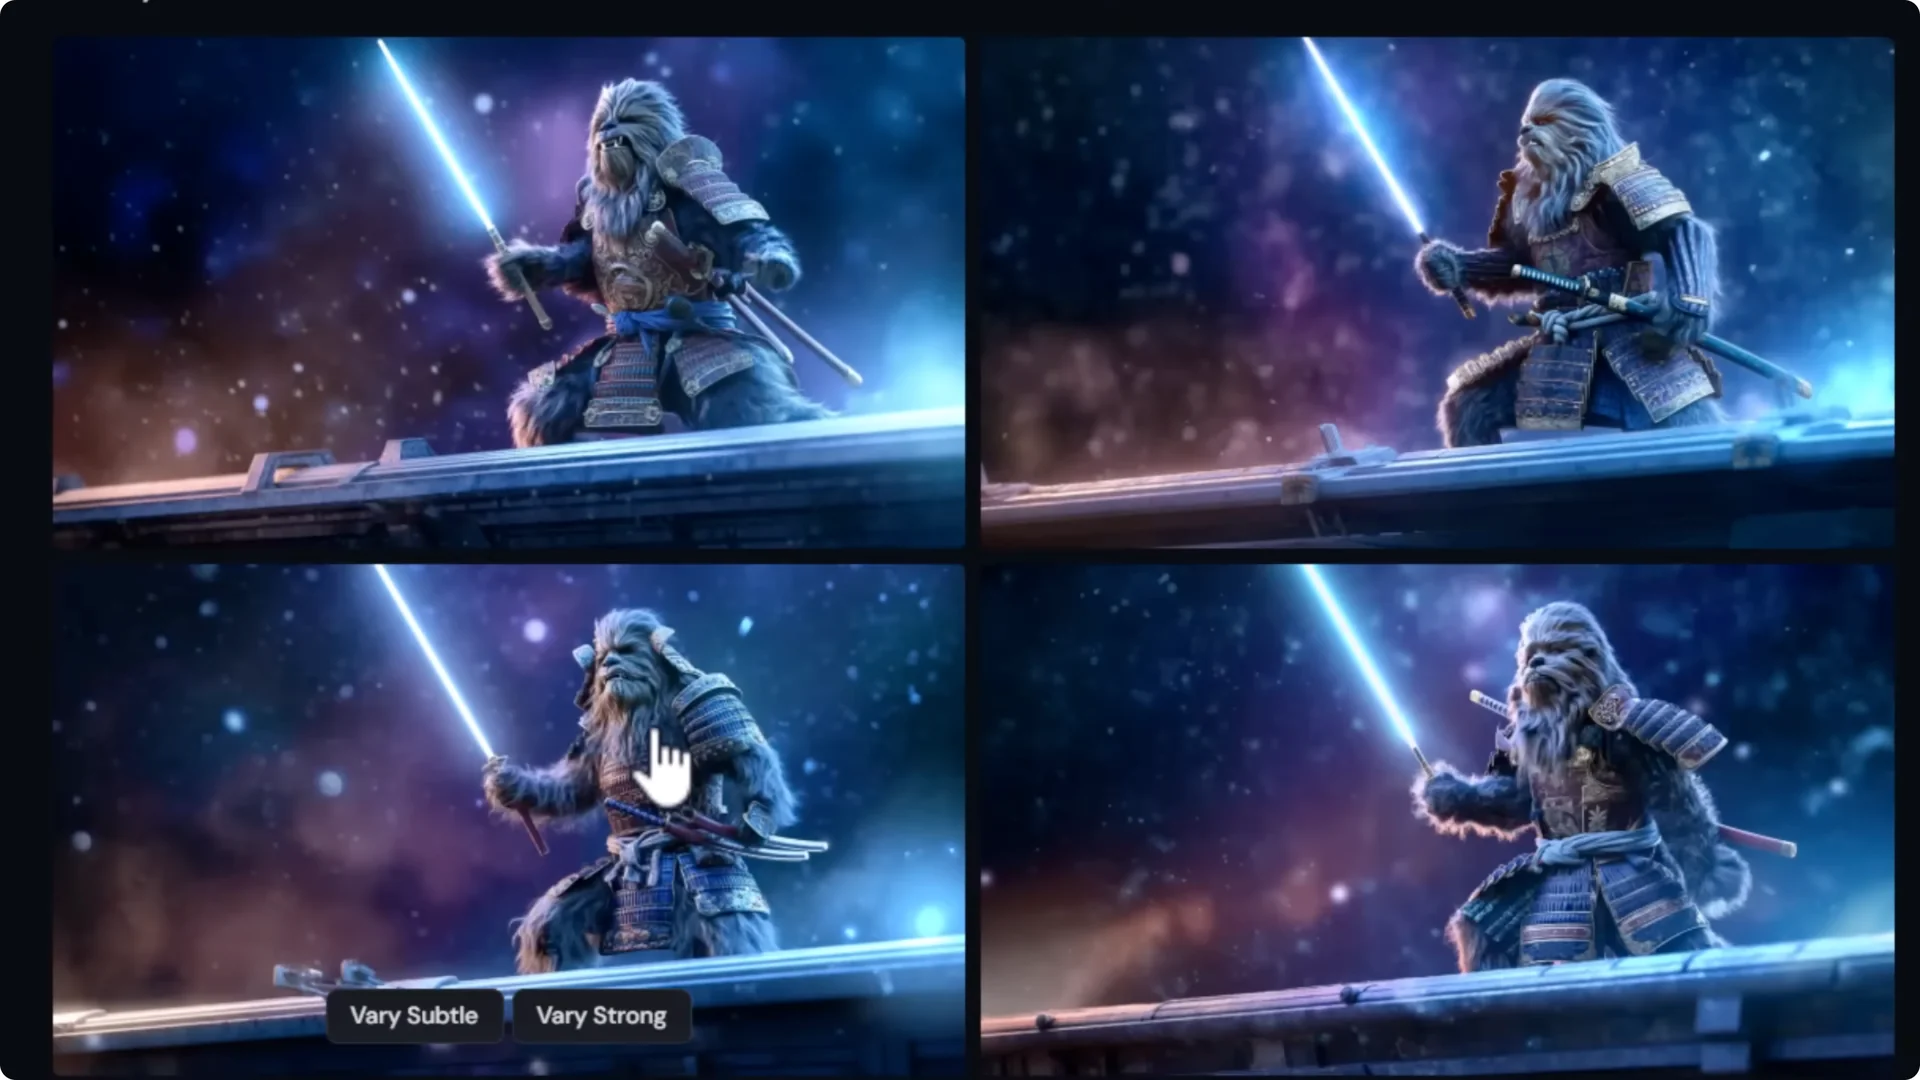
– I asked for “a Wookie dressed up like a samurai,” and in about one tenth of the time it produced four images at lower quality.
3. Refine interactively.
– “Can the Wookie be holding a blue lightsaber?”
– “Can the Wookie be standing on a spaceship?”
4. When you see an image you like, pick it and either:
– Create Variations in full quality, or
– Click Enhance for full quality generations based on the prompt.
Note the difference:
- Enhance generates new full quality images from the prompt and may not match the specific draft composition you clicked.
- Vary Subtle generates that exact image with slight variations at full quality. I used Vary Subtle to get the same image with slight differences.
Using d-draft Inline
You can also trigger draft mode inline:
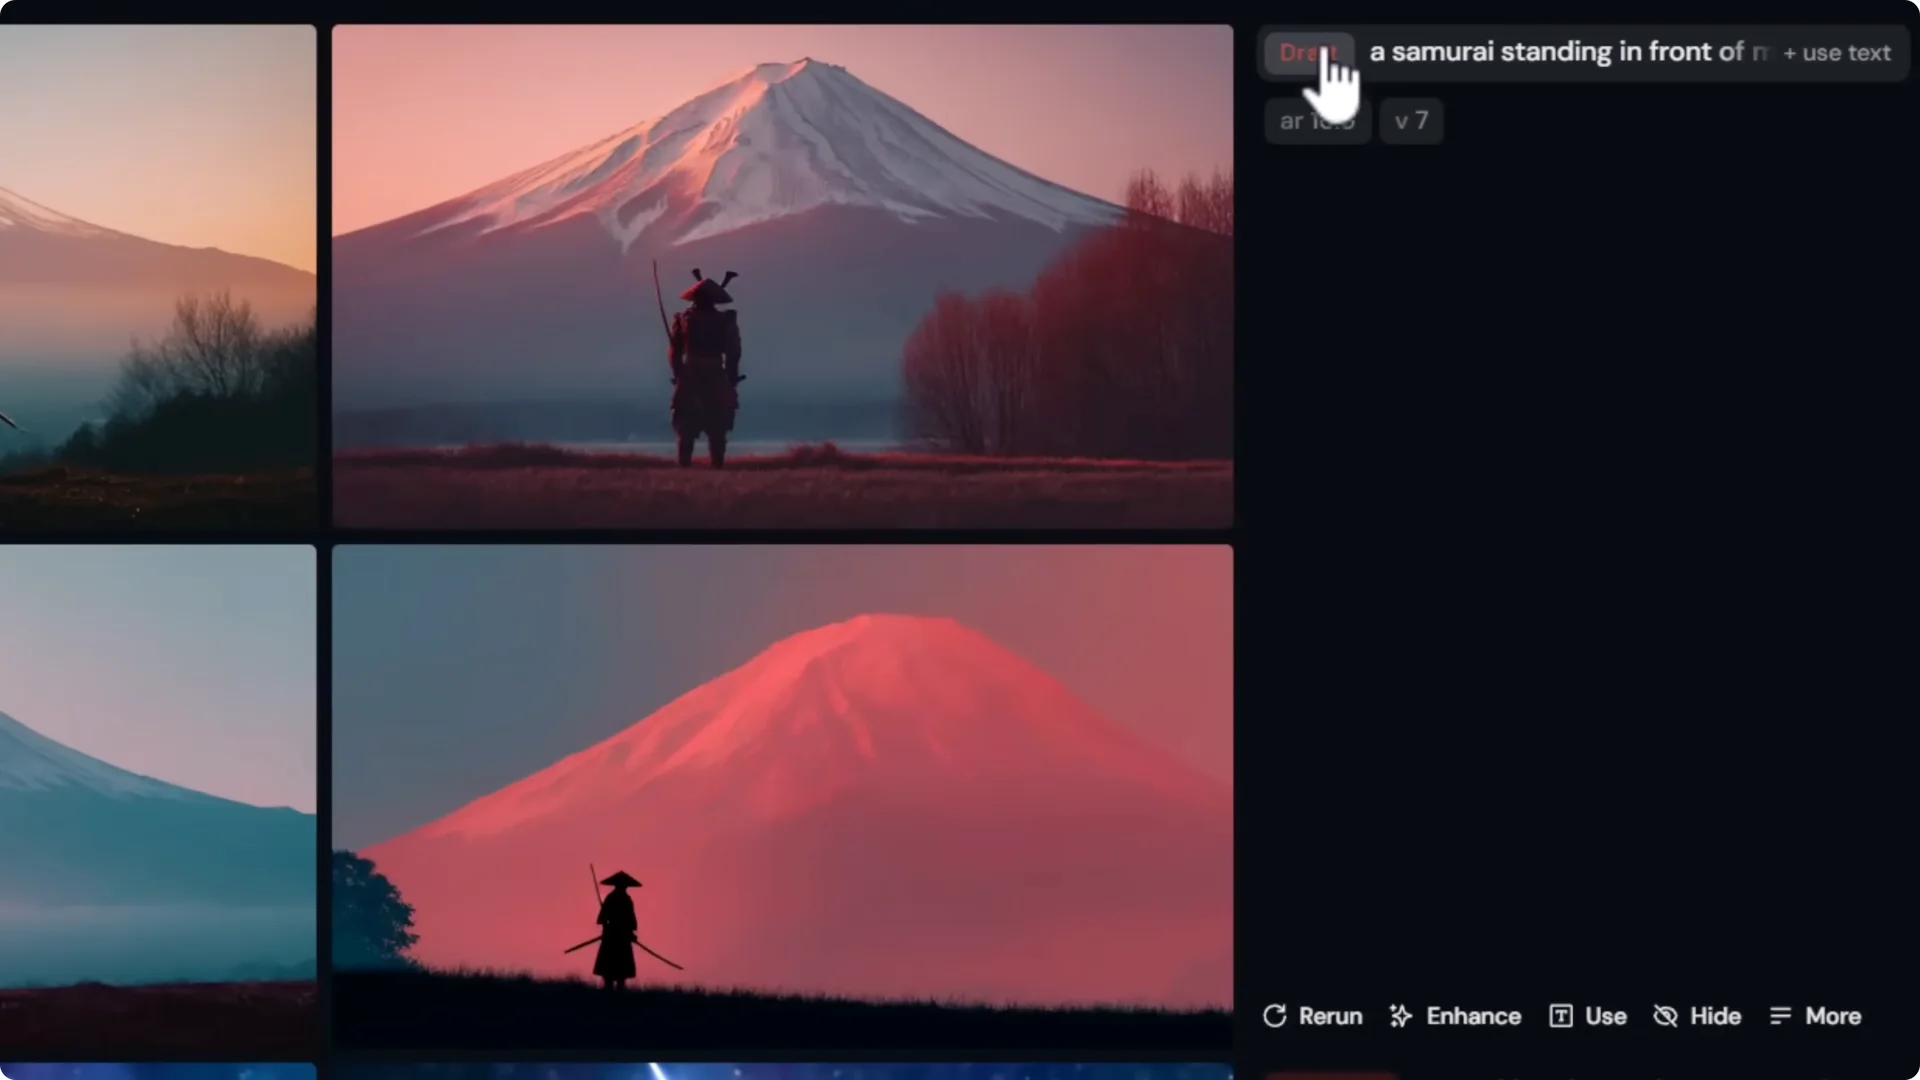
- Type your normal prompt and add “d-draft”.
– Example: “a samurai standing in front of Mount Fuji d-draft”
- You’ll get draft images marked as Draft next to the prompt.
- Pick your favorite and use Vary Subtle for full quality results.
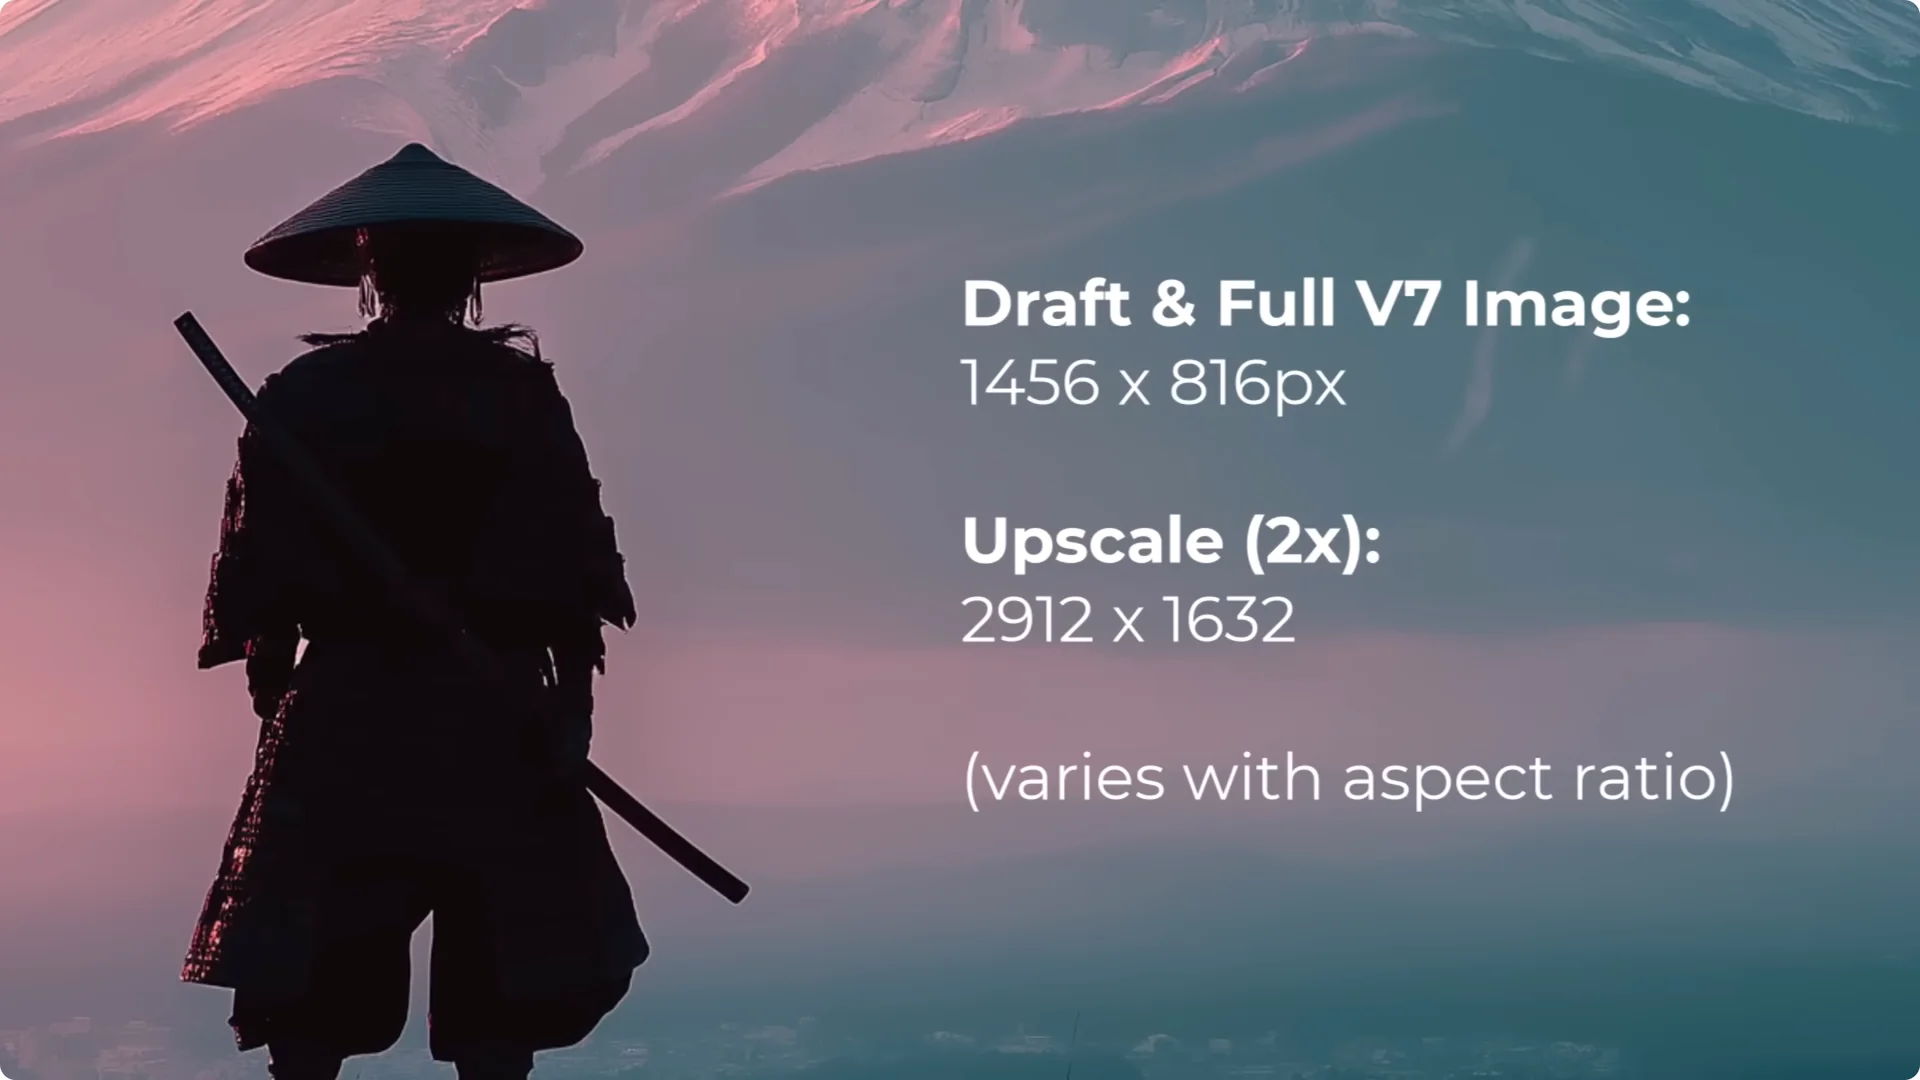
- You can upscale with Subtle or Creative. I used Creative upscale and got a full resolution upscale.
Both the draft and the full resolution image are actually 1456, about the same as version 6.1. The upscale doubled that to 2912×1632.
Cost, Modes, and GPU Hours
- V7 launches in two modes: Turbo and Relax.
- The standard Speed mode needs more time to optimize and they hope to ship it soon.
- Turbo costs twice the amount compared to a normal V6 job.
- Draft jobs cost about half as much.
- Draft mode allows you to create images much quicker using about half of your GPU hours, then move on to the image or prompt you want to work with.
Features Currently Falling Back to V6
- Upscaling, editing, and retexture features fall back to the version 6 models and they’ll update them in the future.
- Mood boards and sref work, and performance will improve with future updates.
- They’re updating this over the next 60 days with incoming features, including the new V7 character and object reference.
Iteration Tips From the Update
- Use d-draft and d-re repeat to create far more images to choose from. It’s the best way to iterate on ideas.
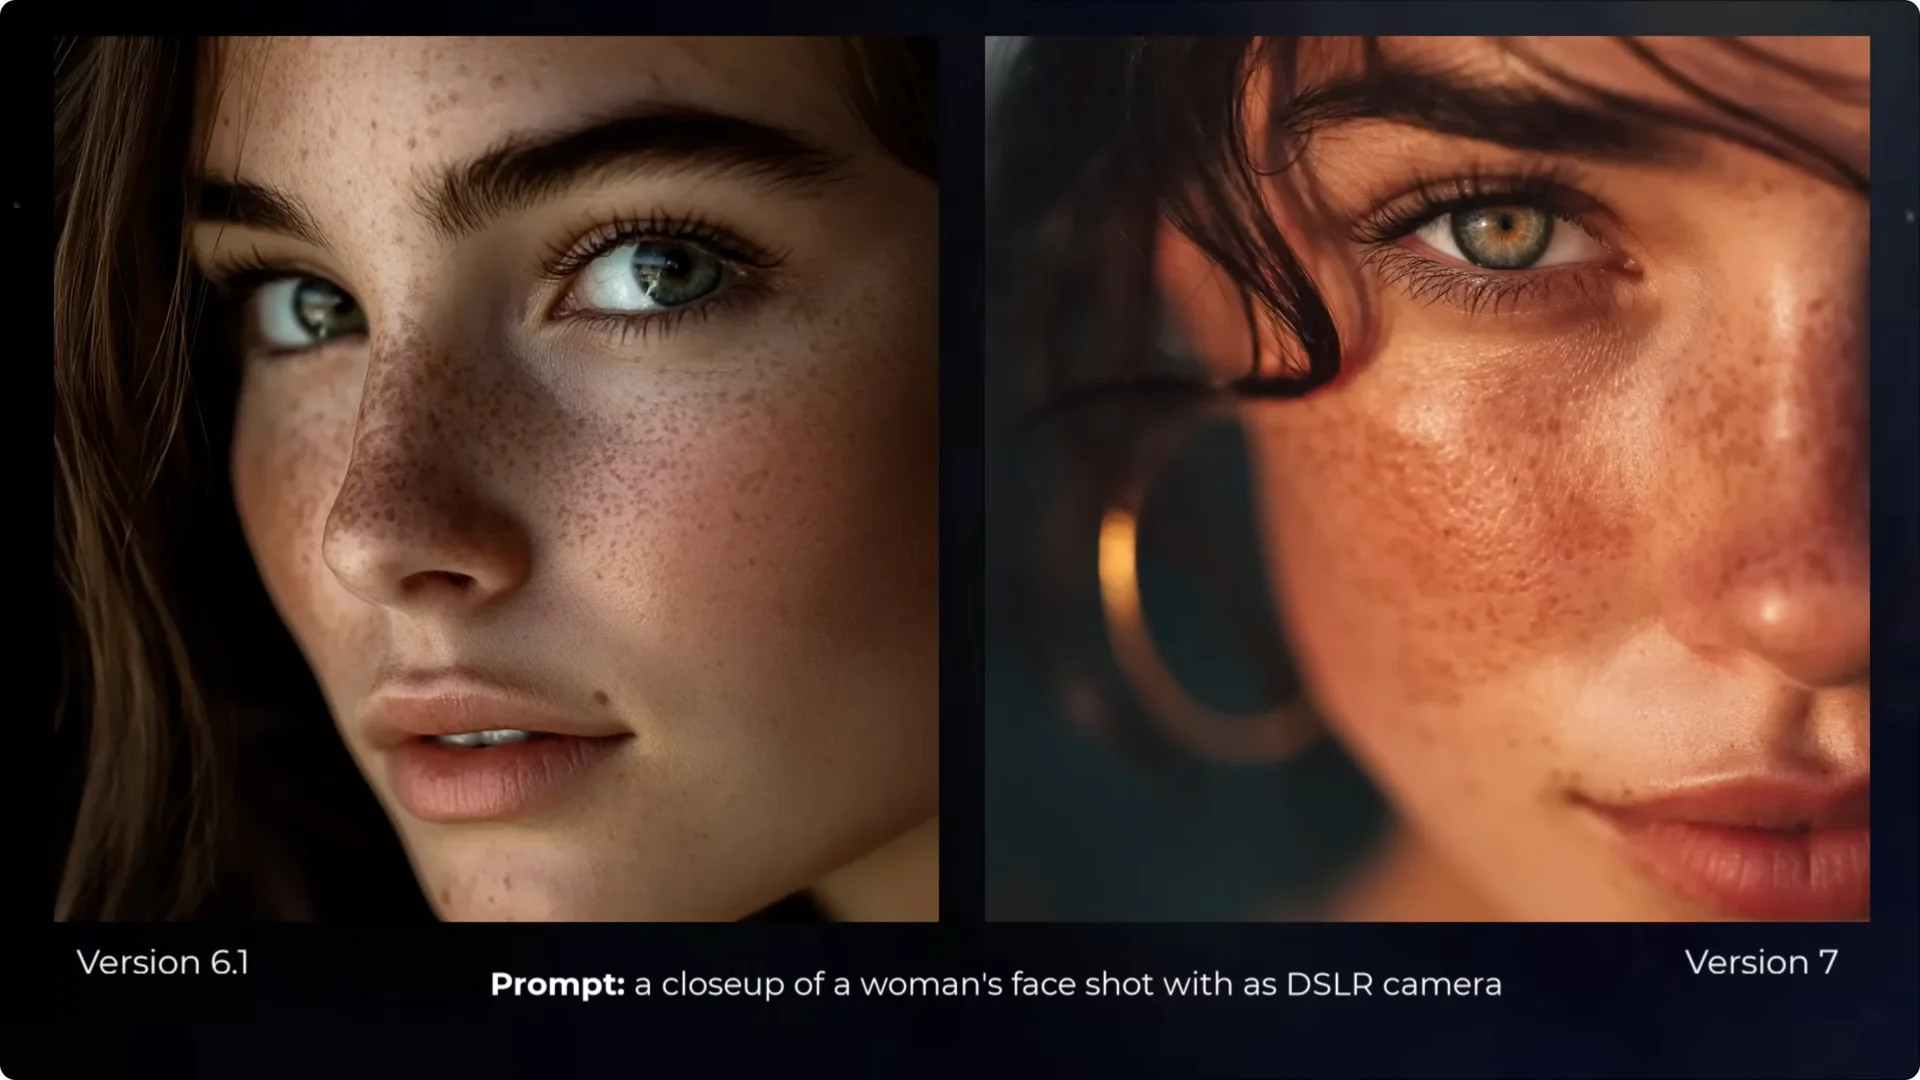
Comparisons – Version 6.1 vs 7
Portraits and People
- Close-up of a woman’s face: there’s more color in the version 7 image, and more natural detail in the texture of the skin. Little bumps and shines in the skin texture aren’t present in version 6.1. I’d need to try that further to see if that’s consistent.
- Old man: I still notice more consistent skin texture. The hair seems a little more natural and a little less uniform. There’s more personality in his face. The size of his nose looks a bit more unique, and even the little moles and freckles stand out. The hair and beard look fantastic. The lack of focus in certain areas brings a bit of depth too.
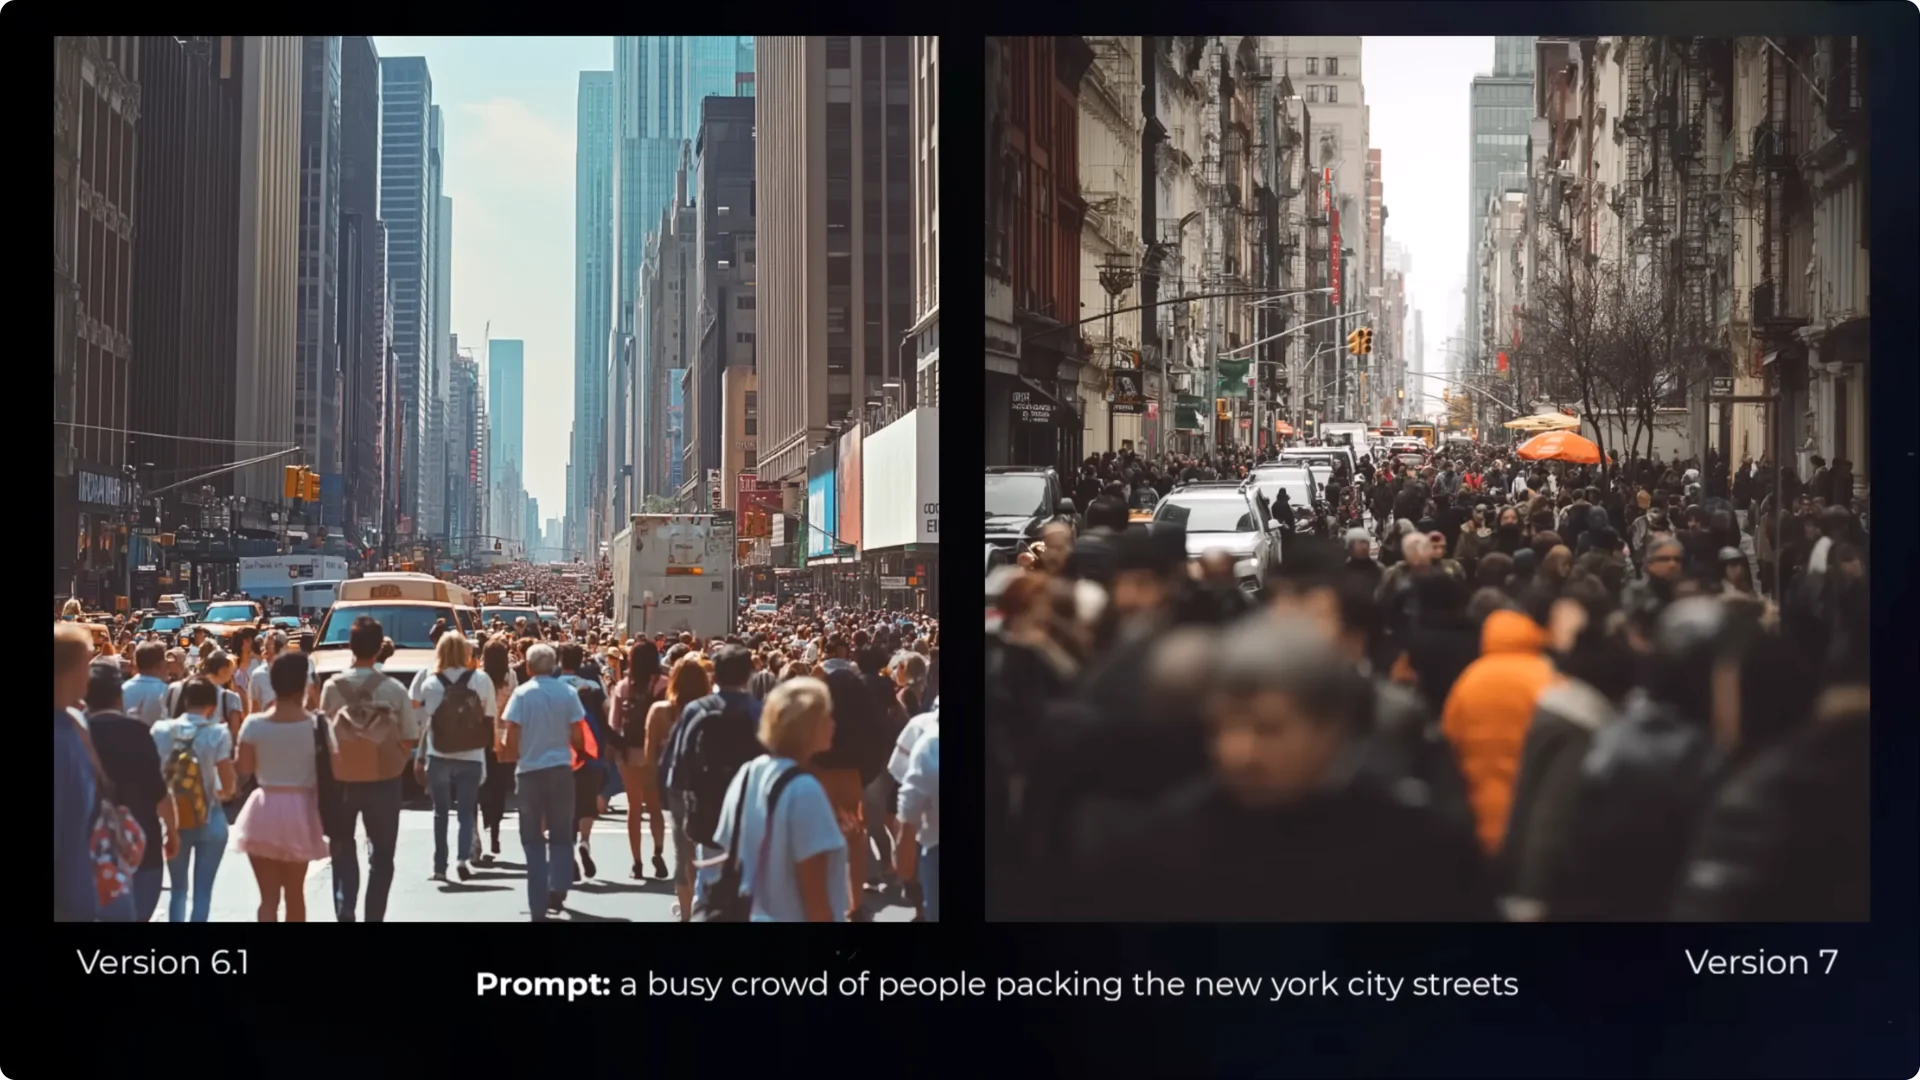
Street and Architecture
- Crowded city street: it looks a lot more dynamic. You see a lot more signs, different objects coming off the sides of buildings, and trees. There’s more variety of objects. The variety of the people feels better. The one orange person and the orange umbrella add variety to the image.
- Modern family home: a lot more personality again in the yard, more variety in the trees and gardens, and a slightly more unique angle.
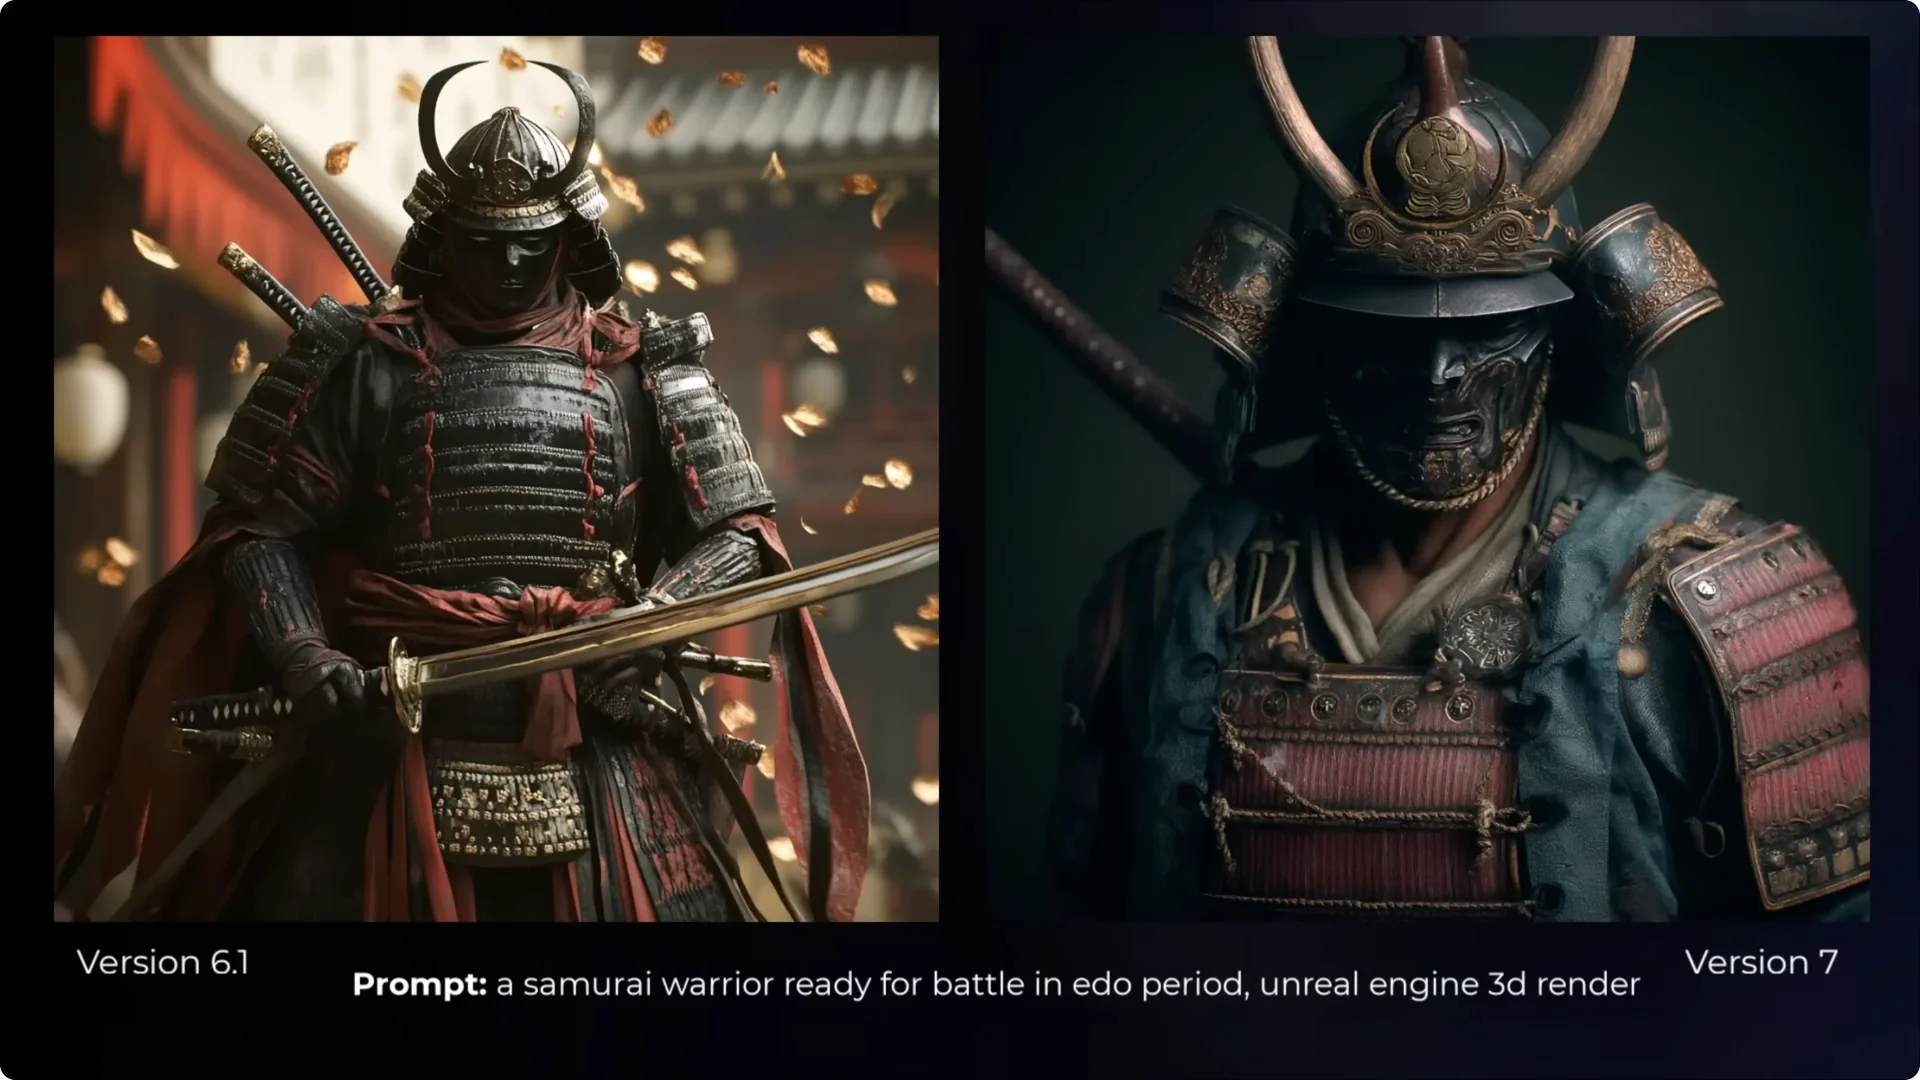
Characters and Stylization
- Samurai: it looks more like an actual photo of a samurai. There are fewer extra swords compared to version 6.1, which often had too many swords and handles popping out everywhere. In the new image, there’s one sword on his back, and the textures look more realistic.
- Batman: I feel like the version 6.11 one is better. The right one looks like he’s tripping out a little, but it adds a nice effect. It adds a proper VHS glitch, which shows it followed the prompt better in my opinion. Prompt understanding is a bit more improved with this model.
- Ink drawing: the version 7 image is very neatly bordered. Everything is neat and well put together, but overall these are both pretty similar in quality.
- Golden hour portrait: the woman looks like she has more unique personality. Not a picture perfect model, a little more personality in the face. I love the golden hour reflection. It’s overall a better photo. The highlights of the sun and her hair look really solid.
MidJourney V7 Personalization – Personalized vs Non-personalized Results
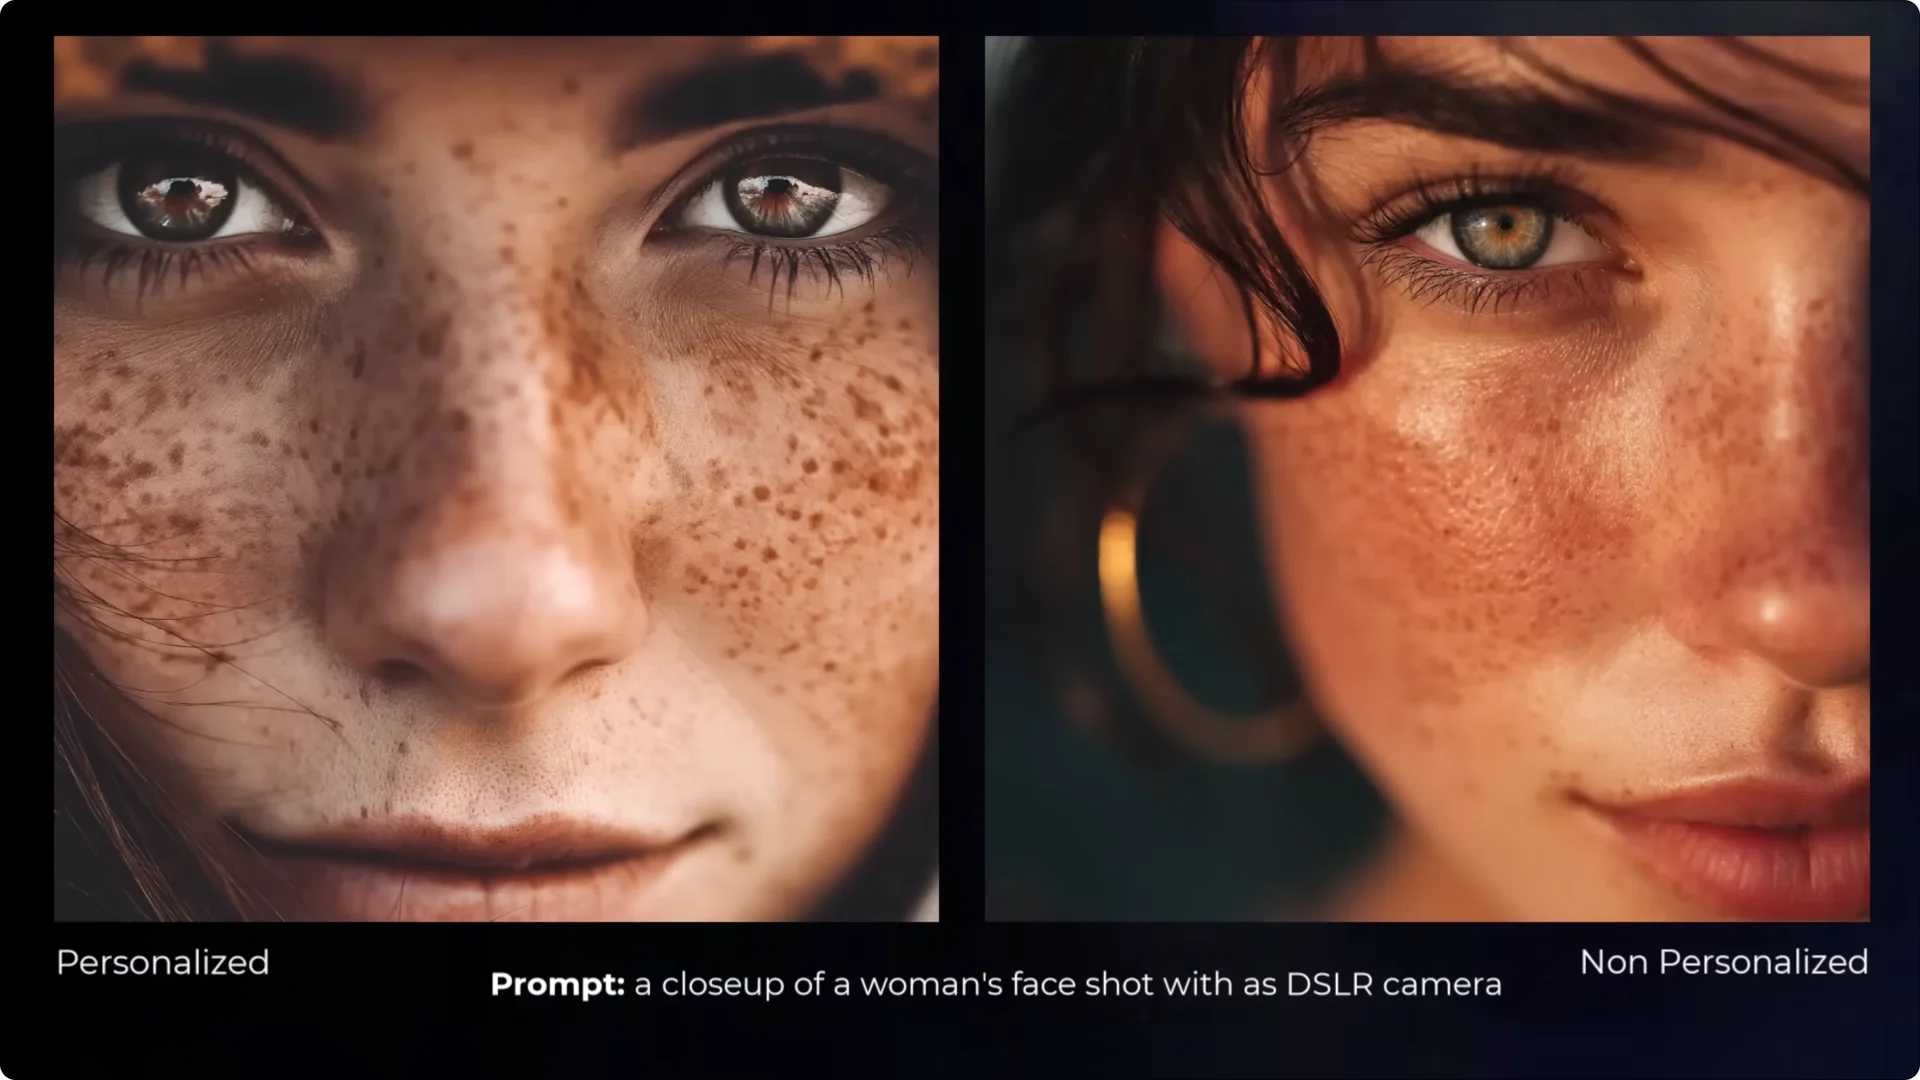
With personalized images on the left and non-personalized on the right, you can start to see a little more personality in some of these images.
- The first one isn’t greatly different, but the way it mutes certain colors appeals more to my style.
- The old man has a more dramatic close-up on his nose, revealing the little nose hairs, which is a cool enhancement and detail.
- Overall, these images are a slight spin. One didn’t go for a photograph on the personalized version but more of an illustration. It looks very old-fashioned, very timely, and you can see how it creates a difference.
- The home looks much more unique. There’s a more unique spin and a little less of that standard look. The samurai has a different face mask, a different angle, and he looks a little more rugged. The ropes are a little more frayed. I like the way it adds those little differences.
- The Batman image here is better, and it relies more on my taste of color. It created a different sort of image, although still similar.
- The drawing is more dynamic, and all of them came out more dynamic with the personalized model, as opposed to the non-personalized model which was very squared up. That was an interesting observation.
- The final image is a little brighter and has a bit more of a zany personality in the look of the woman.
Final Thoughts
Version 7 has personalization turned on by default, and you can unlock it by ranking images, then toggle it off if you want a different style. Draft mode lets you iterate much faster, spend fewer GPU hours, and then enhance or vary the images you care about. Prompt understanding feels improved, details are excellent, and the images often show more personality. Have a play with version 7, zoom in, and check out those details. They’ve done a great job with this model and it looks incredible.