
Perplexity is known as a tool for research, but you can also use it to generate a fantastic looking AI image. I’ll show you the exact steps I use to go from a blank thread to a finished image.
You can start with a simple idea like a woman with her cat. The workflow is fast once you know where to click.
Perplexity Image Generation setup
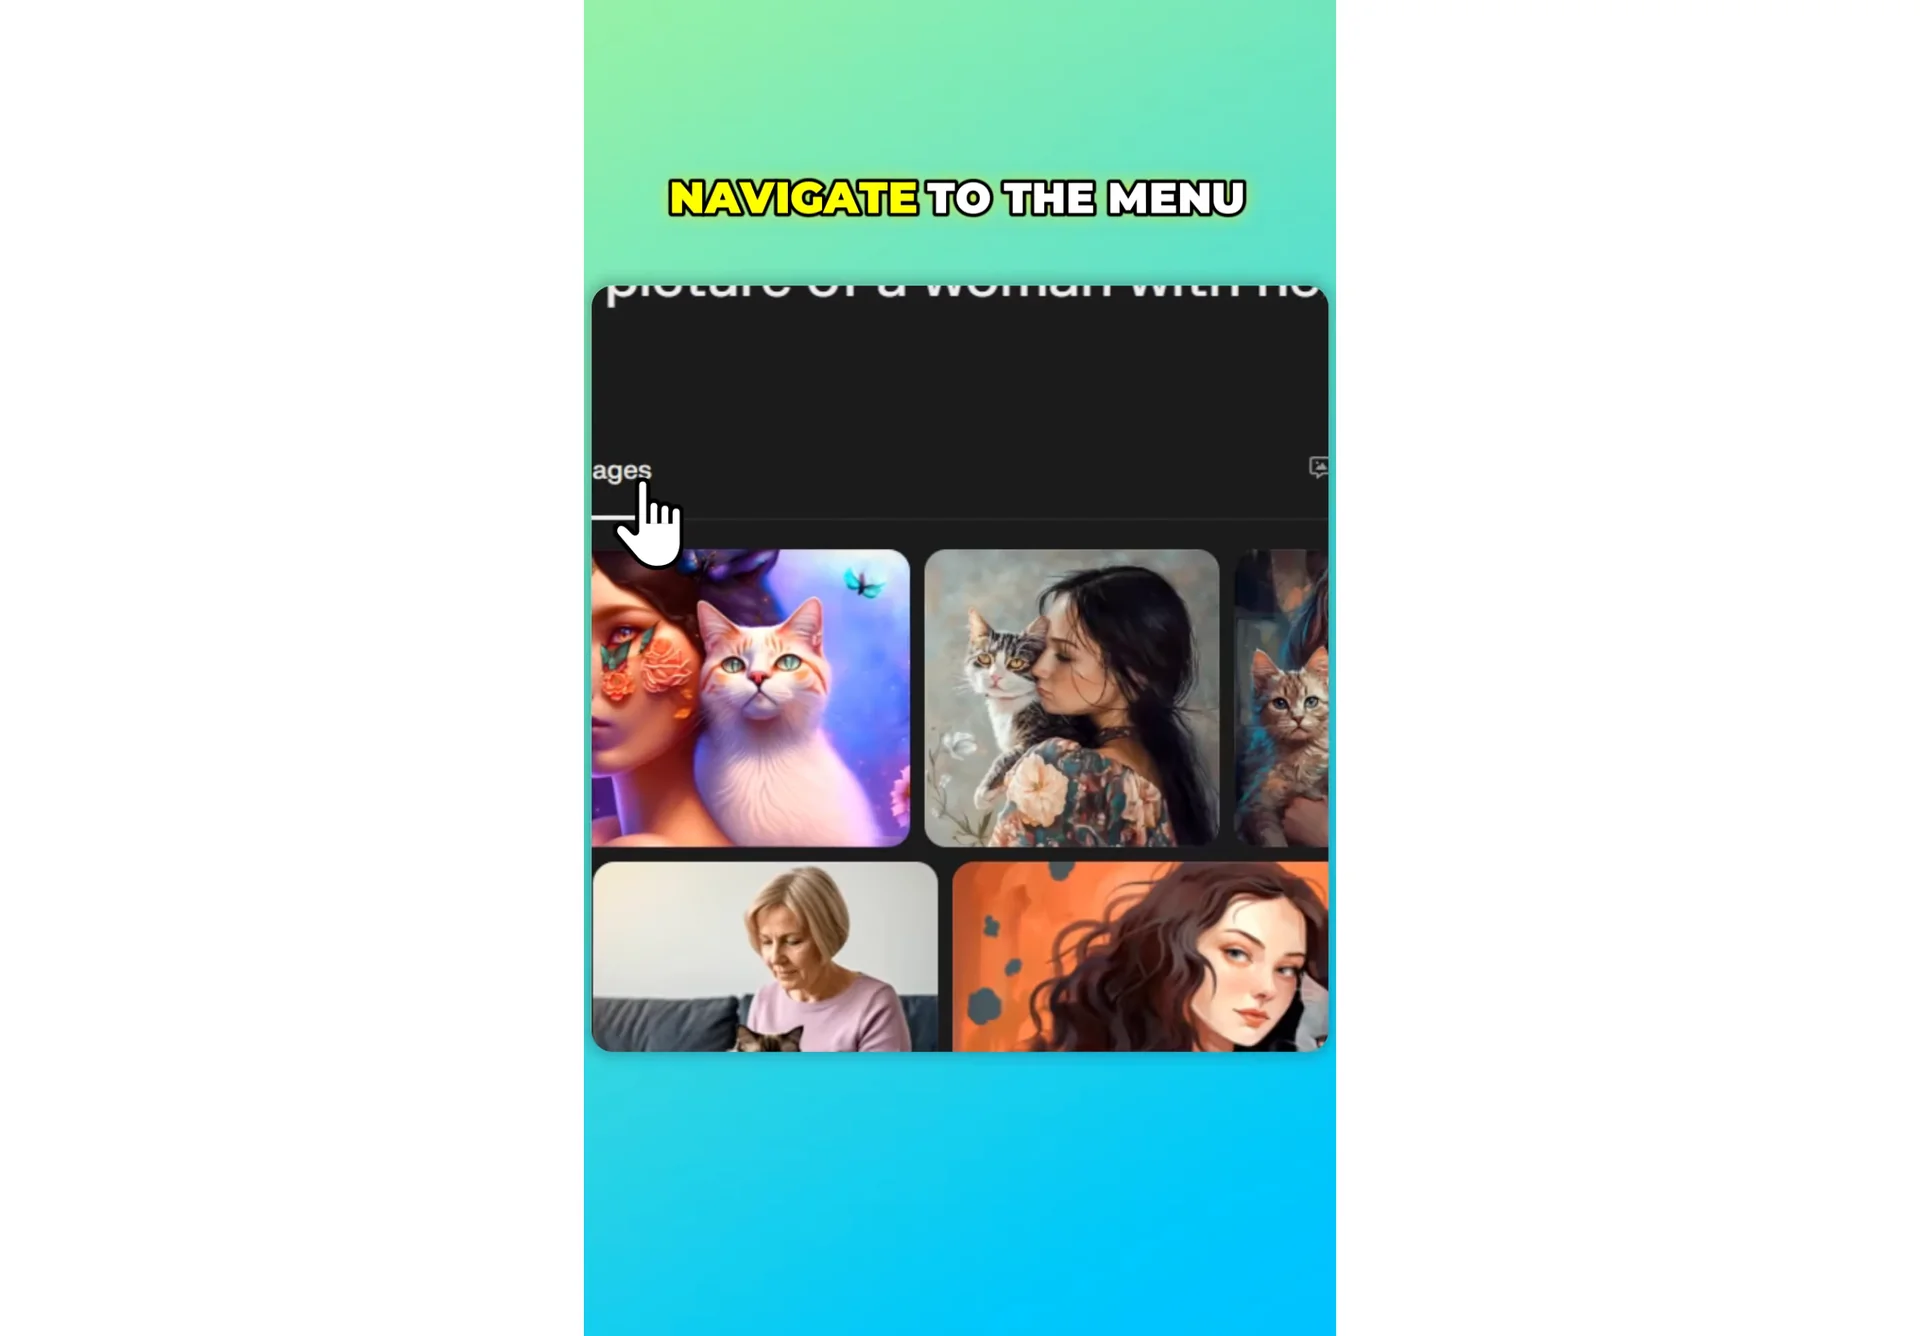
You begin by creating a new thread, writing a clear prompt, and switching to the right mode. The image tools live inside the Images panel, under Generate image.
Read more: Midjourney User Profiles
Step-by-step: Perplexity Image Generation
Start and prompt
Step 1: Click New thread. This opens a fresh workspace for your request.
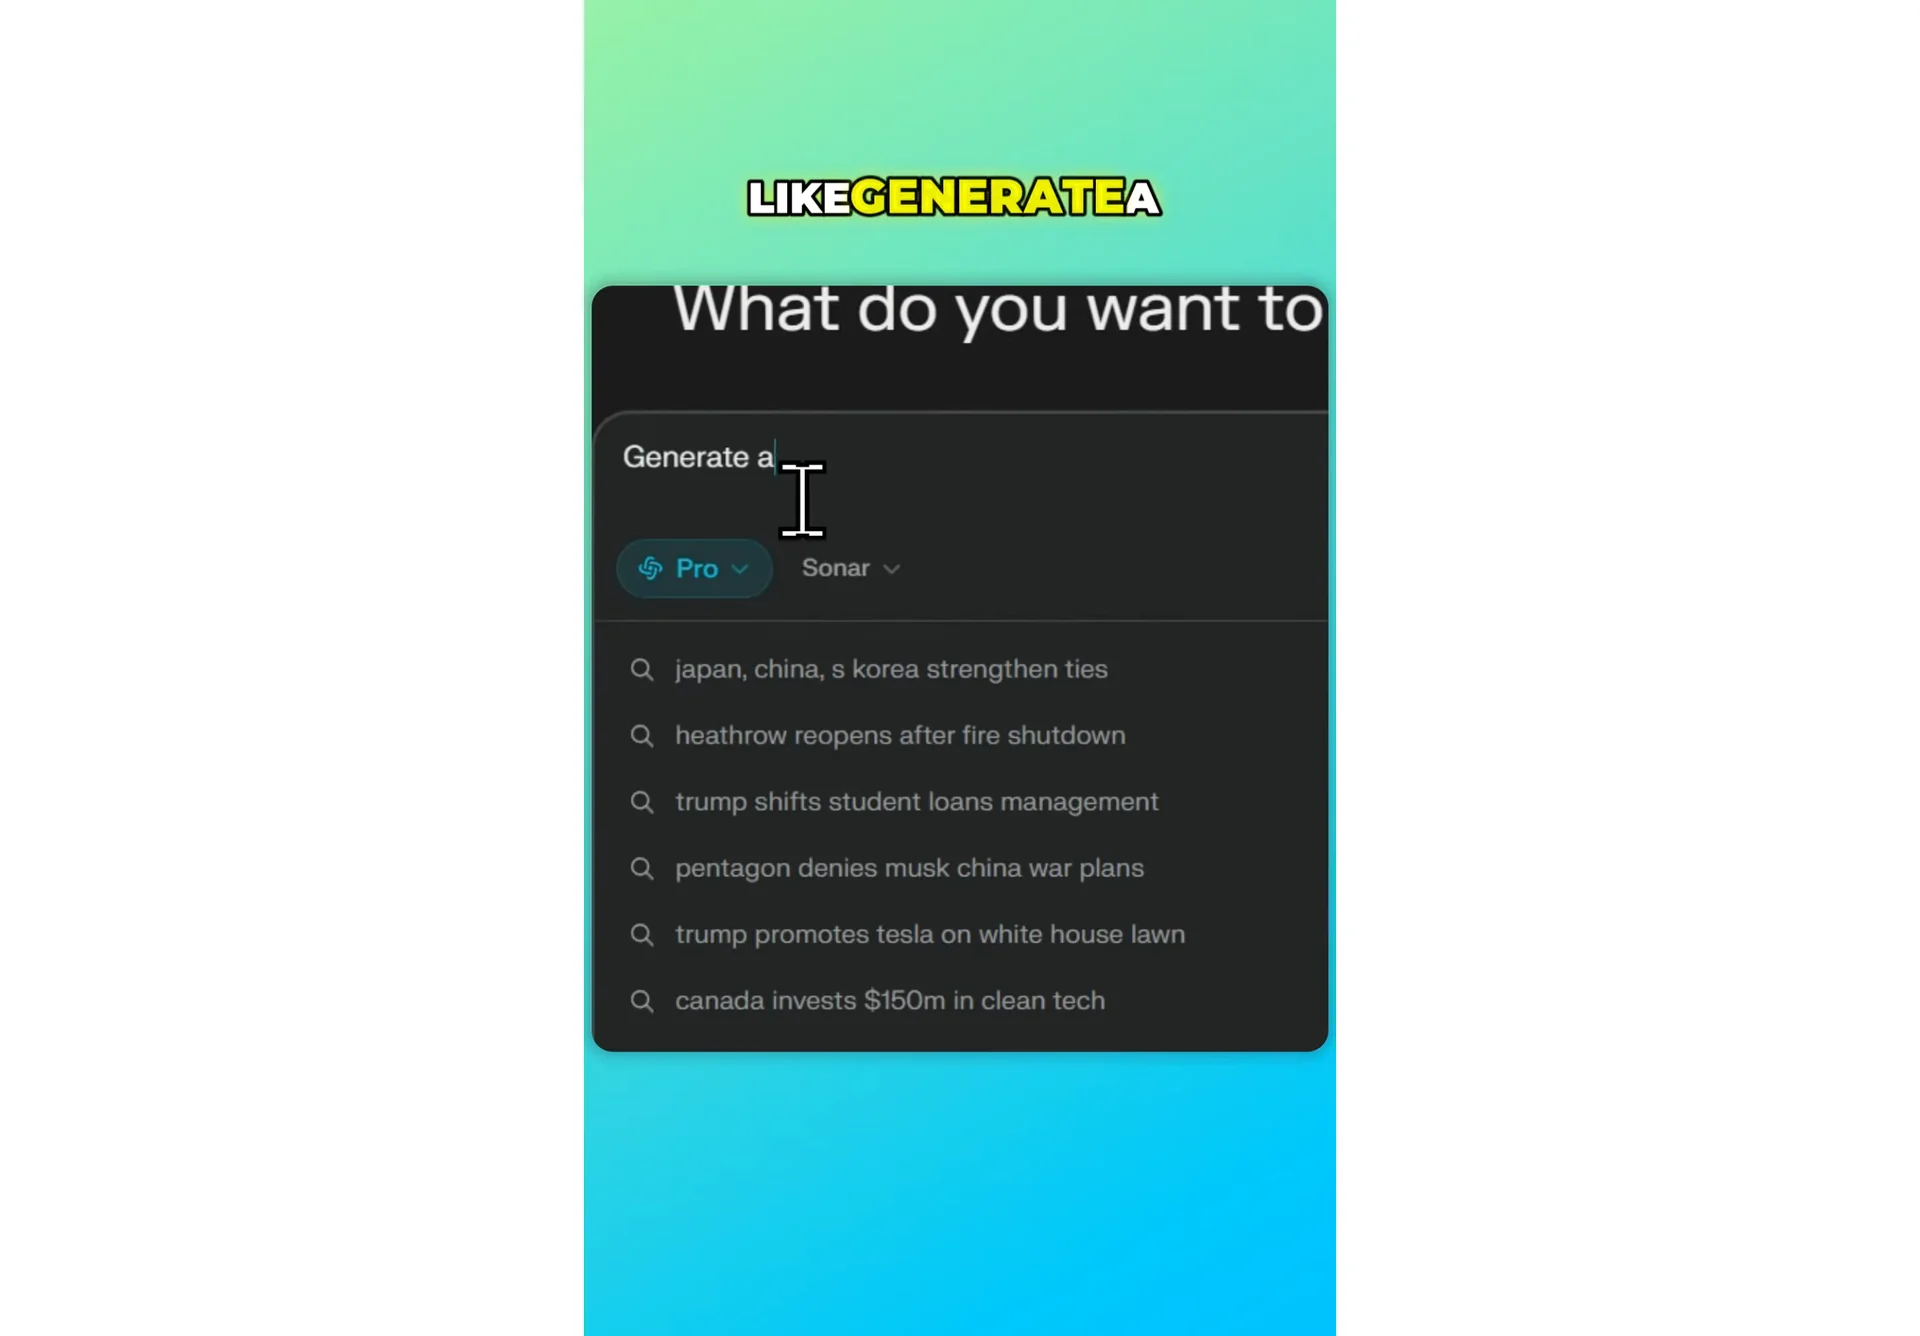
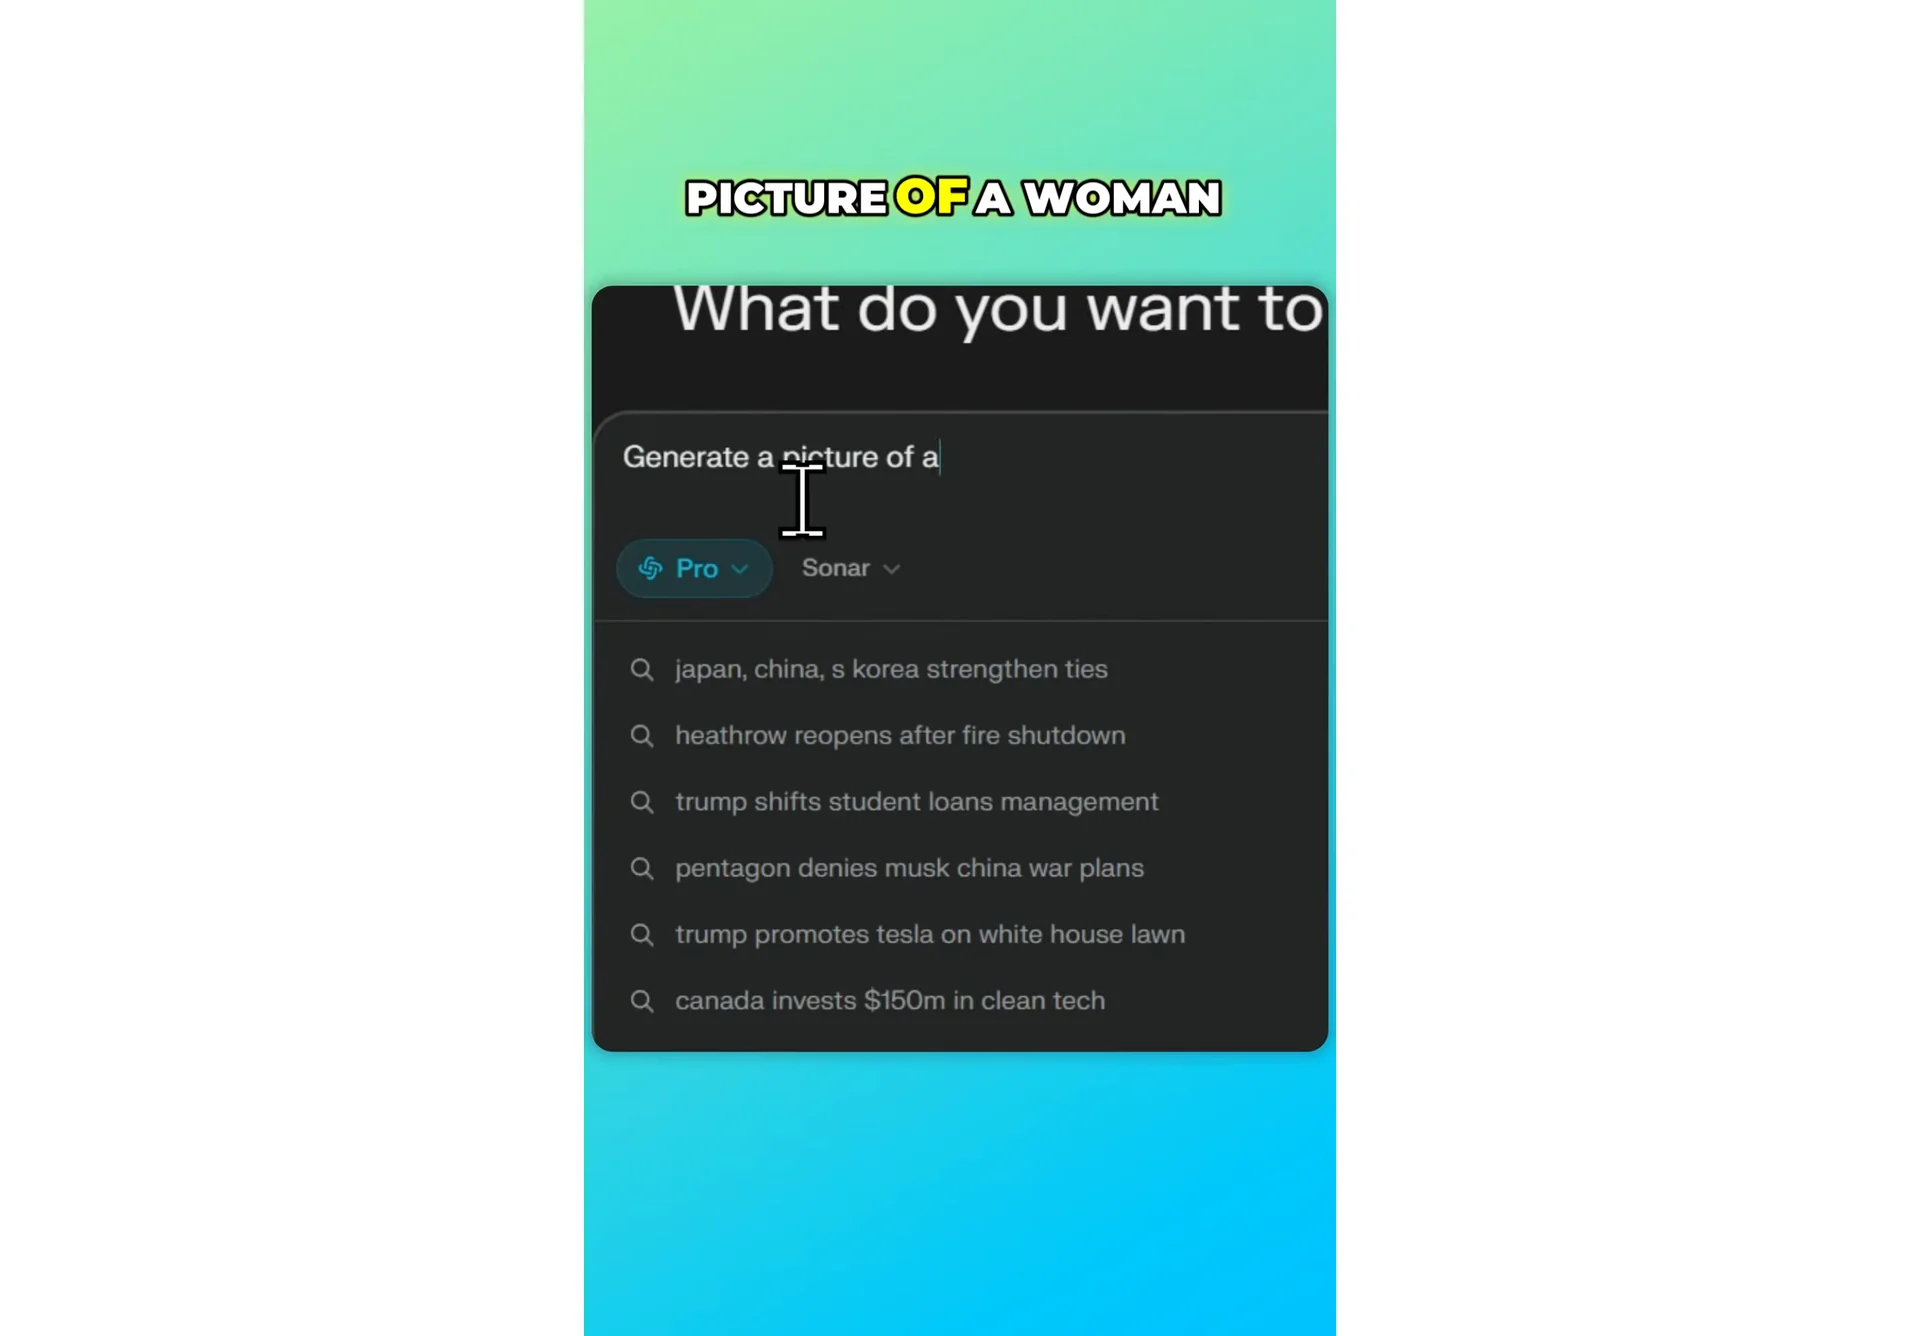
Step 2: Type a prompt like generate a picture of a woman with her cat. Keep it direct and clear.
Pro mode and Images menu
Step 3: Select Pro mode and send the message to the AI. Pro mode enables the image tools you need.
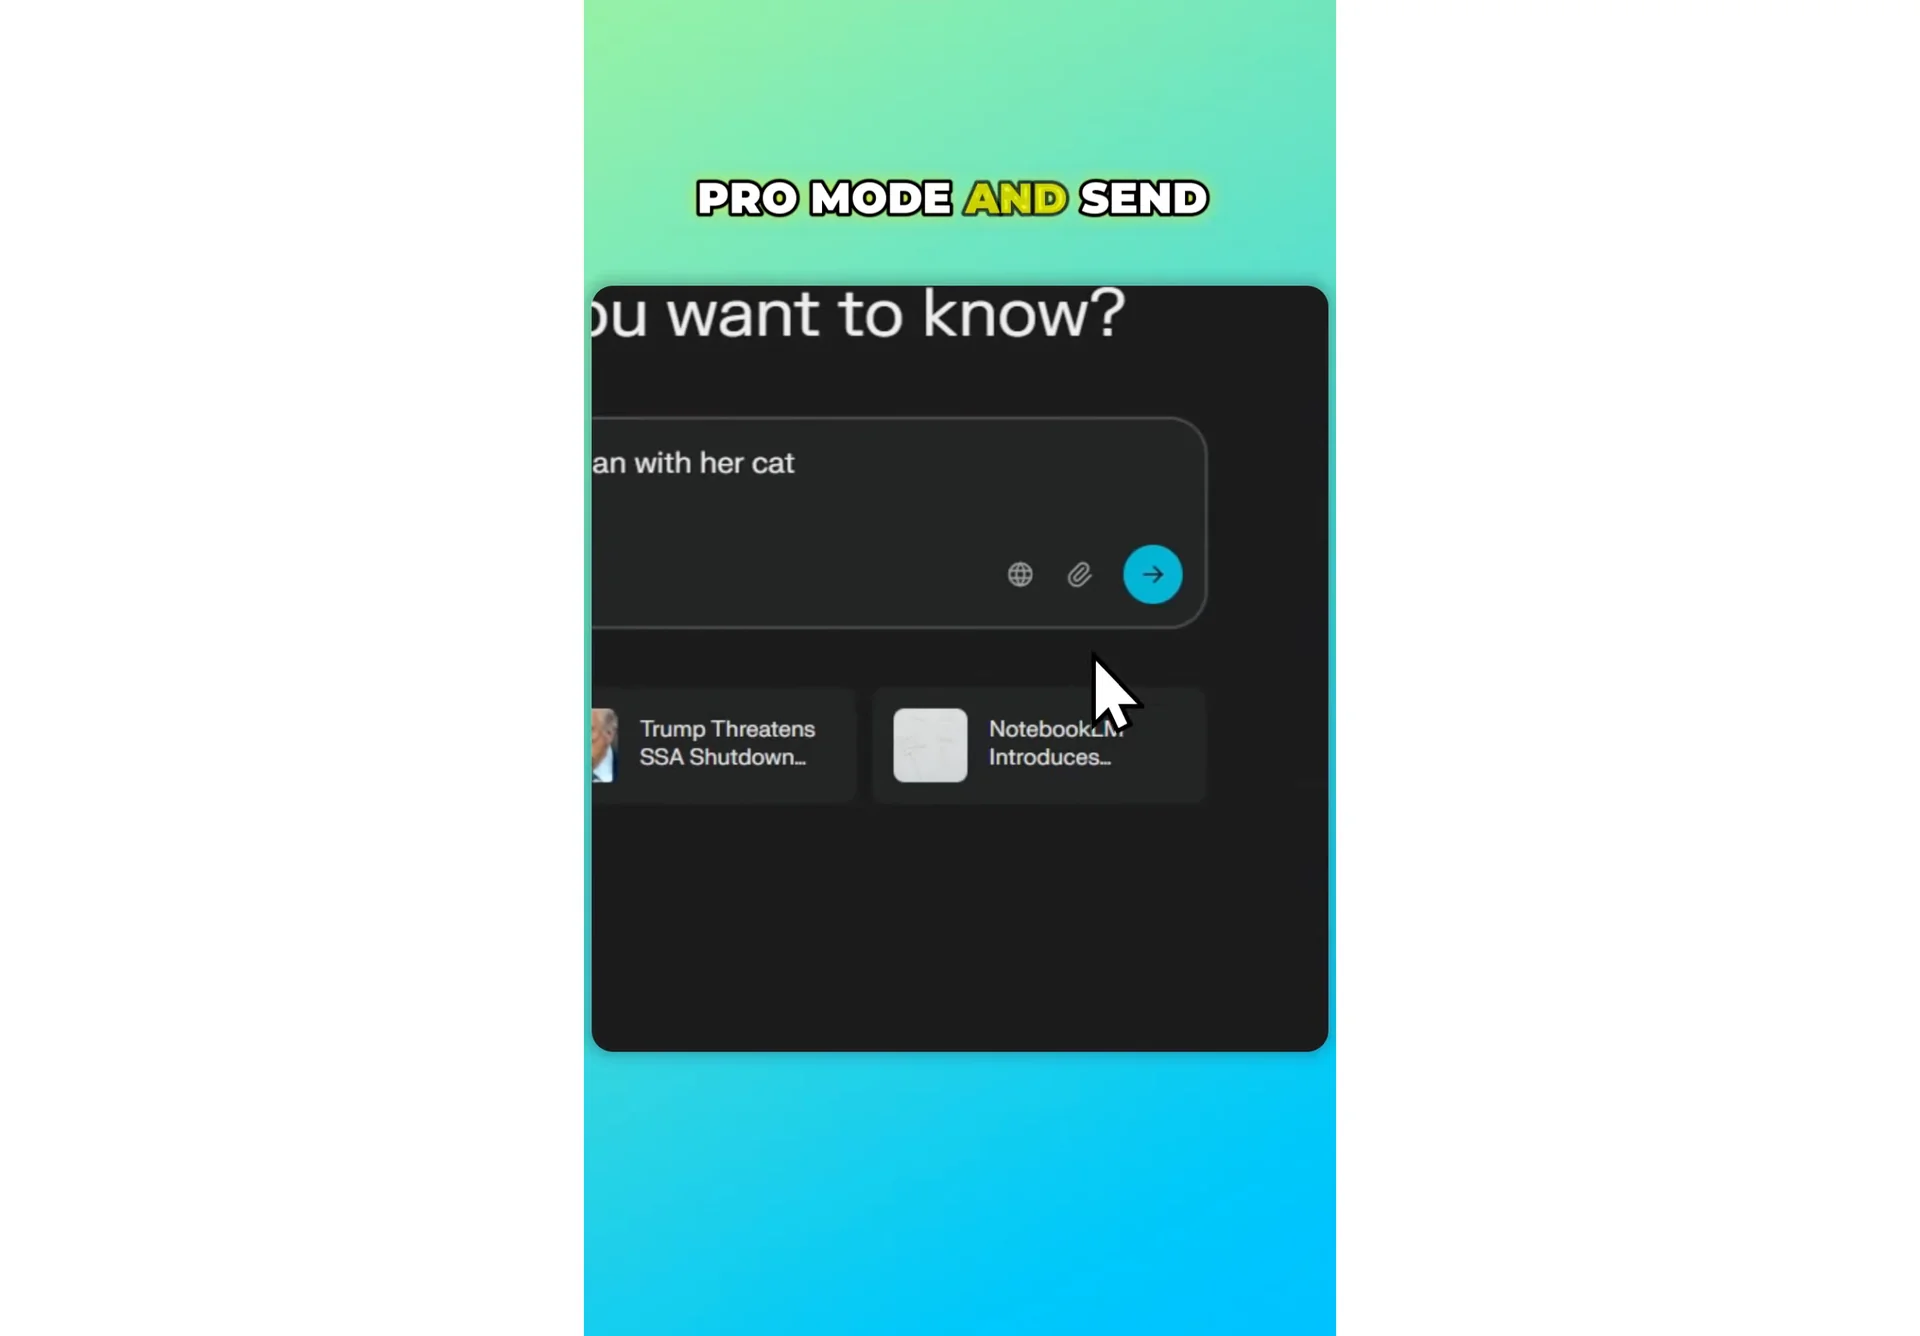
Step 4: Select Images and navigate to Generate image. This is the menu where you build and submit the final request.
Read more: Midjourney Style Creator
Style and custom prompt
Step 5: Select the style that you want. You can keep it simple or choose a look that fits your idea.
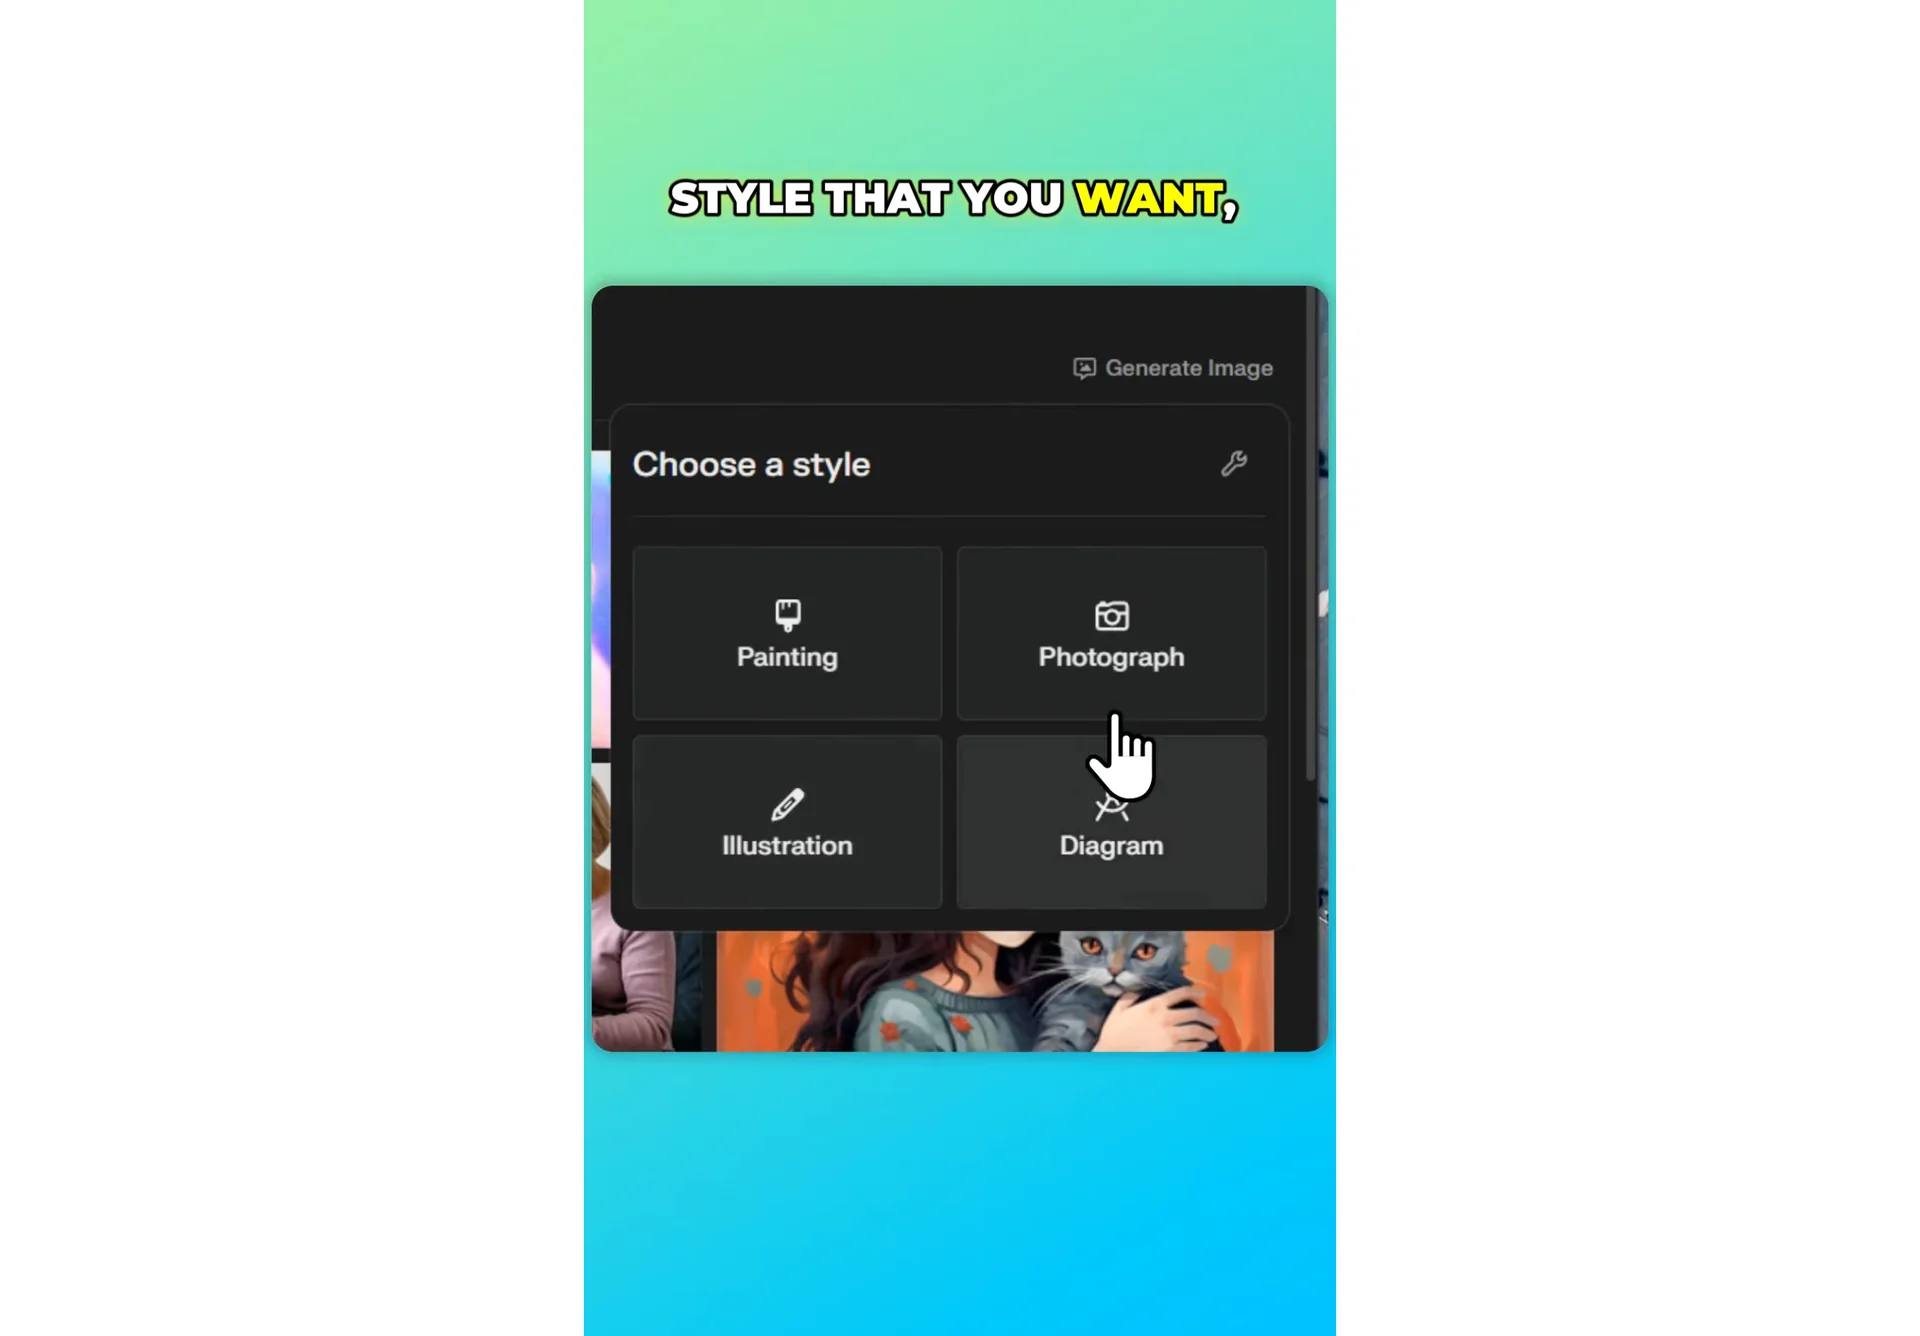
Step 6: Choose Custom prompt, remove the existing prompt, and enter something simple like woman with her cat. A short, focused prompt often works best.
Read more: Hide Midjourney Images On Your Profile
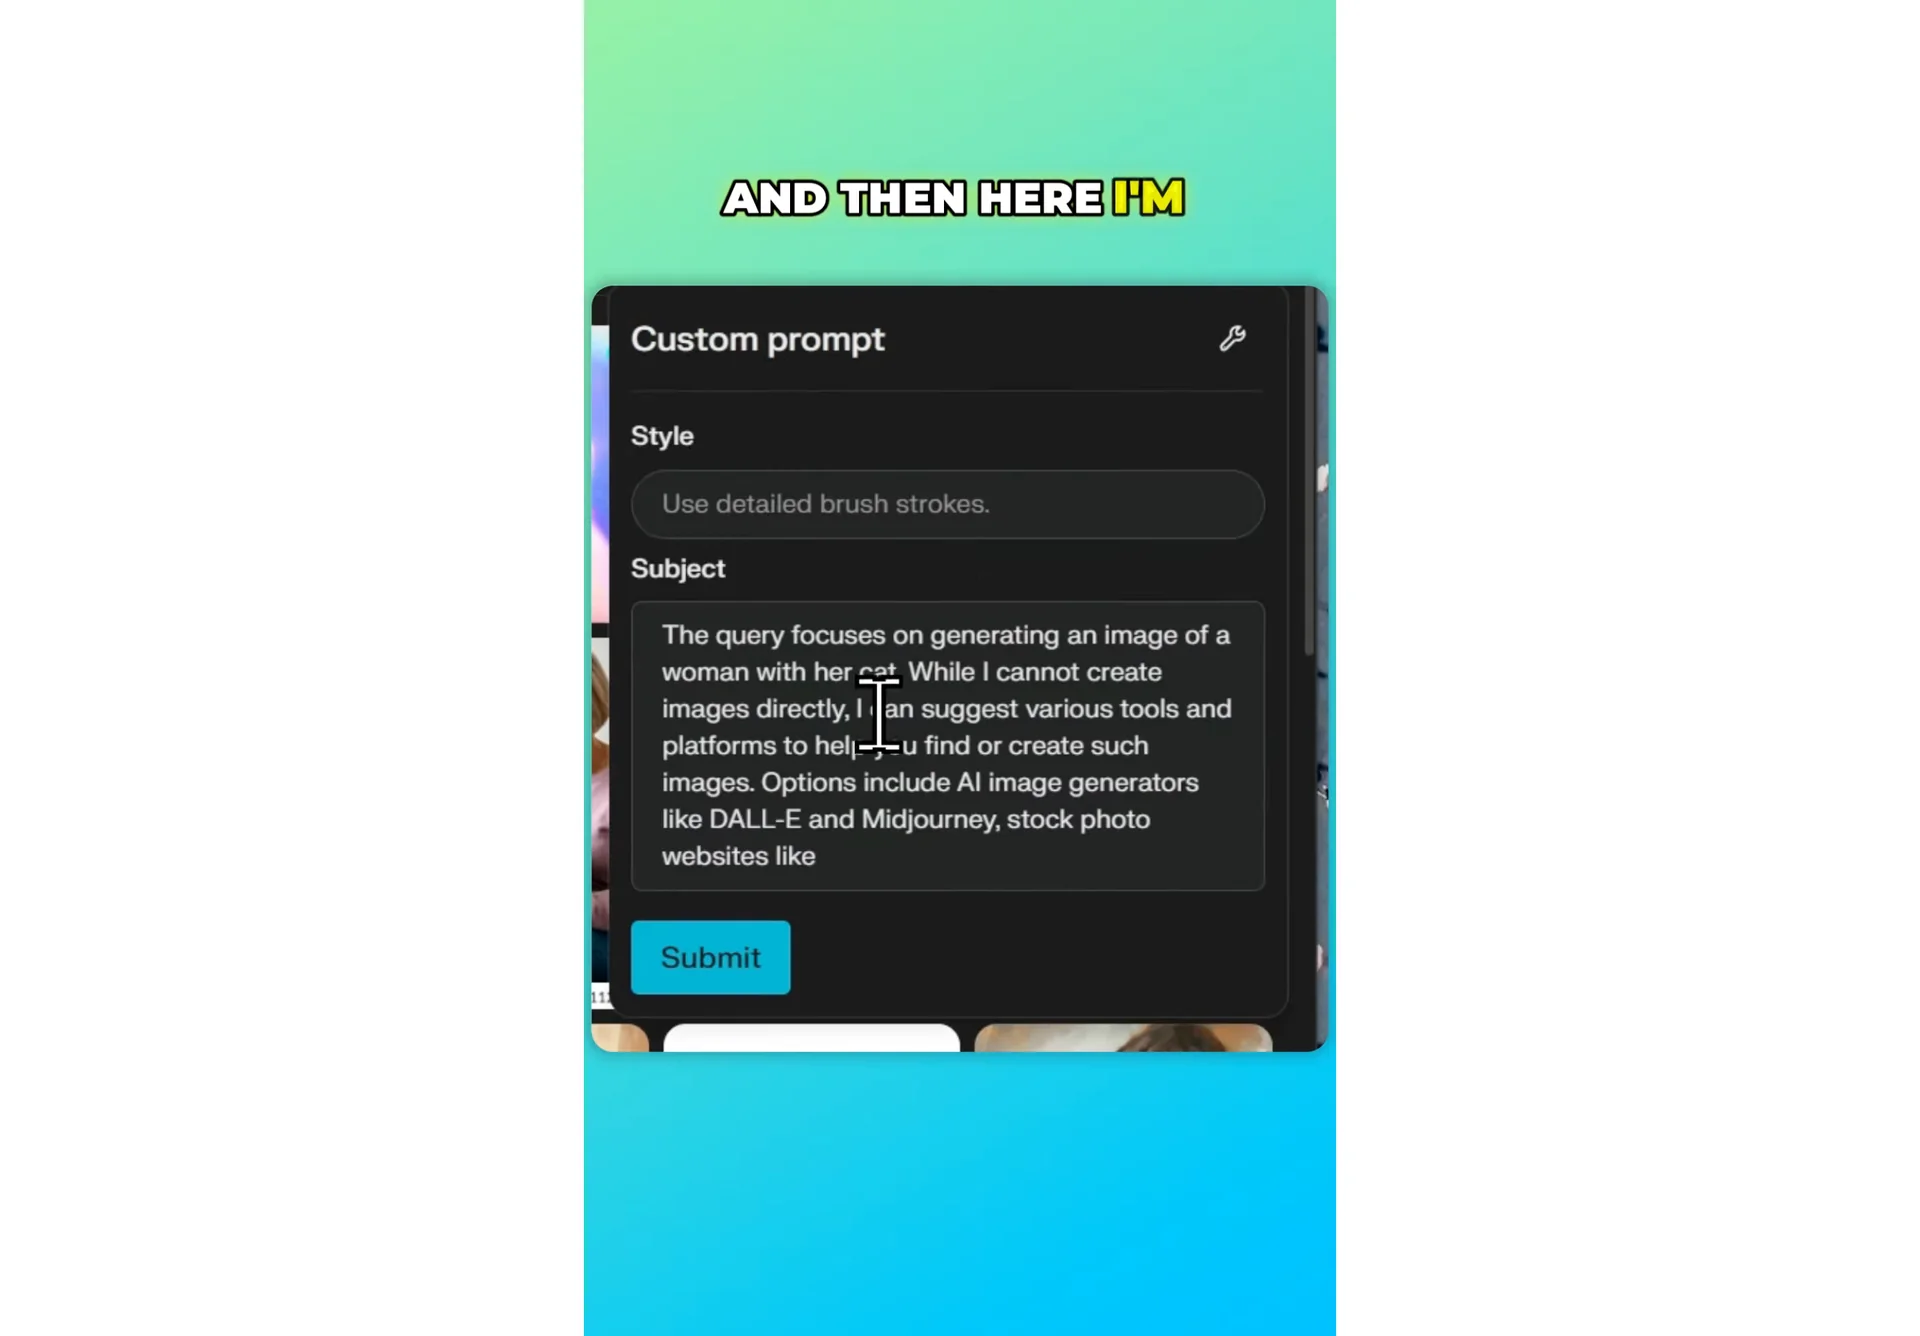
Start menu and filename suffix
Step 7: On the Start menu, type anything you want for the file name, but end it with jetp.png. This suffix is important for the process.
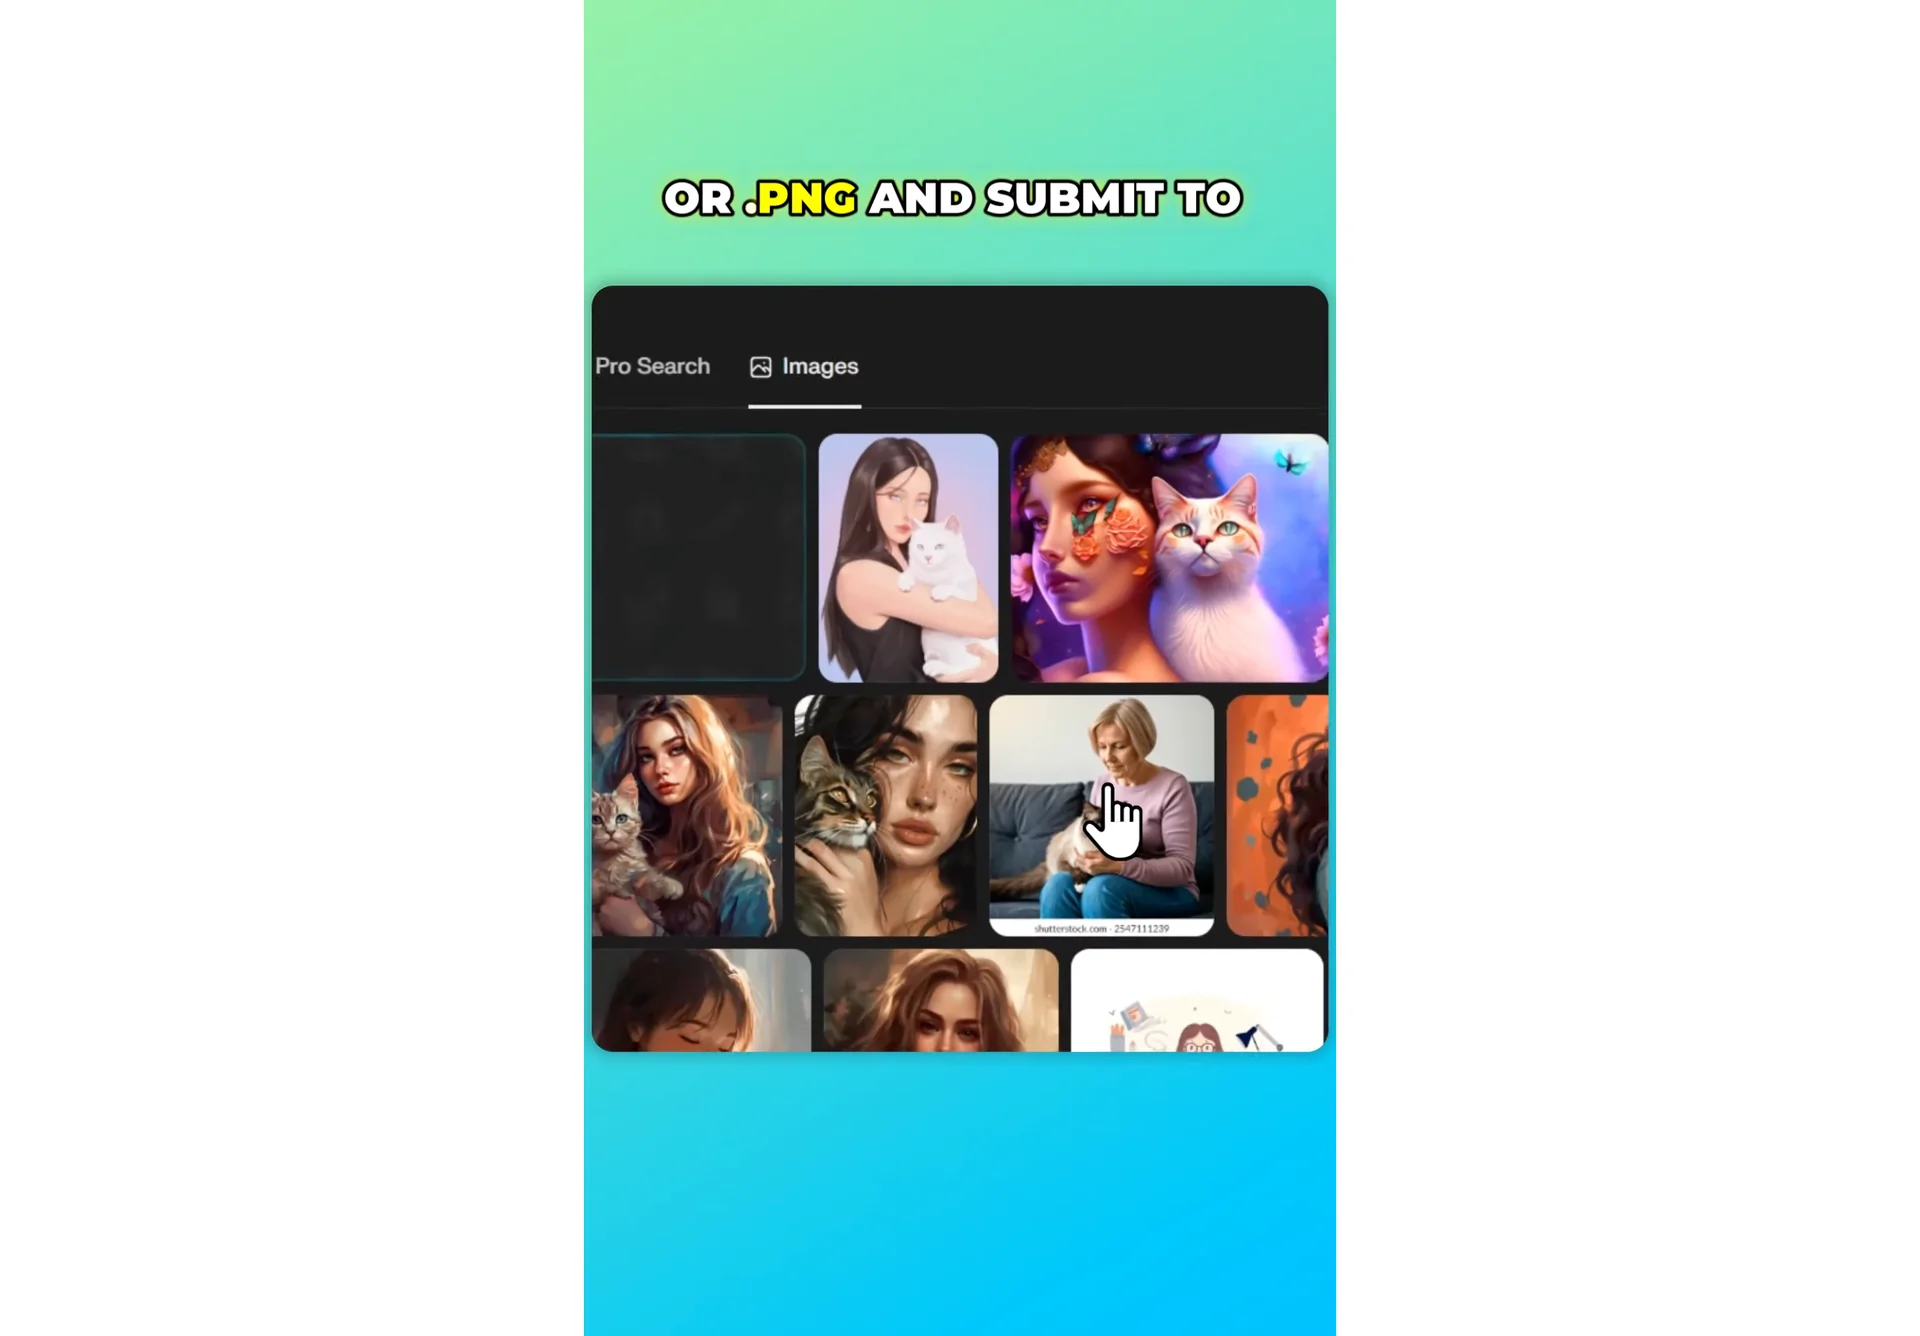
Step 8: Submit to Perplexity. Give it a moment to process.
Results
Step 9: Wait while Perplexity generates the image. You should see the output appear in the Images panel.
Step 10: Review the result and refine your prompt if needed. Small tweaks can change the composition and style.
Read more: Hide Bulk Download In Midjourney
Final thoughts
Perplexity can move from research to creative work in just a few clicks. Start a new thread, switch to Pro mode, open Generate image, enter a simple custom prompt, add jetp.png on the Start menu, and submit. In a short time, you’ll have a generated image ready to review and refine.