I have talked a lot about Perplexity AI and how this tool can help with daily work. I have shown how to use it for research, generate AI images, and even create code for a website or a Chrome extension. I built a simple extension that counts the number of tabs open in my browser using Perplexity, which I think is really amazing.
There is one thing in Perplexity AI that many people are not using enough, which is the Perplexity API. Perplexity offers an API for its Sonar model that is fast, connected to the internet, and often cheaper than models like Claude or ChatGPT. With this API, you can build your own automation or even a chatbot.
If you are on the Pro plan, you get $5 of API credit every month. You can also buy credits without subscribing to Pro by enabling automatic top-up or purchasing credits directly. I think the Pro plan is still a good deal because you get the extra monthly API credit too.
If you are also working on AI image workflows, you might like these ideas for styles and prompt directions: art styles for Midjourney.
Make.com Perplexity API Automation basics
Make.com is a no-code automation tool similar to Zapier, but I find it easier and more intuitive to use. The credit system is useful because it does not limit the apps you can connect the way some other tools do. You can connect many popular apps, and the pricing based on operations often feels more affordable.
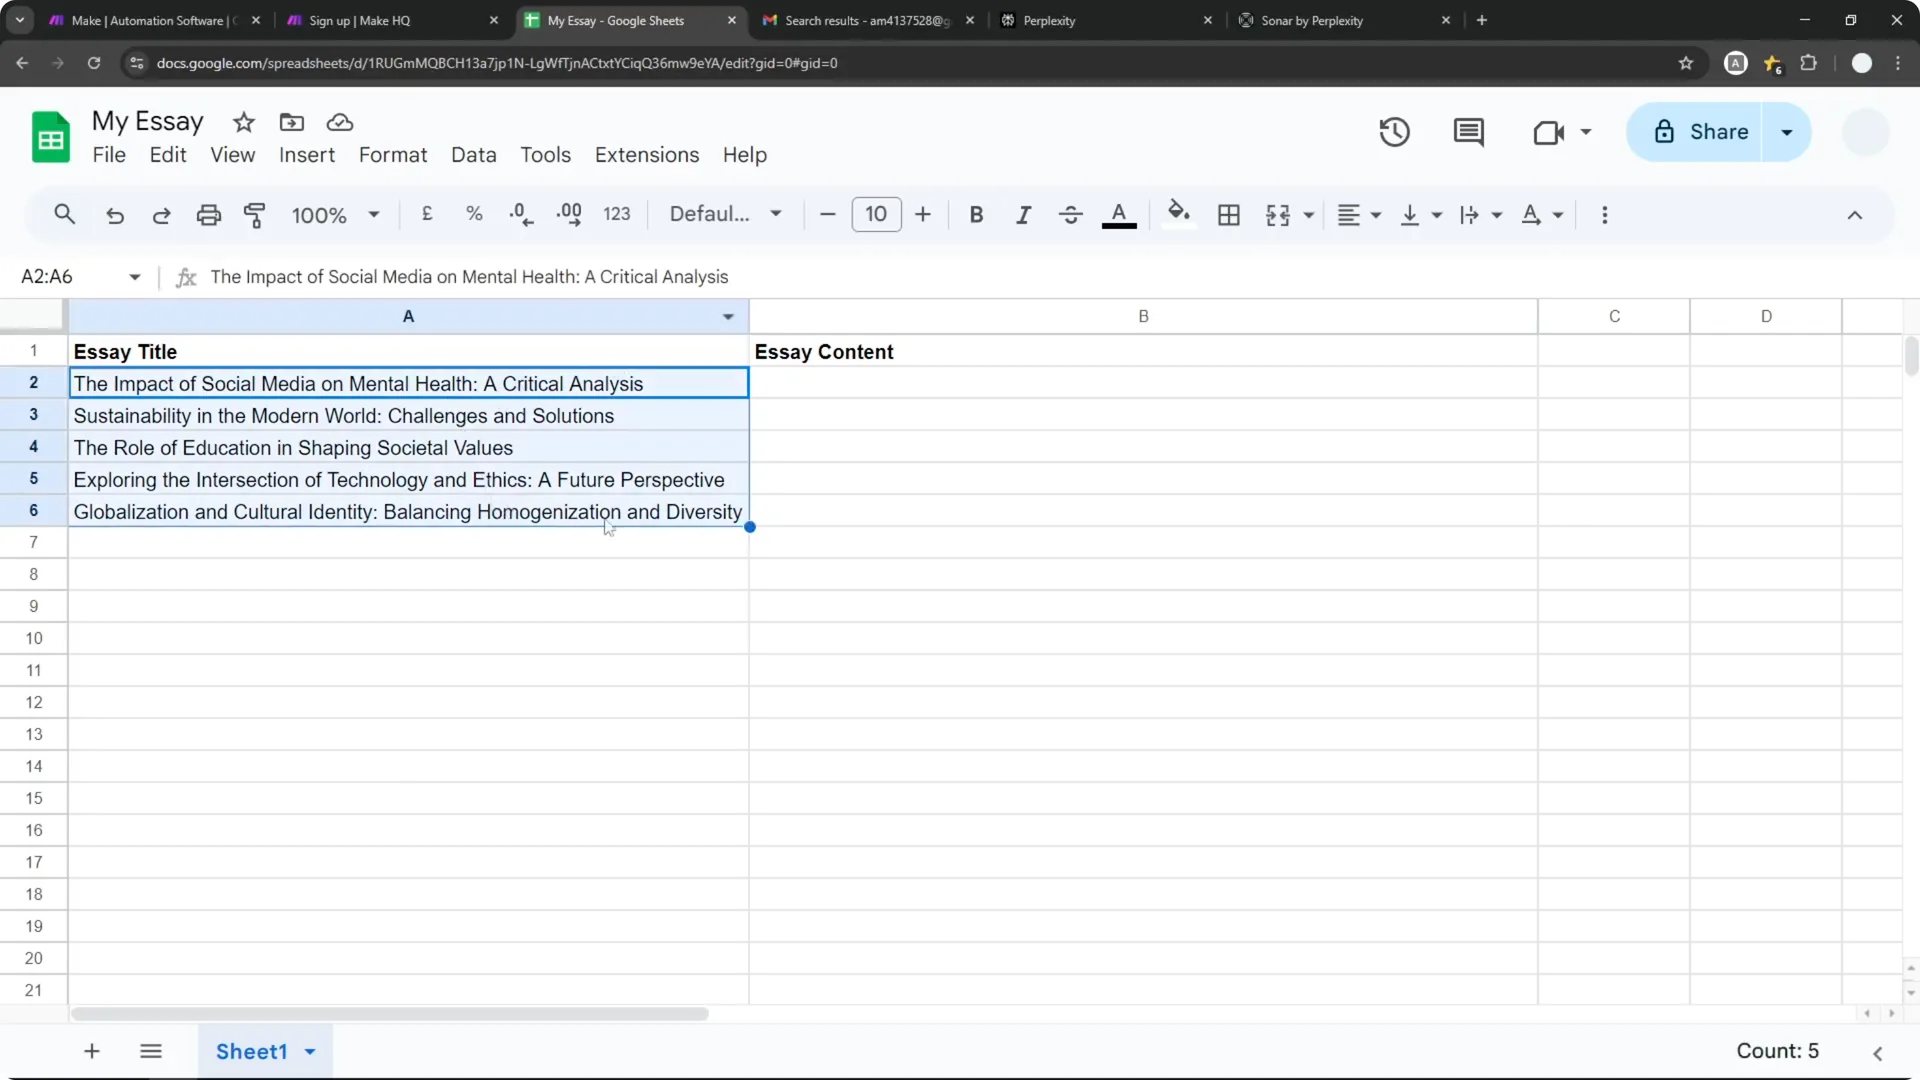
My goal here is to create a paragraph of text based on titles stored in a Google Sheets spreadsheet. I will connect my Google account to Make.com, send each title to Perplexity through the API, and then write Perplexity’s answer back to the sheet. This is just one example, and you can expand it to content creation, social media posting, research, or even supporting a Chrome extension.
Read More: Make Logo Midjourney
Make.com Perplexity API Automation setup
Step 1: Create your Make.com account
Sign up on Make.com and log in. You may see a brief onboarding survey, which you can fill out to help Make understand your needs. After that, you will land on the main dashboard.

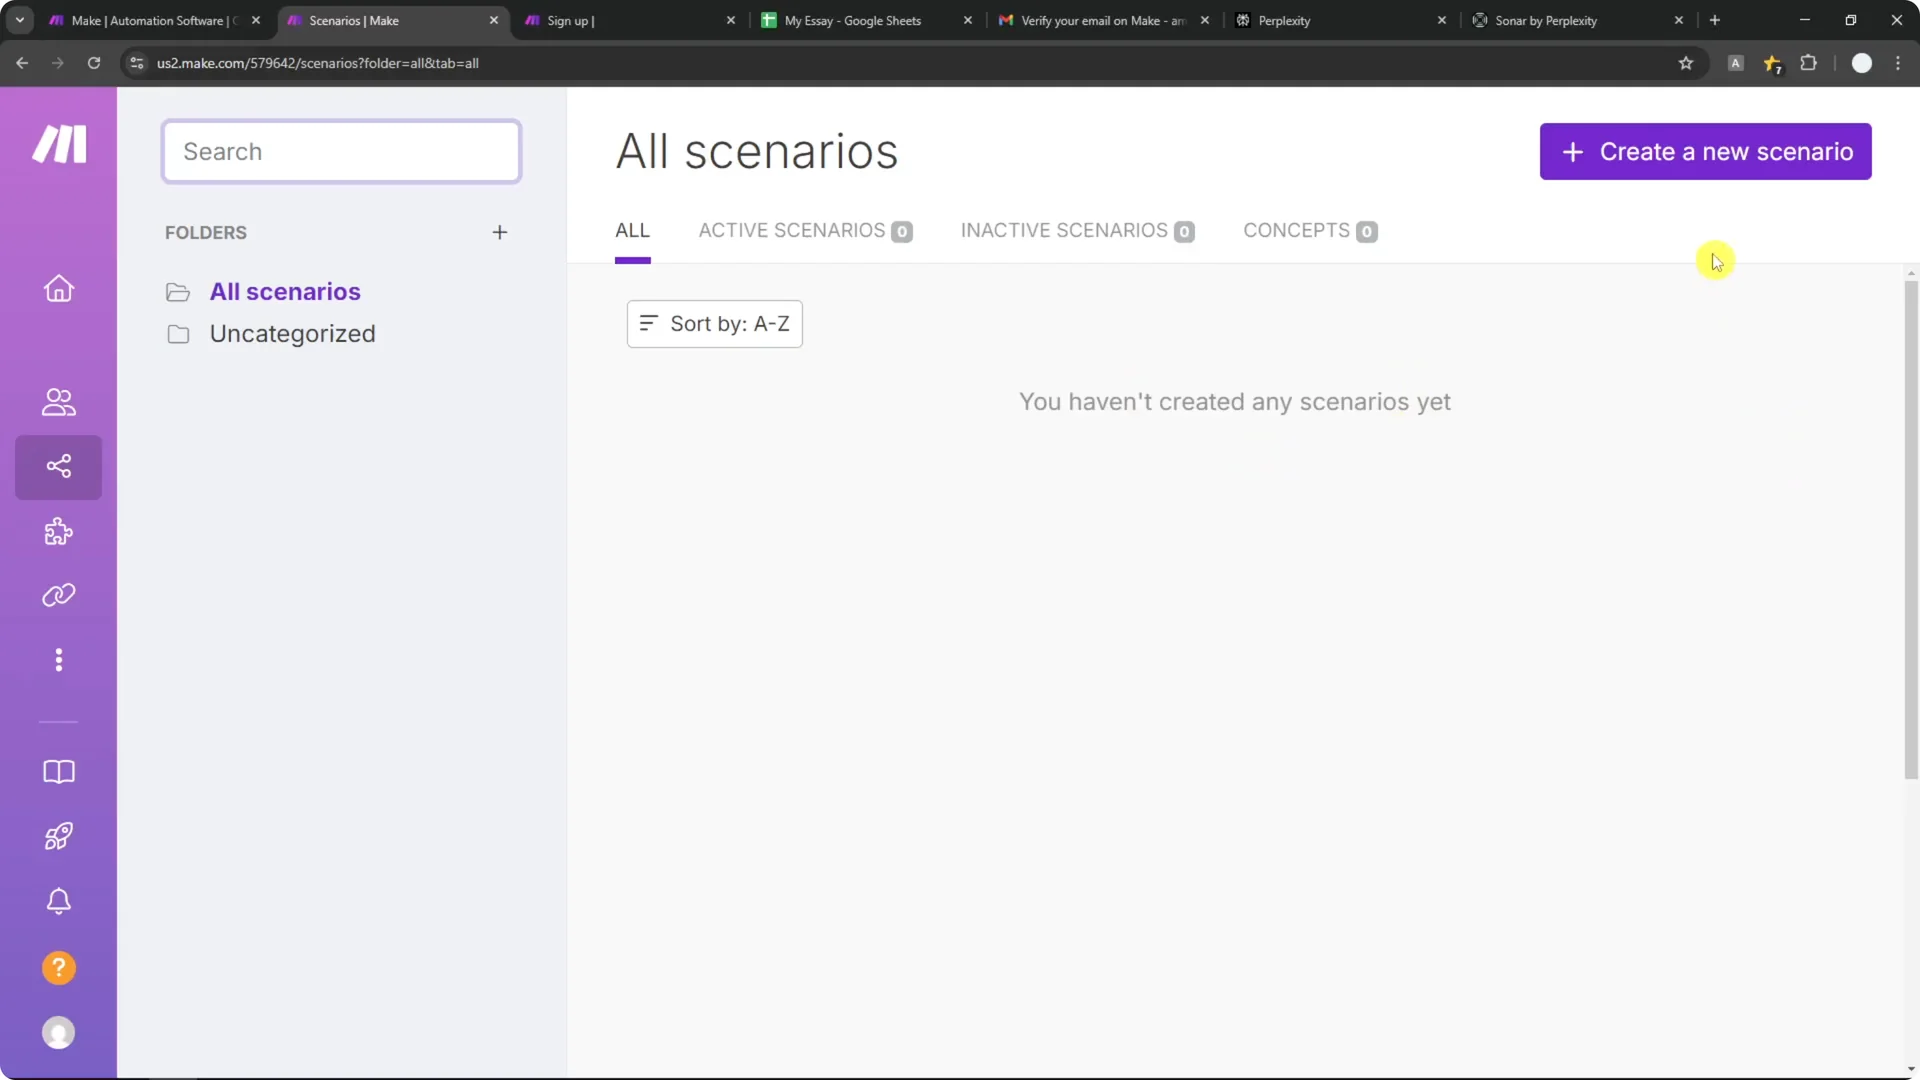
Step 2: Create a new scenario
Go to the Scenarios menu. Each automation in Make.com is called a scenario. Click Create a new scenario and give it a name, for example, Make.com Perplexity API with Google Sheets.
Step 3: Connect Google Sheets and watch new rows
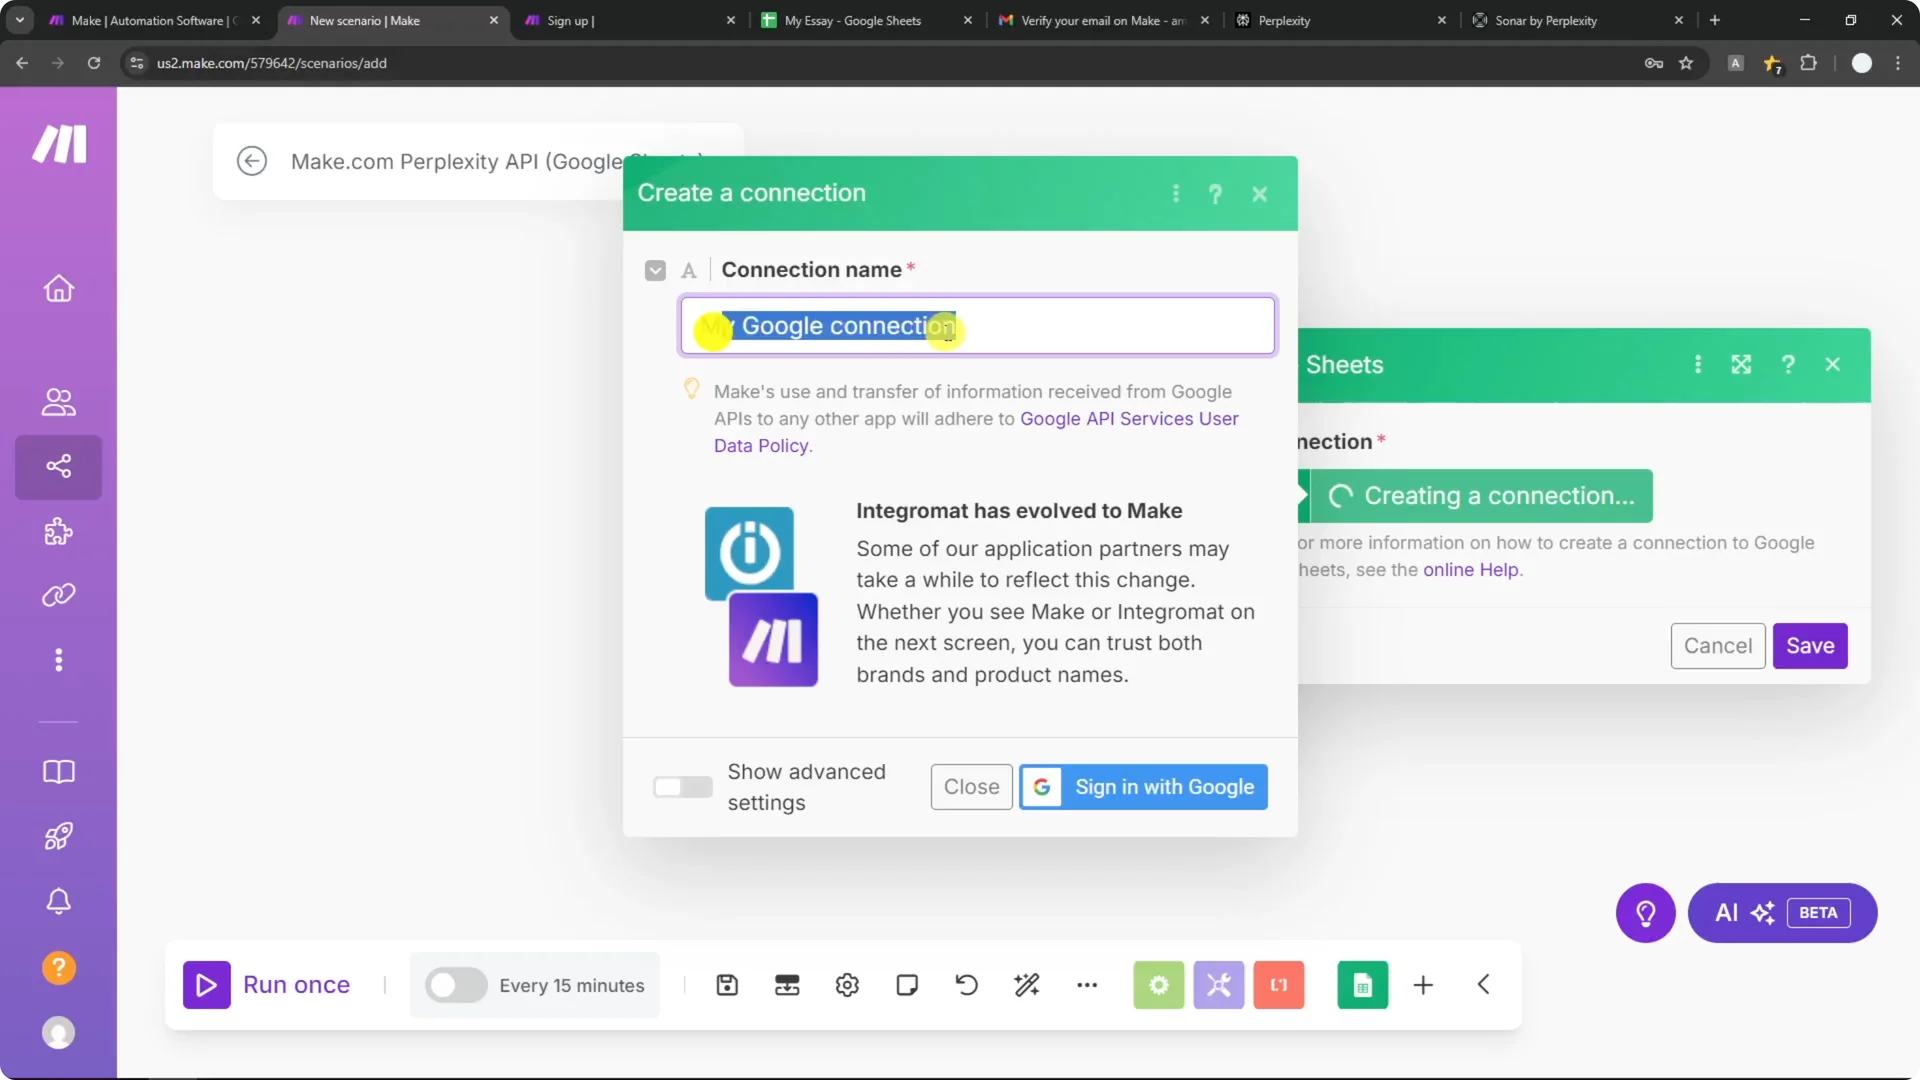
Add your first module and select Google Sheets. Choose Watch new rows so Make.com monitors your document for new entries. Create a connection to your Google account and allow access.
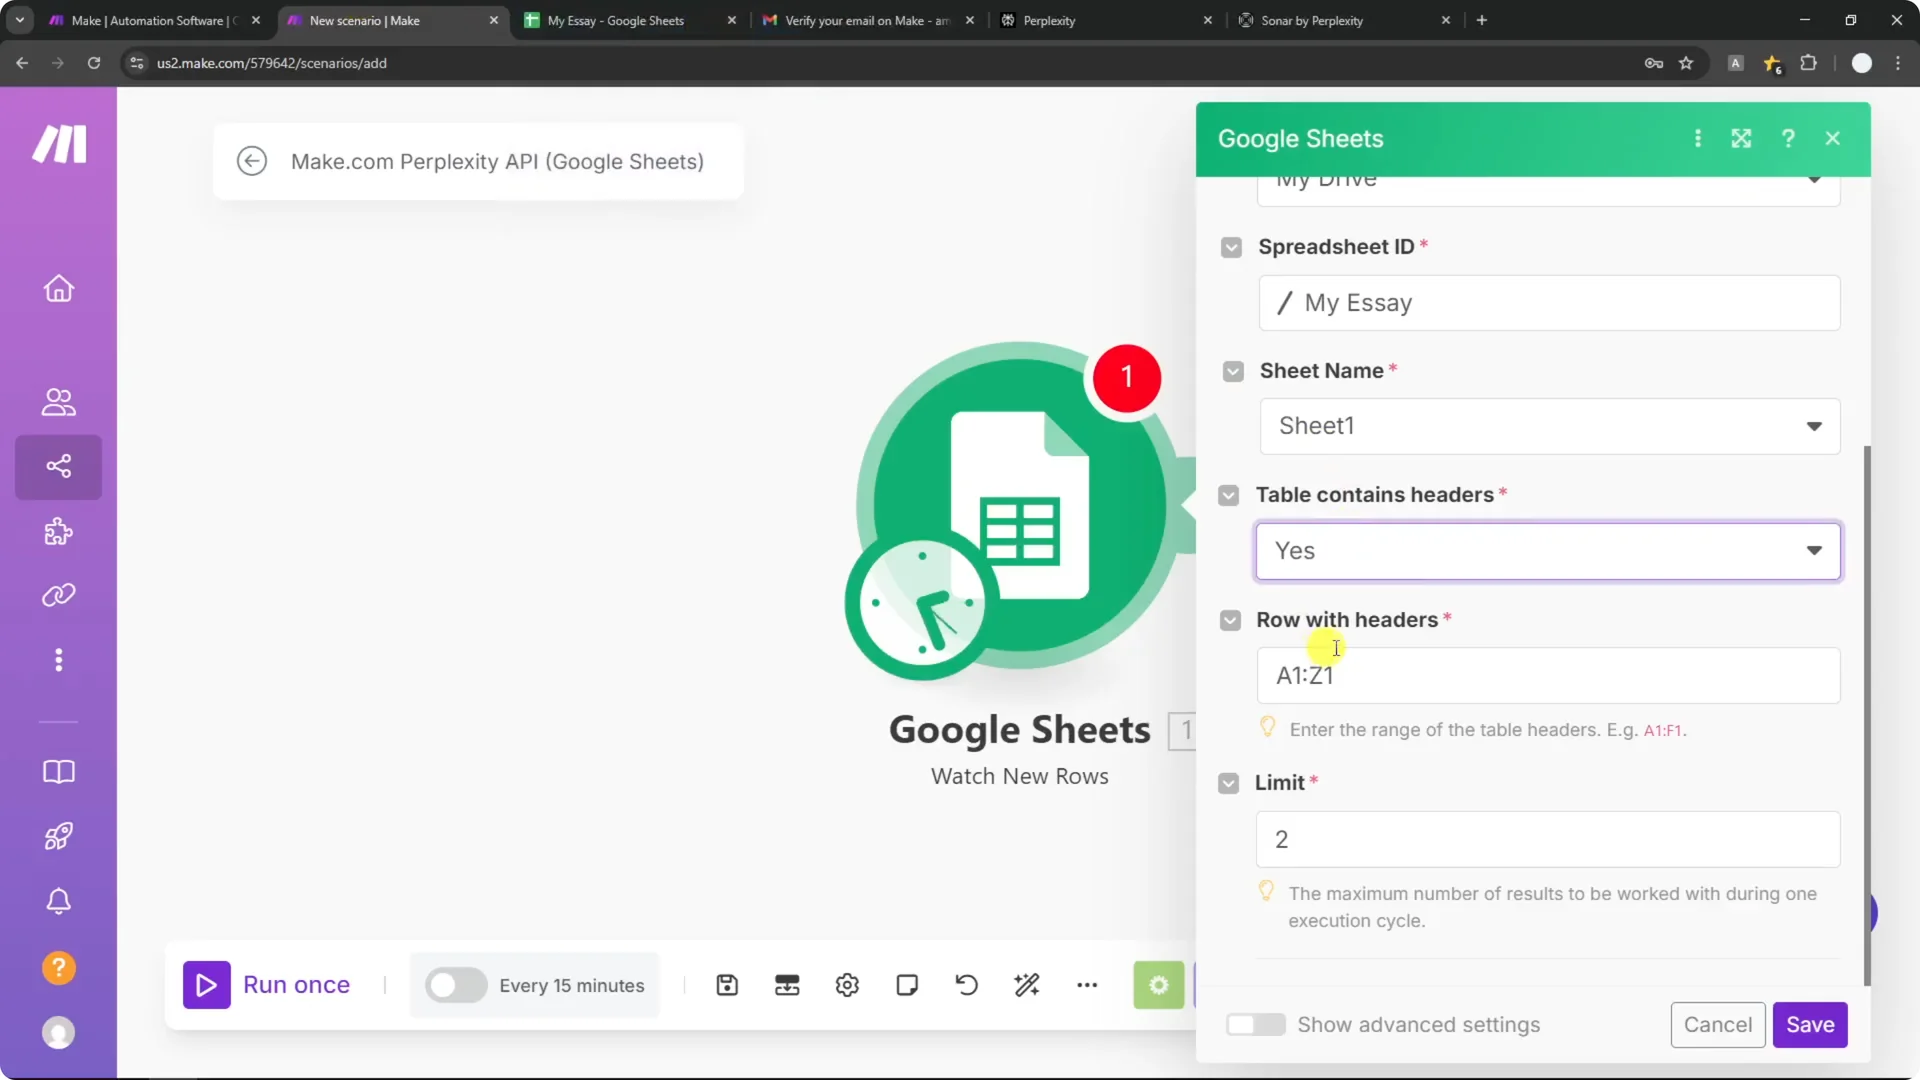
Select your spreadsheet, then choose the sheet name as shown at the bottom of your Google Sheets file. Confirm that your sheet contains a header row, for example A1 to Z1. Set the limit to 1 if you want to process one row per cycle.
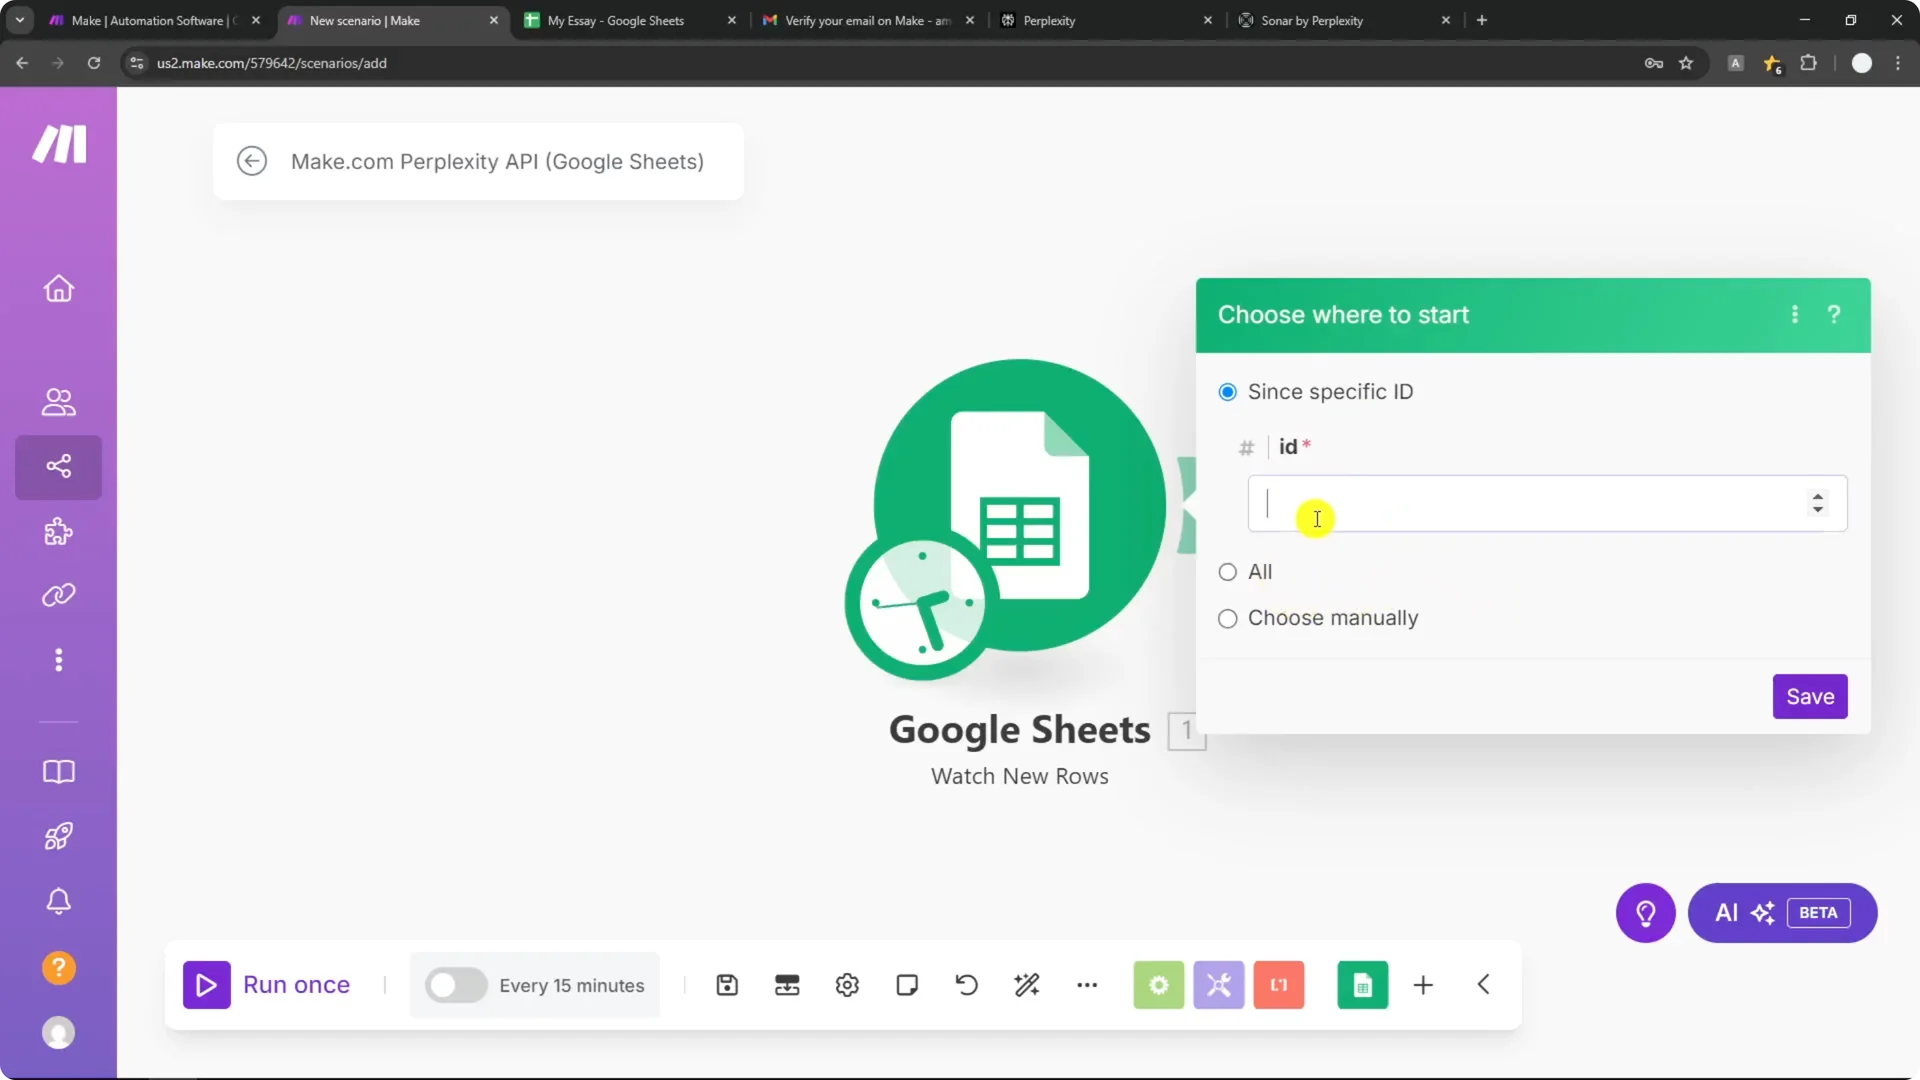
Choose where to start. You can start from the beginning, or select a specific row to begin processing. Click Save to confirm the setup.
Step 4: Add the Perplexity AI module
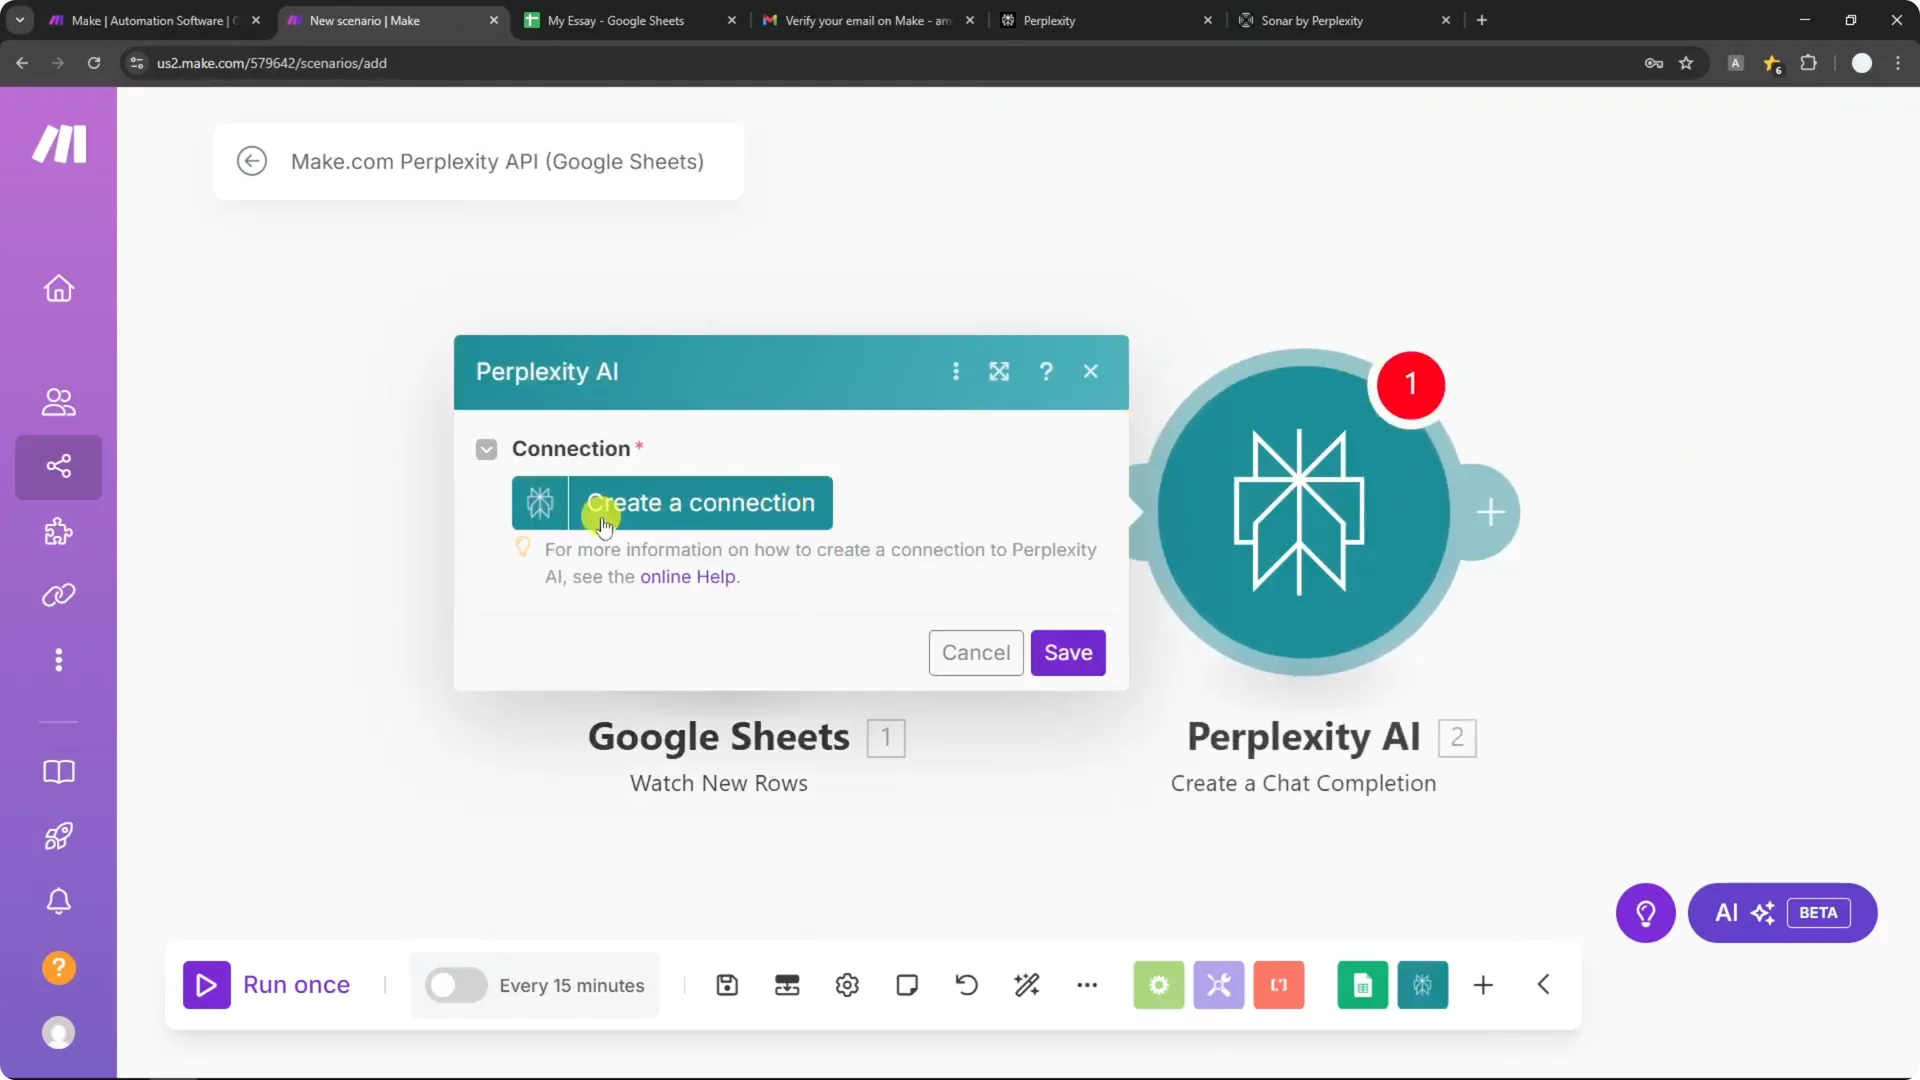
Add another module and search for Perplexity AI. Select Create a chat completion. Click Create a connection and paste your Perplexity API key.
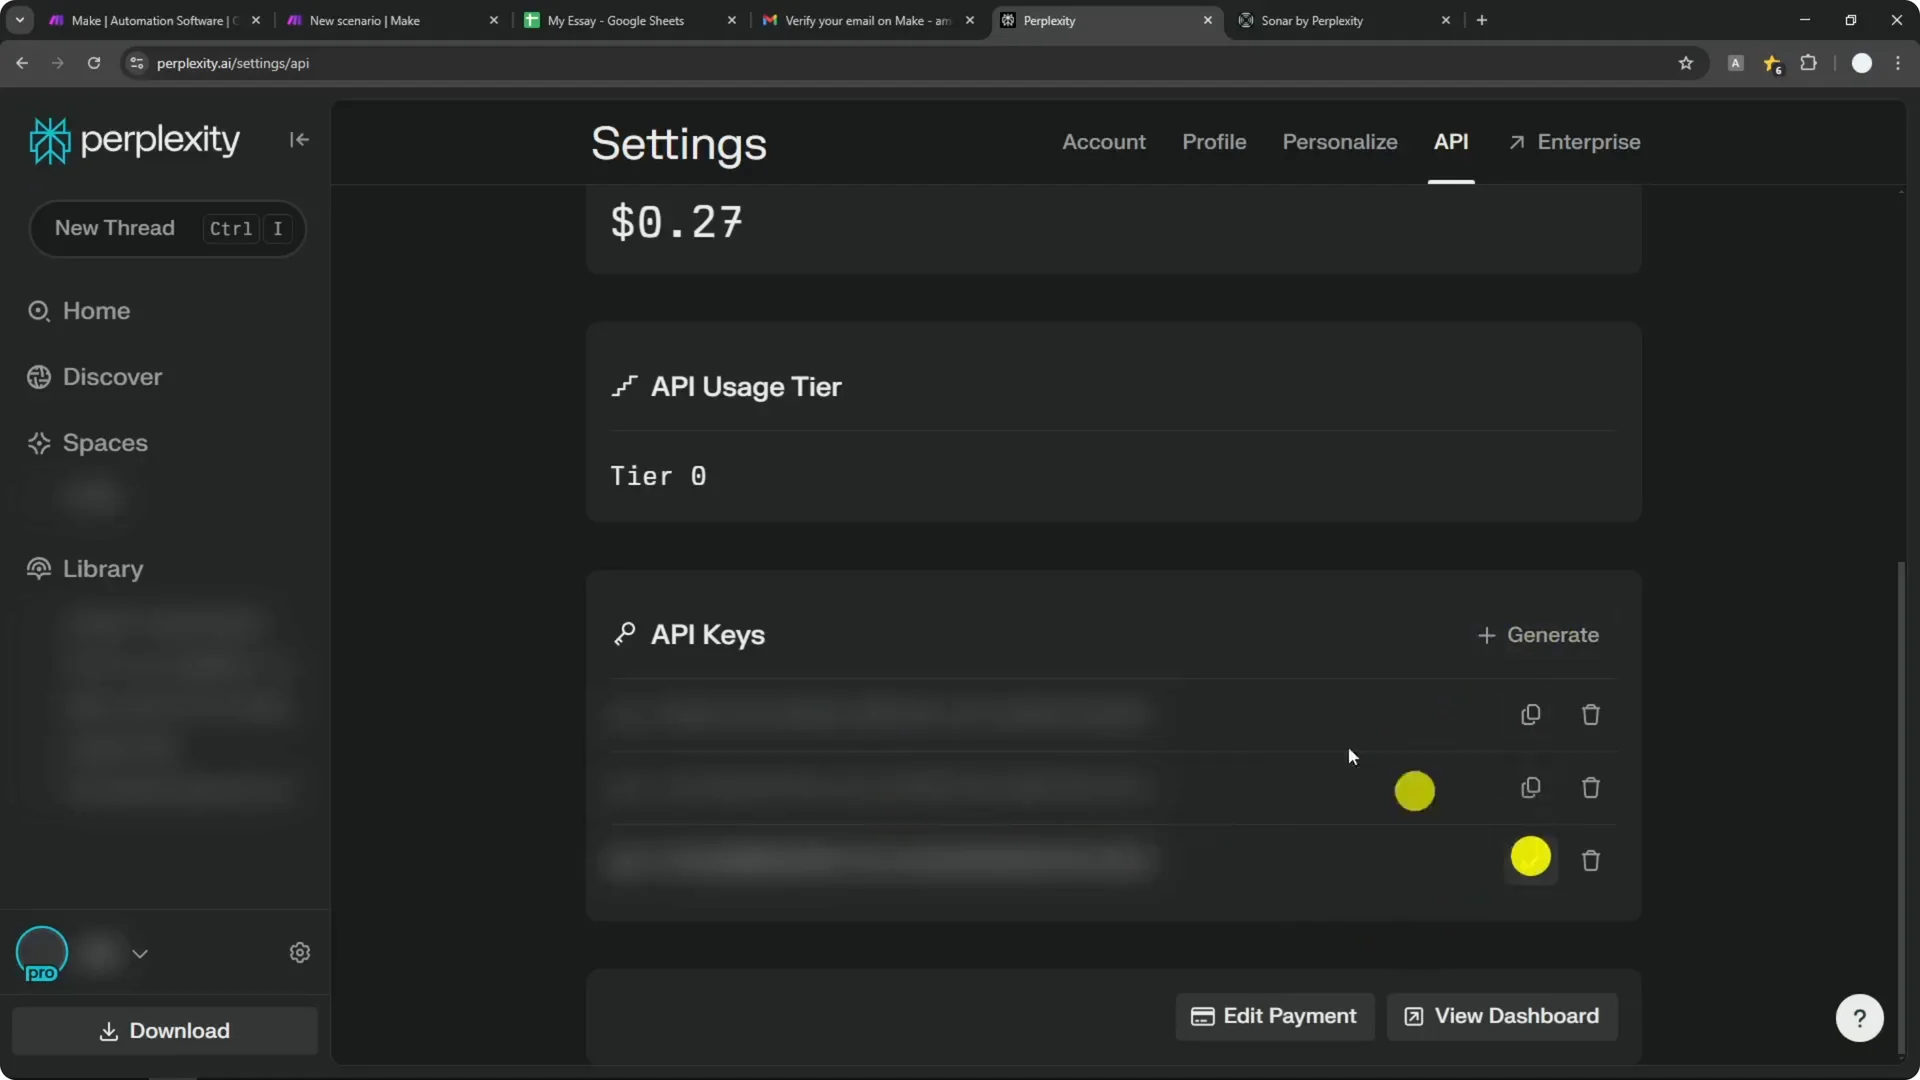
To get your key, open Perplexity settings, go to the API section, and generate or copy an existing key. Keep your API key secret and do not share it publicly. Save the connection in Make.com.

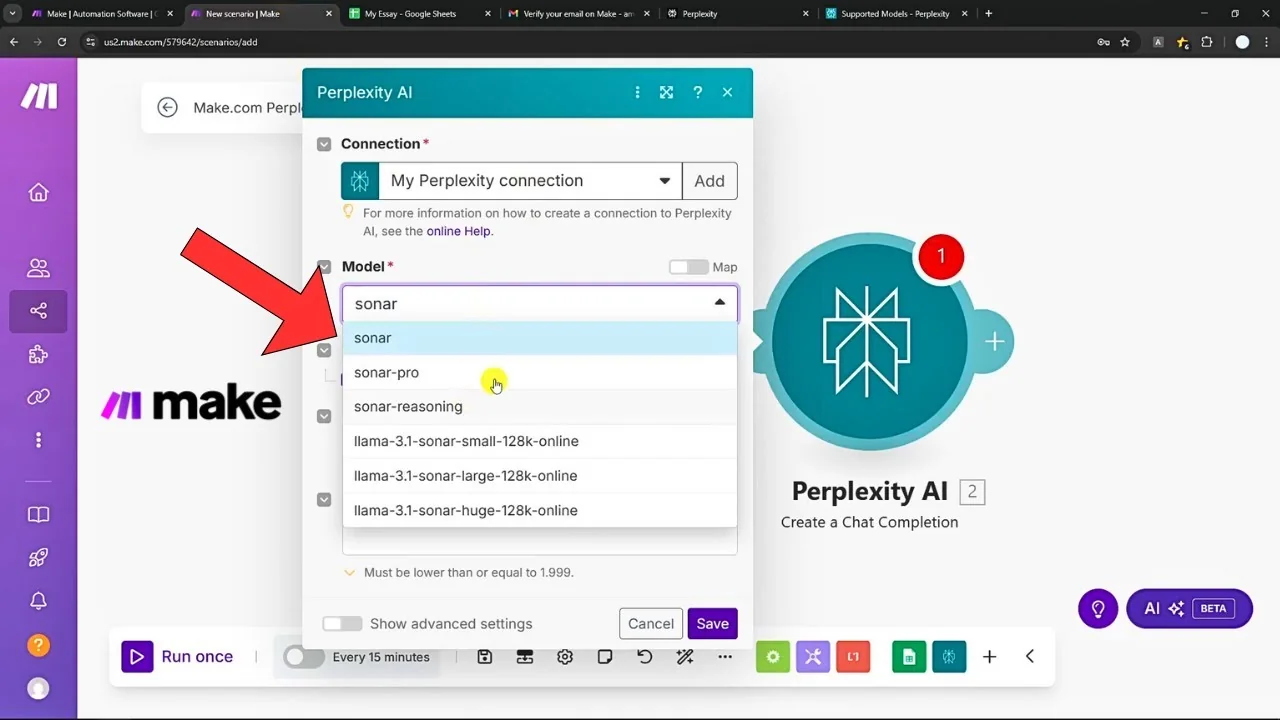
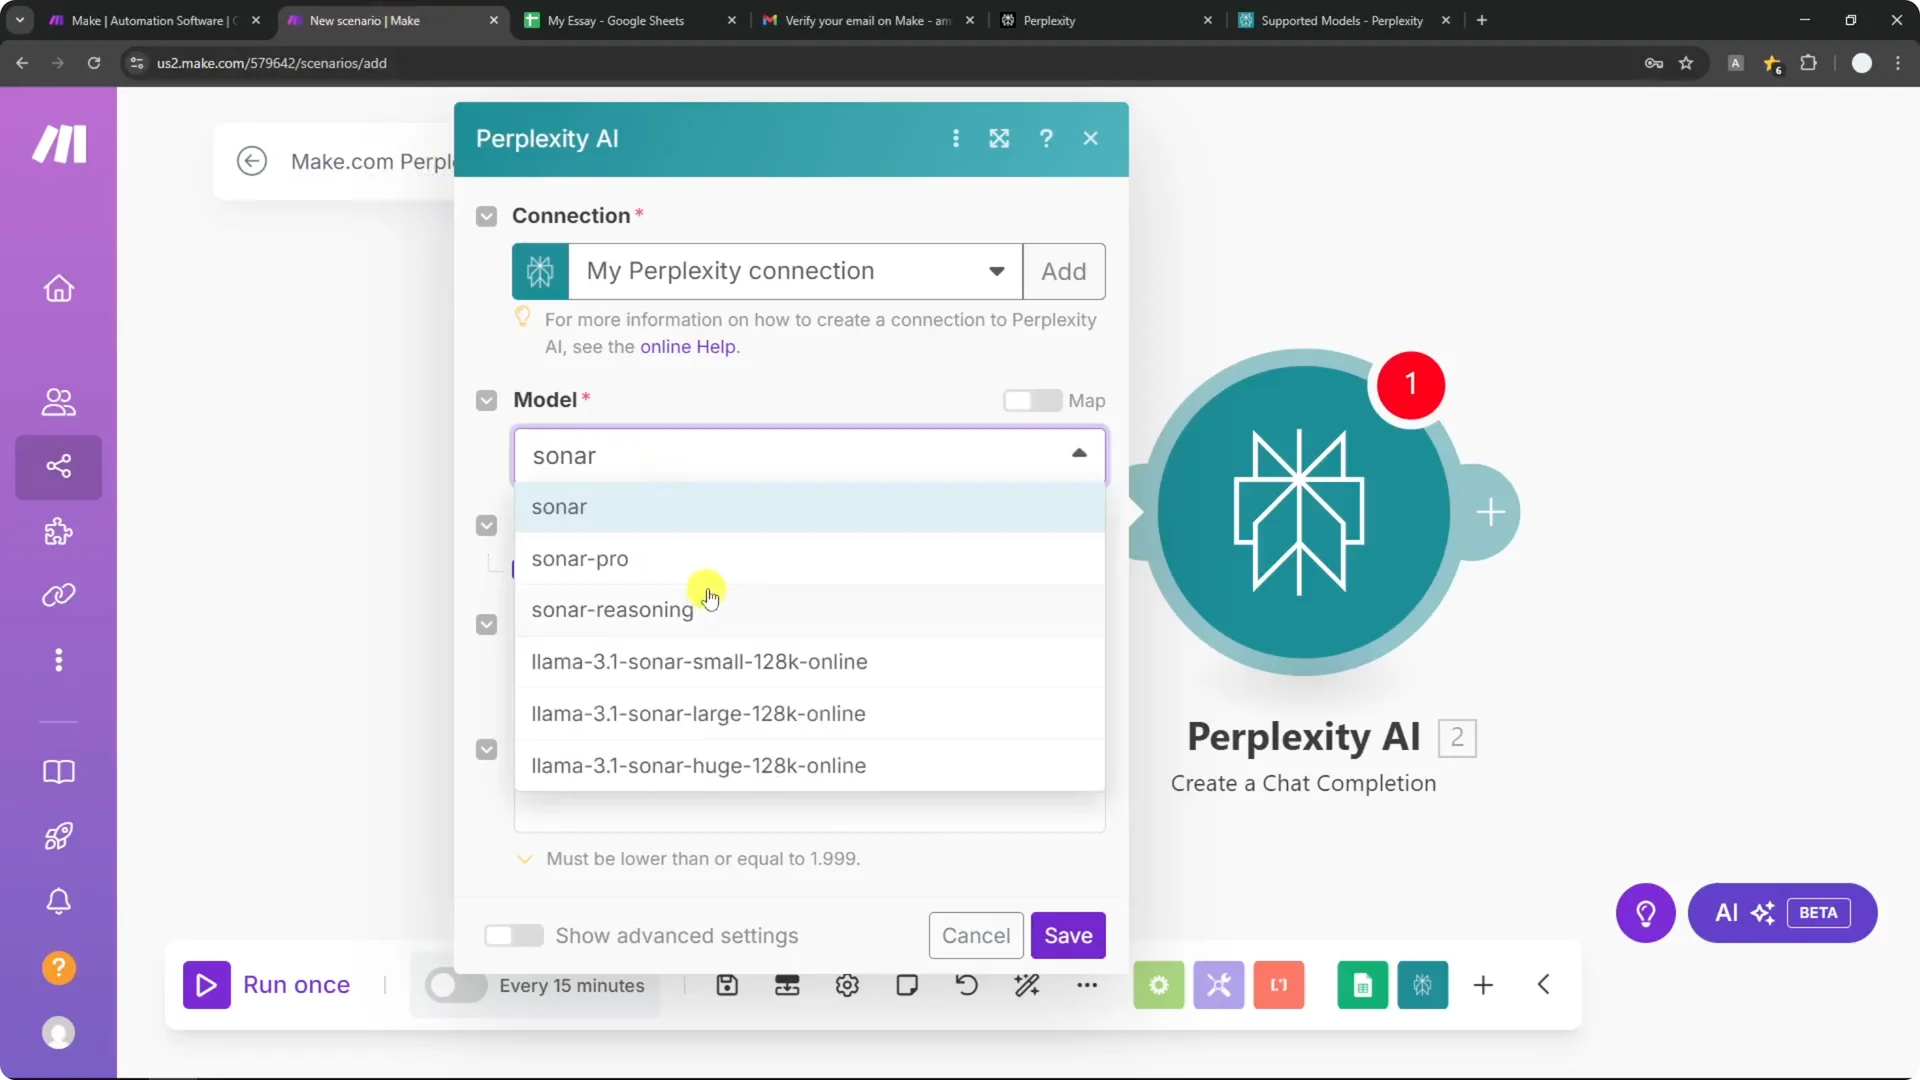
Step 5: Choose the Sonar model and review availability
Select the model in the module configuration. You will mainly see Sonar options in Make.com such as Sonar, Sonar Pro, and Sonar Reasoning. Some models like R1 or Sonar Deep Research are not available in Make.com at the moment.
It helps to know the pricing, because it affects your credits. Sonar is the cheapest at around $1 per million tokens for input and output combined. I will go with Sonar for this tutorial.
Step 6: Build your message prompt
In Messages, set the role to user. In Content, write your prompt, for example: Help me generate a paragraph of an essay on this topic: and insert the title from your Google Sheet column, such as Essay title. This maps the sheet’s value into the prompt.
You can set max tokens if you want to control the length. A token is roughly 0.75 of a word in general. You can also adjust temperature and other parameters, but I will keep the defaults.
Step 7: Test the Perplexity module
Right-click the Perplexity module and select Run this module only. Enter a test topic, for example, Why AI matters in the world, even if it is not in your sheet. The goal is to confirm the request and response flow.
Open the output and navigate to choices, then the first item, then message. You should see the generated content in content. If that looks good, move on to writing the result back to Google Sheets.
Step 8: Update the row in Google Sheets
Add another Google Sheets module and choose Update a row. Select the same spreadsheet and sheet as before. Provide the row number from the watched row output so you update the correct item.
Map the essay result to your target column in the sheet, for example Essay content. Be precise and map the value from choices → 1st item → message → content from the Perplexity response. I once set the wrong column and saw an error, so double-check the row number and the header mapping.
Click Save and prepare to run the entire scenario. This will fetch the new row, send it to Perplexity, and update the sheet with the answer. You should see the generated paragraph appear in the correct cell.
Step 9: Run once and verify
Click Run once to test the full flow. Watch the modules execute in order and confirm there are no errors. Check your Google Sheet to verify the essay content has been inserted.
Step 10: Schedule and activate
You can schedule the scenario to run on a timer, for example every 60 minutes. Set the schedule that fits your workflow and save the scenario. Make sure the scenario is set to Active so it keeps running.
Keep an eye on your Perplexity API credits so the automation does not stop mid-run. If there is an error, Make.com usually emails a notification. That helps you react quickly without constantly checking the dashboard.
Make.com Perplexity API Automation ideas
This basic flow can be expanded to many tasks, from drafting website content to research support. You can generate social media captions or outlines from a sheet of ideas and send them back to your document. I have seen people pair it with Chrome extensions and fact-checking steps too.
If you also work on visual guidelines for your posts, try building consistent looks with a Midjourney style creator to match your text workflows. That way your copy and your visuals evolve together. It pairs well with automated drafting and scheduling.
Read More: Hide Midjourney Images On Your Profile
Final Thoughts
Perplexity’s Sonar model is fast, connected, and affordable for this kind of Make.com Perplexity API Automation. The flow of watching rows in Google Sheets, generating with Perplexity, and updating the sheet is simple but powerful. From here you can add steps, refine prompts, and schedule runs to fit your routine.
If you are exploring AI-generated visuals alongside text workflows, here is a helpful resource on art styles for Midjourney to expand your creative options. You can also explore branding work with this guide: Read More: Make Logo Midjourney.