Using the Journey style codes is a great way to visually transform your images to get something outstanding and unique without a lot of effort.
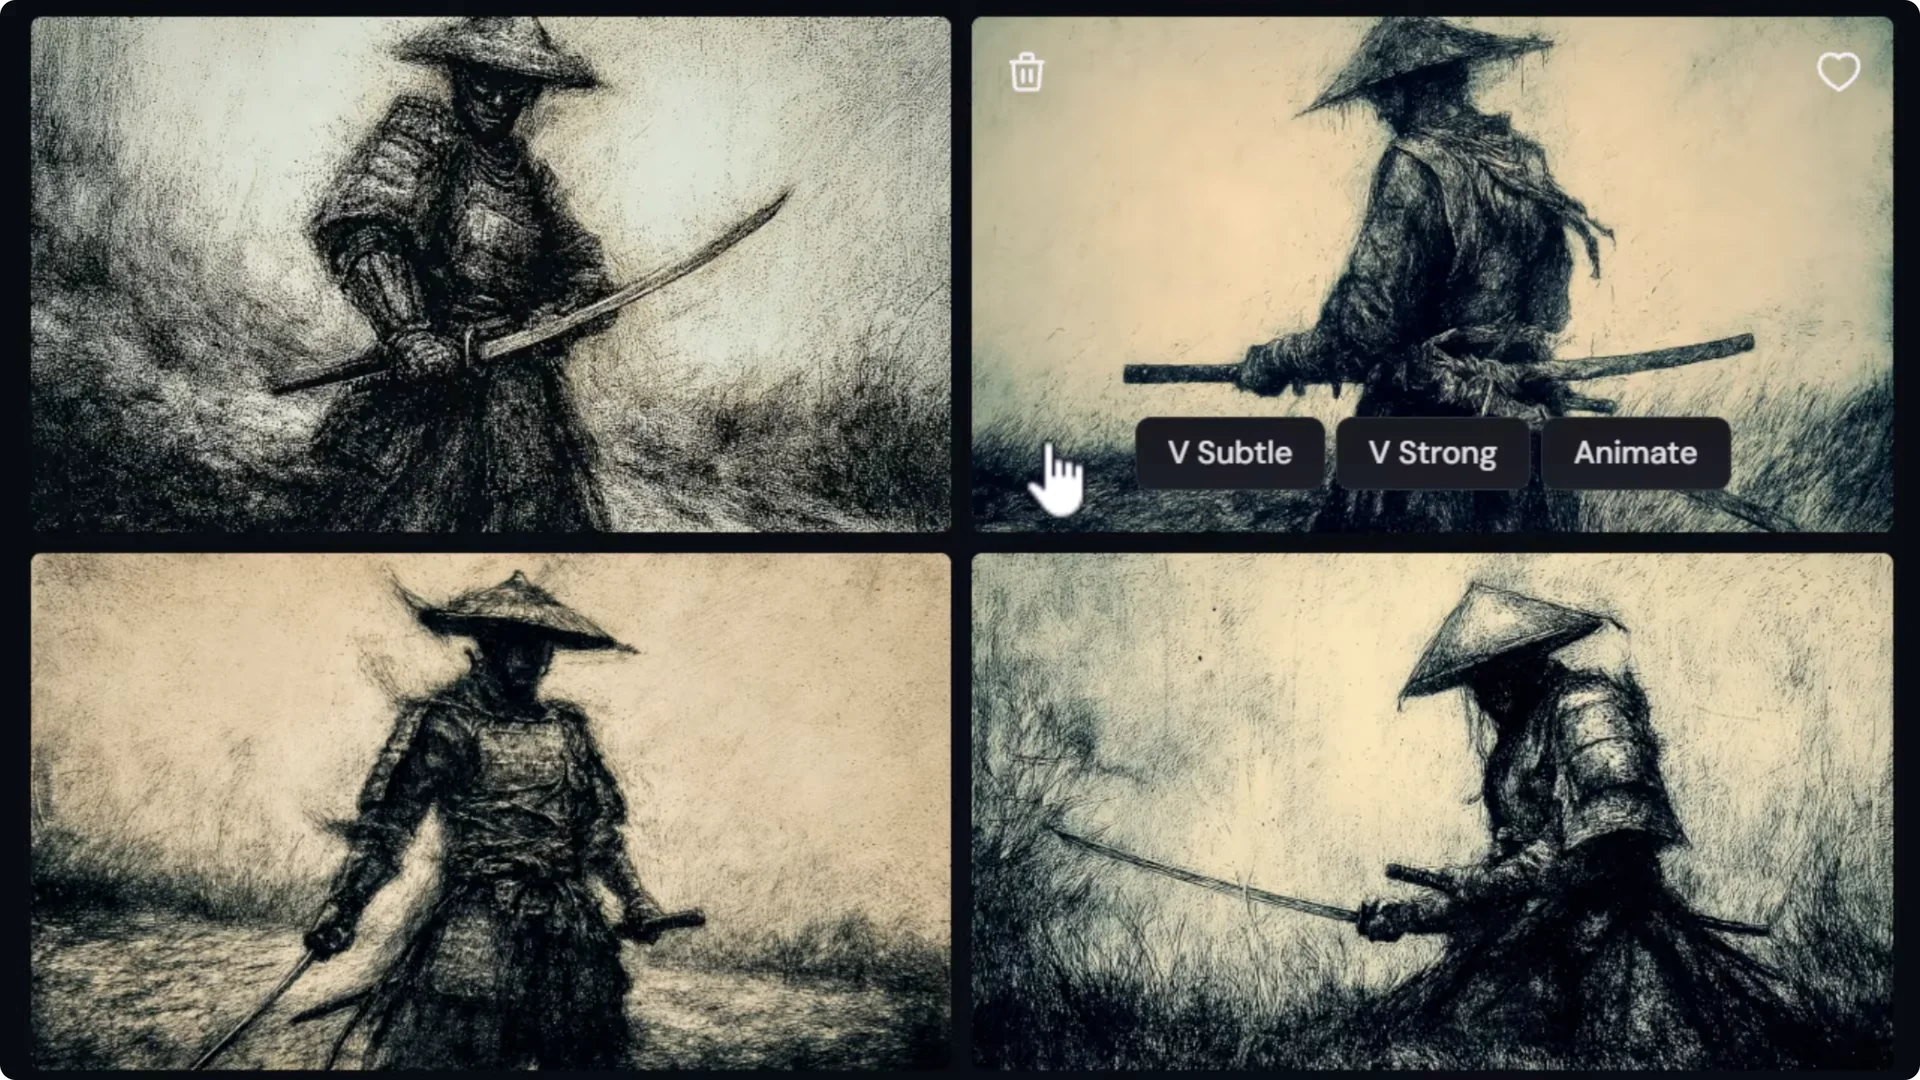
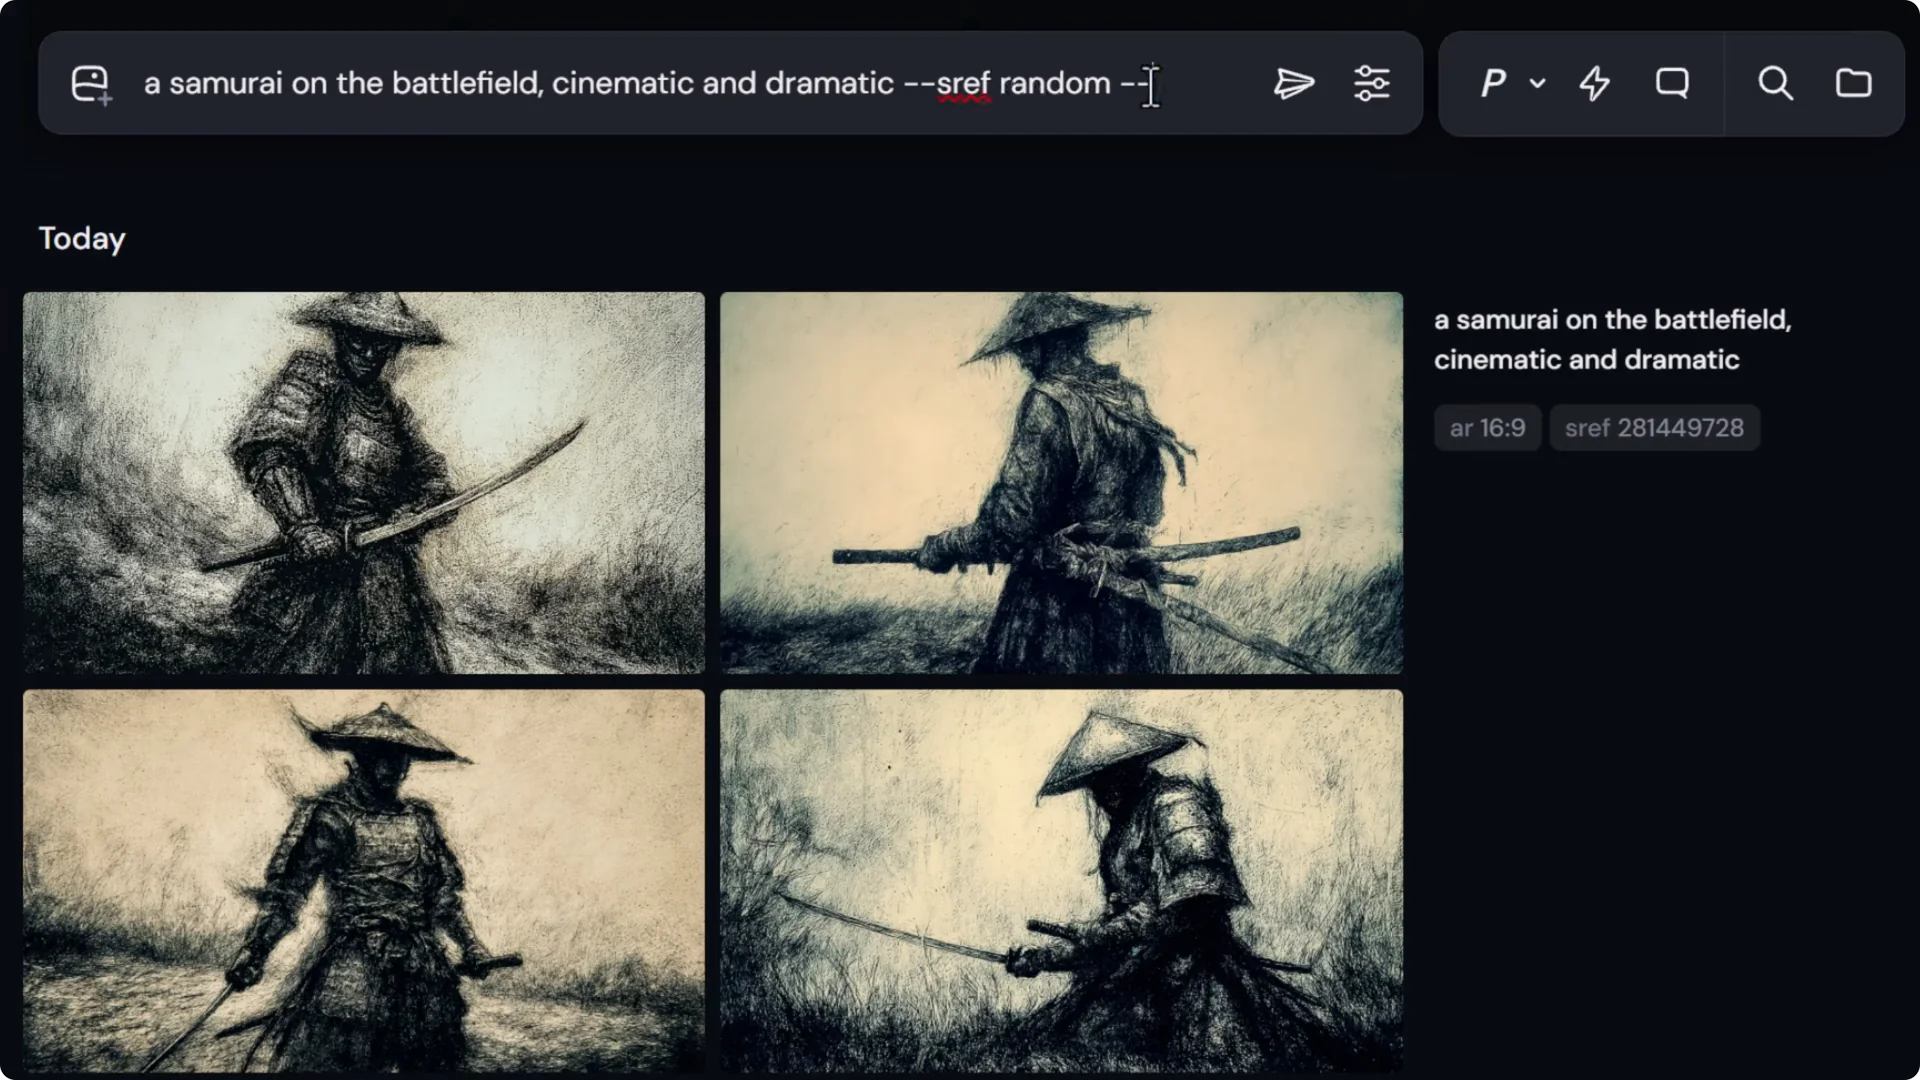
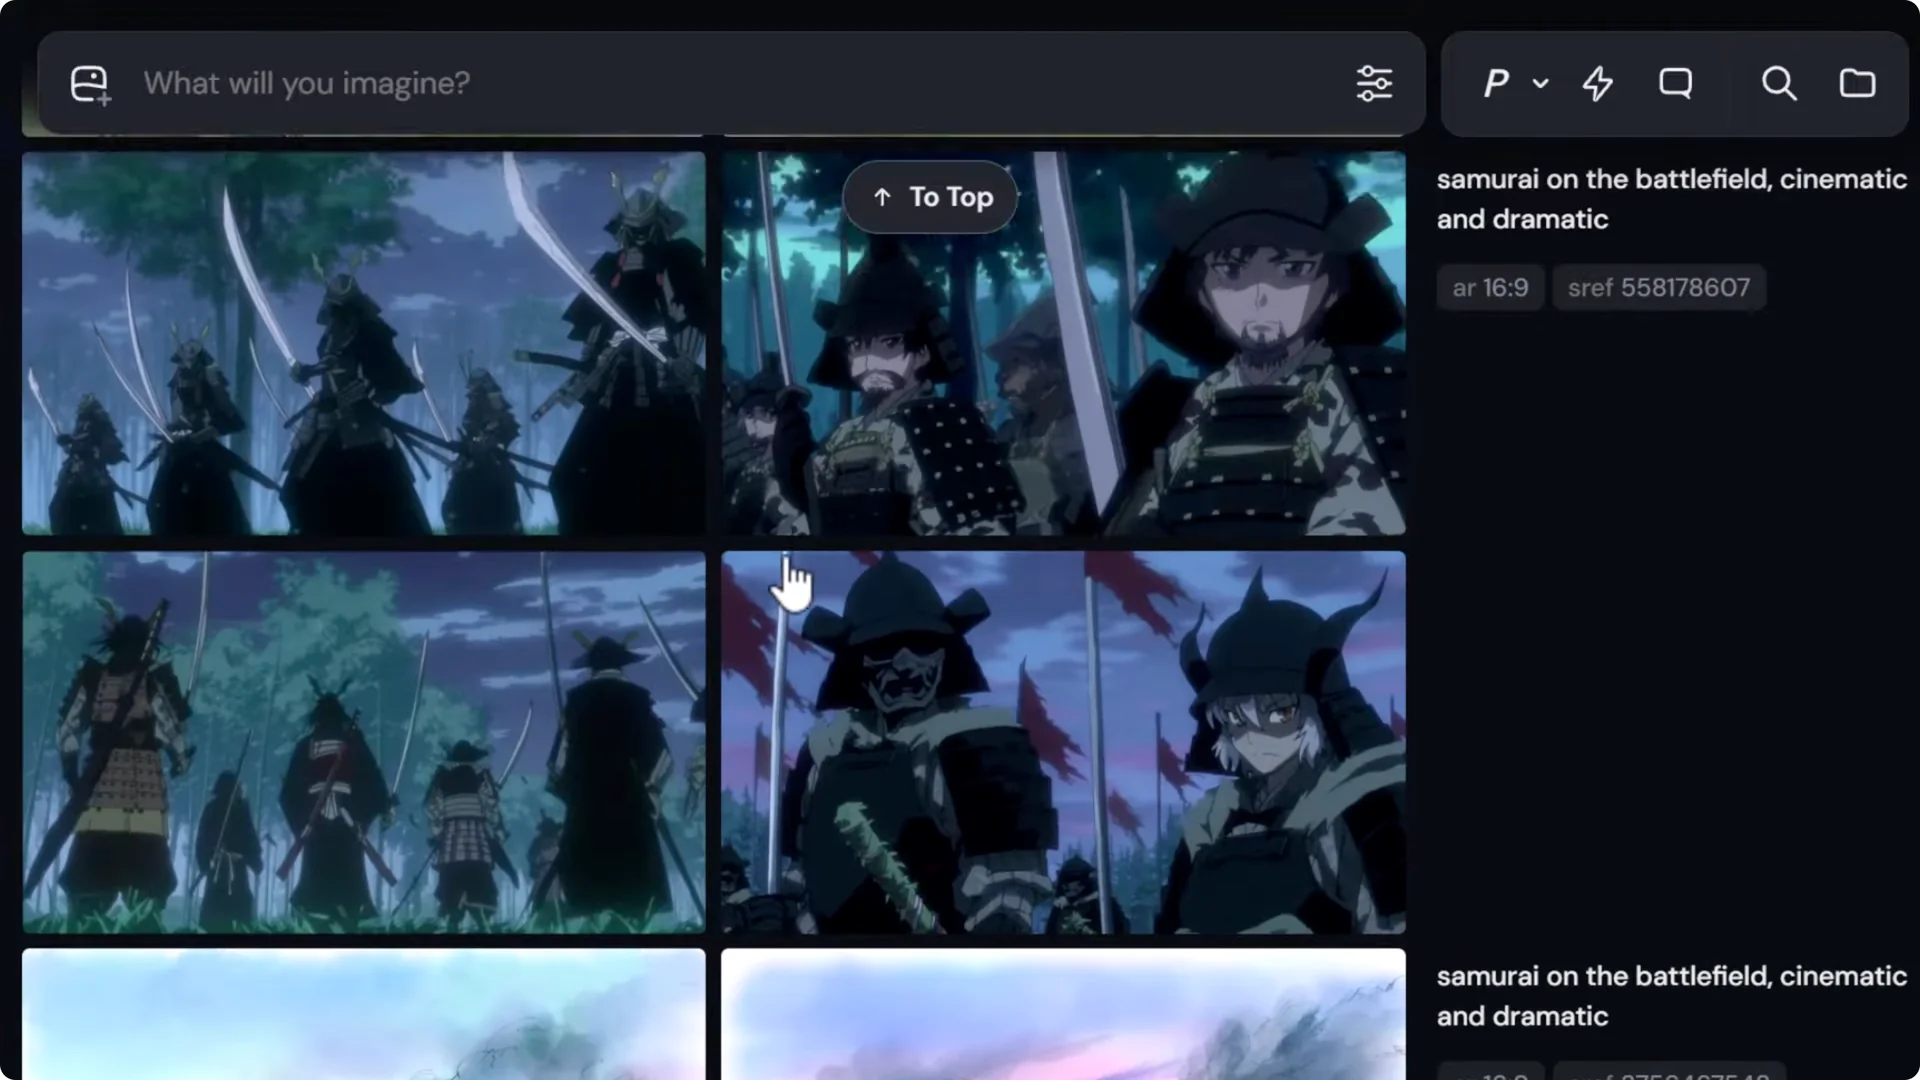
I’m going to go deep on style codes on not only how to use them more effectively, but how to discover more and even organize them for future reference. I have here a samurai in the battlefield, cinematic and dramatic. It’s just raw, no style code applied.
Getting Started with Midjourney SREF Style Codes
A simple way to start discovering codes, which you may already know, is to hit sref random. random chooses a random style and applies it to your image. You get a very particular style completely at random.
What if we wanted to discover more styles this way in a quicker fashion? We can actually generate multiple style codes at once.
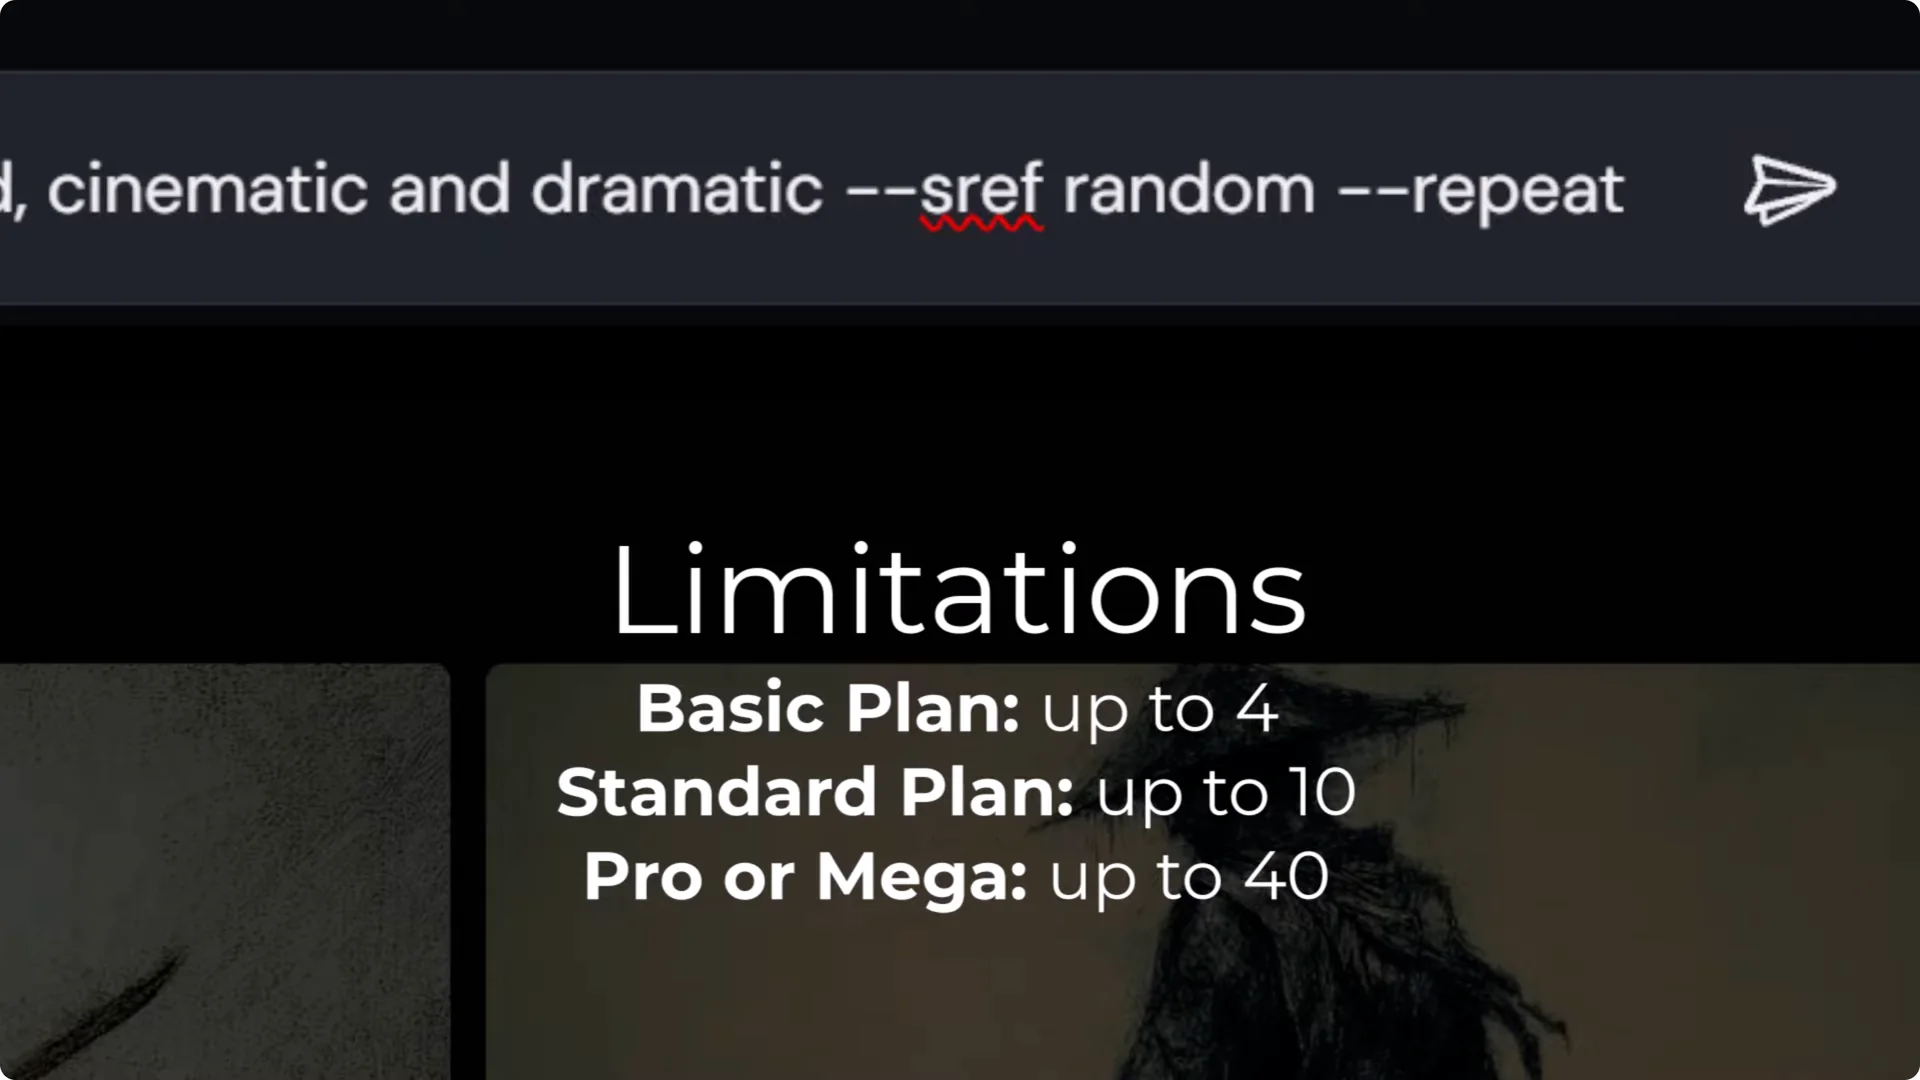
You’ll notice you now have an sref code you can use. You can add it to your prompt, but type in random again and this time add repeat.
Plan limits for repeat:
- Basic plan: up to 4 repeats
- Standard: up to 10
- Pro and Mega: up to 40
I go with 7 and submit.
I’ve managed to submit seven different random styles in one submission. I’ve been able to explore various different styles very quickly in one hit.
Using and Combining Midjourney SREF Style Codes
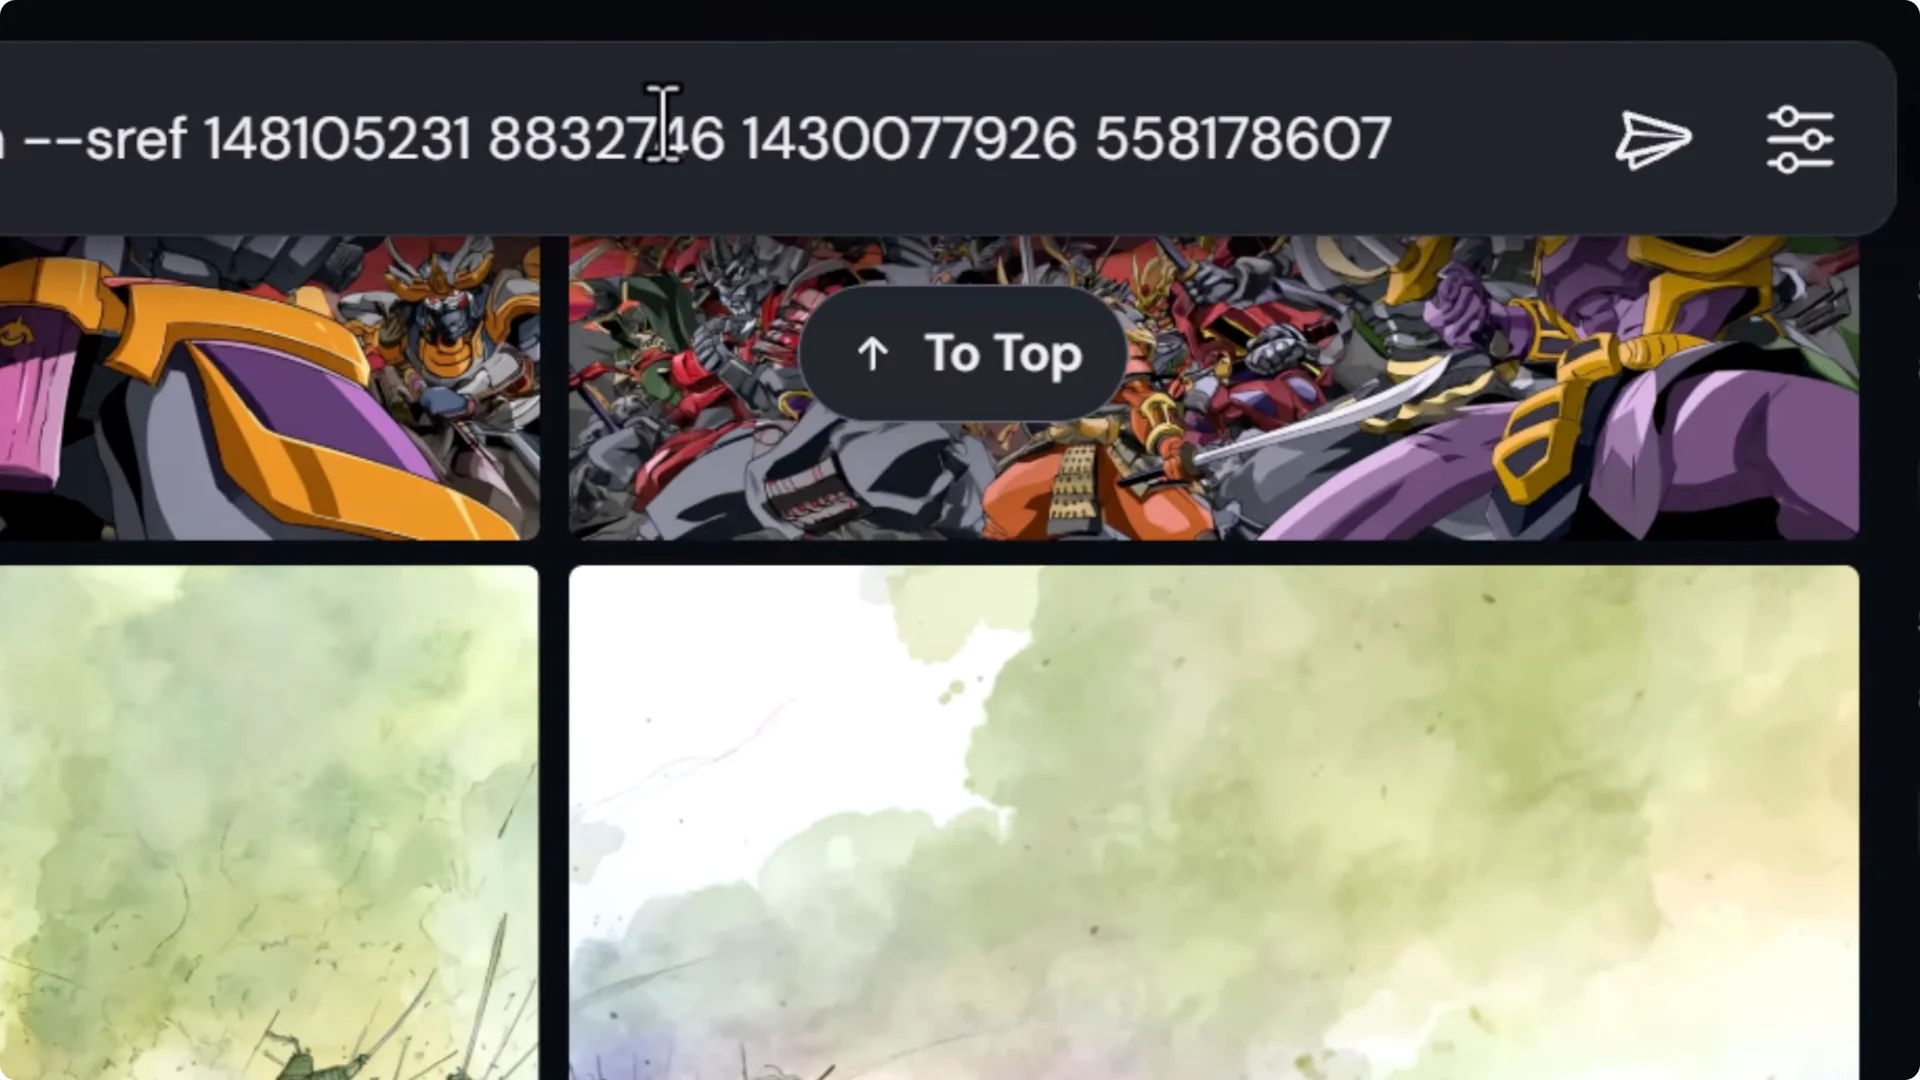
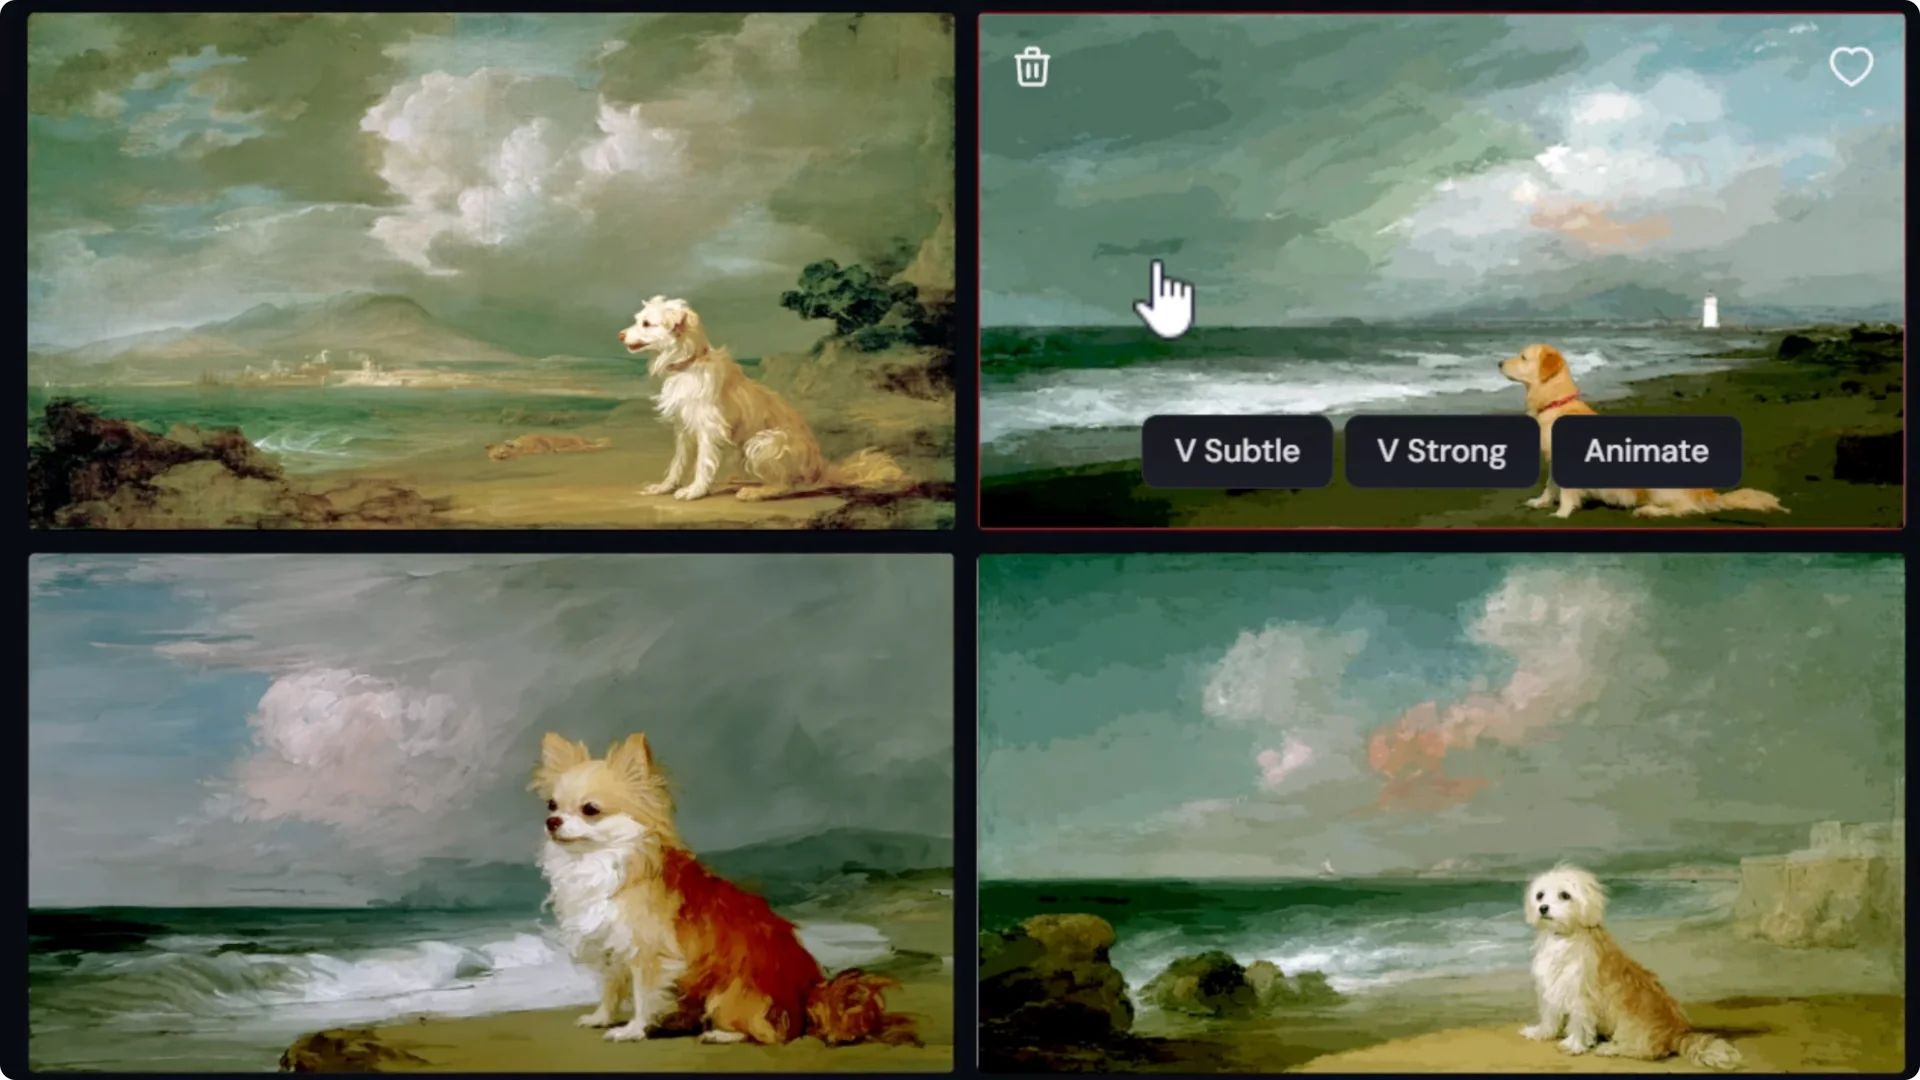
Try out multiple codes at once. I type in a new prompt, something like a dog on the beach. I add four different codes into the prompt bar.
You have two options:
- Submit with all four codes blended into one.
- Use permutations:
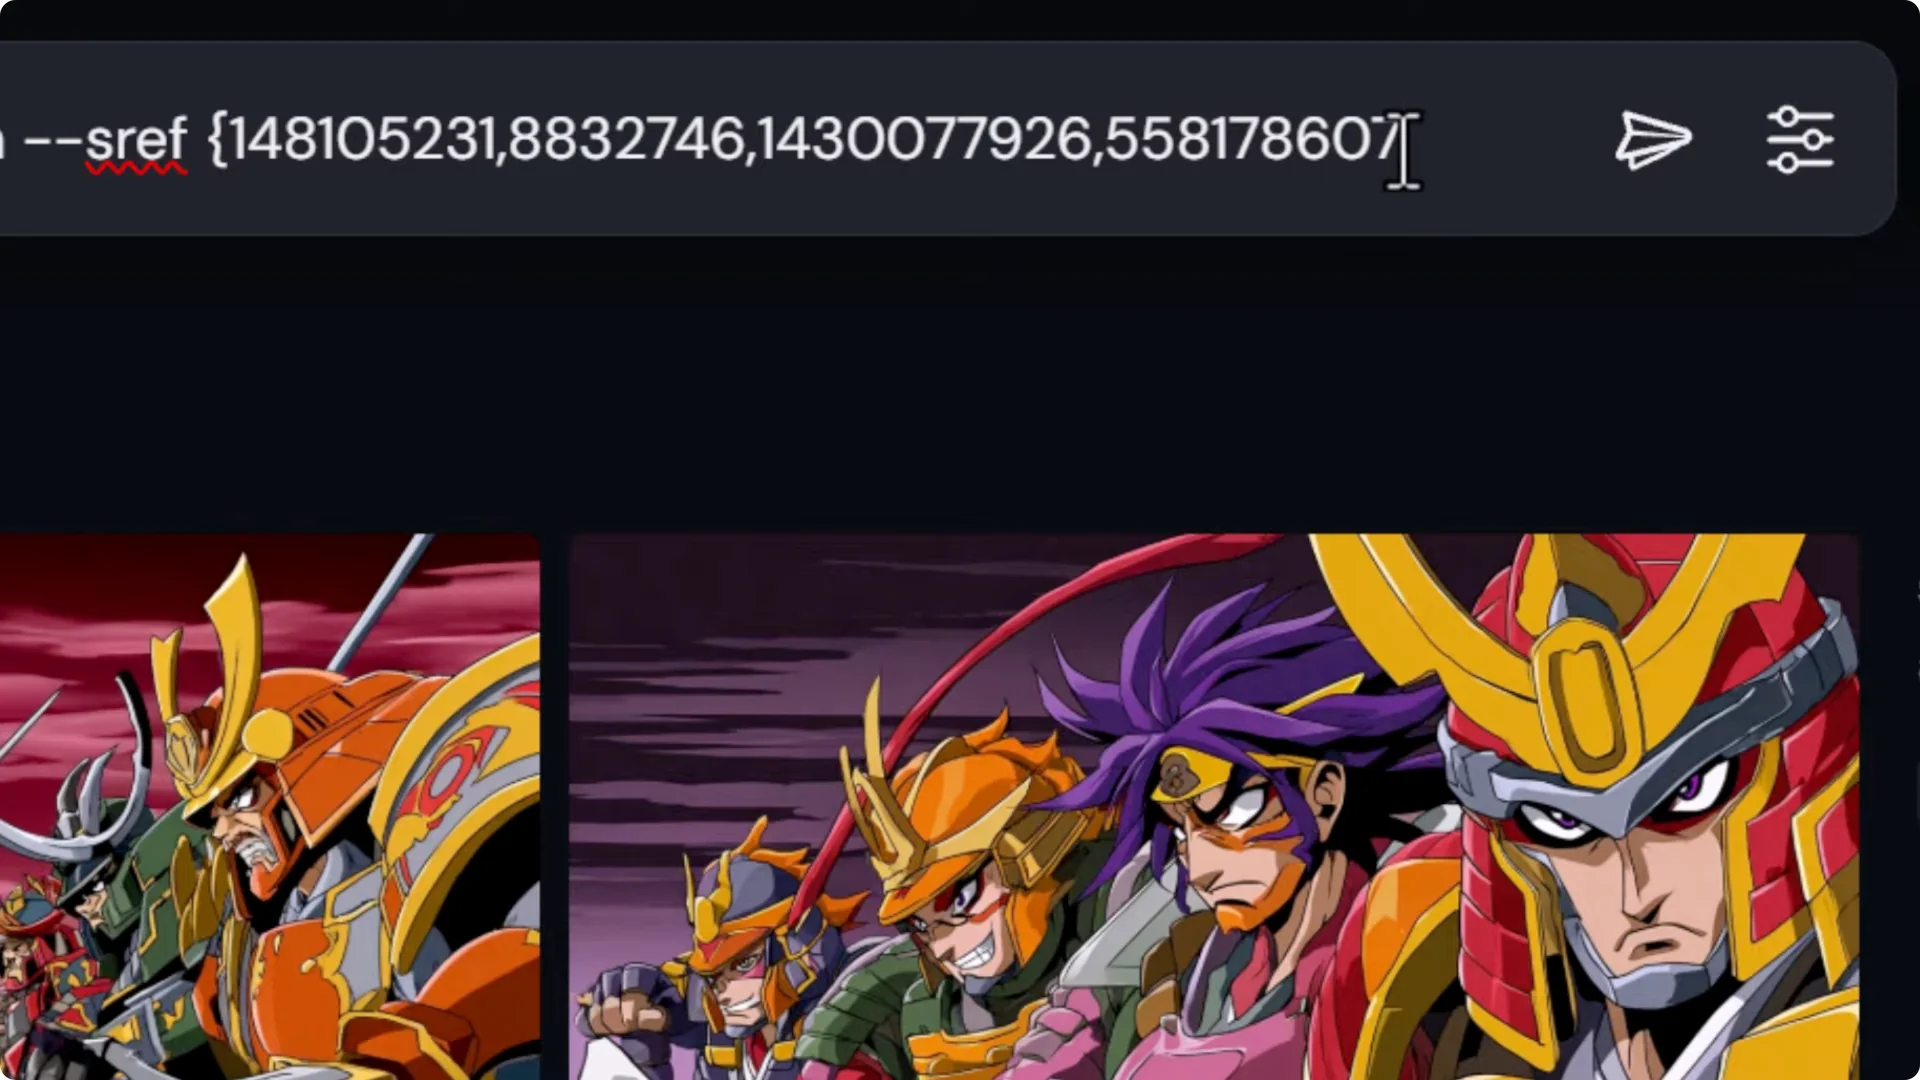
– Put a curly bracket at the start, separate each code with a comma, and put a curly bracket at the end.
– It will submit that prompt four times while separating these codes.
– This is known as using permutations, and you can test each code individually.
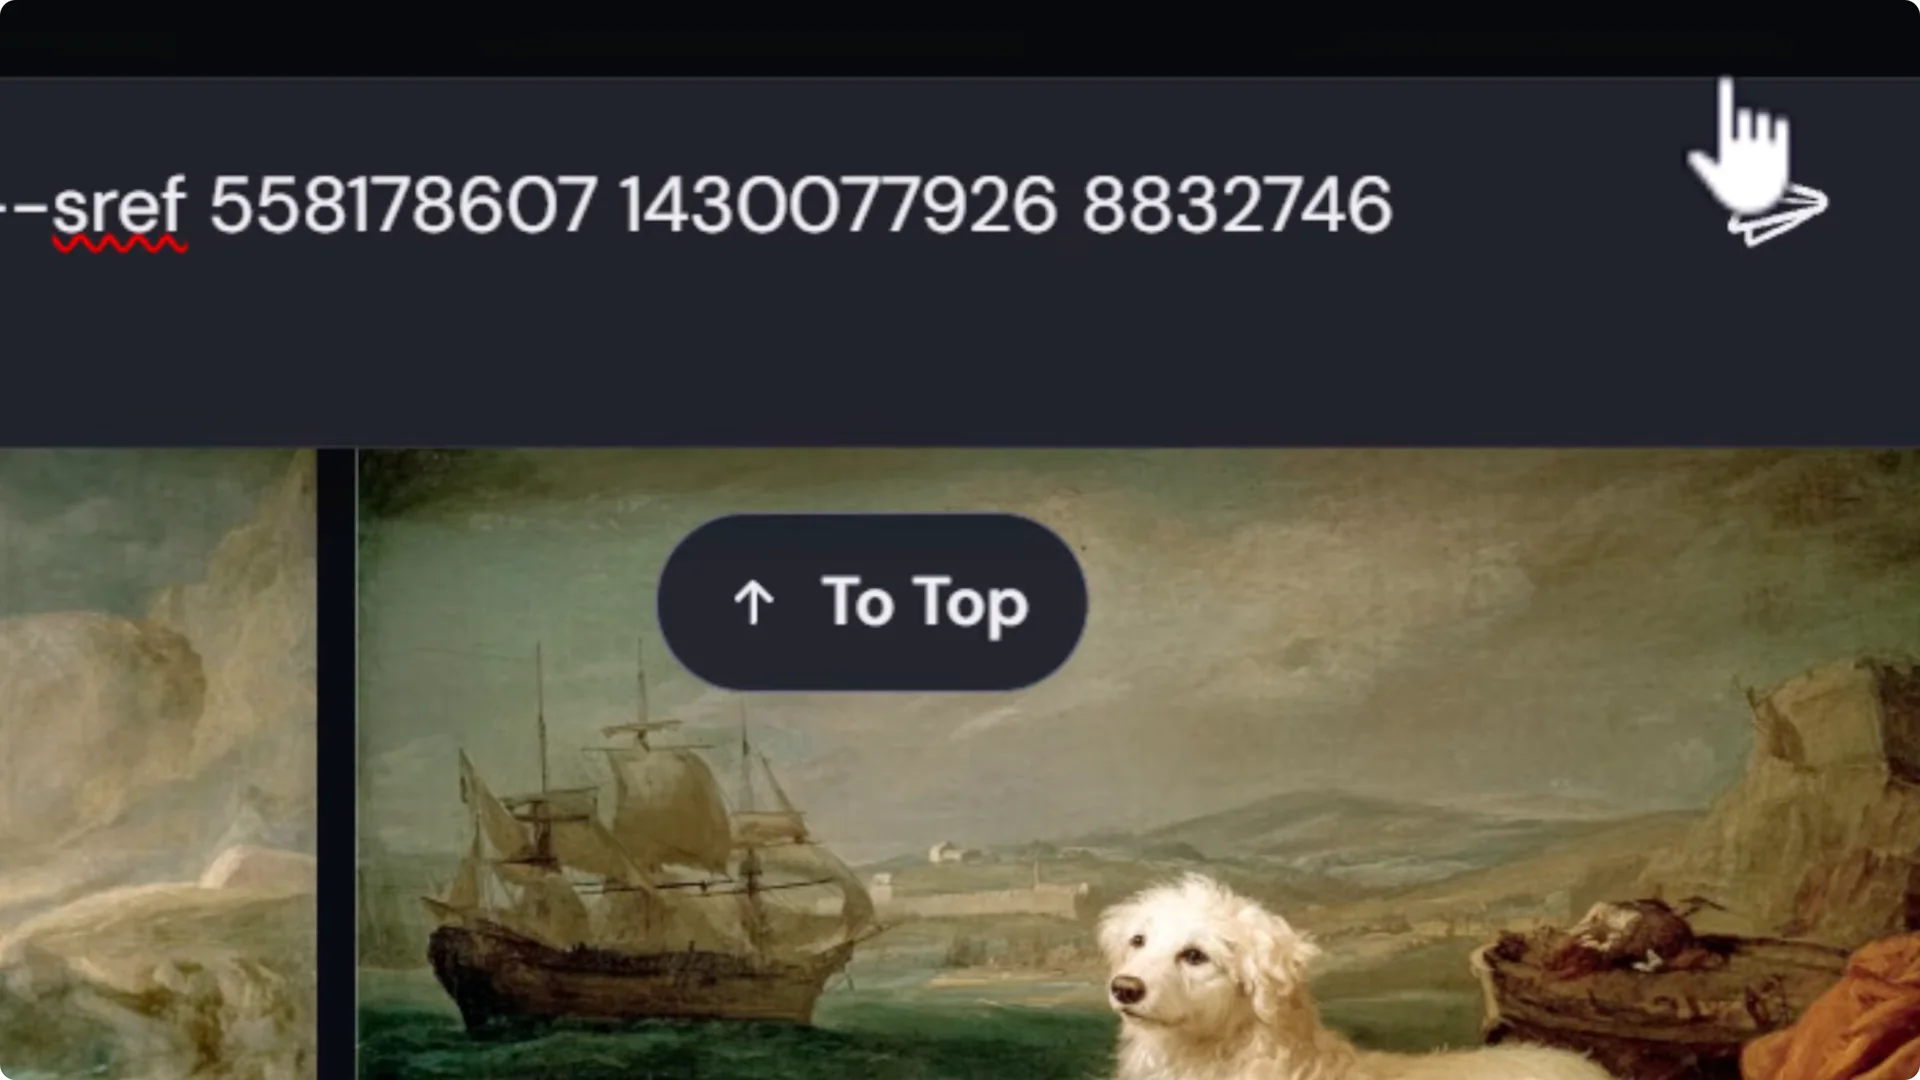
To blend multiple codes, simply separate each code with a space and it will attempt to blend these styles into one style.
It produces a set of images where it’s combined those styles into one.

Adjust strength for individual codes
This code 8832746 produces an image that looks like a Renaissance painting. I can add a strength to it. If I type in two colons and give it a strength of 2, it doubles the weighting of this code, while the others have a default strength of 1. I
can add 0.5 to another. You can individually change the strength of each code when it blends. It leans more toward that painting Renaissance style.
I can crank this up to 4 to really overpower it. You can see it leans more on that style while still including a little bit of the others.
Using and Combining Style References with Midjourney SREF Style Codes
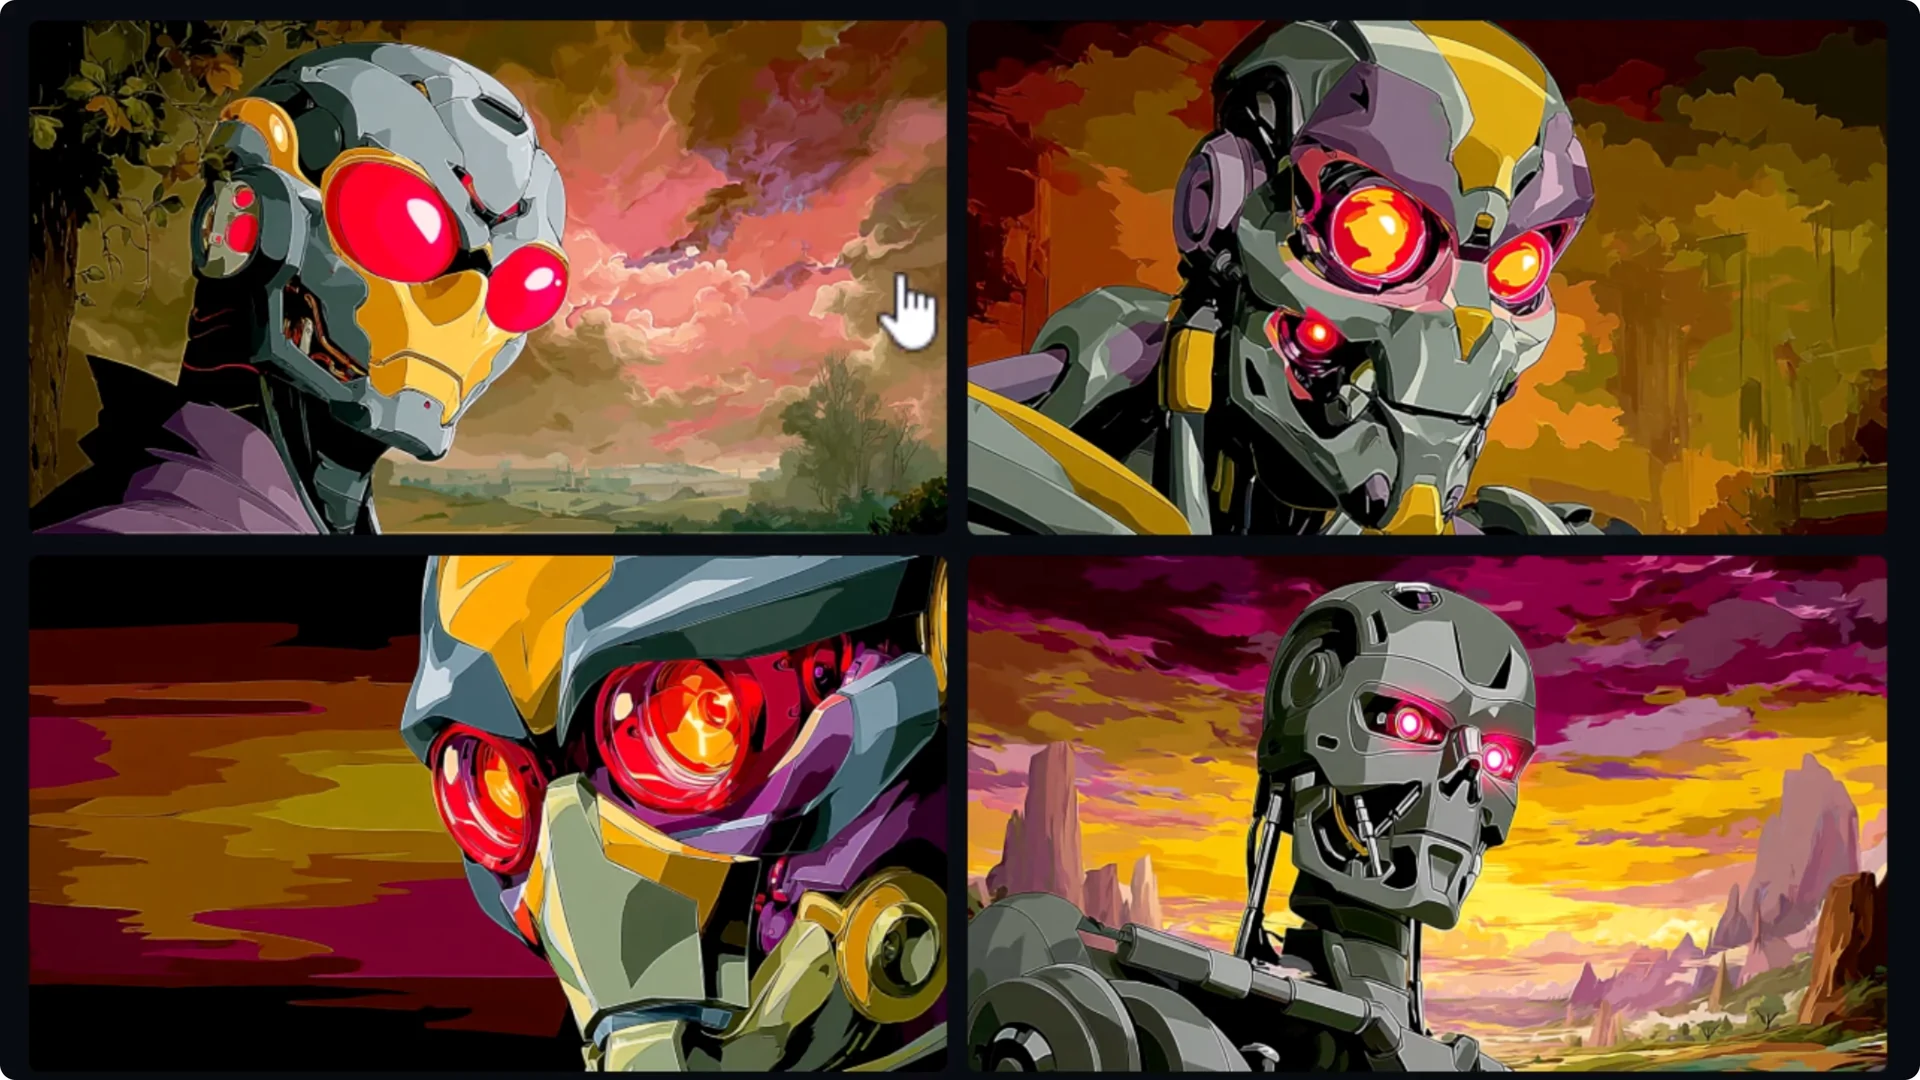
We can also take a style of image and use it as a style reference. I find an image I like the style of, maybe this purple anime style.
I type in a prompt, something like a scary cyborg with red glowing eyes. I take this image and drag it up as a style reference.
If I want to not only get the style, maybe I want to get the very particular colors used, I can nail it down more tightly.
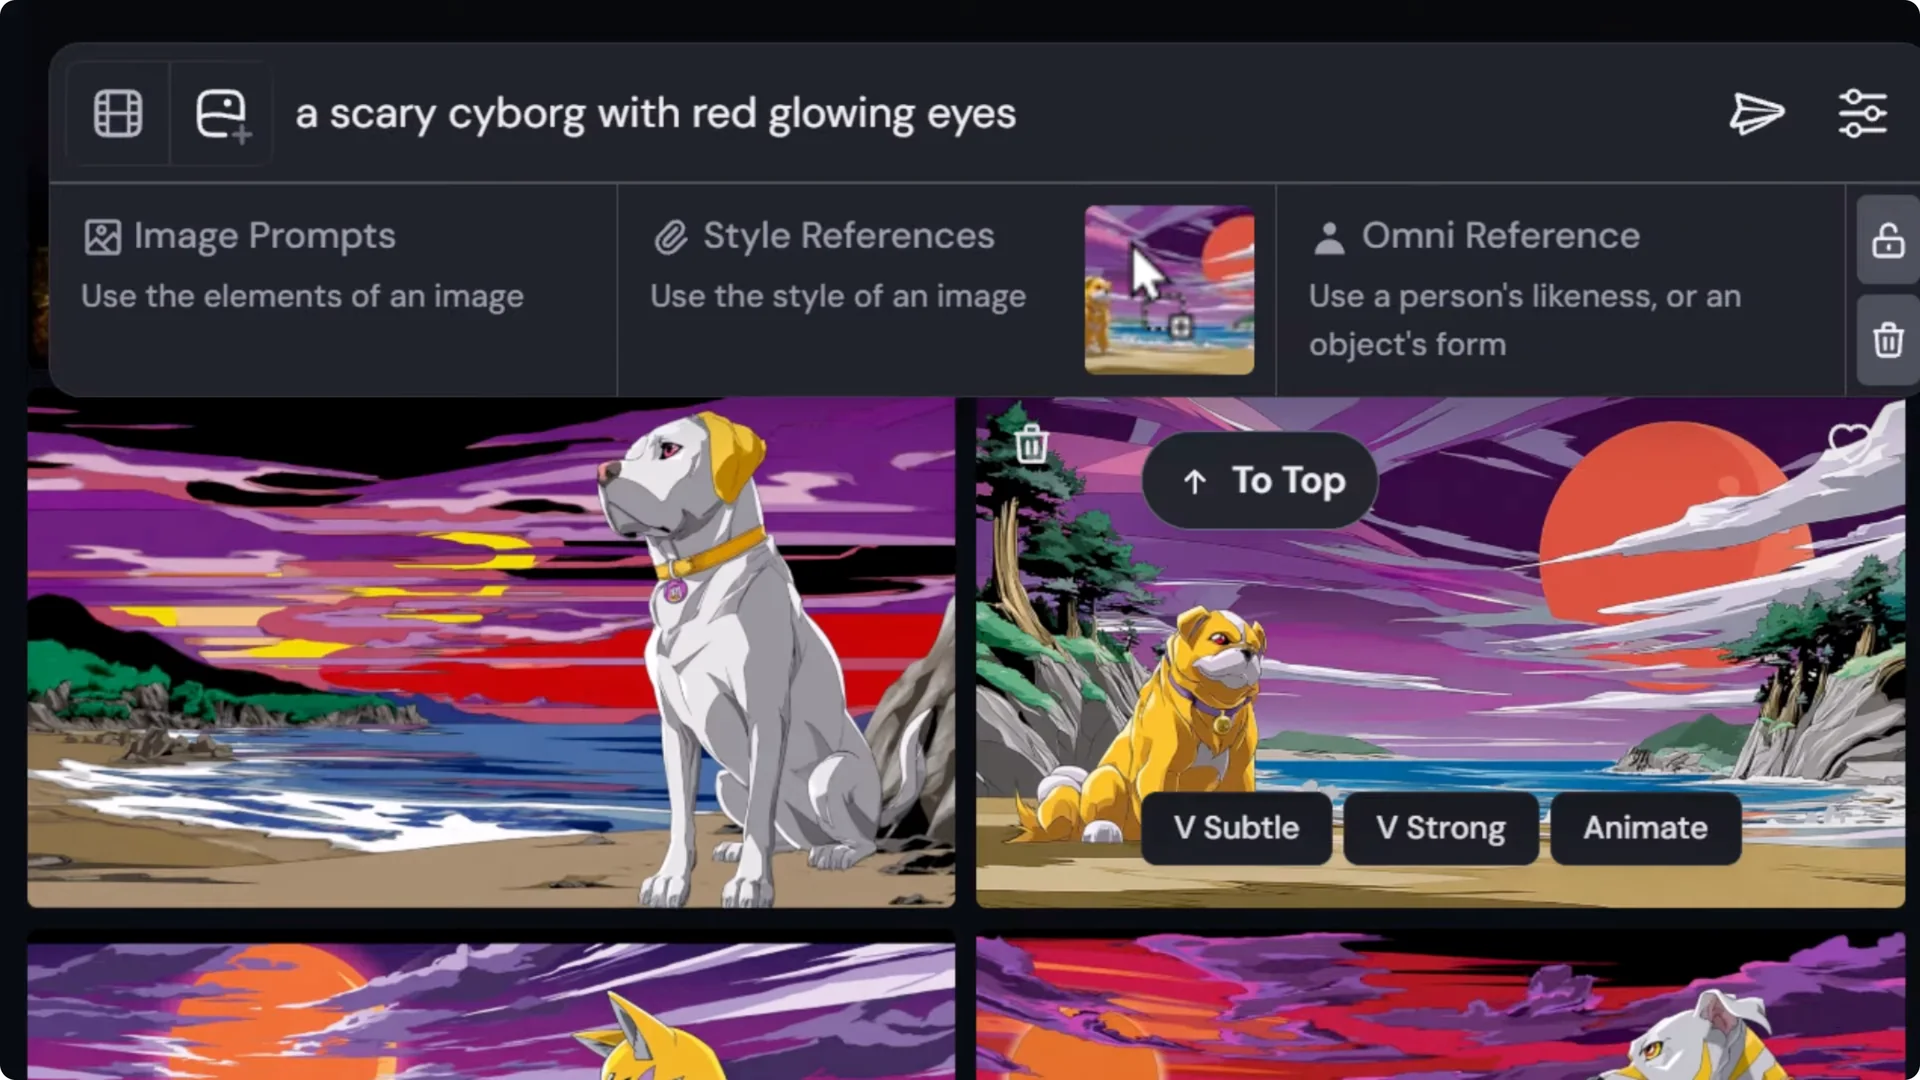
What we get is not quite exactly the same as if we just use the code on its own. I can take the full prompt again, including the style reference, add a style code, and submit.
Using both of those tools mixes this style into the images, which gives an added layer of control when trying to navigate different styles and style codes.
How to use Midjourney v6 Style Codes as v7 SREF Codes
I have an image that was made with version 6. You notice it’s a very light style, very bright. If I take the exact same prompt again with version 6, you can see how consistent that style is.
If I take that exact same prompt and switch to version 7, notice how the style, although still very white, is different from the version 6 style. That’s because version 7’s style code library is actually different from version 6’s.
There is a solution. Use the same prompt again with version 7 and go sv for style version.
If you go to style variation 4 and submit that, notice how the style goes back to that version 6 style. By using style variation 4, we can refer back to that old code.
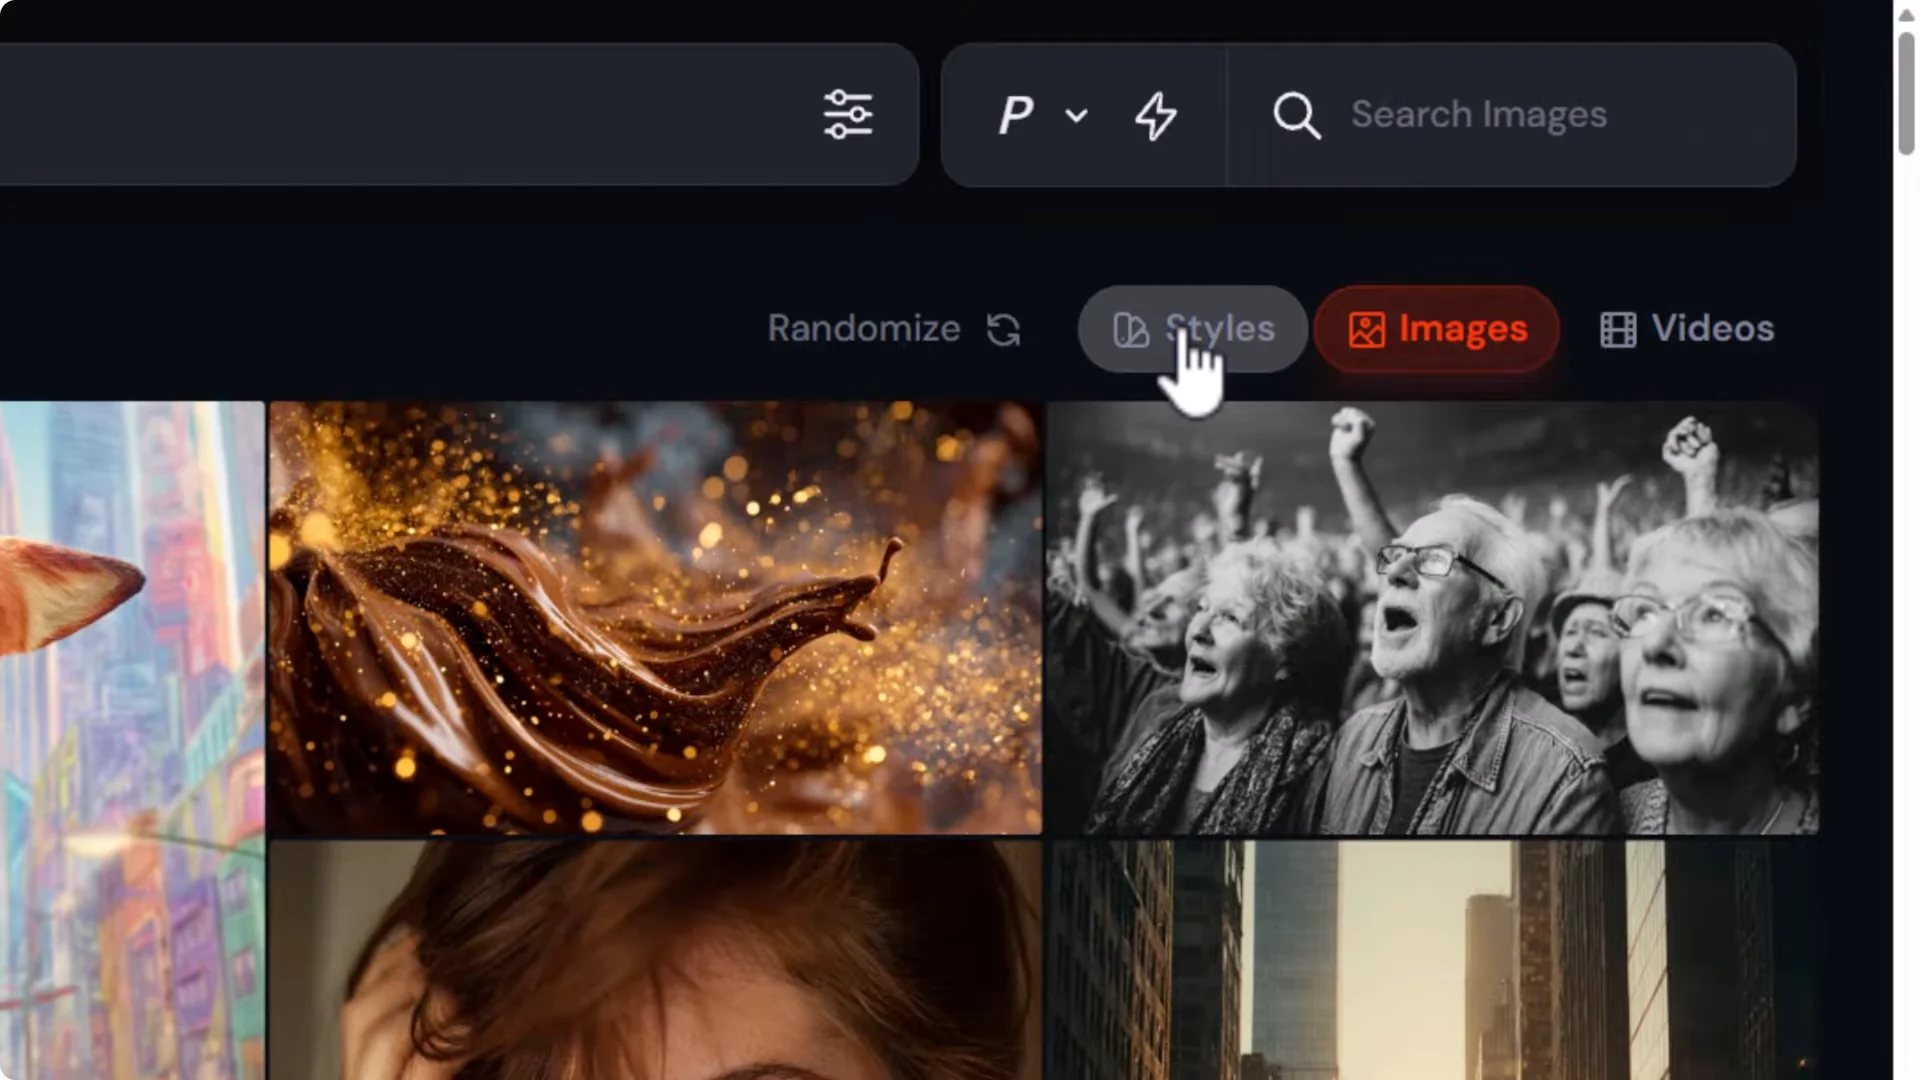
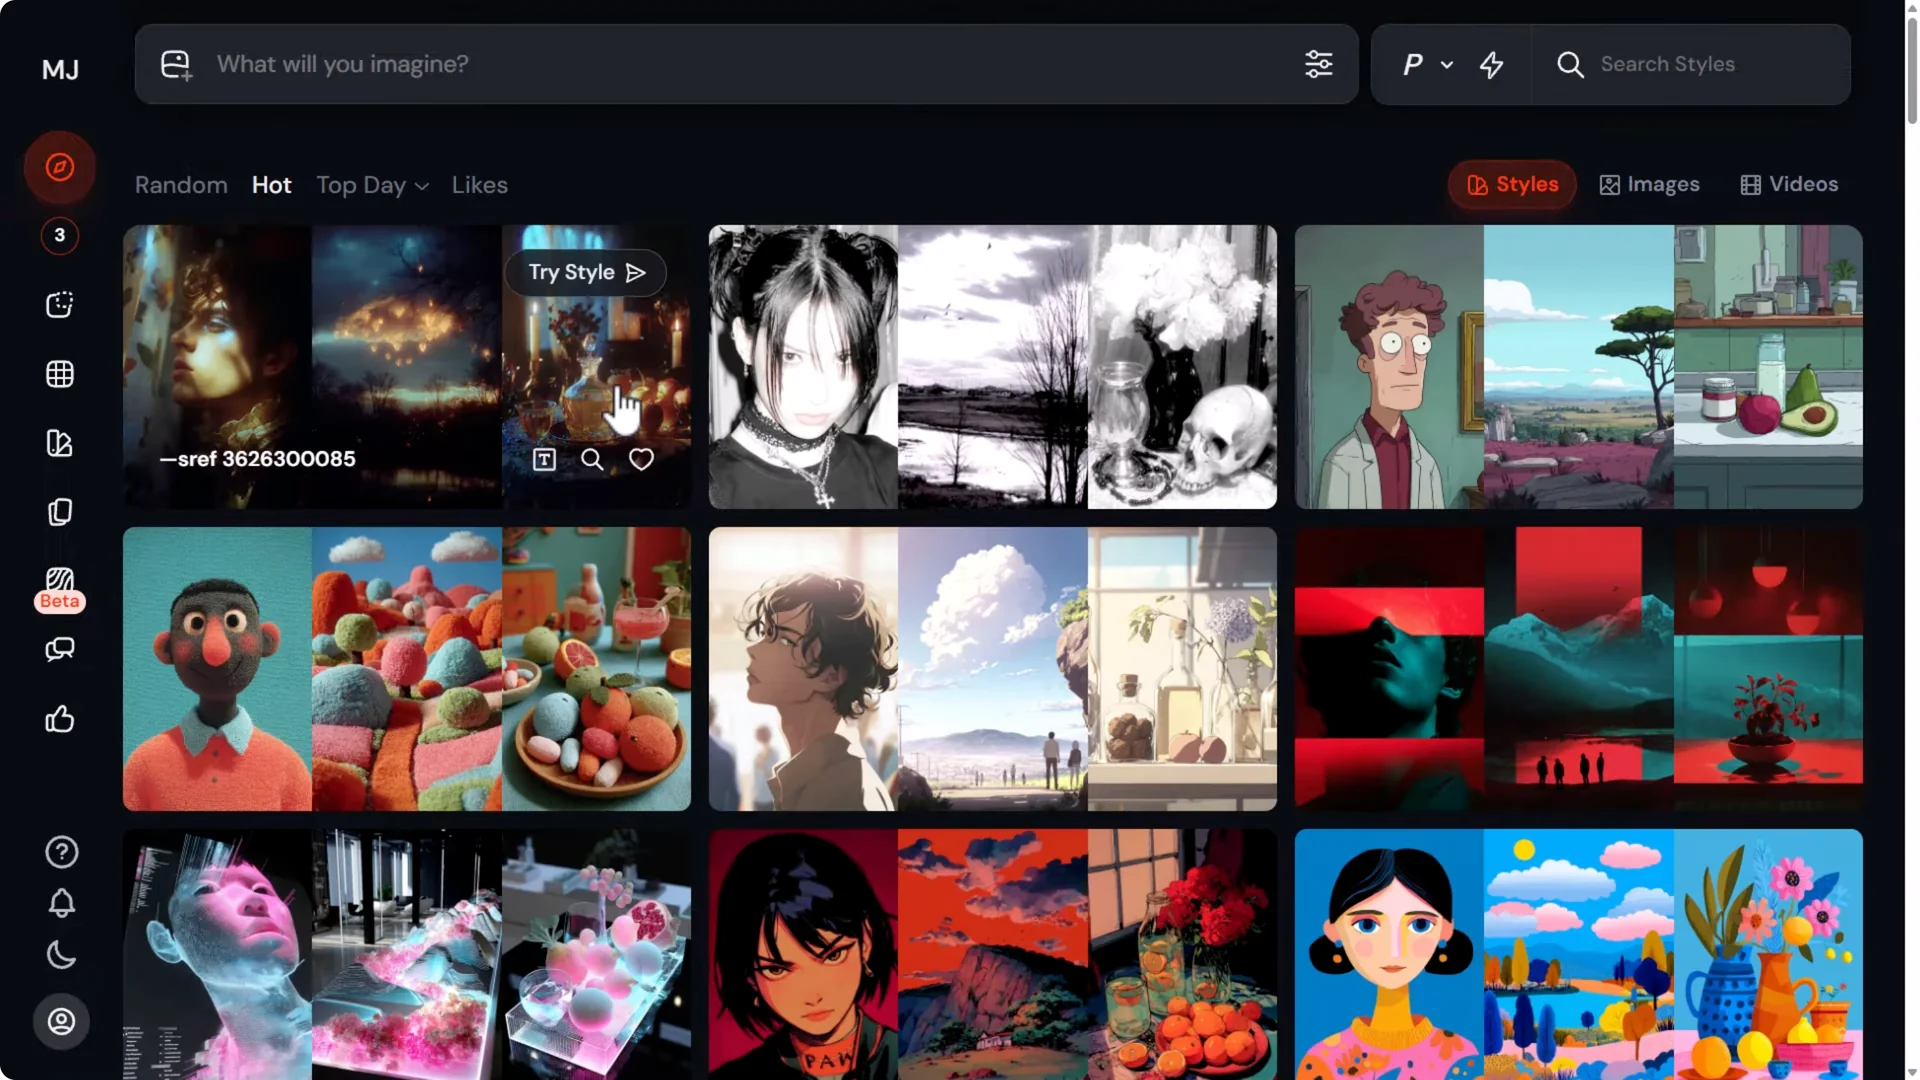
Discover and Organize with the Midjourney Style Explorer for Midjourney SREF Style Codes
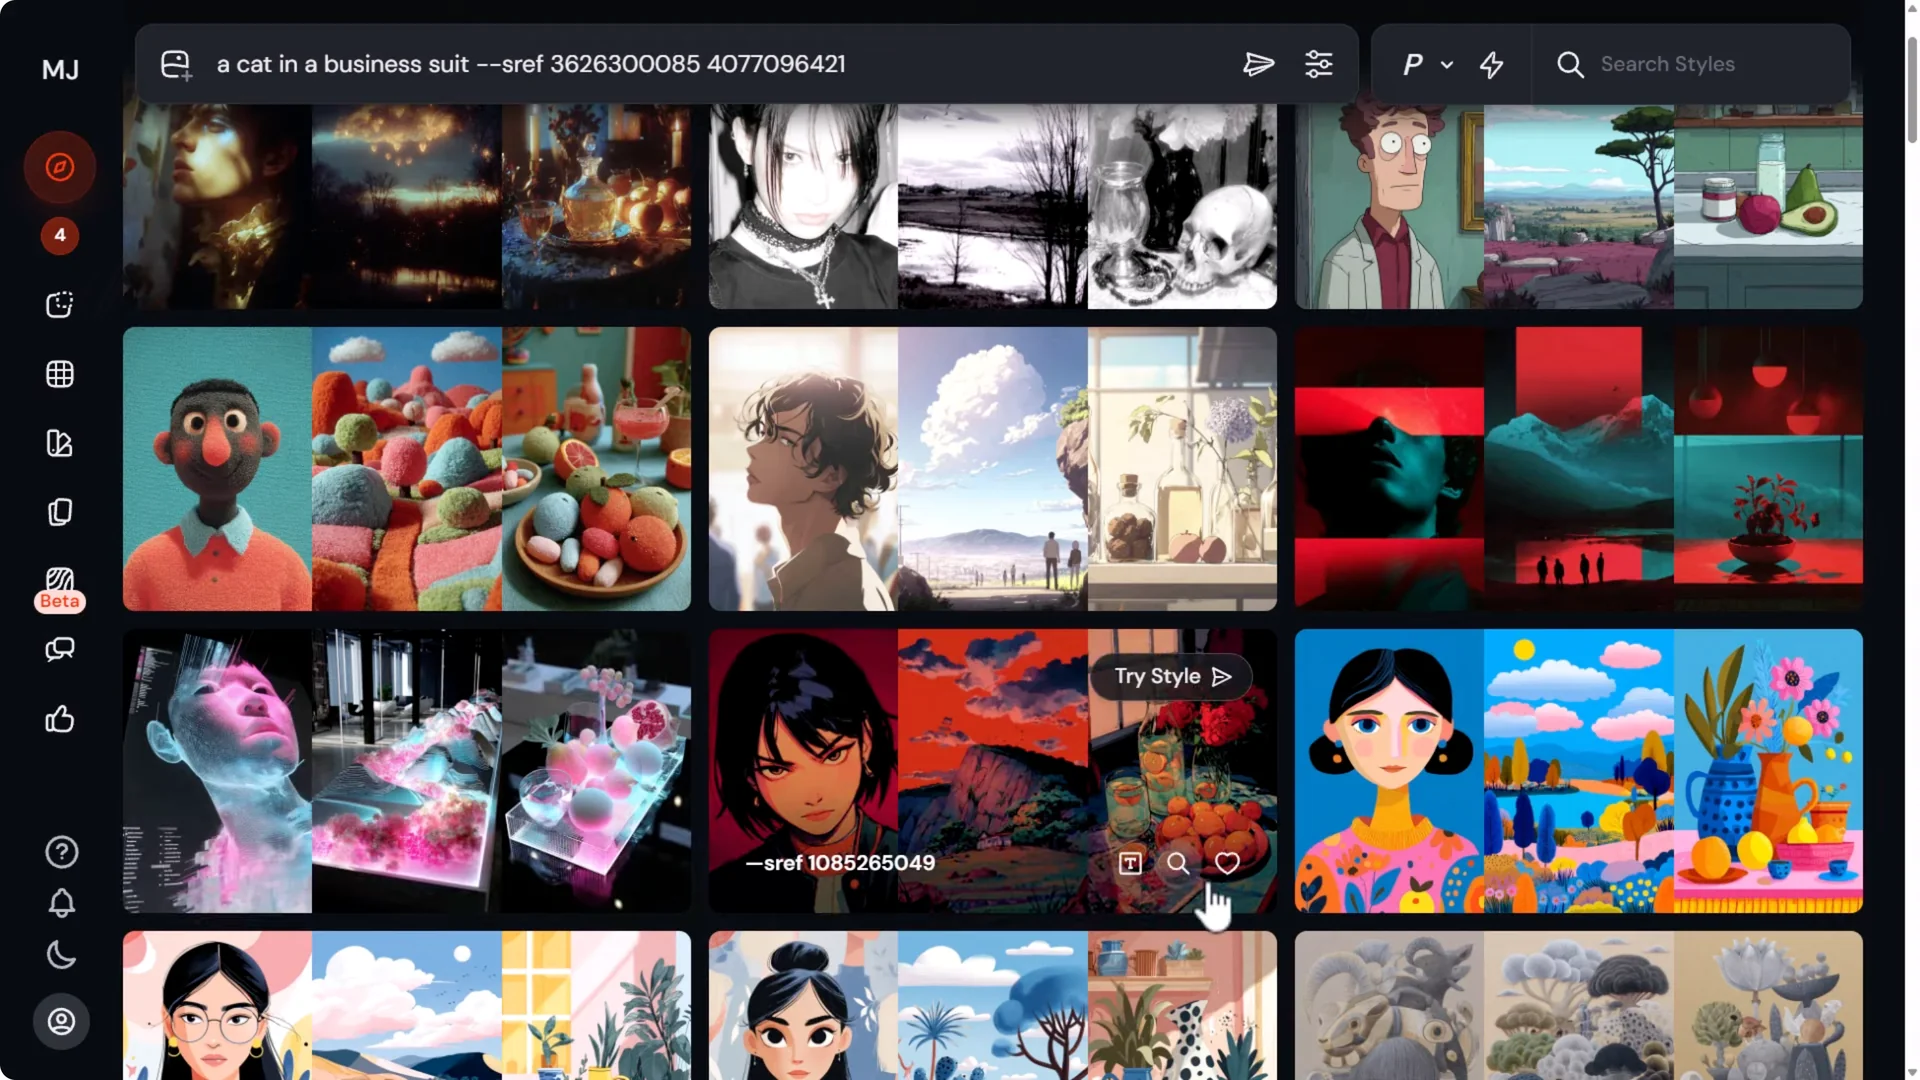
Go to Explore and then Styles. This is the style explorer. If I see a style I want to try and go Try style, it will submit that straight away using my most recent prompt.
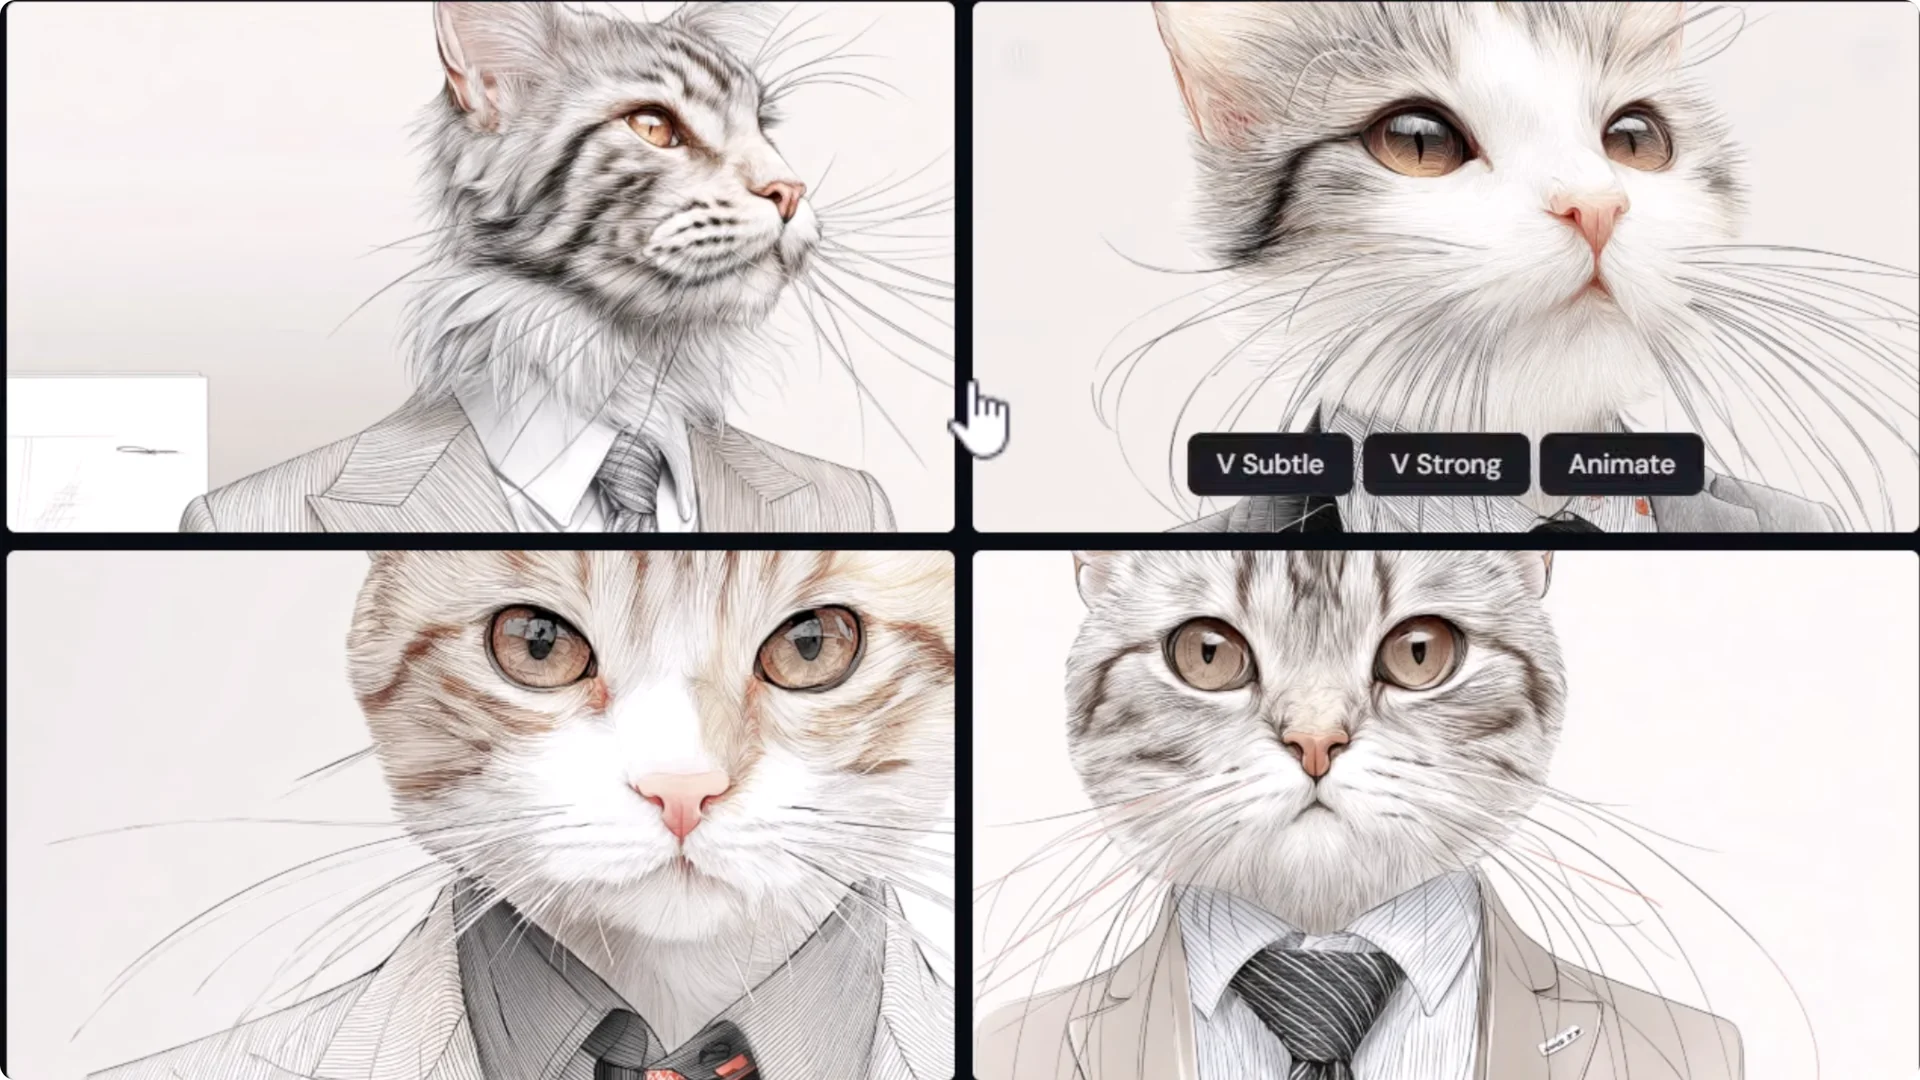
There is one issue. If I recently created with style version 4 and I don’t submit another image, it will submit that new style with style version 4 and produce the incorrect style.
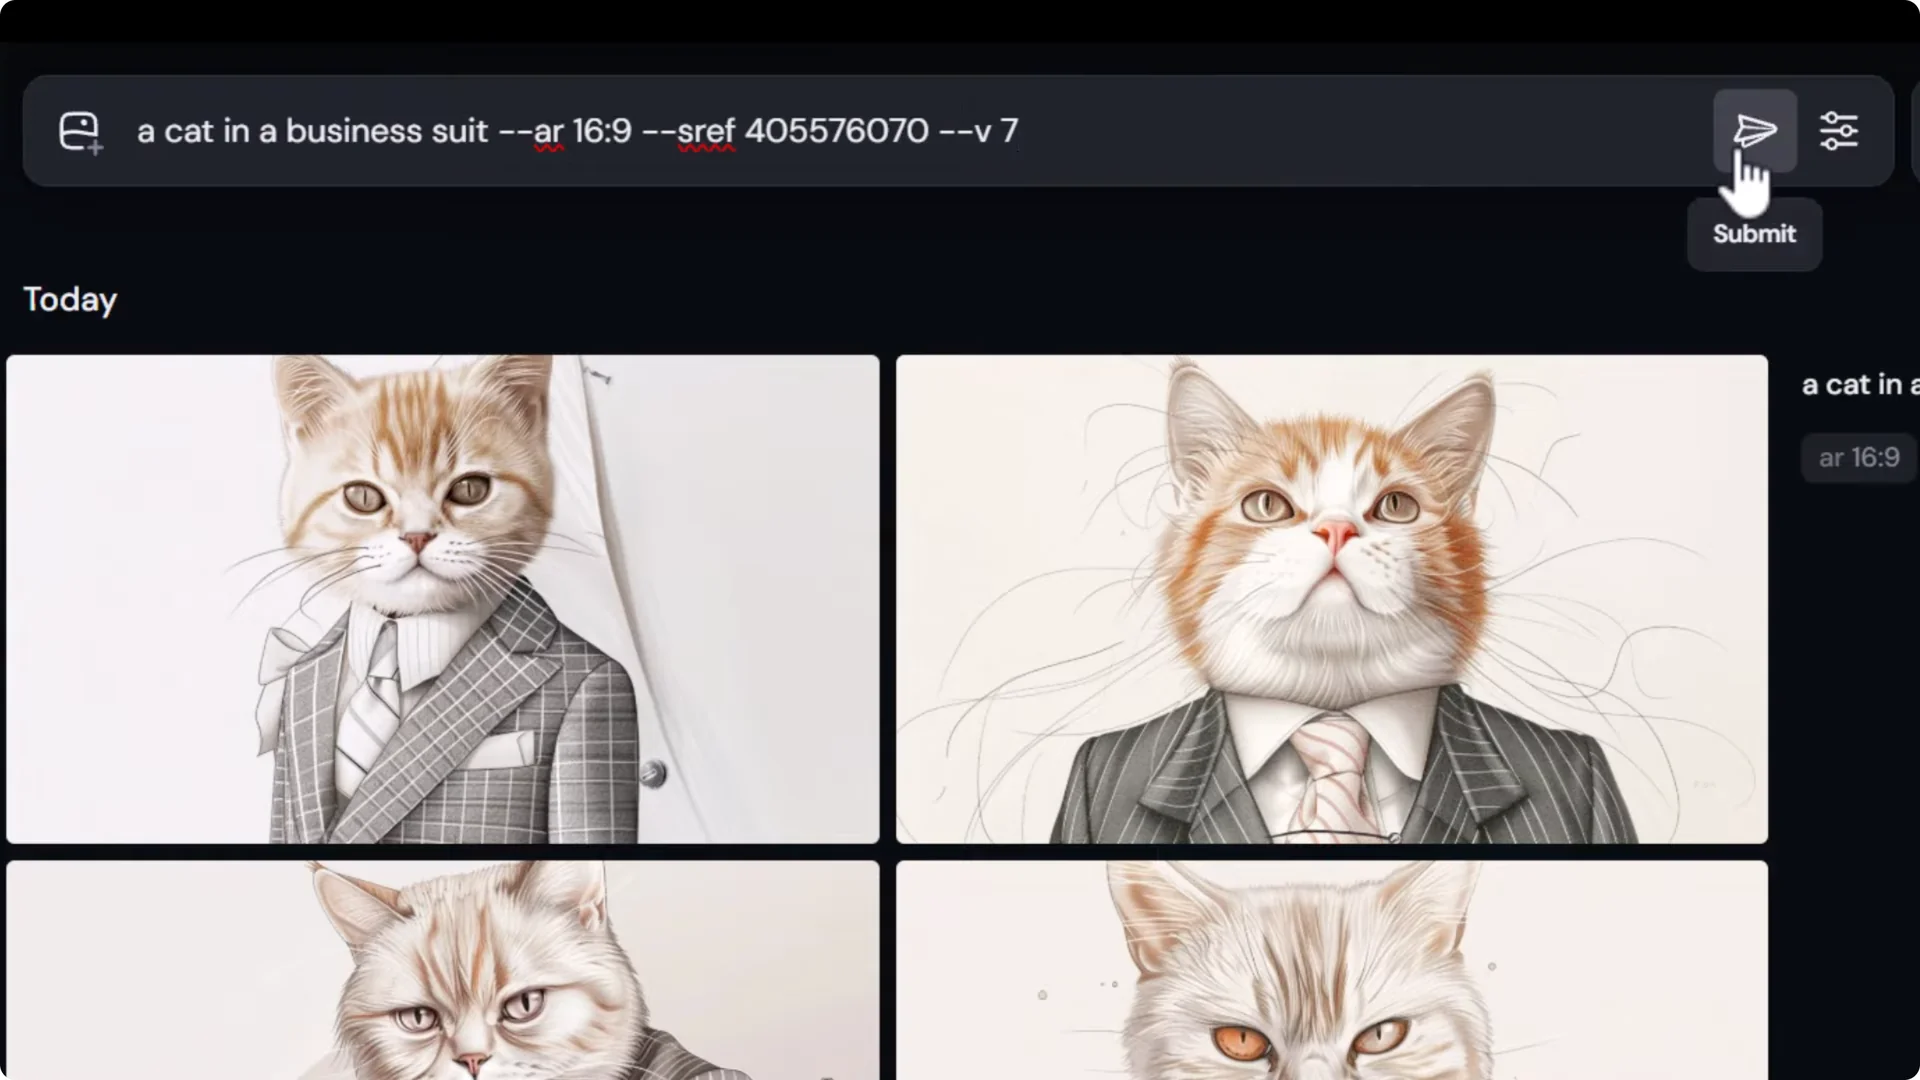
For that reason, I submit a prompt with no styling attached.
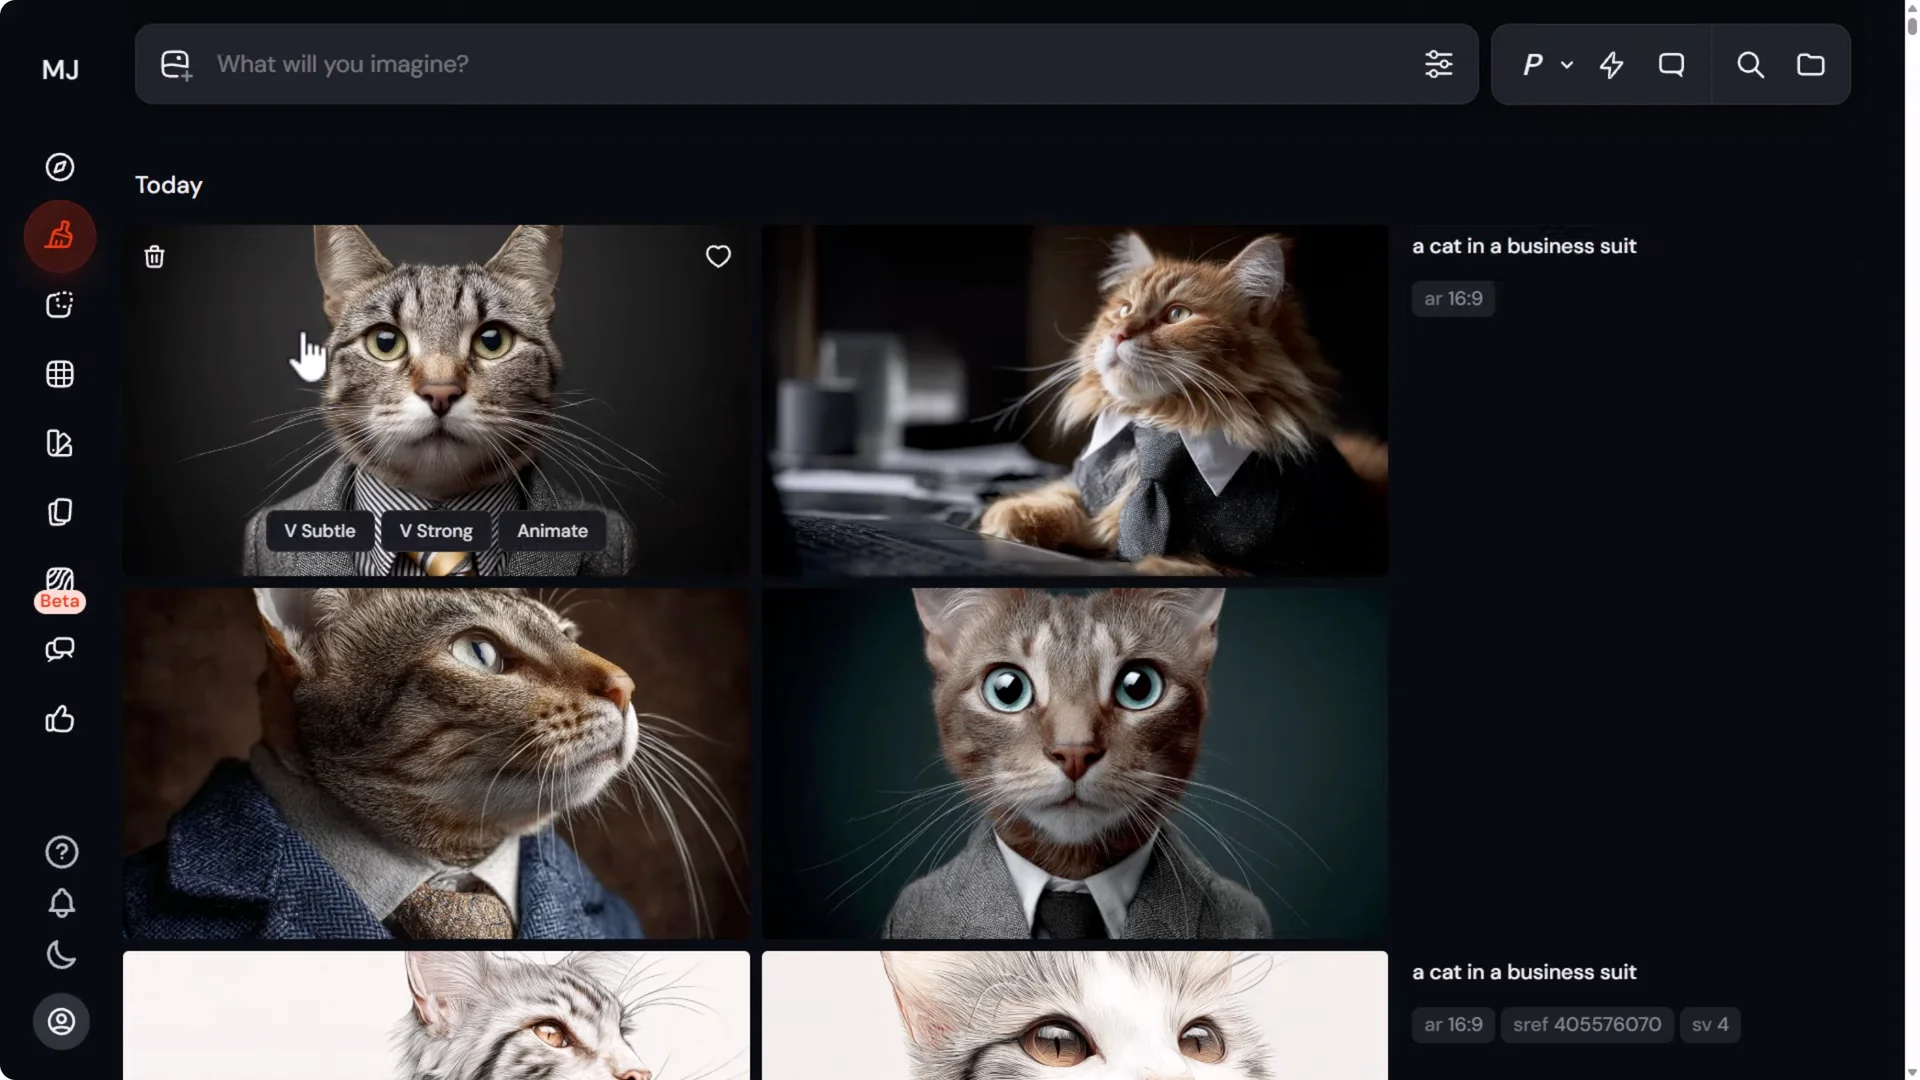
That way I can go back to Explore and it will just submit with a cat in a business suit and it won’t add that style variation.
Try styles quickly
I click Try style. I can go through and try this purple one. I can go to Top Day to view today’s top style. I can go to Hot to see popular styles. I can go through and try these pretty easily.
When I come back to Create, I’ve been able to experiment with those styles at the click of a button, which makes the style explorer very handy.
Append codes to your prompt and mix them
I add the text into my prompt bar. Back in Explore, I can try style or click the little T symbol to add it to the end.
I can add it to my prompt and combine styles like earlier by clicking the T symbol on a couple of these.
It adds those styles into my prompt one after the other. When I submit, I’ve been able to create an image by combining those three style codes.
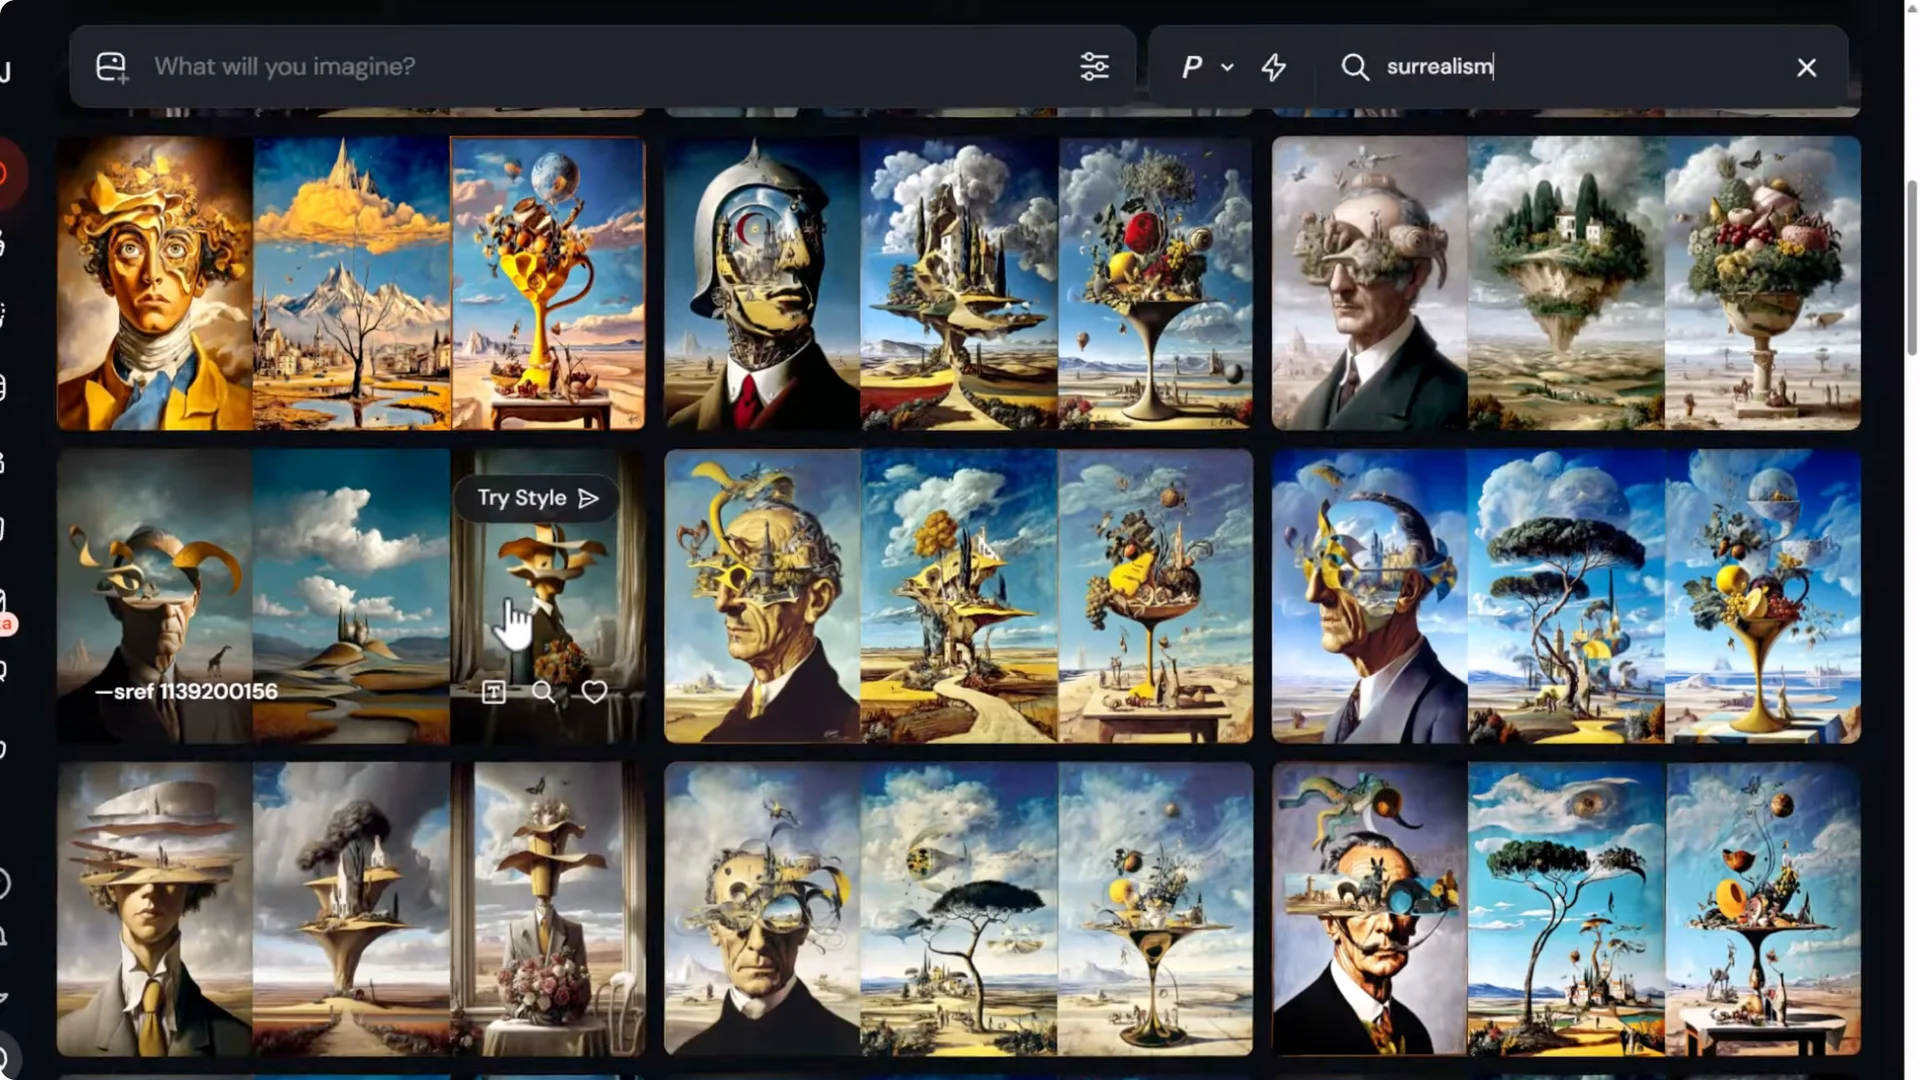
Search and find similar styles
I can search for a particular style at the top:
- surrealism to find surrealist style codes
- red or another color
- anime for anime style codes
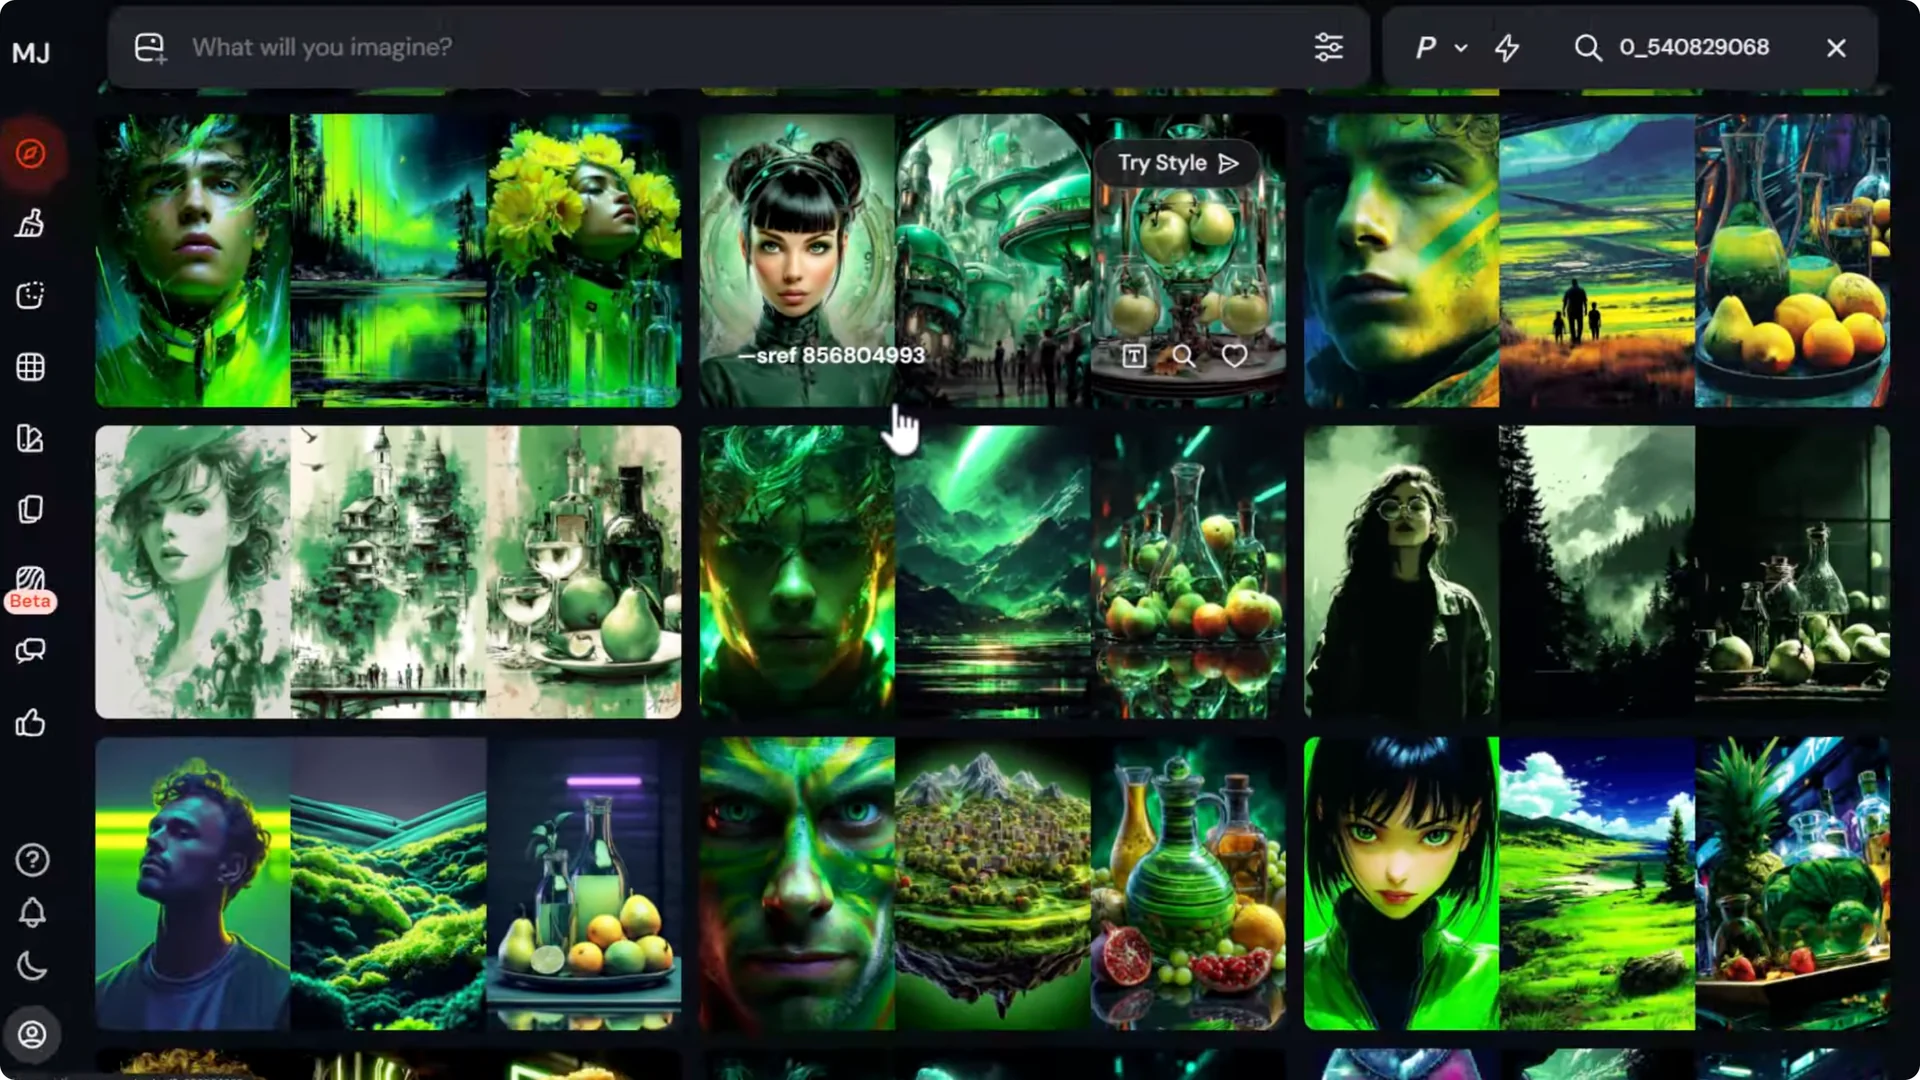
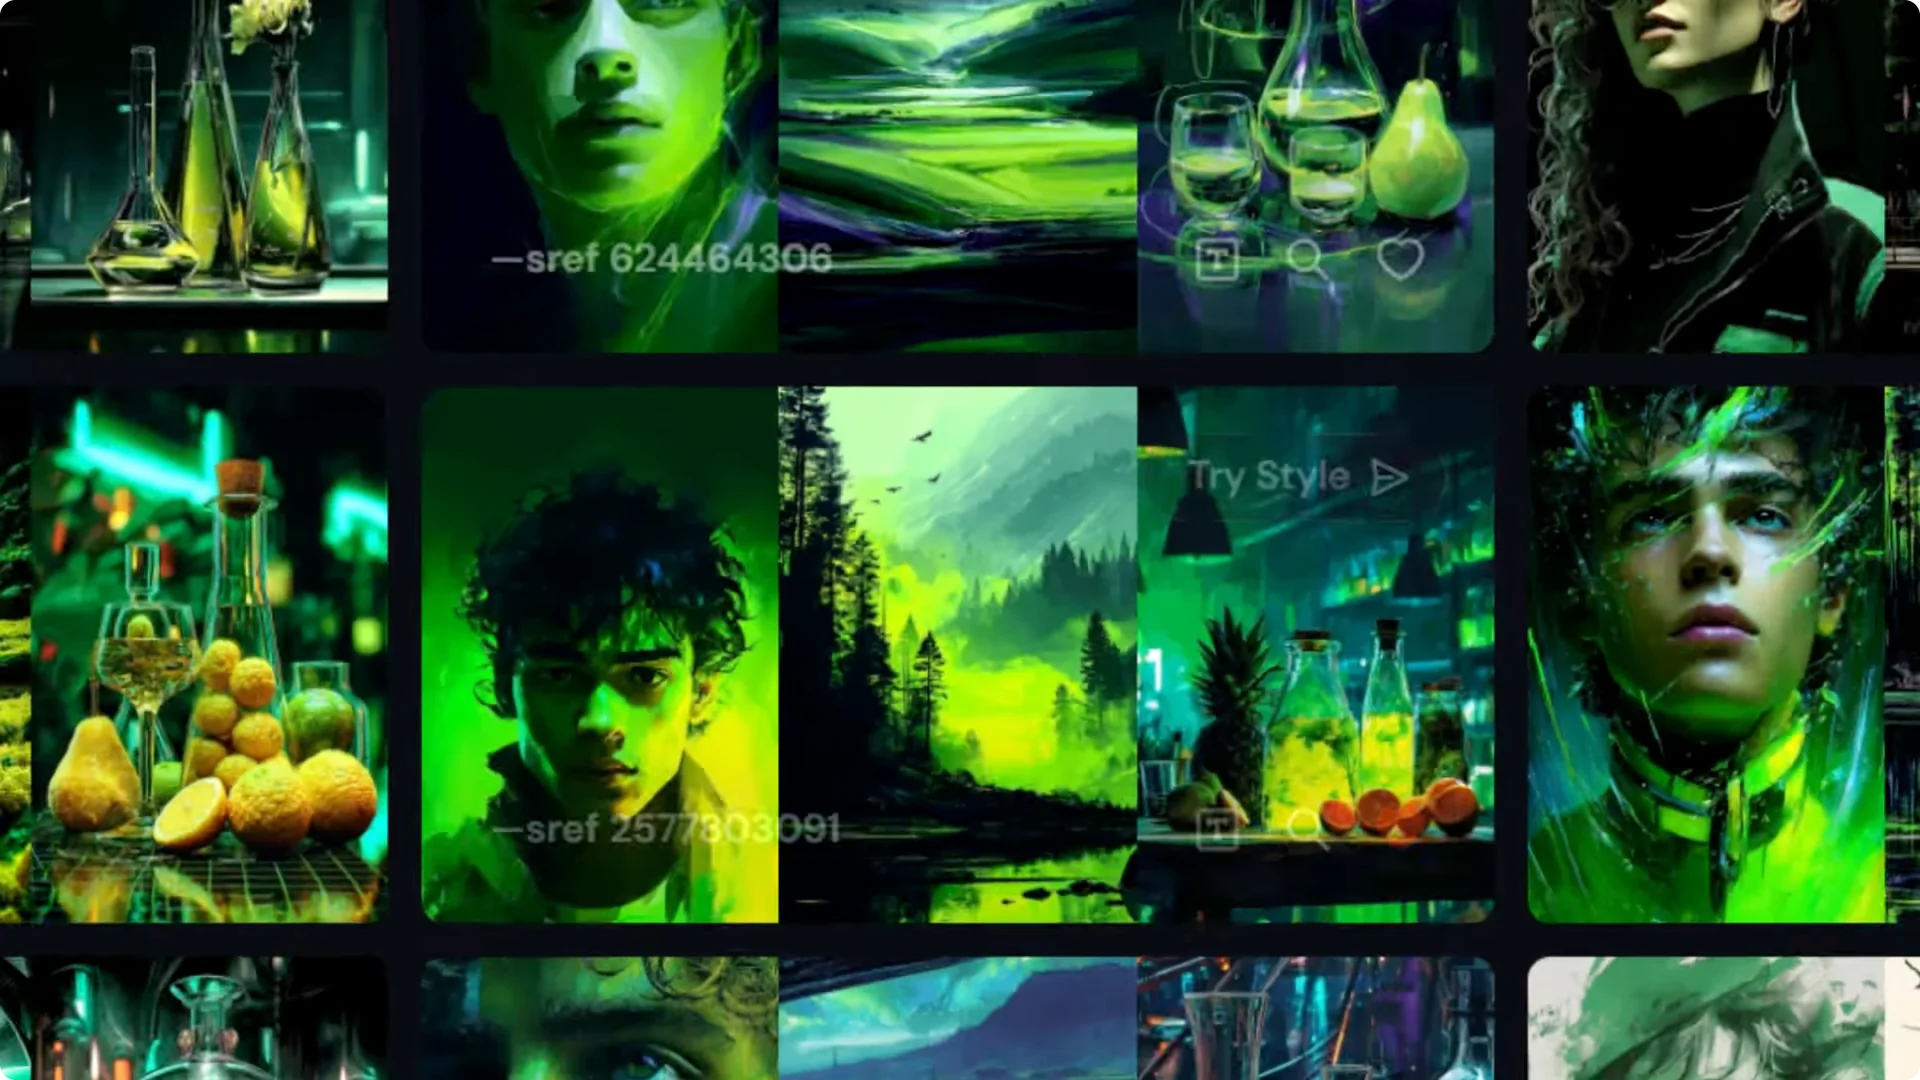
If I type in something like sci-fi and I like this green one, I can click the magnifying glass.
It searches for a bunch of styles similar to that green style that I can try out.
Save favorites with Likes
If I really like the look of a style, I can heart react it. With the style selected on the Explore page, I go to my Likes tab.
That style now sits in my Likes page. I’ve used that to save certain styles I really enjoyed.
If I want a rainbow style, I can search for rainbow, love heart react it, go to my Likes, and it’s there. That’s a great way to keep track of styles you find on the style explorer.
Create your own Midjourney SREF Style Codes
On the left, there is the Style Creator, which is a relatively new tool by MidJourney at the time of making this.
I remove all the extra information because I’m going to create a prompt to showcase the style in the image while I’m building my style using the Style Creator. You get a little bit of a tutorial mode the first time you use this. It will look slightly different, but ultimately it’s pretty much the same experience.
I submit and you see we have a cat in a business suit with a very plain image, no style applied. Come over and select the images you like the best.
Tips while selecting:
- Enable hotkeys to choose numbers on your keyboard to select images or just use your mouse
- Change the grid size from large to small to get more options
- Skip the grid if there’s nothing you like
Select an image you like and move over to Refine Style. You’ll notice it has re-rendered the cat in the business suit with the updated style. On the right there’s a little bar showing where we started and where we’ve moved to. Every time we refine our style, we climb up, and until we surpass that ideal minimum, we will have a style we can use. We can also go back and forth.
If I don’t like a direction, I can go back on the right and pick up where I left off or use the top arrow to head back. I can deselect options, choose another, and refine again. I repeat that process until I reach my ideal minimum. When I land on my final style, I come up to End Session.
In Create, you will see every single iteration with a style code for each one. Not only can I stick with the final image and use this style code, I can use any of the other images I created also.
If I really liked a particular style, I can use its style code, give it a quick prompt like samurai, and I have my own custom built style with an sref code. It’s a unique style code that I can use on my images, and it’s just not something you can find in the style explorer.
Bonus Tip: Mood Boards for Midjourney SREF Style Codes
It’s not exactly the most customizable way for building styles. Perhaps the best way of doing that is by using mood boards. I recommend building a mood board. Here’s how you can take a style code that you like and make that into a mood board.
- Use a grid of images that has a unique style with several codes involved.
- Use permutations to create a series of prompts using different subjects with this code:
– a woman’s face
– an old man
– a city
– nature
– random stuff
- Variety is good. Create several images with the same combination of sref codes.
- Go to Mood Boards and create a new mood board. Call it something like 80s bright vibes.
- Add from gallery and select the images you created, including the cat images.
- Because they all have the same style and the same colors, they’re added to your mood board.
- Type in a prompt like a samurai mask, use your mood board in the prompt, and submit.
Now you have a nice simple resource where you’ve been able to take that style you created by blending codes together and put it into a simple mood board using one simple code that you can easily share with people so they can use it on their images.
Final Thoughts
- Use sref random and repeat to explore quickly.
- Combine multiple codes, and adjust individual strengths with double colons to control the blend.
- Use an image as a style reference and pair it with a style code for tighter control over look and color.
- Bring v6 style behavior into v7 with style variation 4.
- Discover, mix, search, and save styles with the Style Explorer and Likes.
- Create your own styles with the Style Creator, then standardize and share looks with mood boards.