Midjourney produces some of the most beautiful images in AI art and AI image generation, but quite often the resolution simply doesn’t cut it. If you want to take that resolution not only to the next level, but far beyond, you can 10x or more the resolution of your images using tools inside and outside of Midjourney.
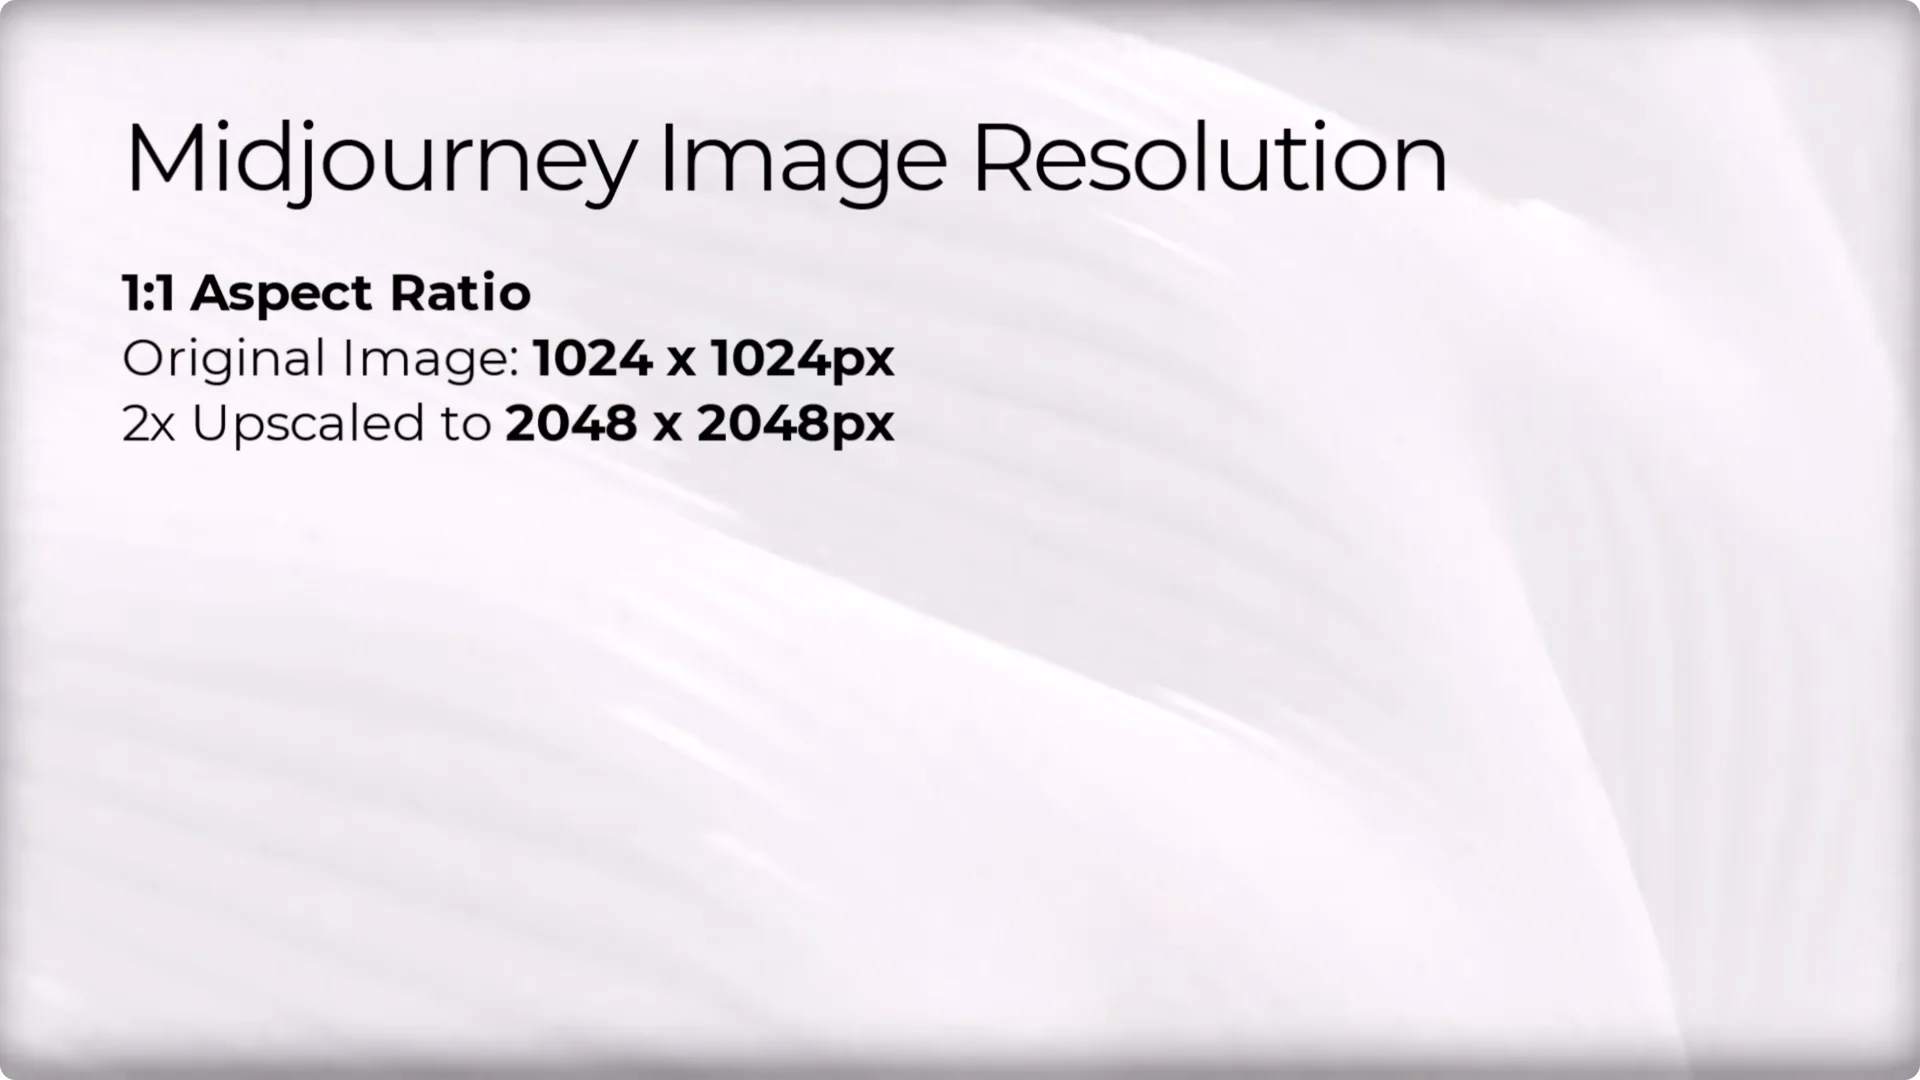
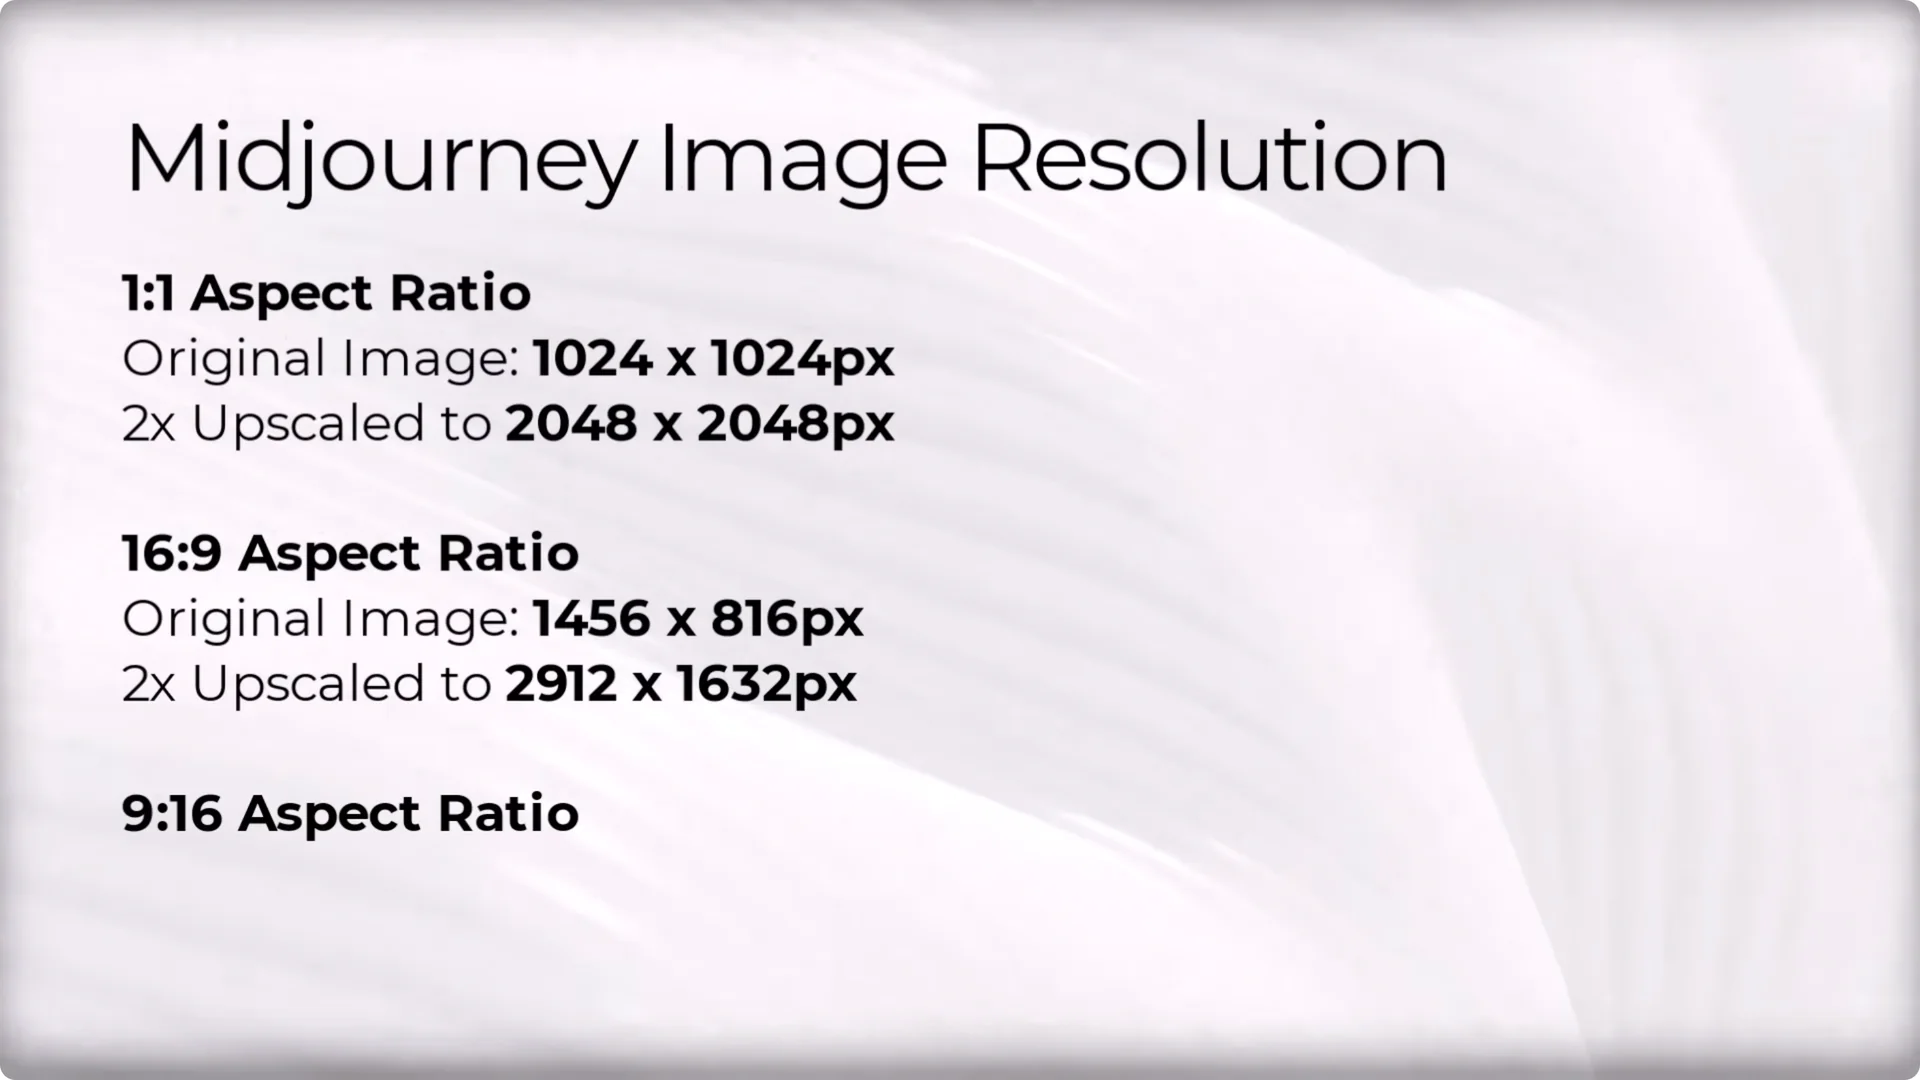
When we generate an image in Midjourney, the original resolution depends greatly on the aspect ratio.
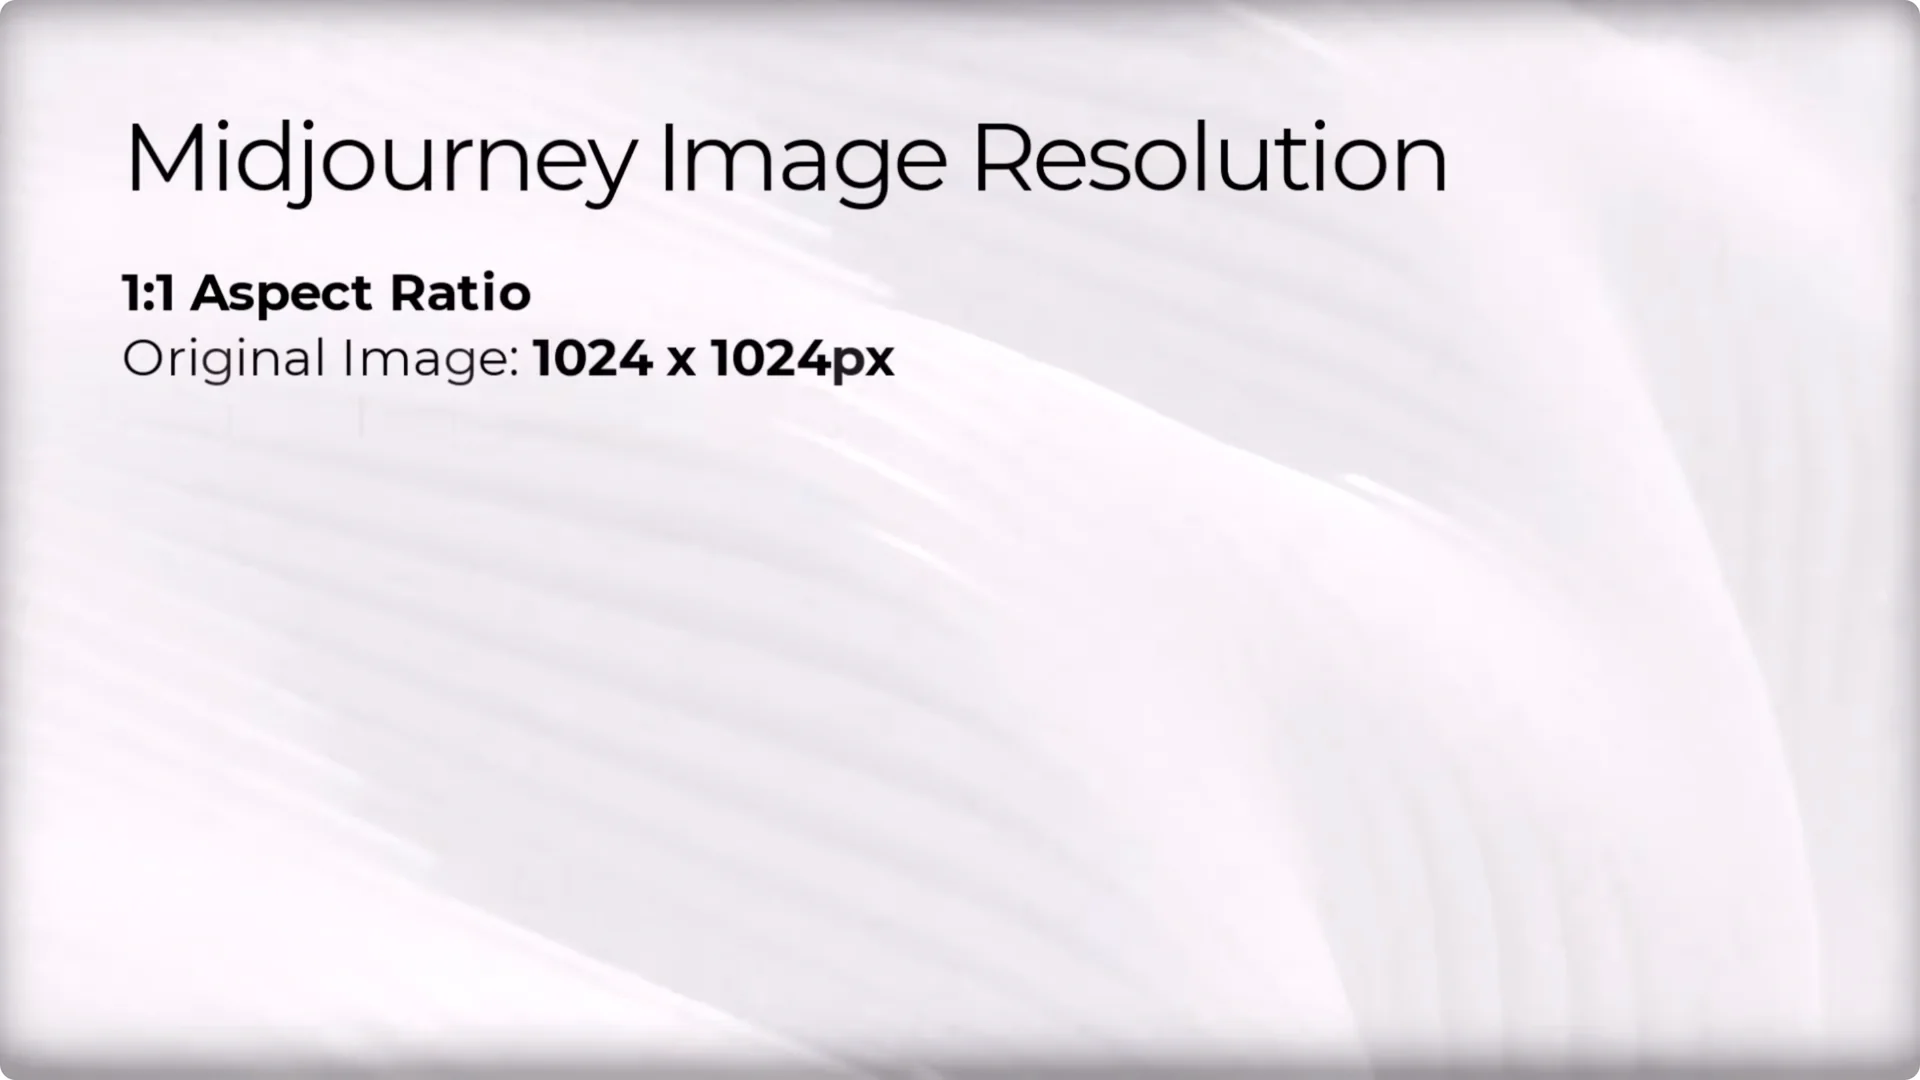
With the default 1:1 aspect ratio, images are about 1024 x 1024 pixels. At 16:9, it ends up being about 1456 x 816. Flip that for a portrait like 9:16. As you change the aspect ratio, the resolution is in flux, and you end up getting around the same total number of pixels in each image depending on the shape you create.
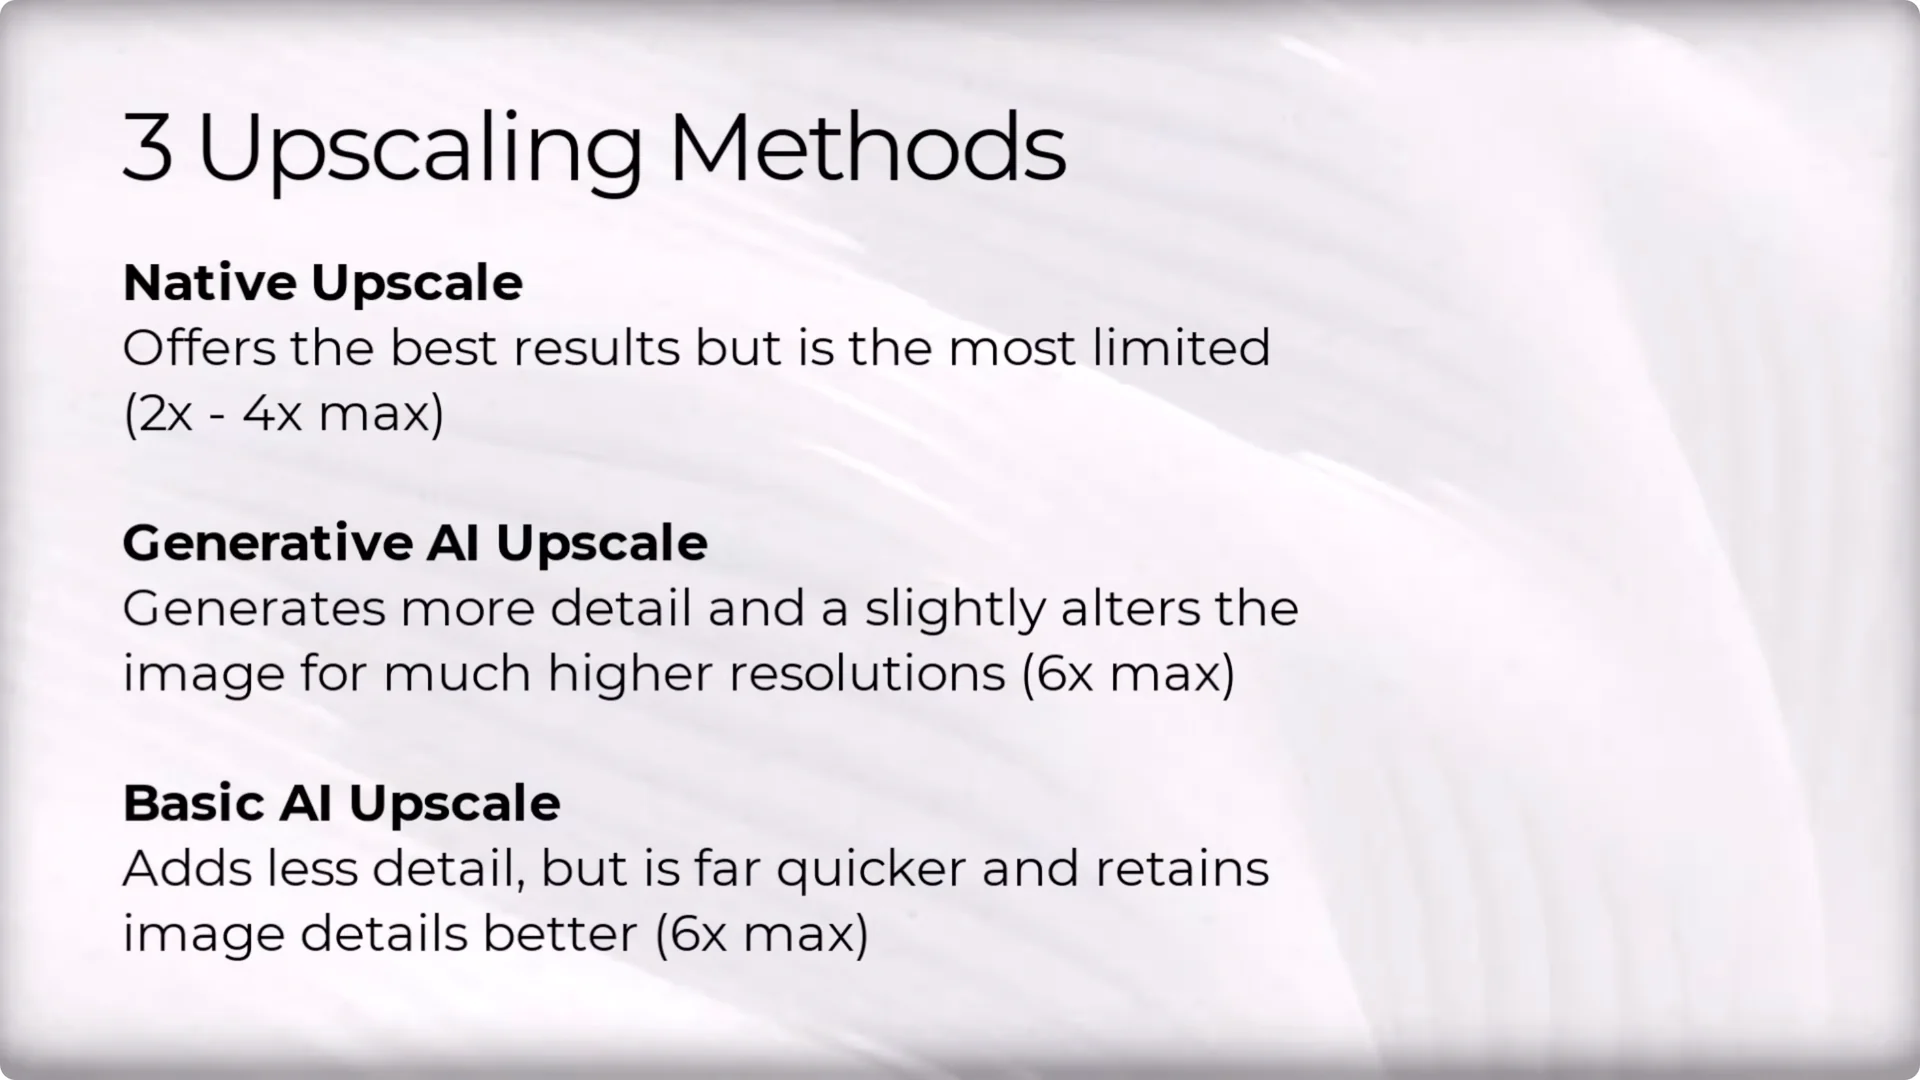
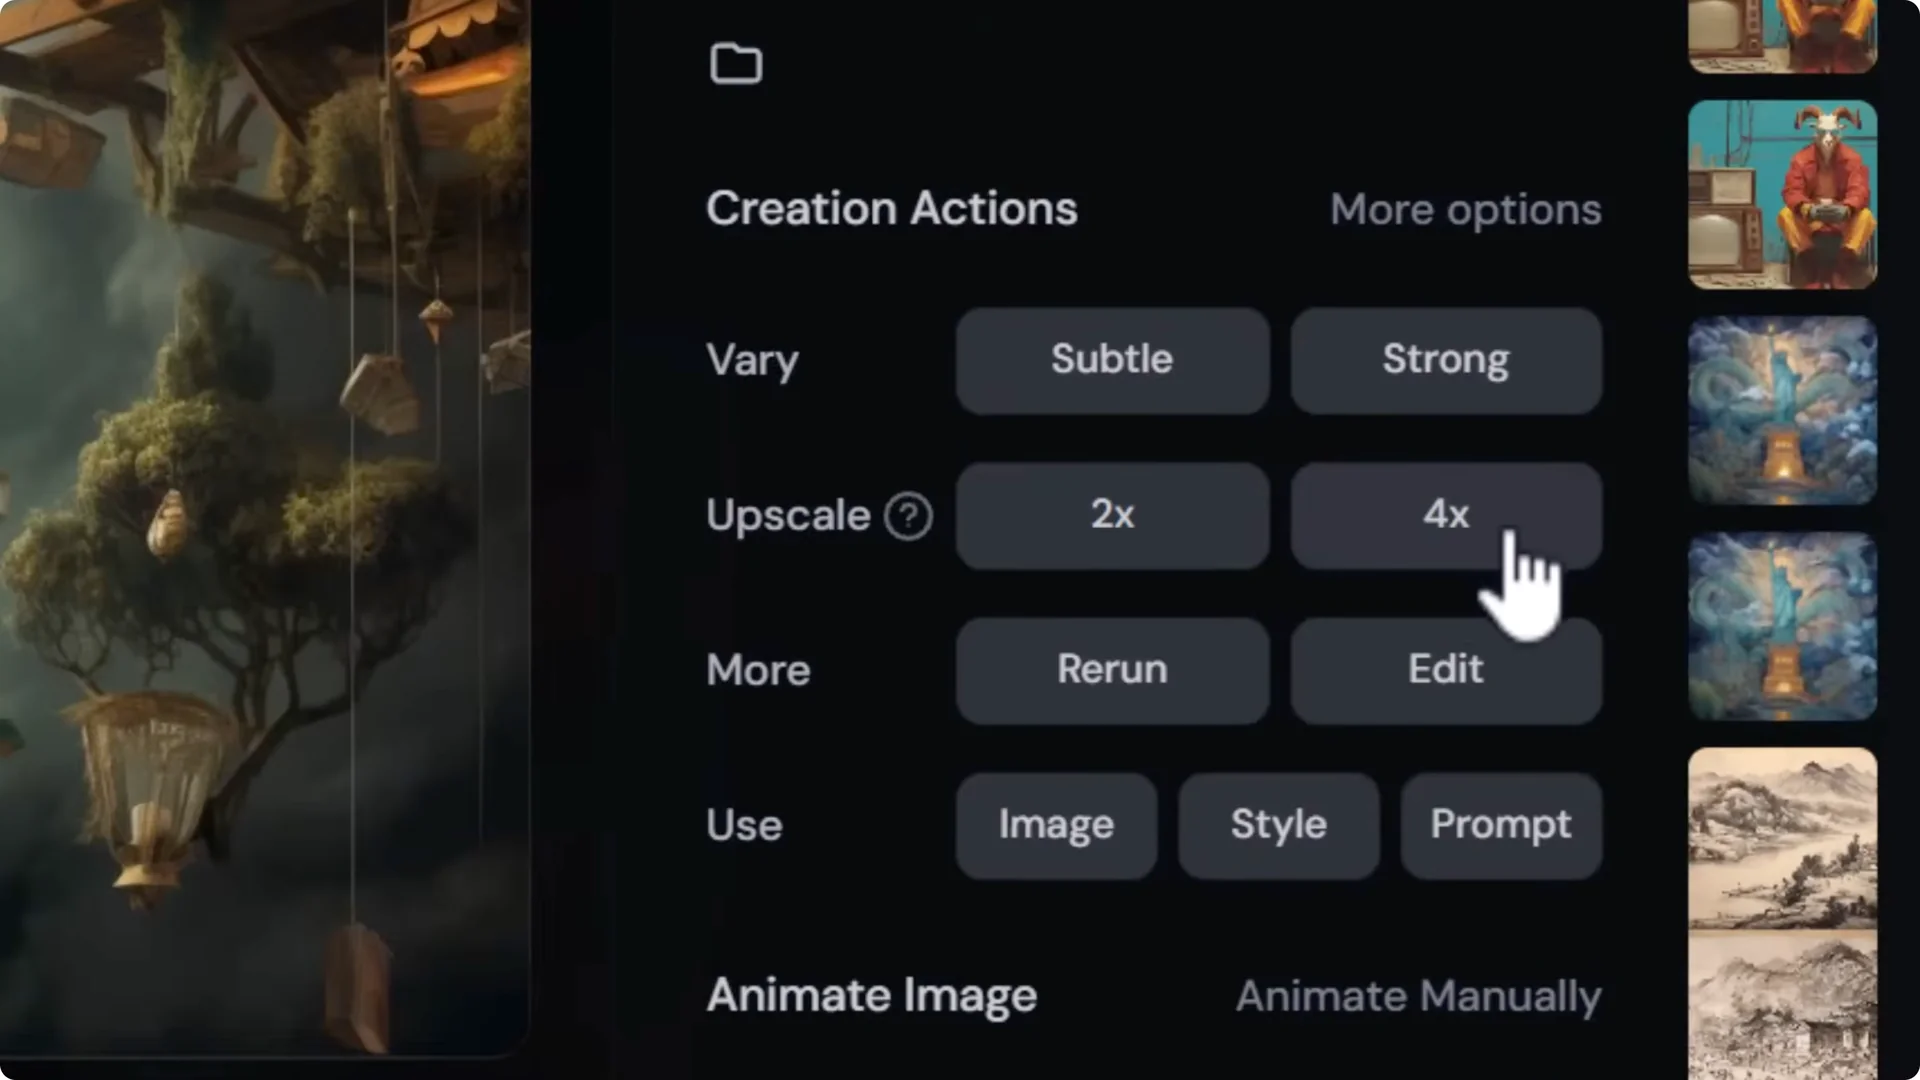
There are three different upscalers I use, plus a full process that combines them:
- A native Midjourney upscale that can 2x, or even 4x if you use an older model.
- A generative AI upscaler that adds detail and can change some aspects of the image.
- A basic AI upscaler that enlarges while staying close to the original, adding sharpness and texture.
Midjourney Image Upscaling: Using the Native Upscaler
The native upscaler is the best starting point. It gives you the cleanest upscale that stays true to your original image, though it has limits.

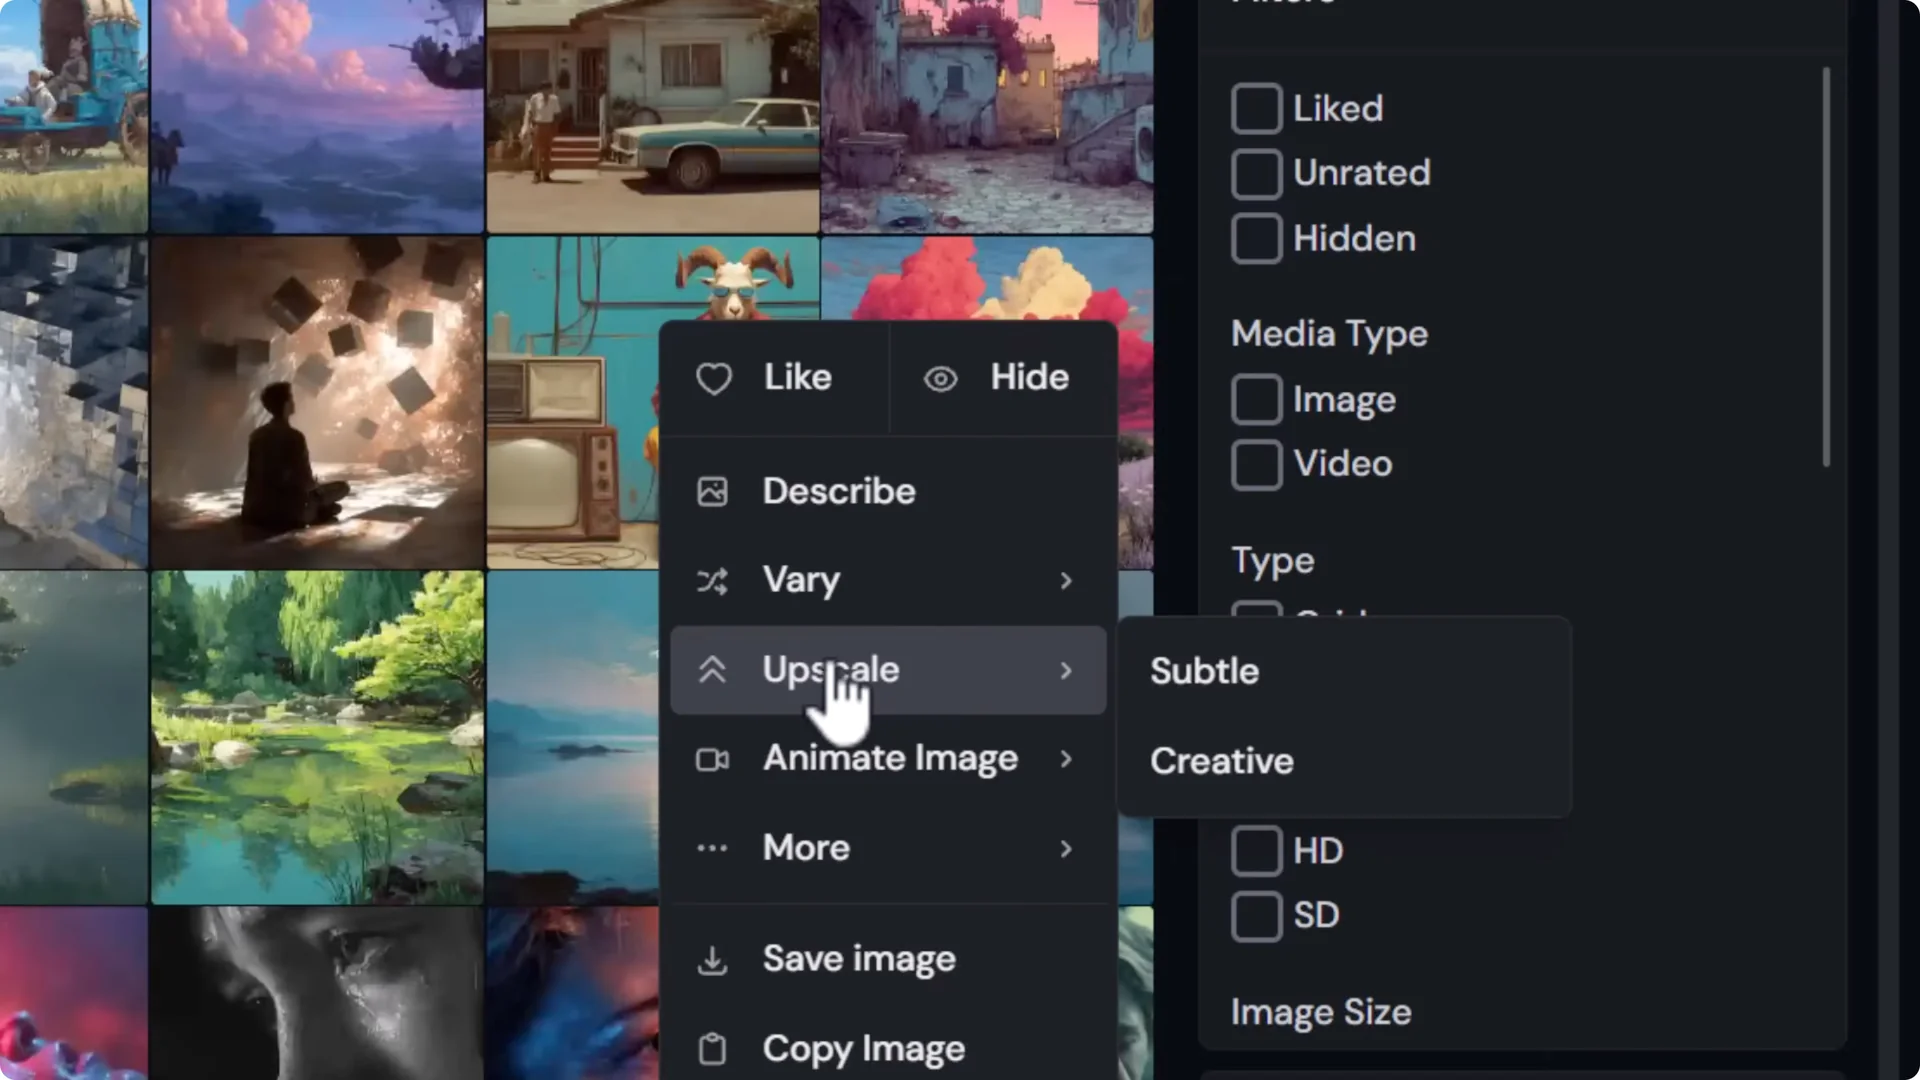
Subtle vs creative upscalers
- Subtle keeps things closer to the original.
- Creative develops details further and can introduce new elements.
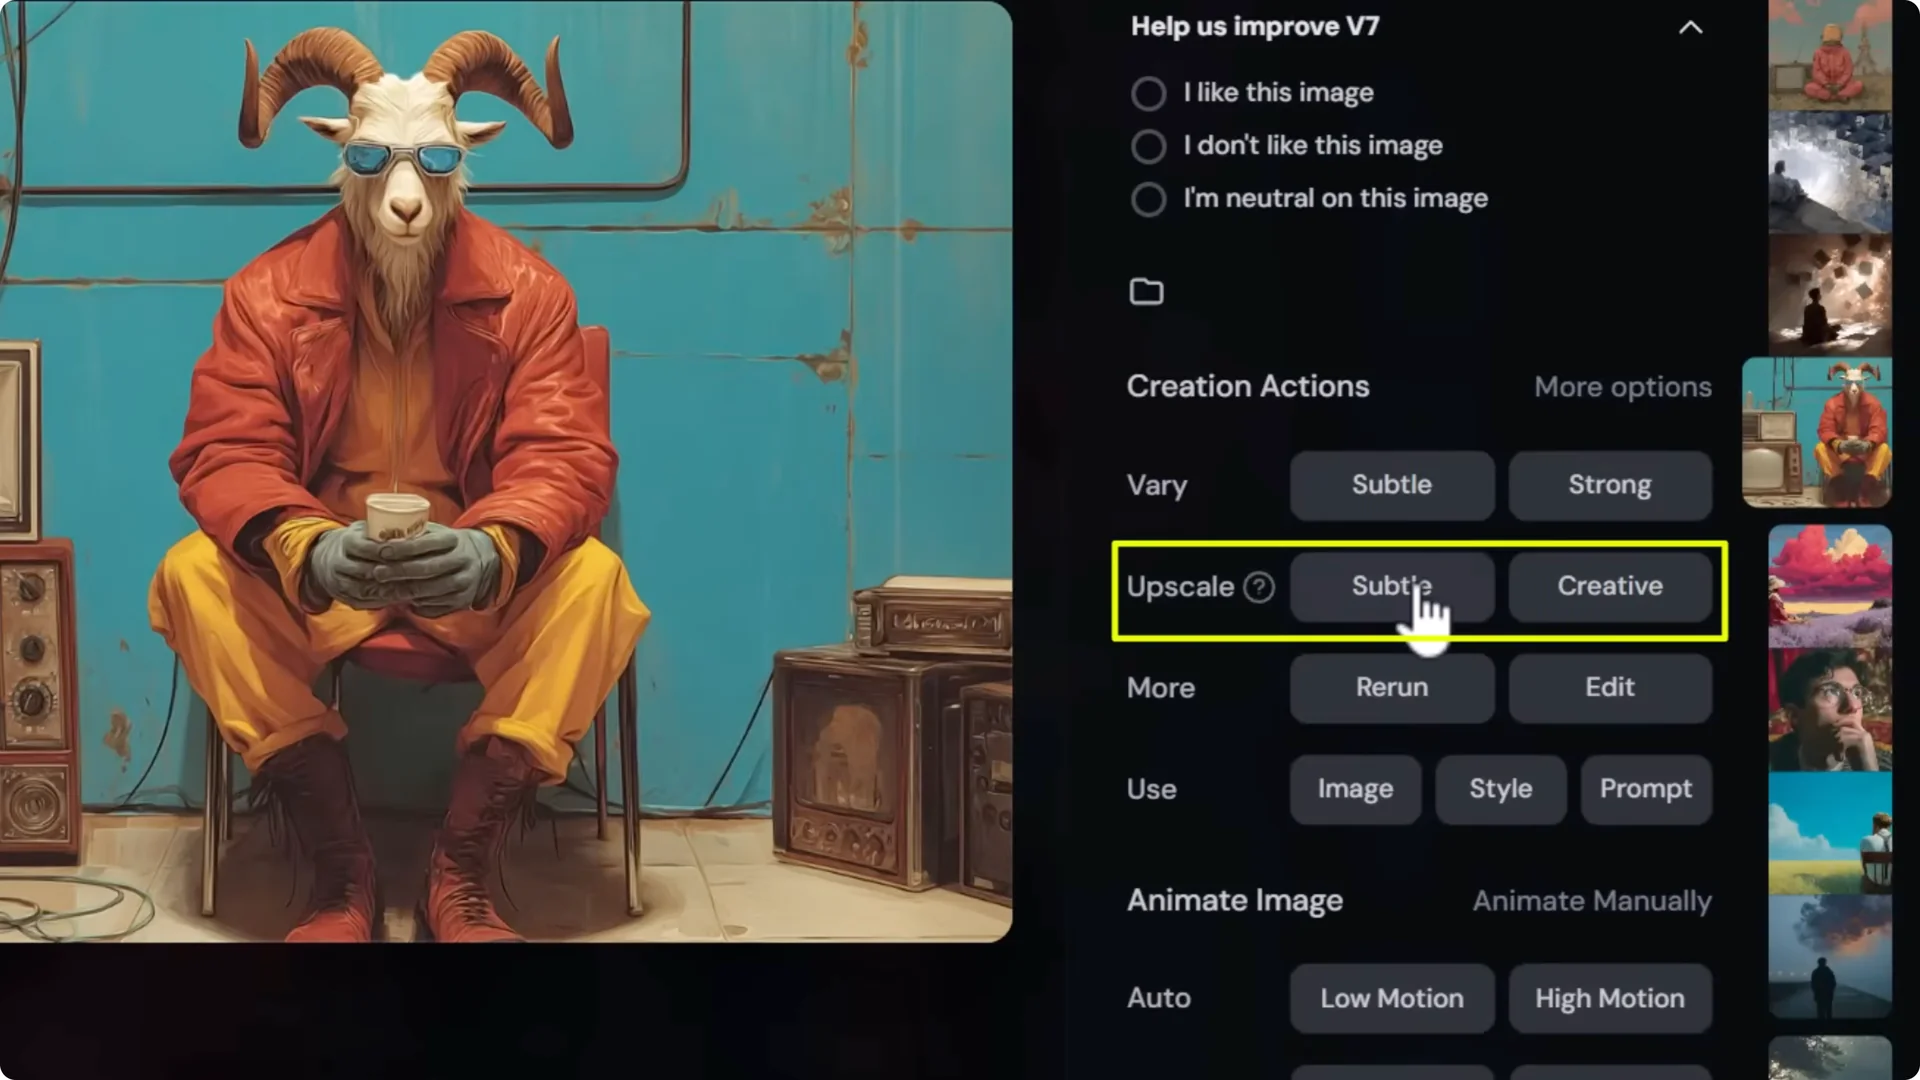
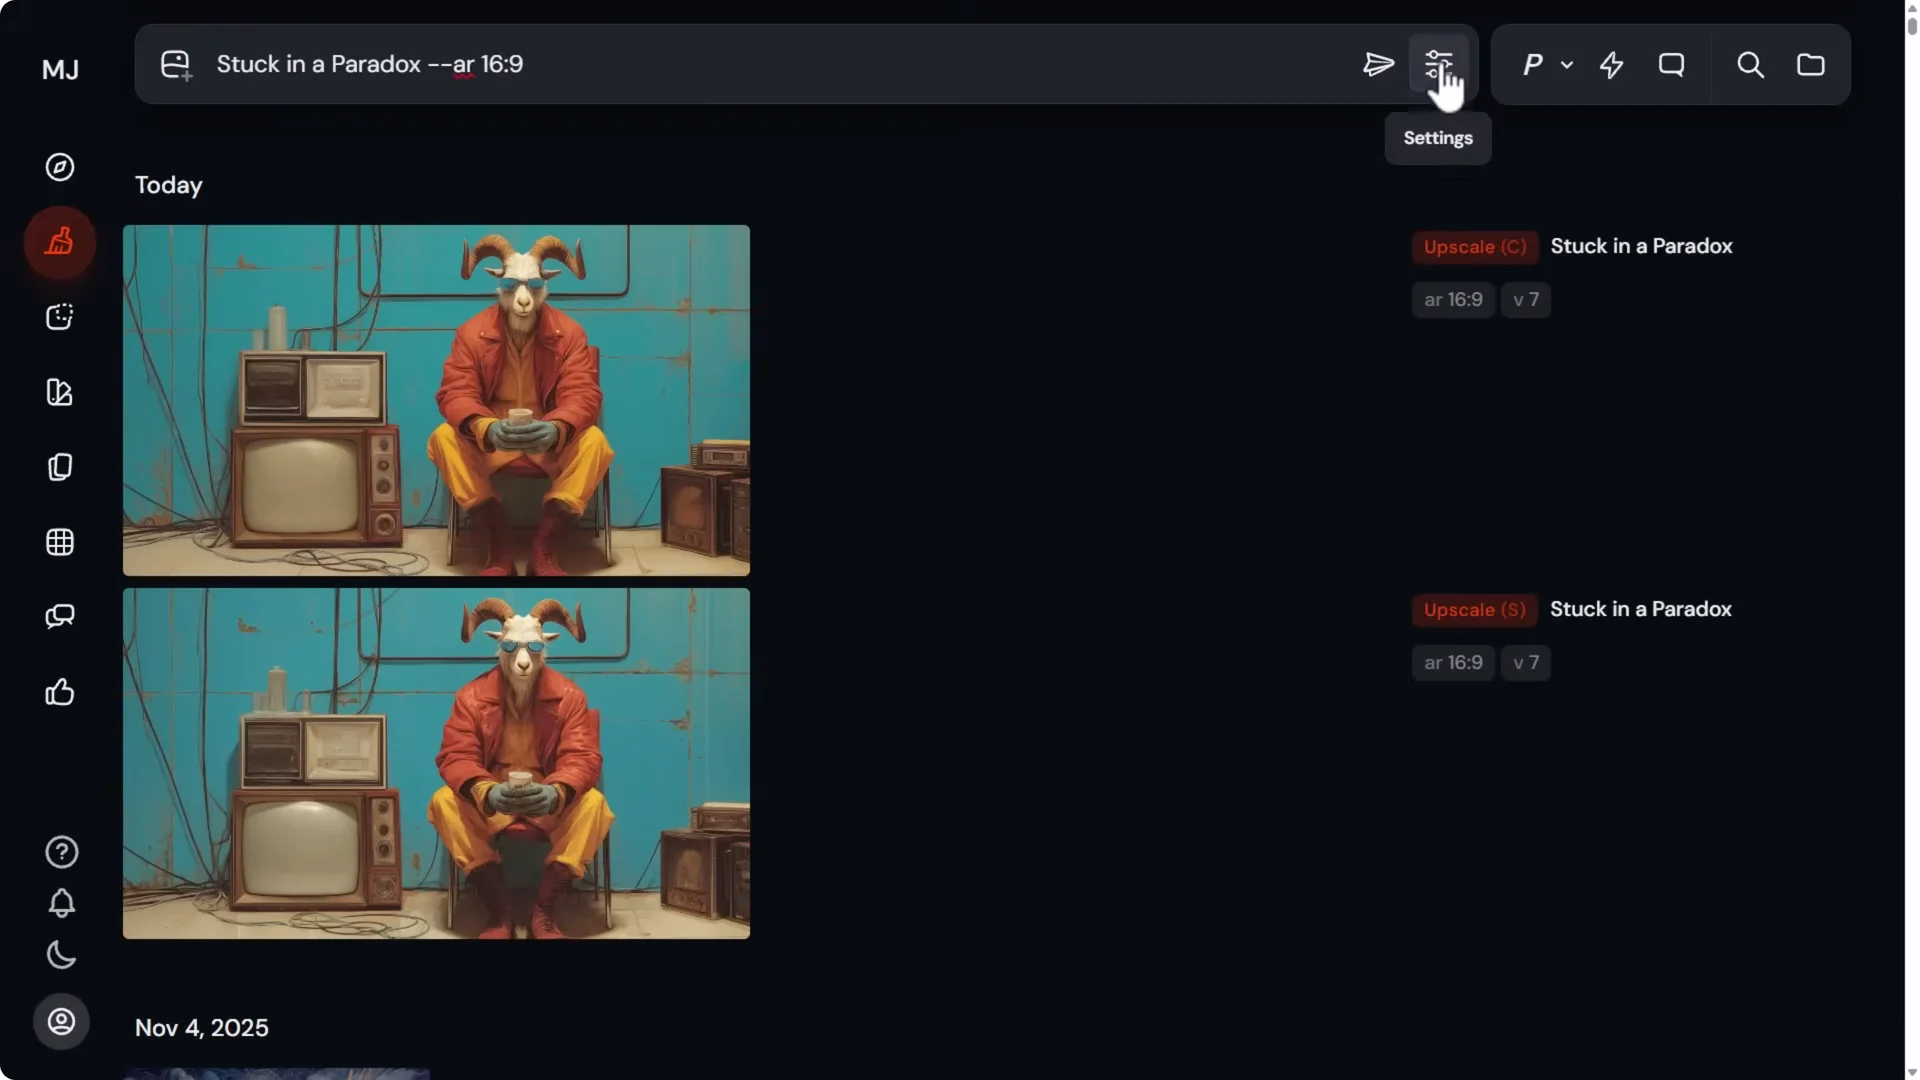
I often submit one of each if I have enough GPU time, then pick the best. In the gallery, the subtle upscale has a small S next to it and the creative has a C.
In my example, subtle produced better hair and more natural hands, while the creative fused some fingers together. Results vary by image, so it’s worth testing both.

Example output sizes
- 1:1 image upscales from 1024 x 1024 to 2048 x 2048 with a 2x upscale.
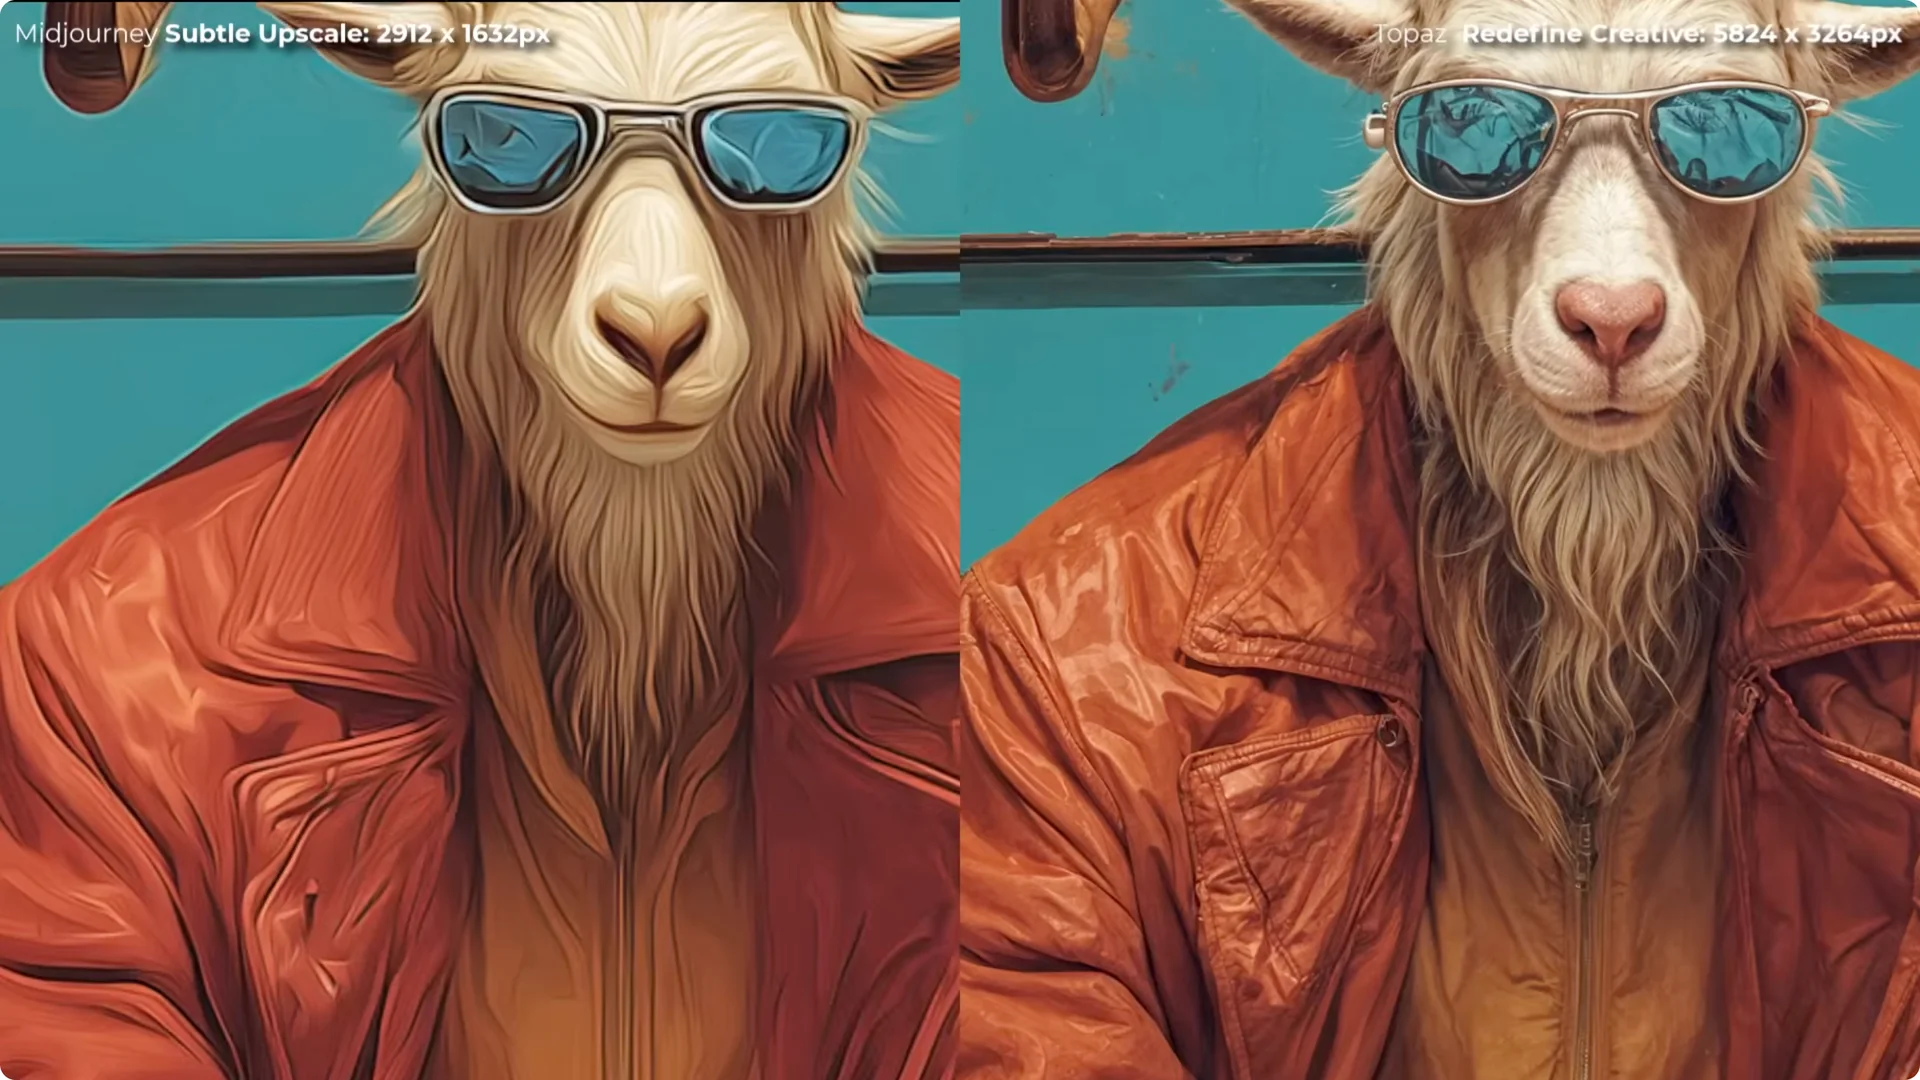
- 16:9 upscales from around 1456 x 816 to 2912 x 1632.
Step-by-step
1. Open your image in Midjourney and choose Upscale.
2. Run both Subtle and Creative if you can.
3. Compare the results and select the best one.
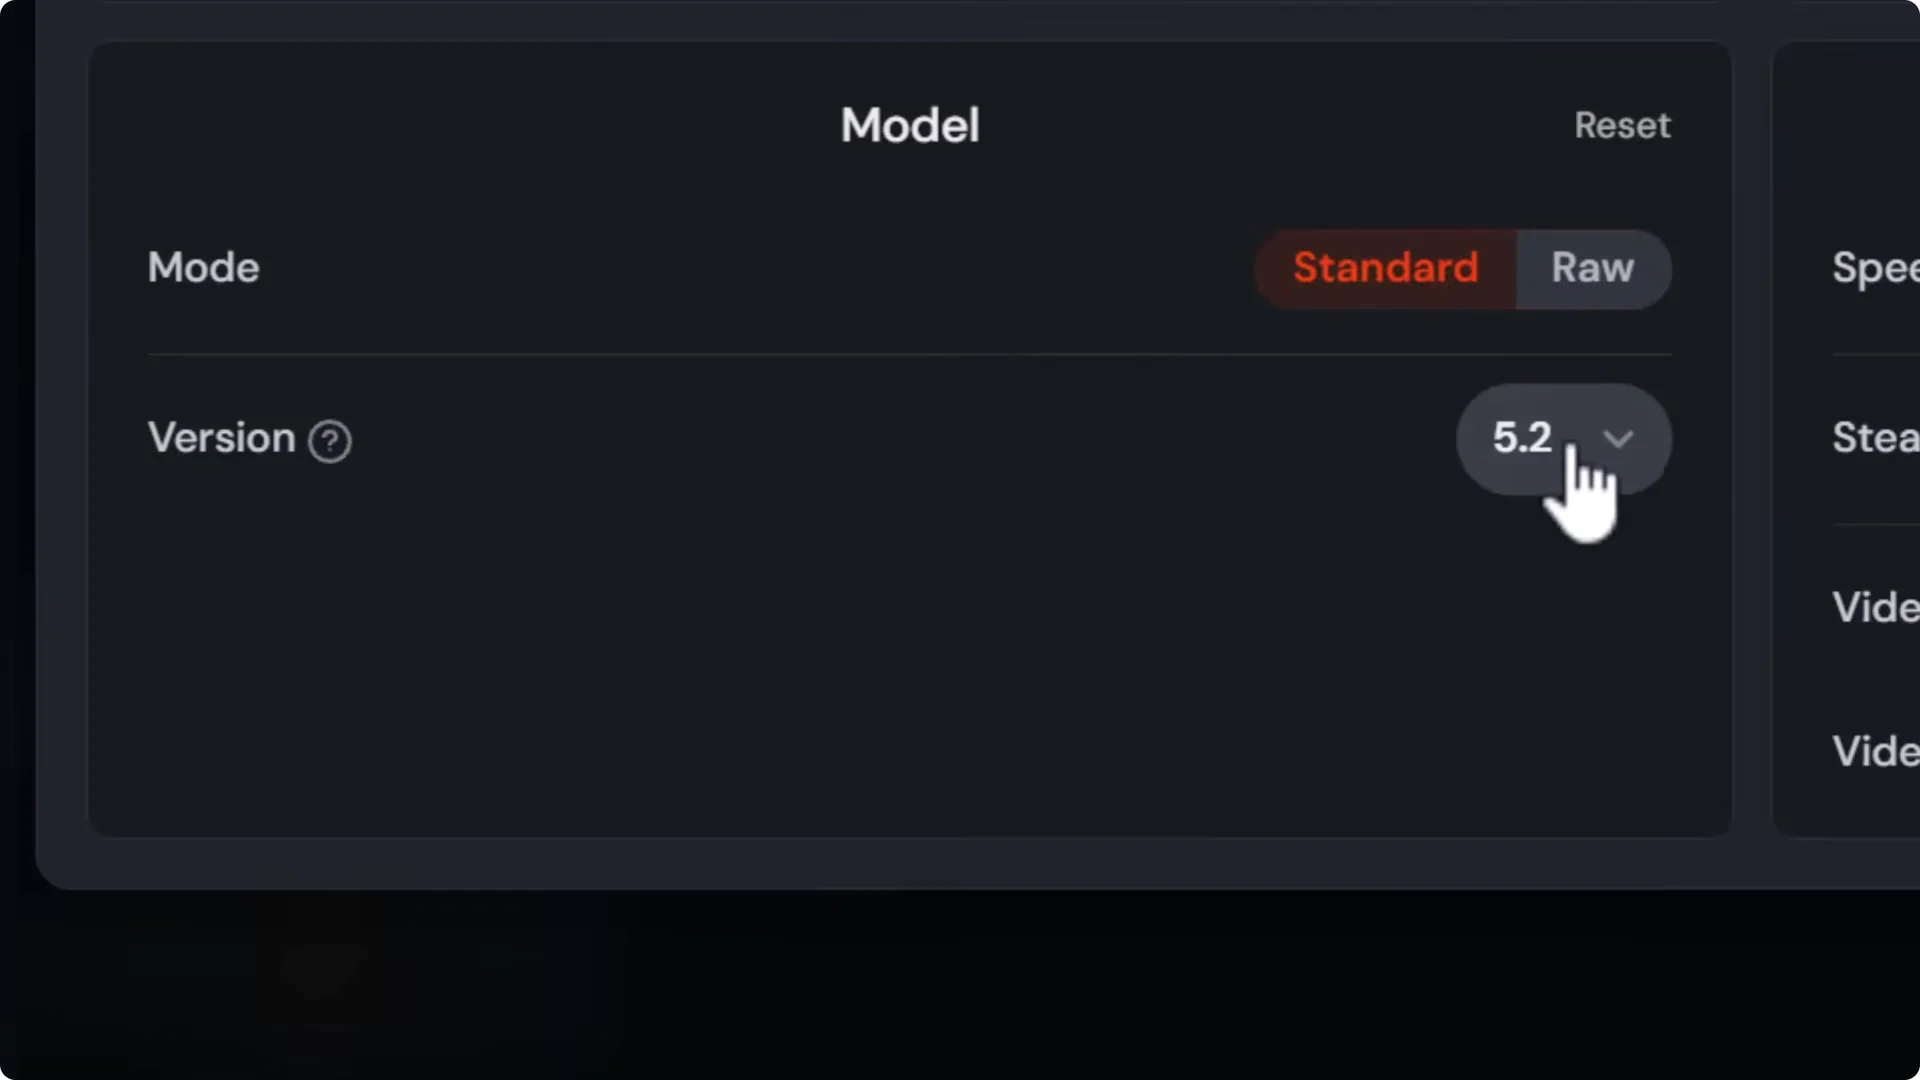
Midjourney Image Upscaling: Using the 4x Upscaler from V5.2
You can 4x within Midjourney using model version 5.2. You trade some image generation quality for access to that larger upscale.
How to use the V5.2 4x upscaler directly
1. Switch your model to V5.2 in Settings.
2. Generate or open an image.
3. Choose 4x Upscale.
Quality trade-off
- V5.2 is older and not great at finer details.
- A 4x result can be higher resolution but look worse than a V7 2x Subtle upscale.
How to 4x a V7 image using the V5.2 upscaler
1. Open your V7 image and click Edit to open the light editor.
2. Use a tiny brush to delete a small piece of the image.
3. Switch the model to V5.2.
4. Submit the edit so V5.2 fills the small gap.
5. Return to the image and use the V5.2 4x upscaler.
Example output sizes
- 1:1 goes up to 4096 x 4096 at 4x.
- 16:9 goes up to about 5824 x 3264.
In my tests, the V7 2x Subtle upscale looked better than the V5.2 4x.
You gain resolution but lose quality, so I don’t always recommend this method.
Midjourney Image Upscaling: Generative Upscalers
To go beyond Midjourney’s limits, use a generative upscaler.
I stick with Topaz Gigapixel because it offers both generative and basic AI upscalers, runs locally without cloud fees, and delivers strong results.
My approach
- Start from the Midjourney native upscale, not the original. I want to capture the best detail Midjourney can produce before going further.
How I run a generative upscale in Gigapixel
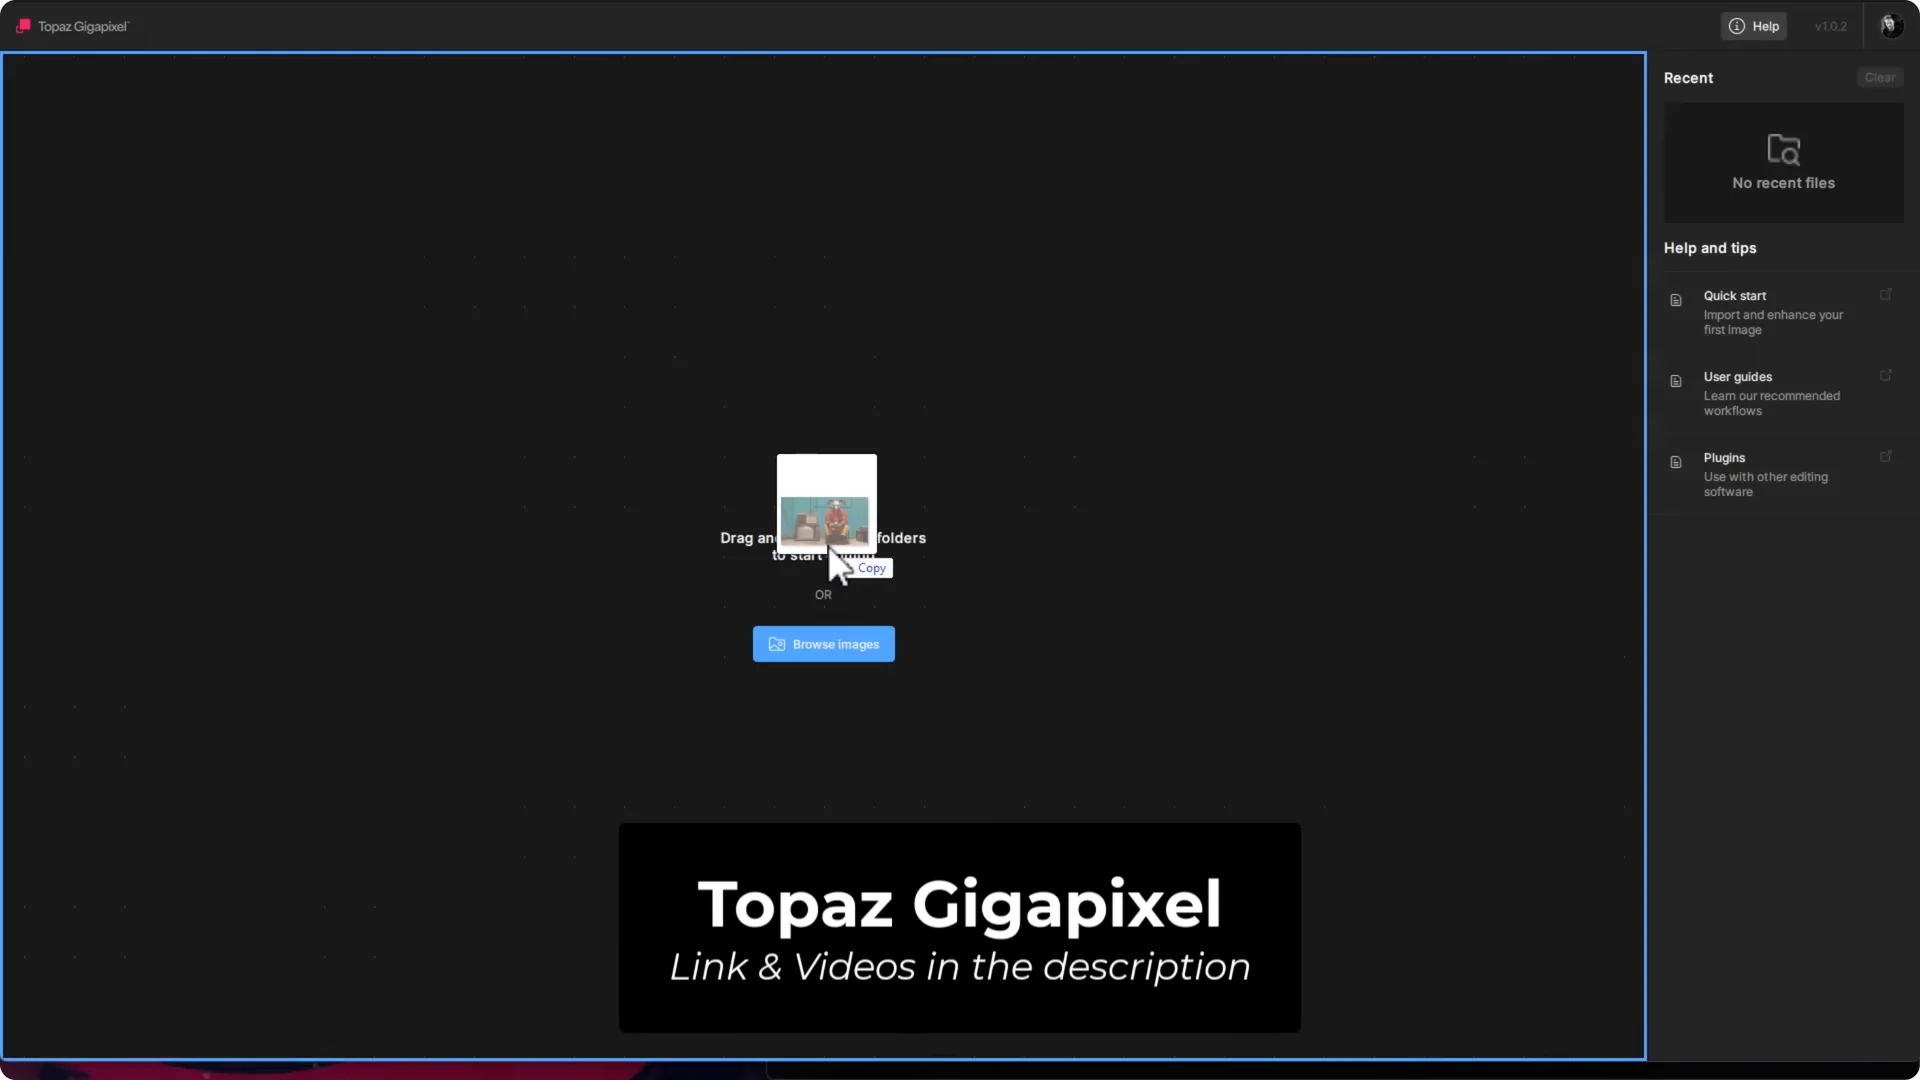
1. Drag your image into Gigapixel.
2. Choose a generative model. I use Redefine – Creative to add detail.
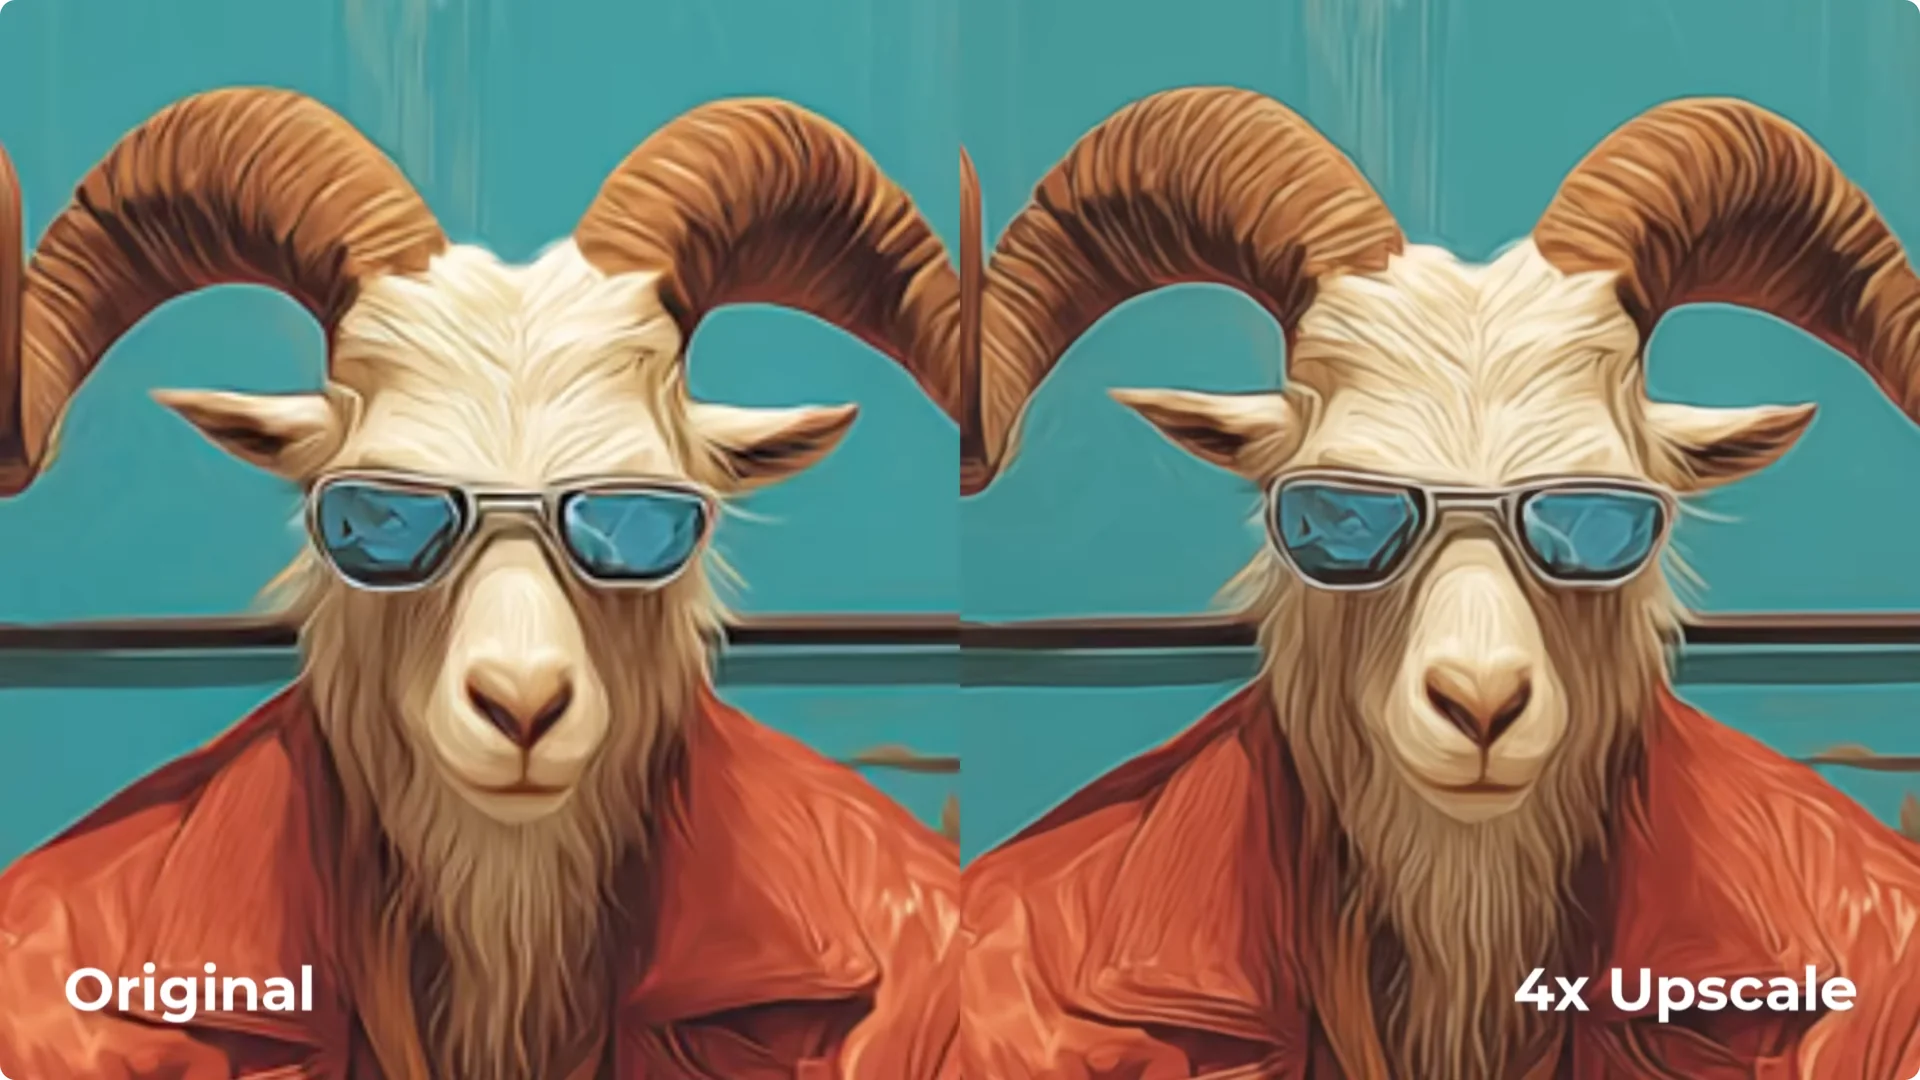
3. Optionally add an image description. Example: A ram wearing sunglasses, an orange jacket, and clothes. Sits next to an old television.
4. Set Creativity to taste. I previewed Low, Medium, High, and Max.
5. Compare previews and export the best.
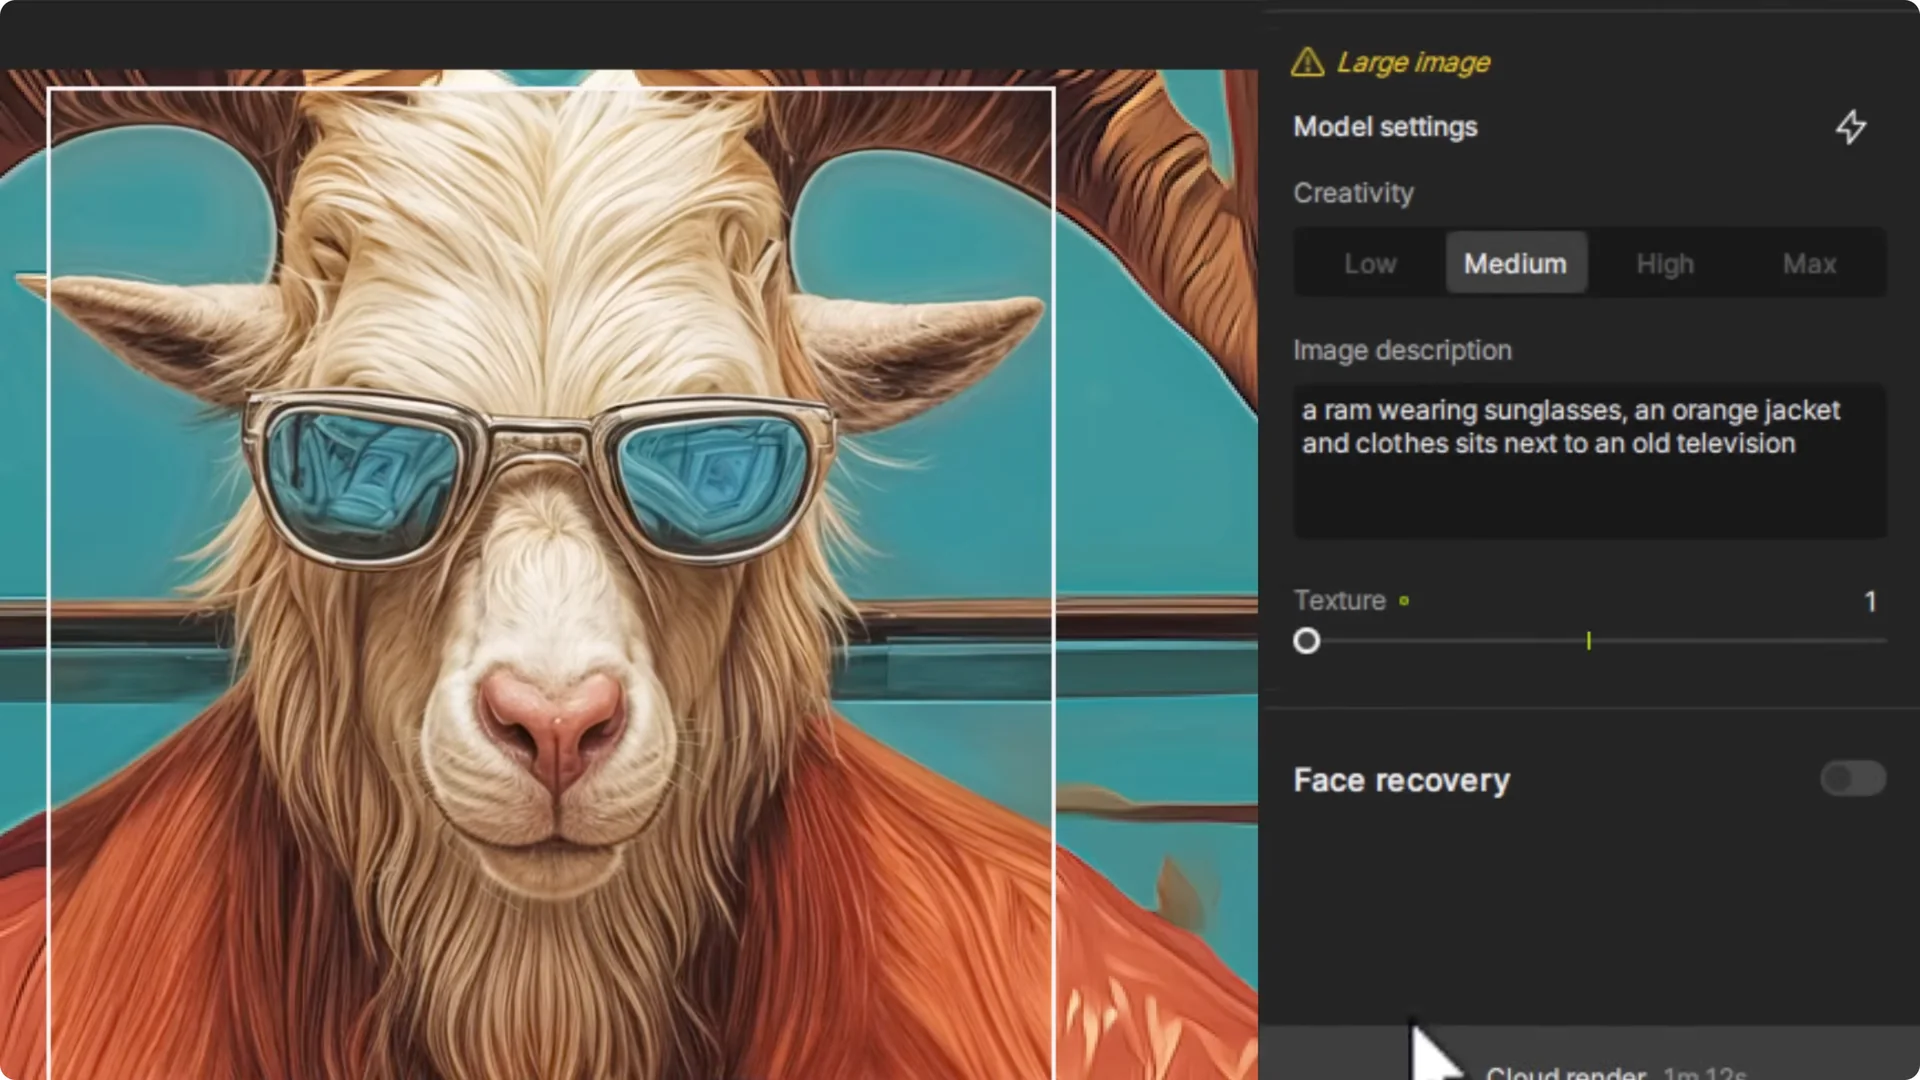
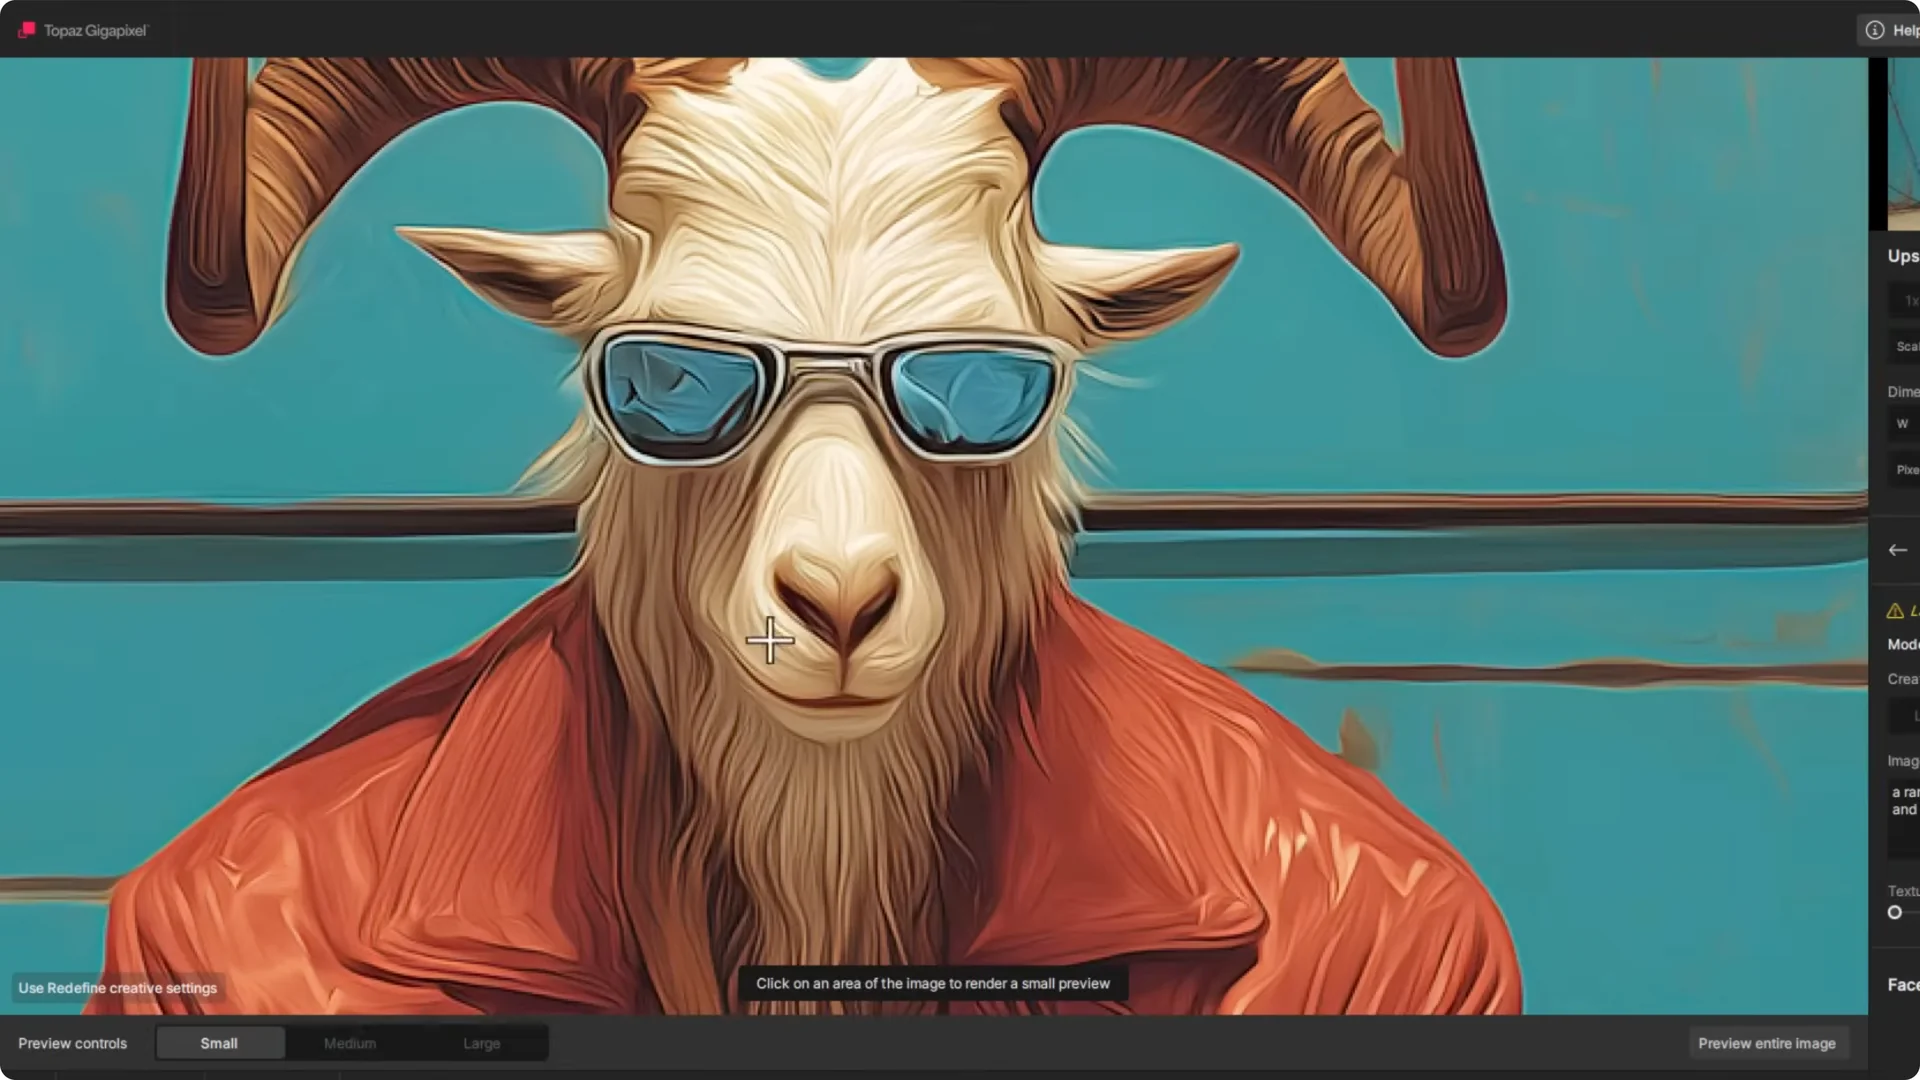
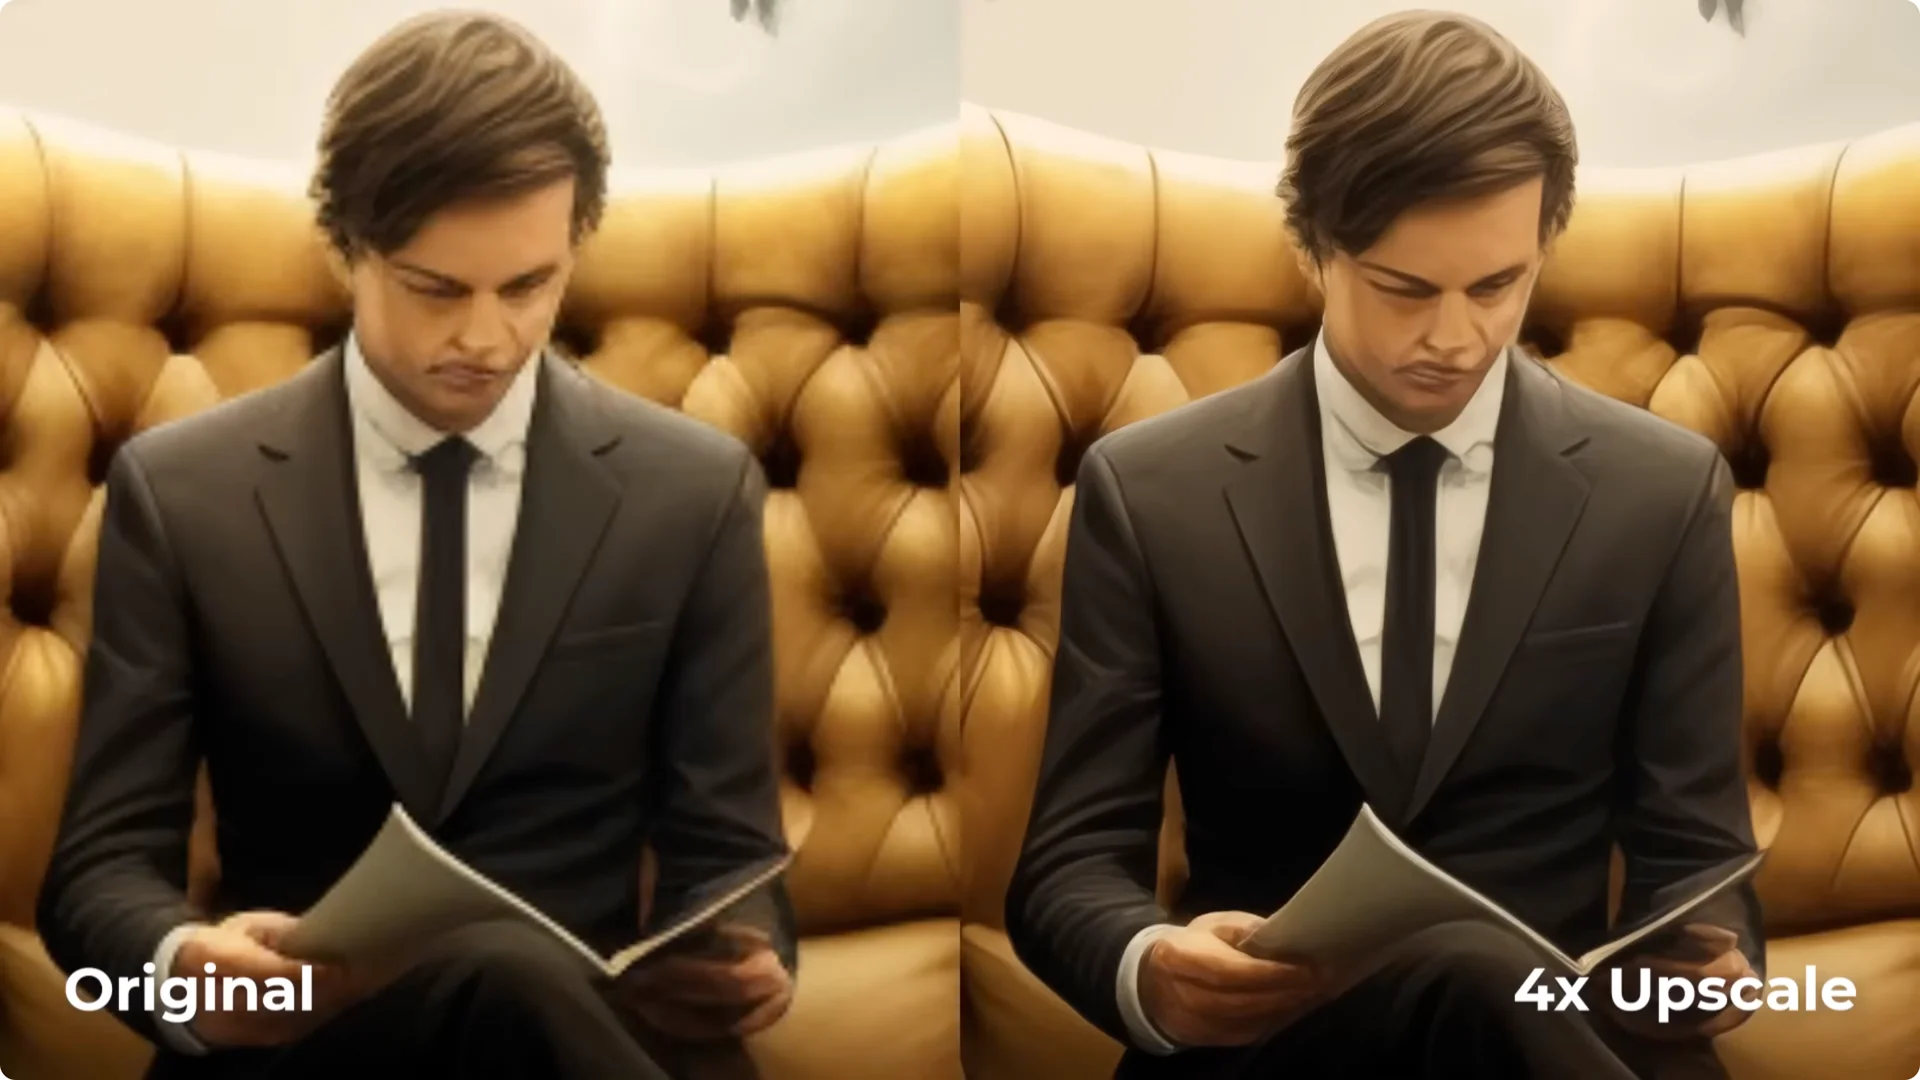
In my example, Max produced a jacket that looked richly detailed and the television and background held up well.
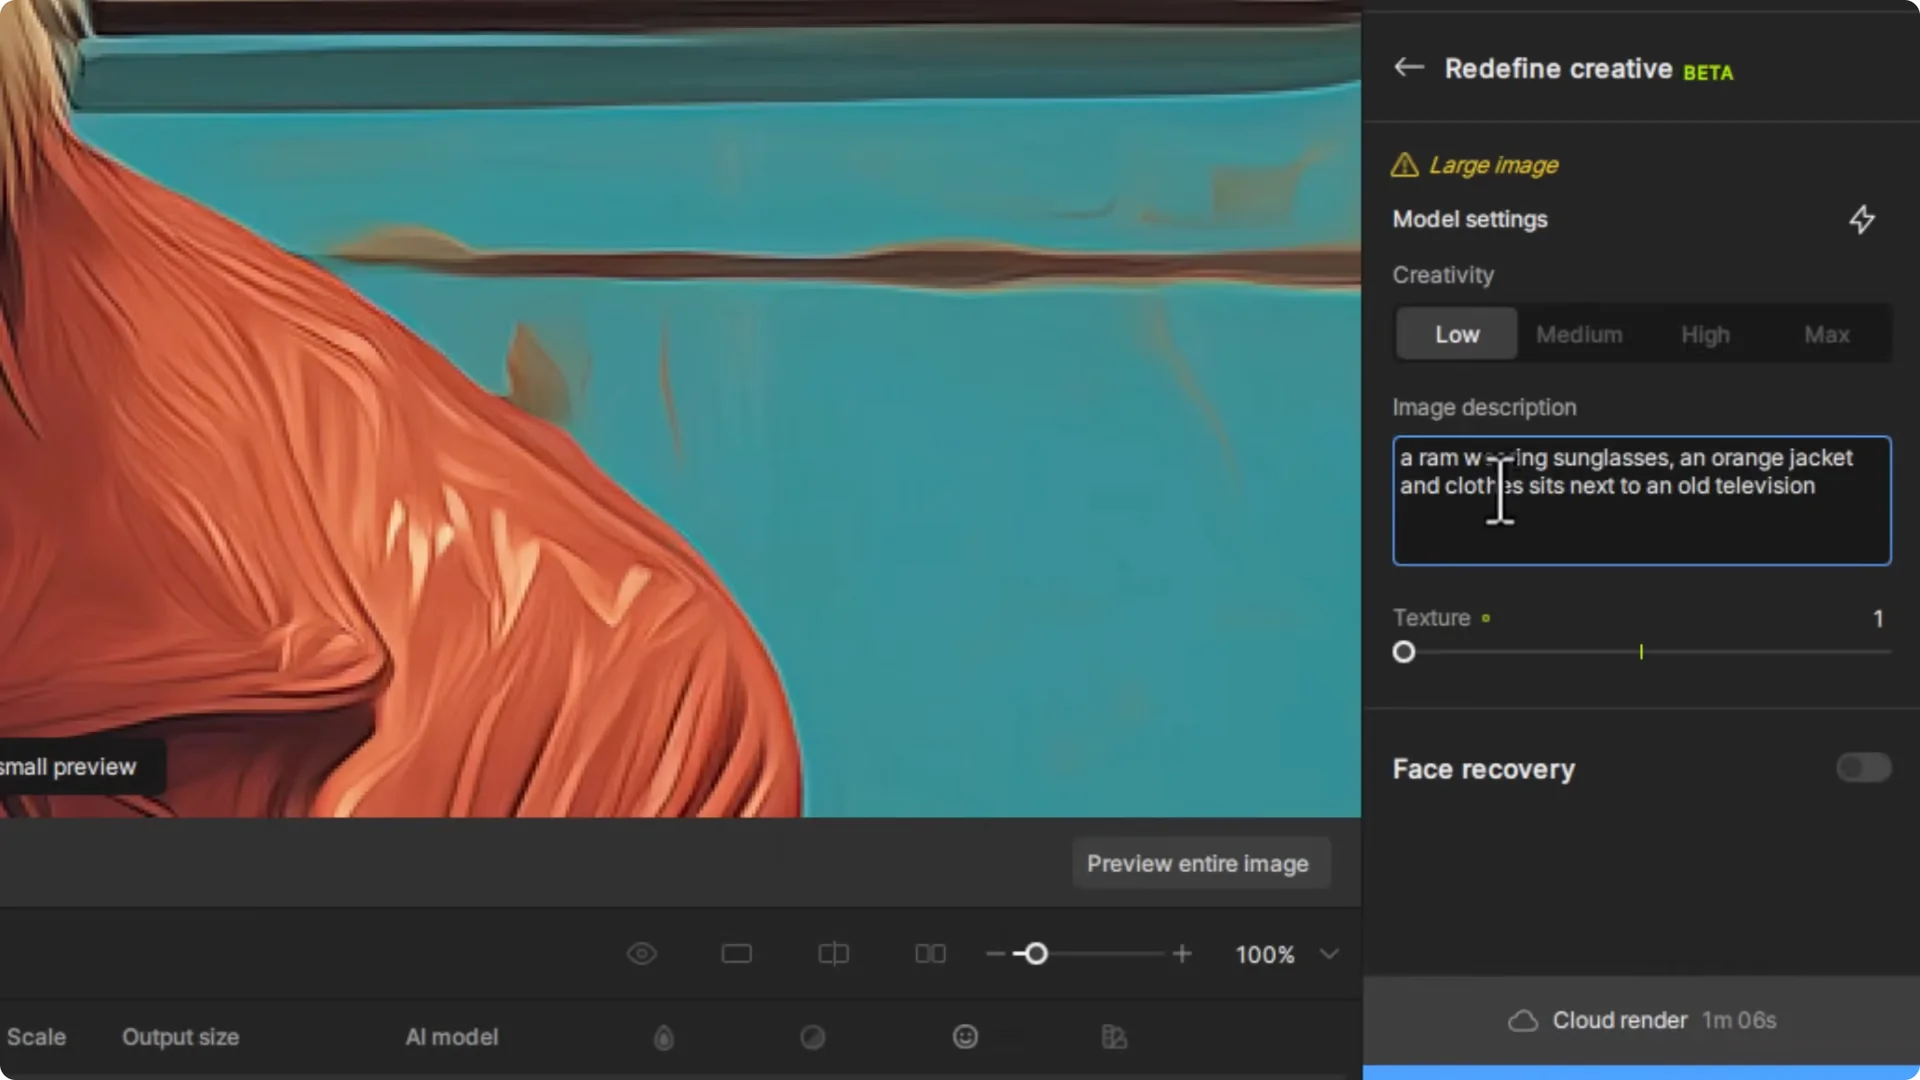
If that’s too much, drop to Medium or High for a more conservative approach.
Midjourney Image Upscaling: Basic AI Upscalers
Basic AI upscalers enlarge the image while trying to keep it almost exactly the same. They add sharpness and texture without changing the layout. This is great for:
- Pushing resolution further after a generative upscale.
- Subjects that need to remain consistent, such as faces.
I prefer to stop the generative upscale around 4000-5000 pixels on the long edge and then switch to a basic AI upscale to squeeze out more resolution naturally and quickly.
How I run a basic upscale in Gigapixel
1. Drag in your image. This works especially well after the generative step.
2. Pick a model:
– High Fidelity for images that are already high resolution.
– Low Res for smaller, noisier inputs.
– Art & CG for stylized images.
3. Set a scale factor. I don’t recommend any dimension over 20,000 pixels.
4. Use the preview box to check key areas at high zoom and adjust sharpening and noise reduction.
5. Export locally. There’s no cloud option for basic upscalers in Gigapixel.
Example settings and output
- I tested a 5.5x that would push the image past 32,000 pixels, so I dropped to 3x.
- That produced around 17,000 x 9,000 pixels using High Fidelity.
- At 1:1 zoom on a 1080p display, the small viewport shows extreme detail while the full image remains crisp.
Midjourney Image Upscaling: Face Enhancement in Gigapixel
Sometimes the generative upscale adds too much detail to faces, or the basic upscale doesn’t quite land. Face enhancement in Gigapixel can soften and repair issues.
How I use it
1. Toggle Face Recovery.
2. Adjust Strength to taste. Too soft? Bring it down.
3. Switch between Realistic or Creative modes for different looks.
On a Santa image, face recovery softened scratchy details and produced a more natural result.
Midjourney Image Upscaling: My Full Process
Here’s the flow that consistently gets me the best results:
1. Native Midjourney upscale first. It’s the cleanest way to retain the original intent and structure.
2. Generative upscale next. I typically stop around 4000-5000 pixels in width or height. Going much higher can overcook details and take too long without real visual benefit.
3. Basic AI upscale last. Use a profile like High Fidelity in Gigapixel and scale up to just under 20,000 x 20,000 pixels if needed.
Midjourney Image Upscaling: Preparing Images for Commercial Print
Think about the purpose of the upscale. If you’re printing, DPI becomes critical.
DPI basics
- 300 dpi for small prints like letter or A4 held in hand.
- 200 dpi can work for posters viewed from a distance.
- I generally aim for 300 dpi, but I recommend 350 dpi for commercial work.
Bleed and margin
- For edge-to-edge printing, commercial printers output slightly larger and trim with a guillotine.
- Keep roughly 5% of the image edge free of important content.
- Aim for 350 dpi so you have extra pixels, giving the printer room to trim without cutting off key details.
Ignore the image file’s reported dpi value
- People see 96 dpi or similar in file properties and worry. Ignore it.
- What matters is total pixel dimensions divided by your intended print size in inches to hit your target dpi.
Simple math for DPI and pixels
To print at a target dpi:
- Required pixels = print inches x dpi.
Example for letter size at 350 dpi:
- Width: 8.5 in x 350 = 2,975 pixels
- Height: 11 in x 350 = 3,850 pixels
- Final target: 2,975 x 3,850 pixels
Setting a target size in Topaz Gigapixel
You can skip the math and set a print target inside Gigapixel:
1. Switch from Pixels to Inches or Centimeters.
2. Enter your print size and set Pixel Density to 350 ppi.
3. Gigapixel computes the output pixel dimensions automatically.
Example
- Enter 15 x 15 inches at 350 ppi.
- Output becomes 5,250 x 5,250 pixels.
Midjourney Image Upscaling: Compositing Multiple Upscales
Sometimes one upscale nails the jacket, another nails the face, and another nails the background. If you have a photo editor like Photoshop:
1. Export multiple upscales using different profiles.
2. Stack them as layers.
3. Mask out the parts you don’t want to combine the best pieces.
If the result matters enough to spend extra time, this is how you get the perfect final.
Final Thoughts
- Start with a Midjourney native upscale for the cleanest base.
- Use a generative upscaler to add detail up to around 4000-5000 pixels.
- Finish with a basic AI upscaler like High Fidelity in Gigapixel and push resolution as needed, ideally under 20,000 pixels on the longest side.
- For print, aim for 350 dpi and keep a 5% bleed-safe margin around the edges.
- Use face enhancement and layer masking to fix tricky areas and mix the best parts of multiple upscales.
This process takes Midjourney images far beyond the default output and produces files ready for large on-screen viewing or commercial print.