A lot of people struggle with the Midjourney editor. It can be hard to grasp how it works or why certain edits fail. I’m sharing practical tips that will improve your chances of getting the edits you want from Midjourney’s image editor.
The light editor and the full external image editor are not the same. The full external image editor has more features, more control, and it’s faster because you don’t have to bounce in and out of the interface for every edit.
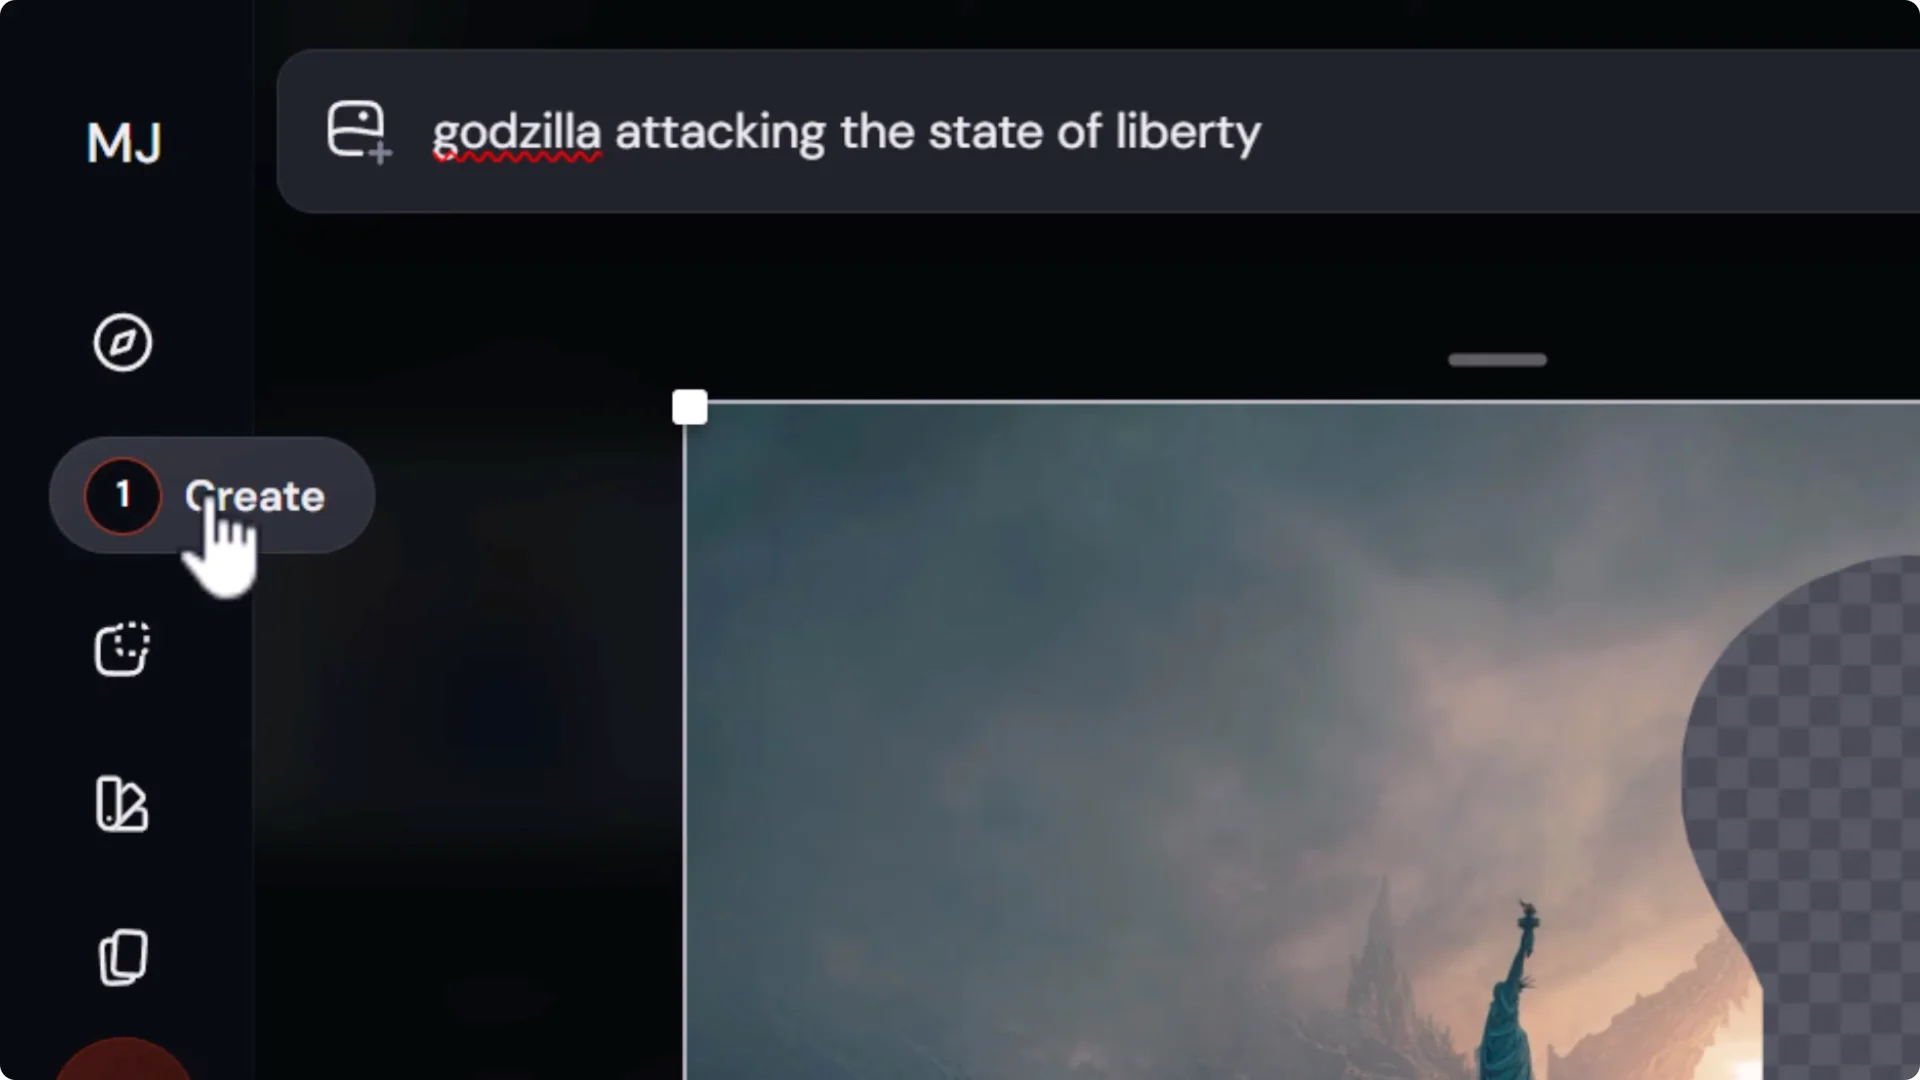
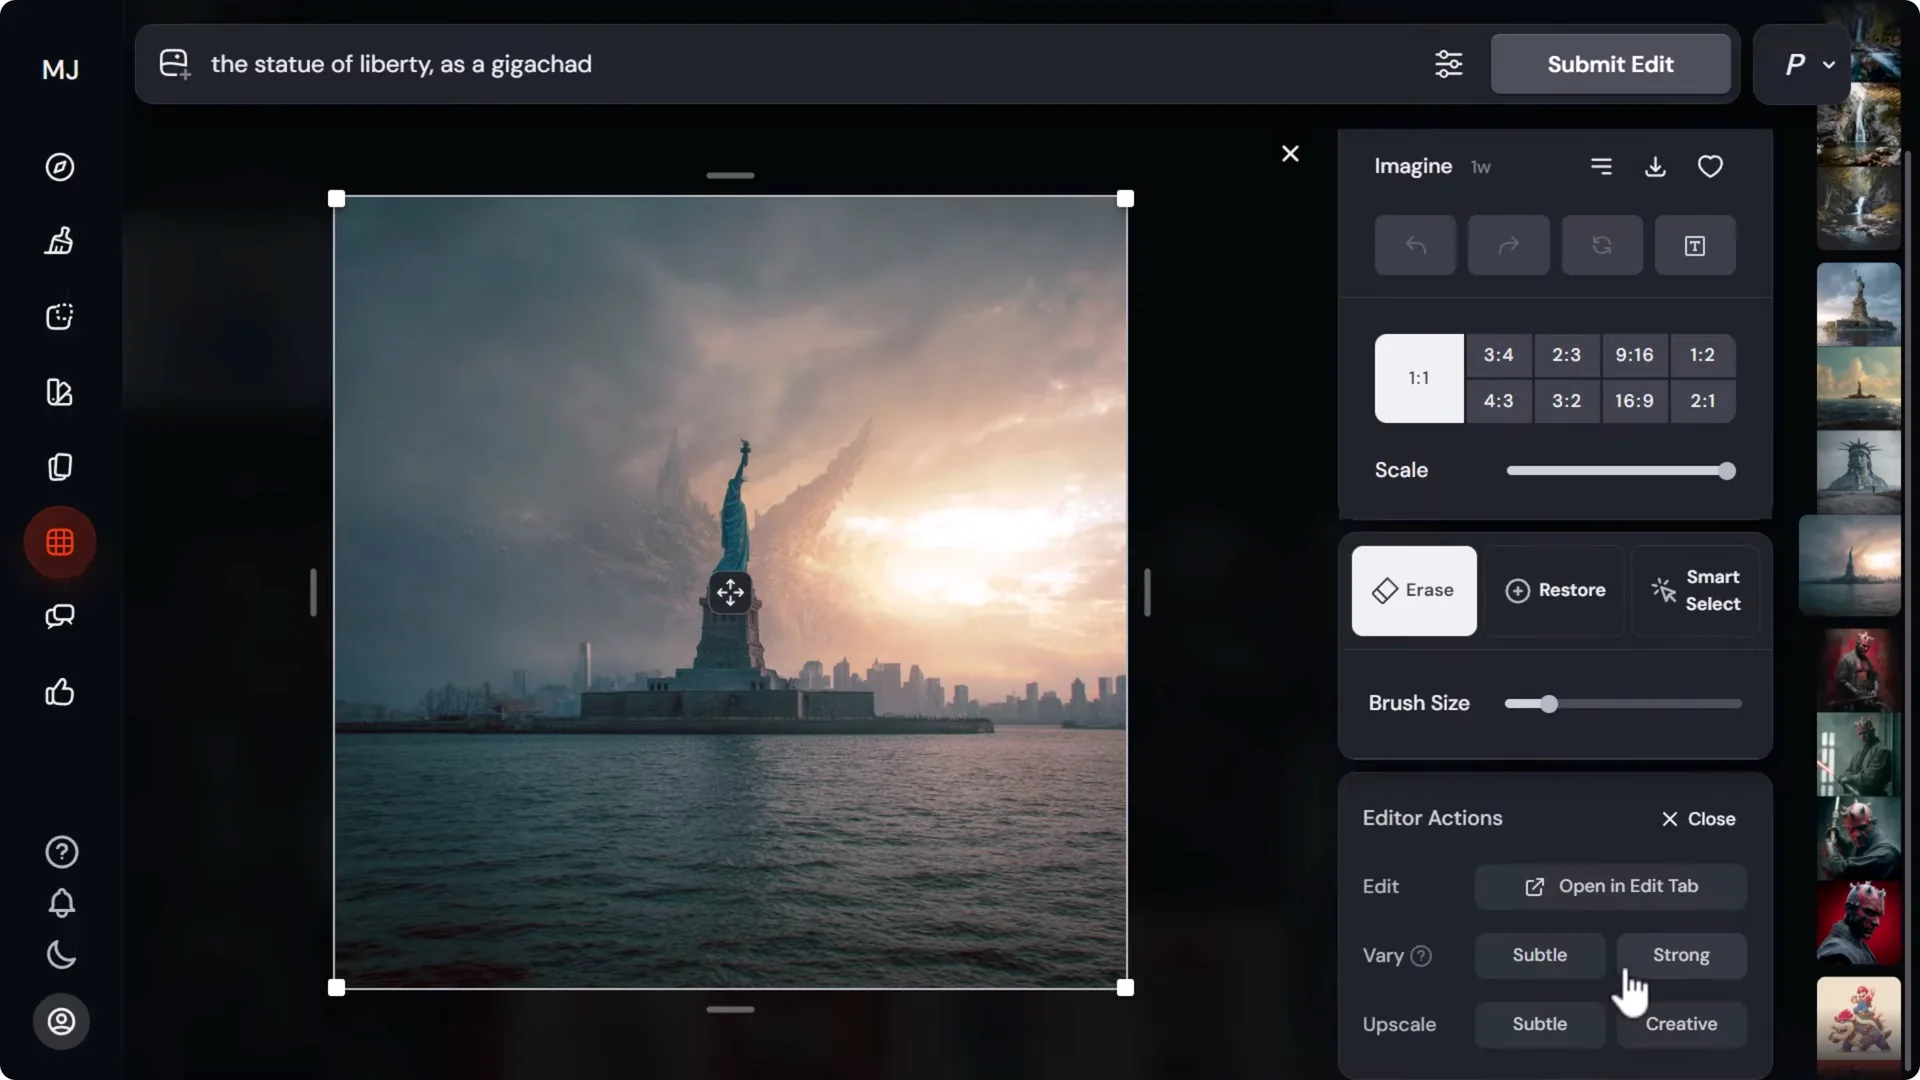
The light editor has basic settings, no layers, and no retexture option.
When you erase and submit in the light editor, it pushes your edit to the create tab, takes you out of the editor, and you wait there for results.
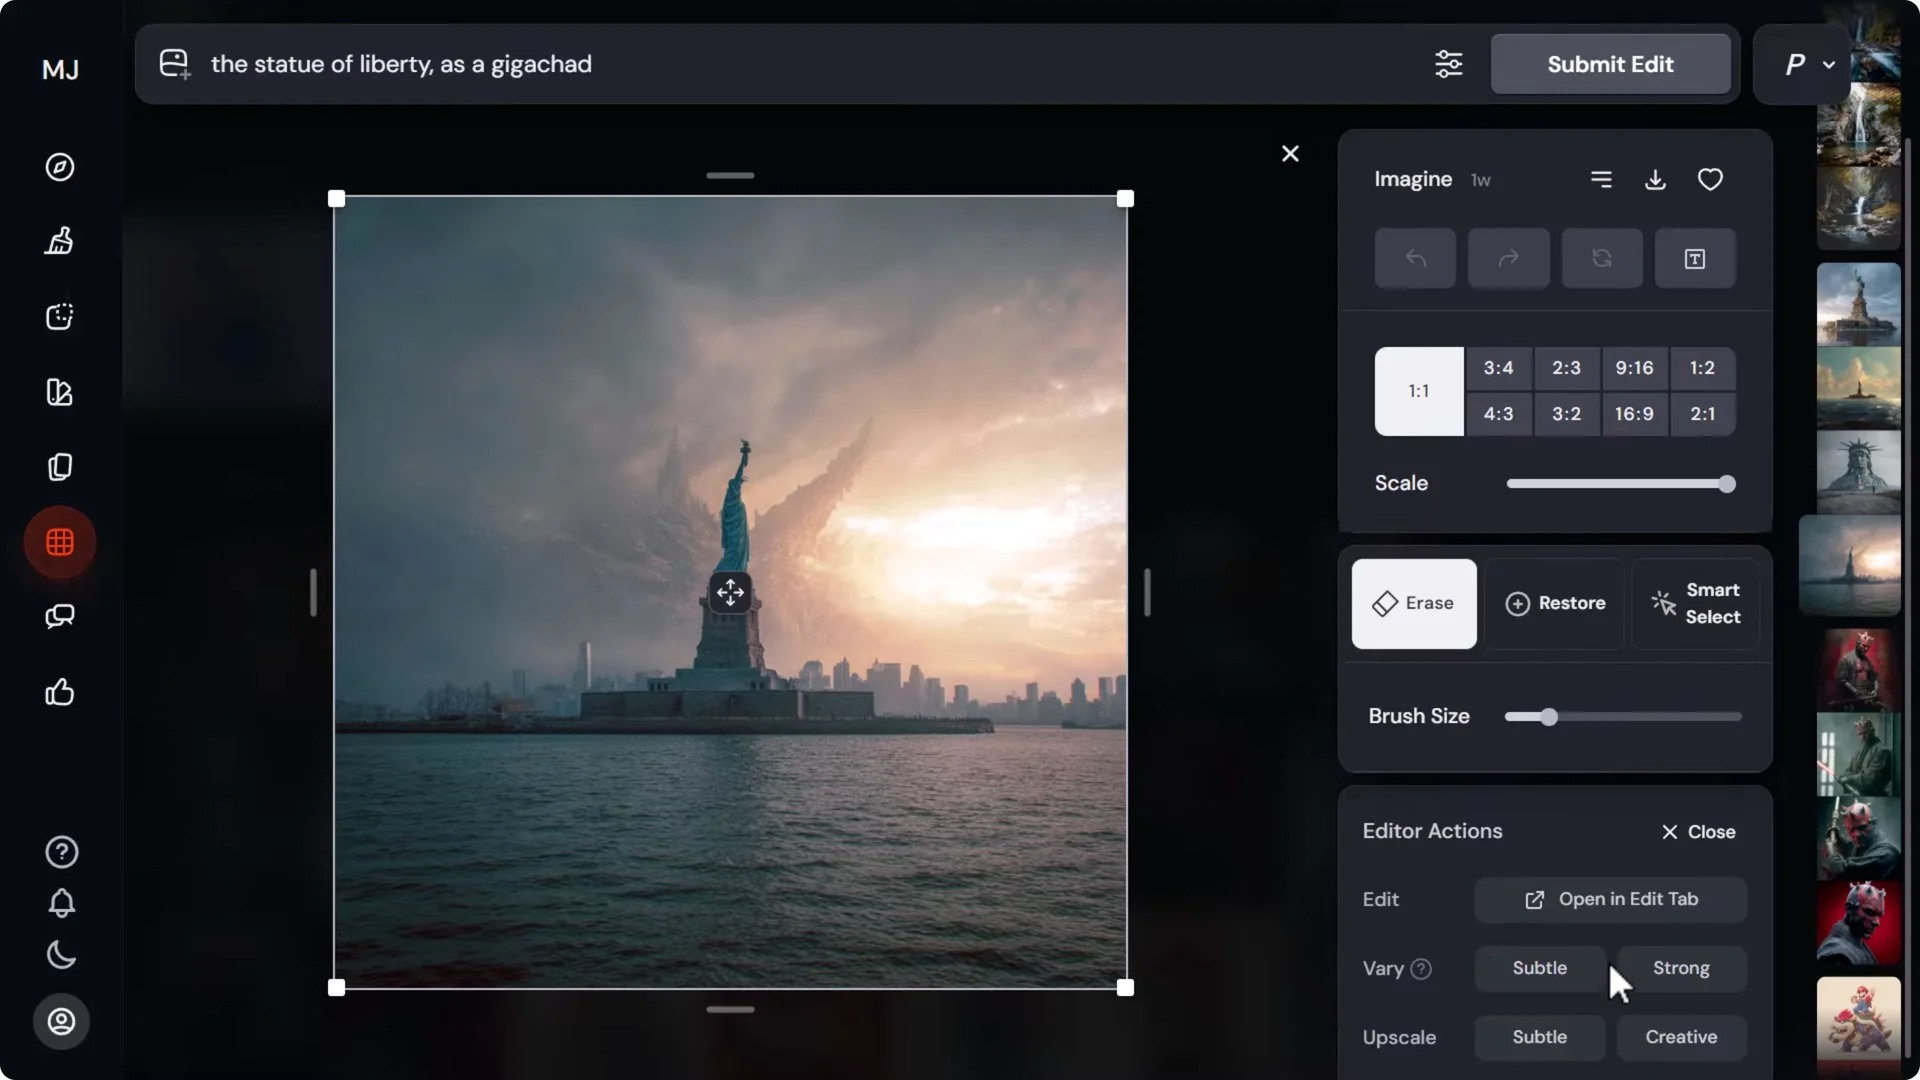
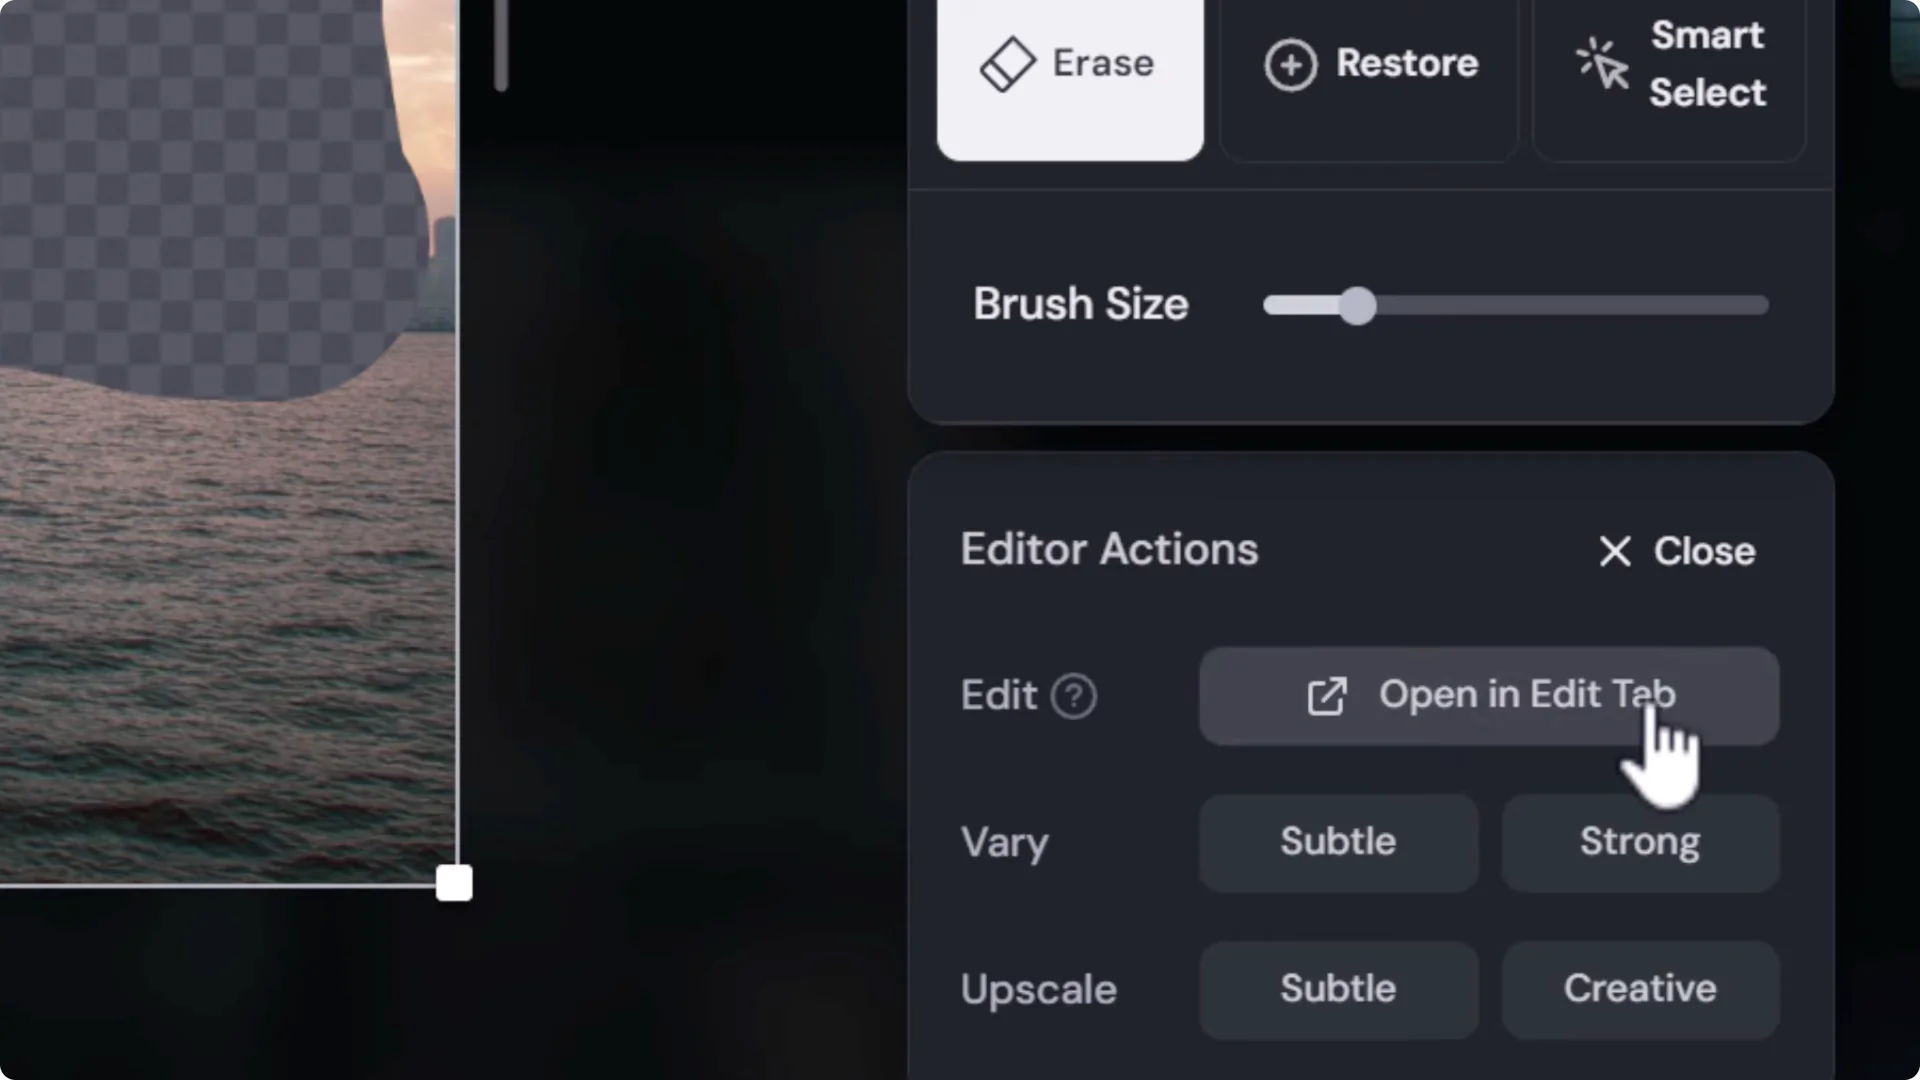
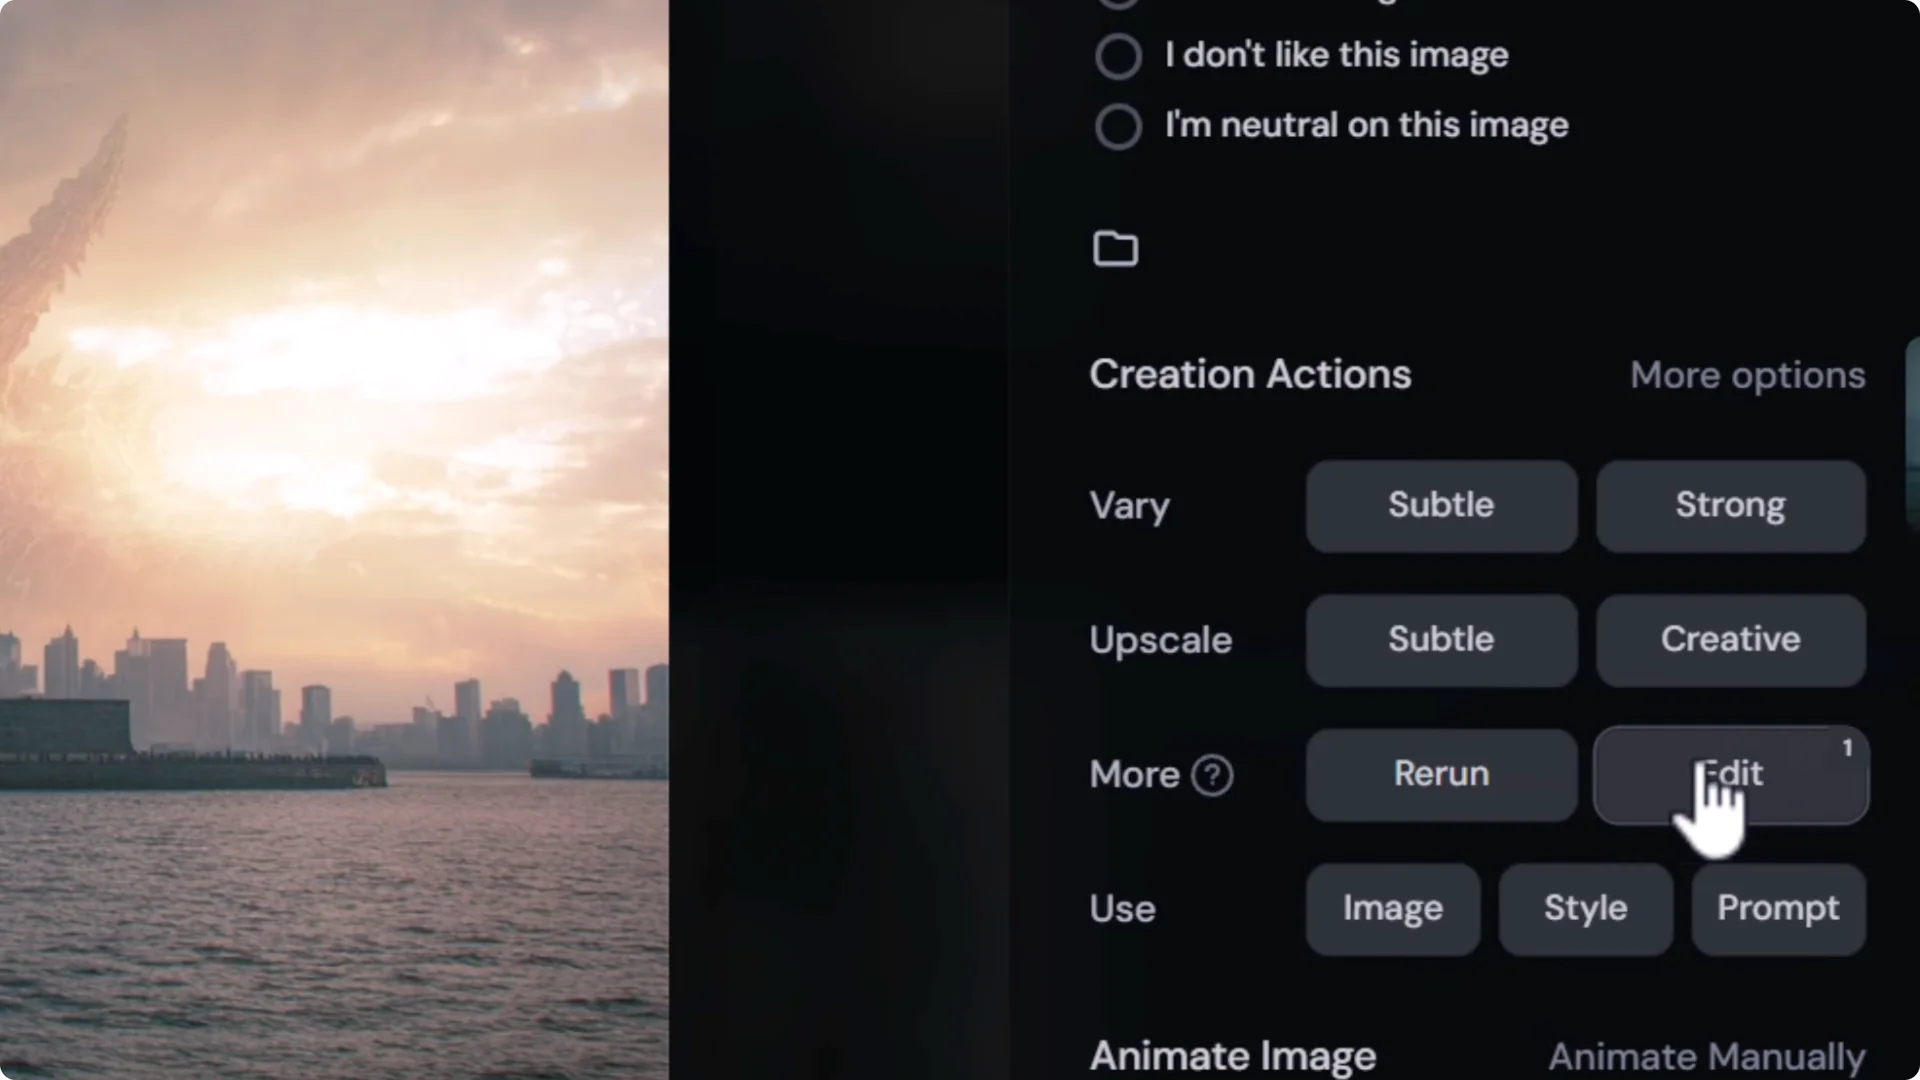
To work in the full editor, open your image, choose Edit, then under Editor actions pick Open in edit tab.
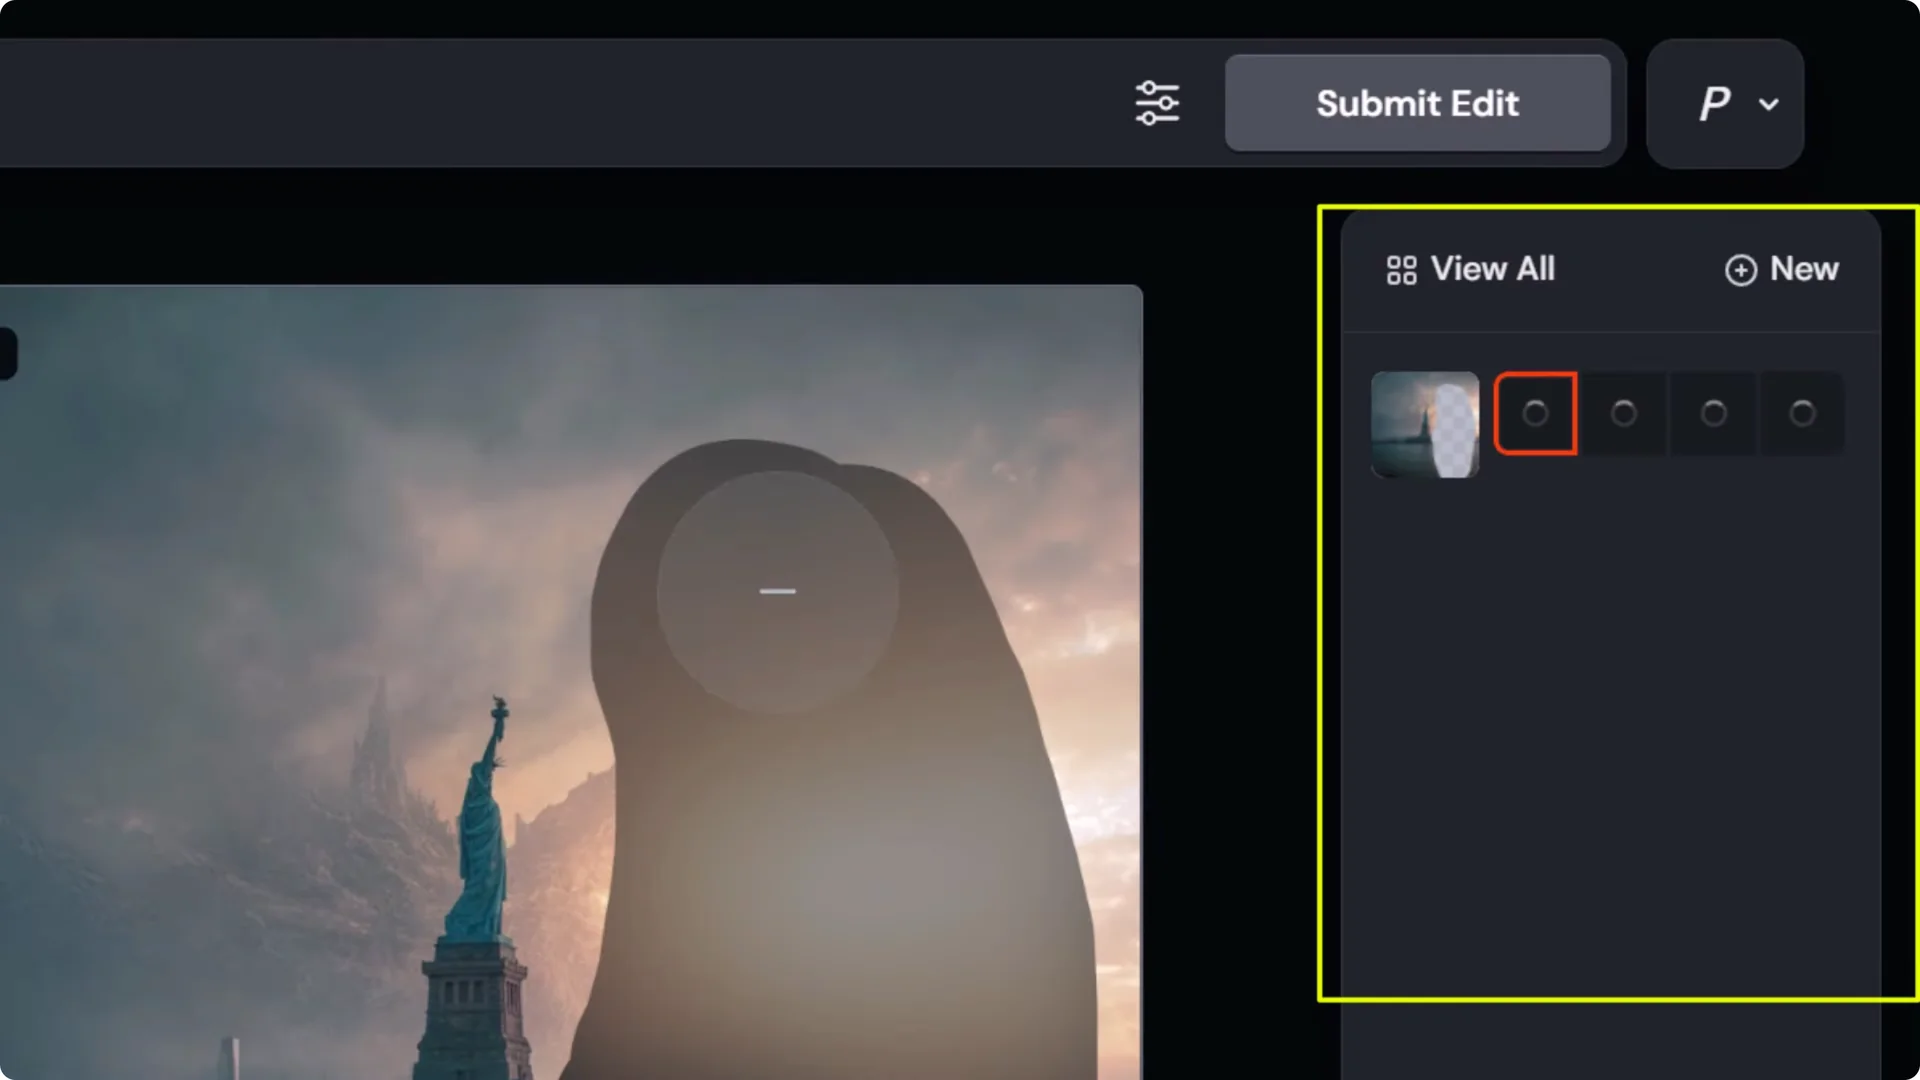
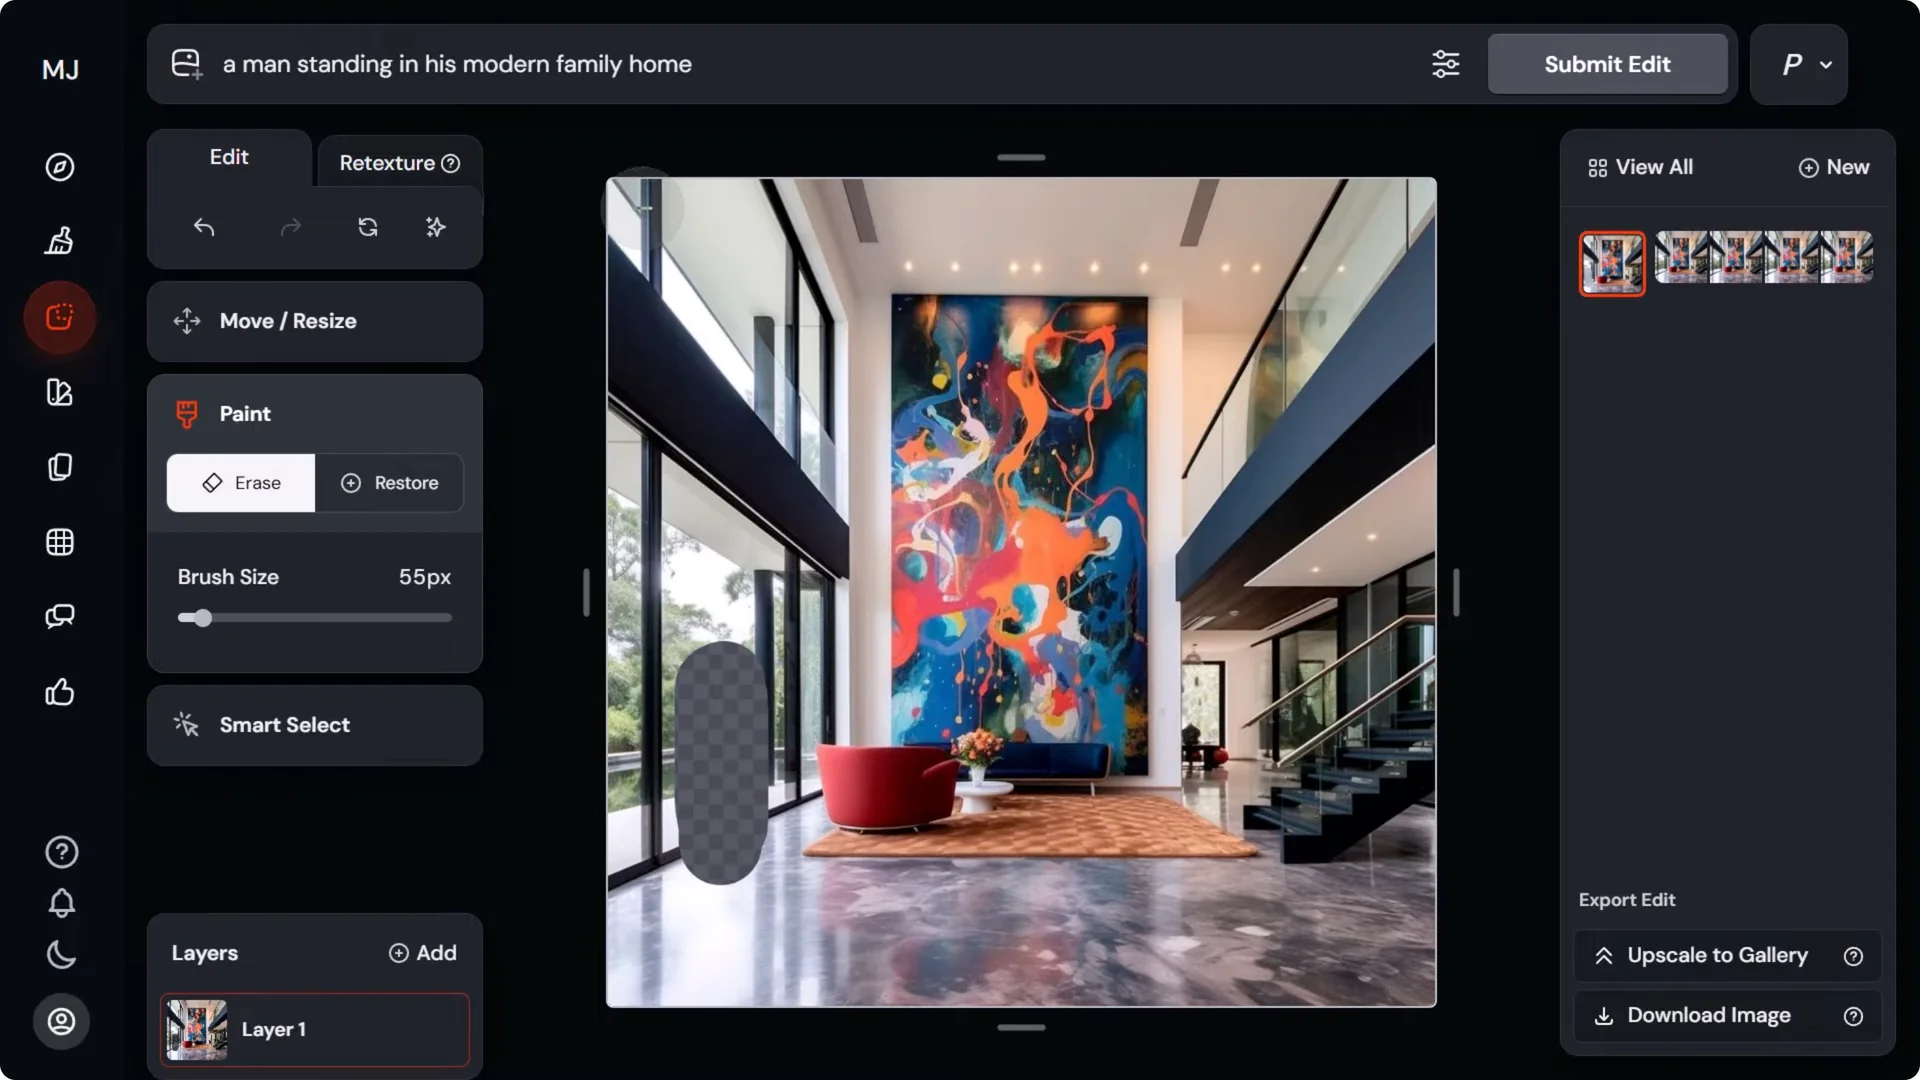
You’ll see layers, retexture, and a queue on the right where edits render without leaving the editor.
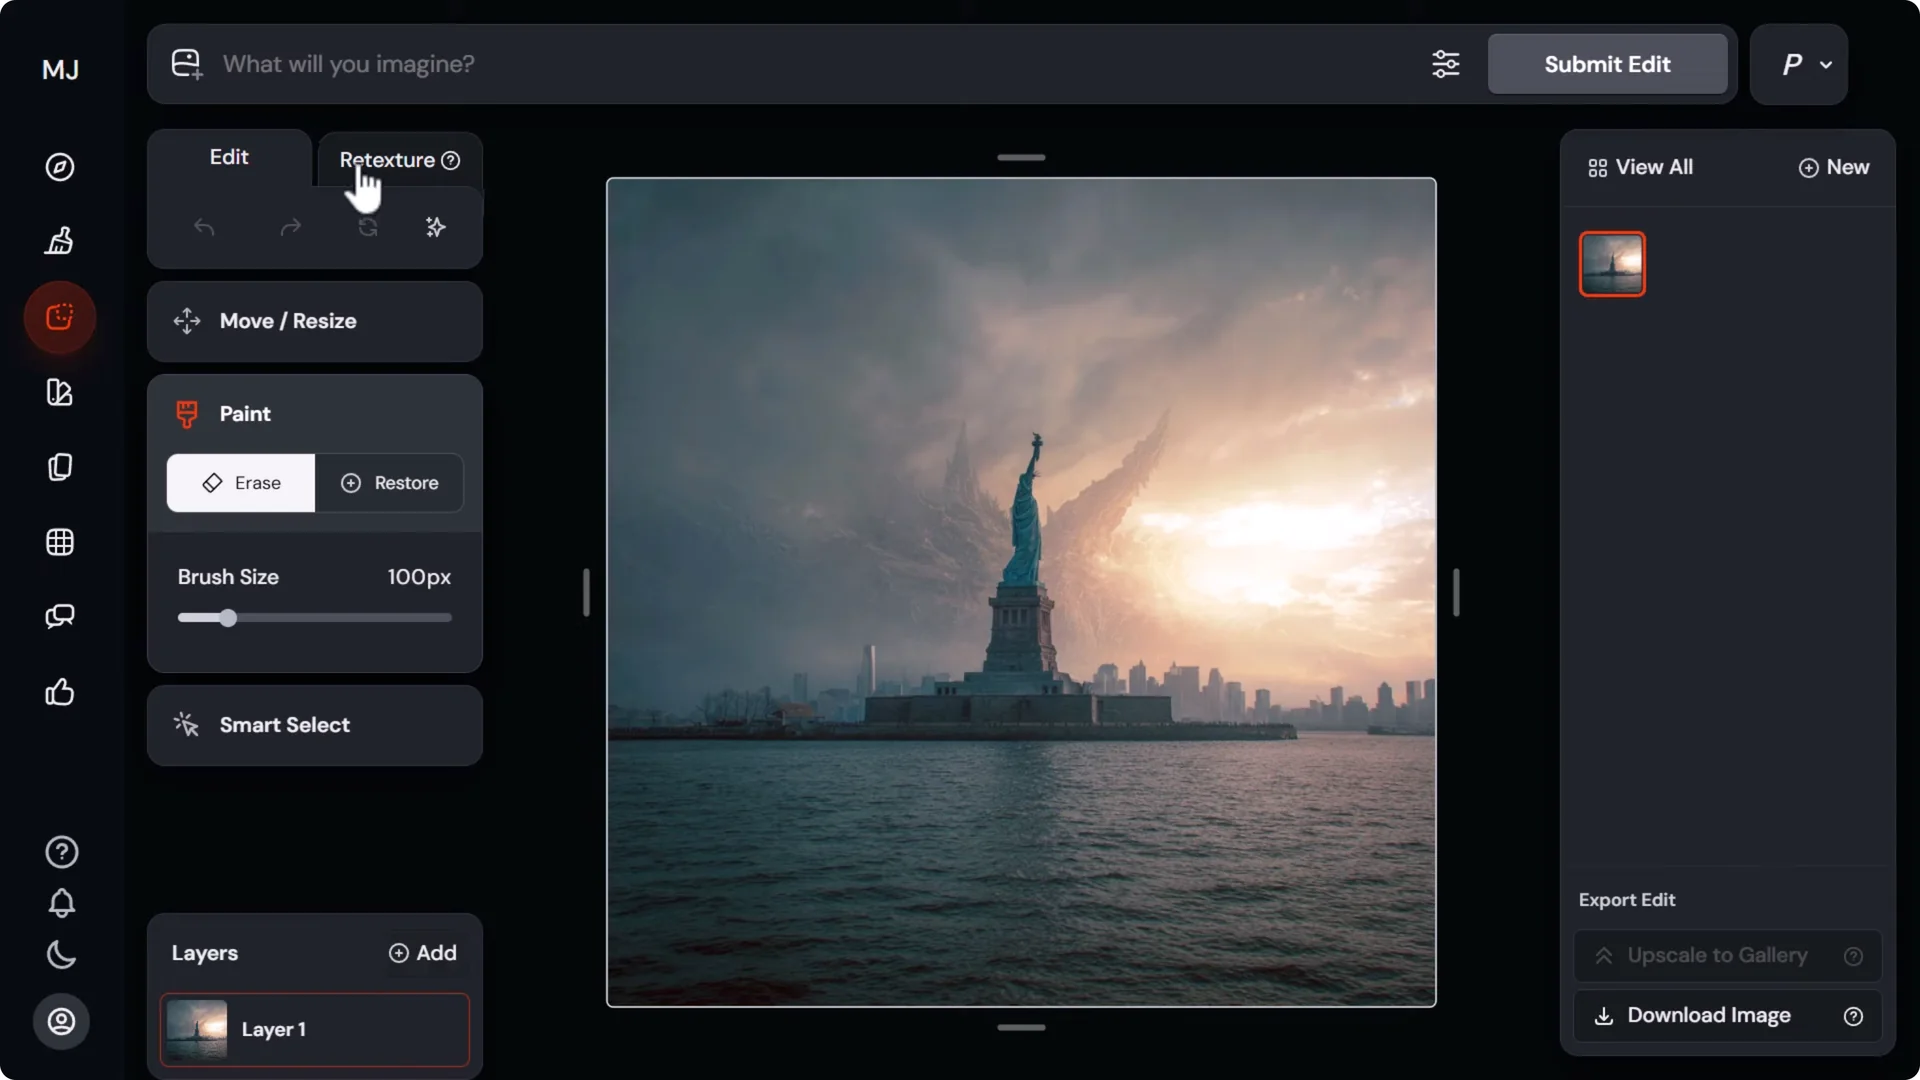
You can stack multiple layers, iterate quickly, and keep working while results come in. Most tips below apply to the full editor.
Midjourney Image Editor Tips
Light editor vs full external image editor
- Light editor: basic controls, no layers, no retexture, edits jump to the create tab.
- Full editor: layers, retexture, in-editor queue, faster iteration, more control.
How to open the full editor:
1) Open your image and click Edit.
2) Under Editor actions, select Open in edit tab.
3) Use layers, retexture, and the right-side queue to preview results without leaving.
Don’t do too much at once
Make one change at a time. If you try to change several things in one go, the editor can misplace elements or make a mess.
Breaking your edit into steps gives you more control and lets you refine details. You can spend time on each small change to perfect the image.
Fix your Midjourney editor prompts
Start simple:
- Erase the area you want to change.
- Prompt for what you want in that space.
If that fails, describe the entire image. Midjourney tends to consider the whole composition, so a full, detailed description of the entire scene can be more effective when targeted edits aren’t working.
Improve your selection strategy
Be generous with the selection space. Tight selections can starve the model of room to create. If the selection is too tight, the editor will try to blend the existing scene inside that small area, which can yield nothing or a much smaller result than expected.
Give it space to build the new object and its context.
Shadows, reflections, and environment
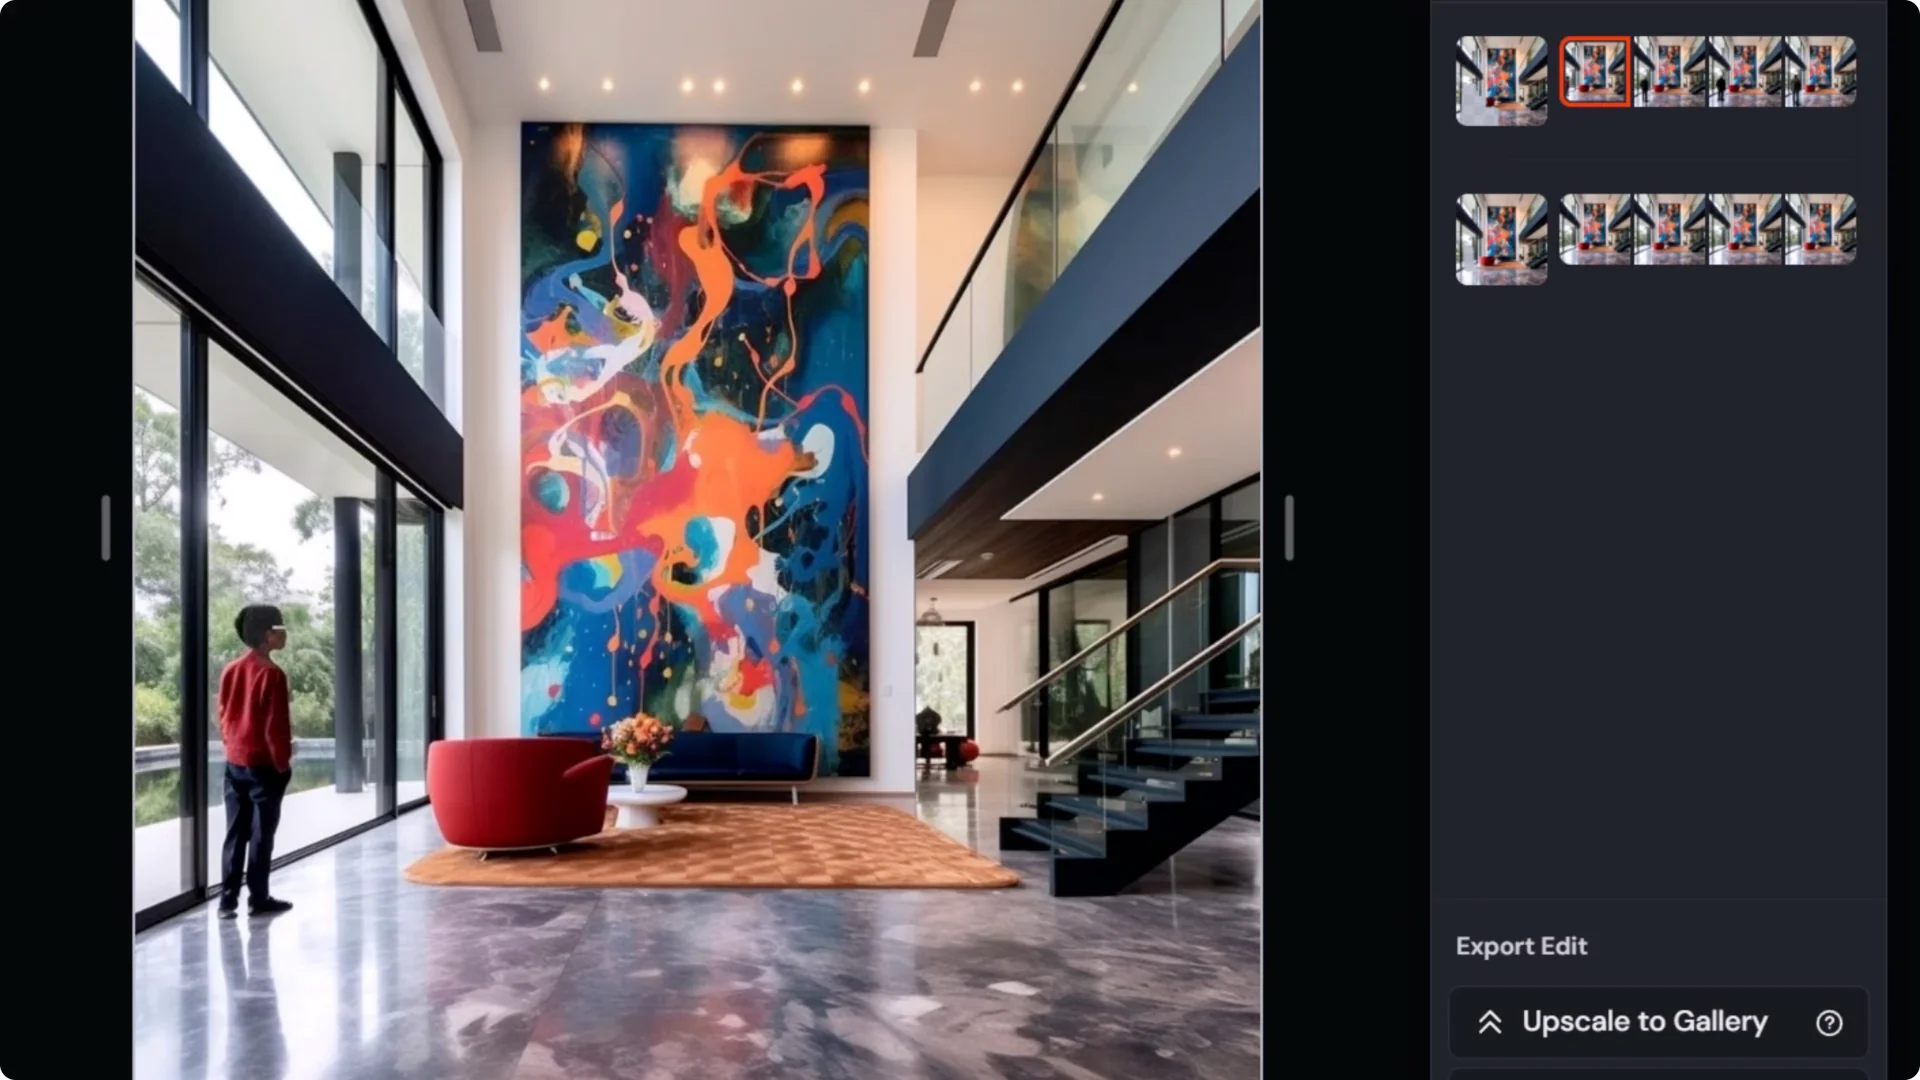
Consider lighting, shadows, and reflections or the editor may refuse to add your object. Look for the light source and how objects in the scene are lit. If a new object should cast a shadow or appear in a reflection, include those areas in your selection.
Example approach:
- Identify the primary light source by inspecting highlights and shadows on existing objects.
- If adding a person on a reflective floor, include the area below for the reflection.
- Include the region where the shadow would land, plus any nearby surfaces that should receive shadow.
- Leave some visible detail from the underlying surface so Midjourney knows what to paint back in.
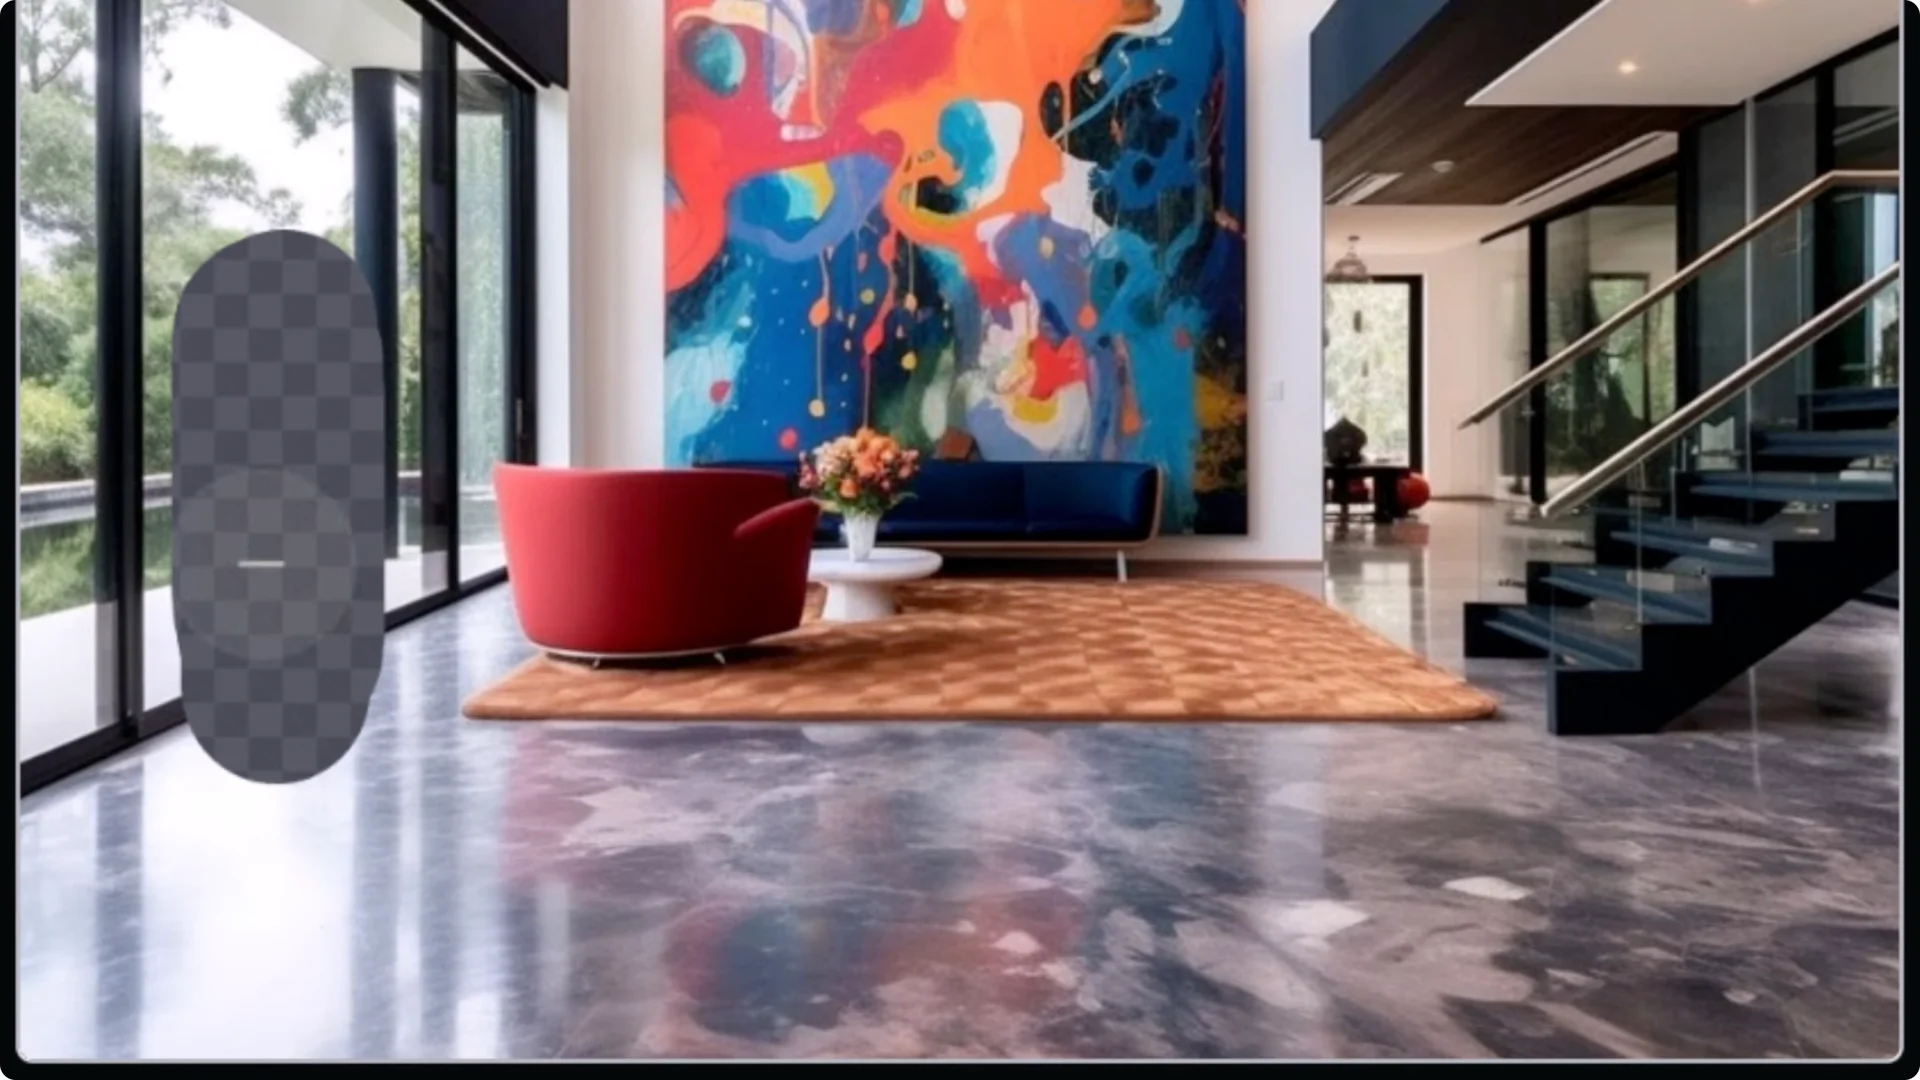
Applying this method often flips an empty or failed result into multiple workable renders with the subject properly placed.
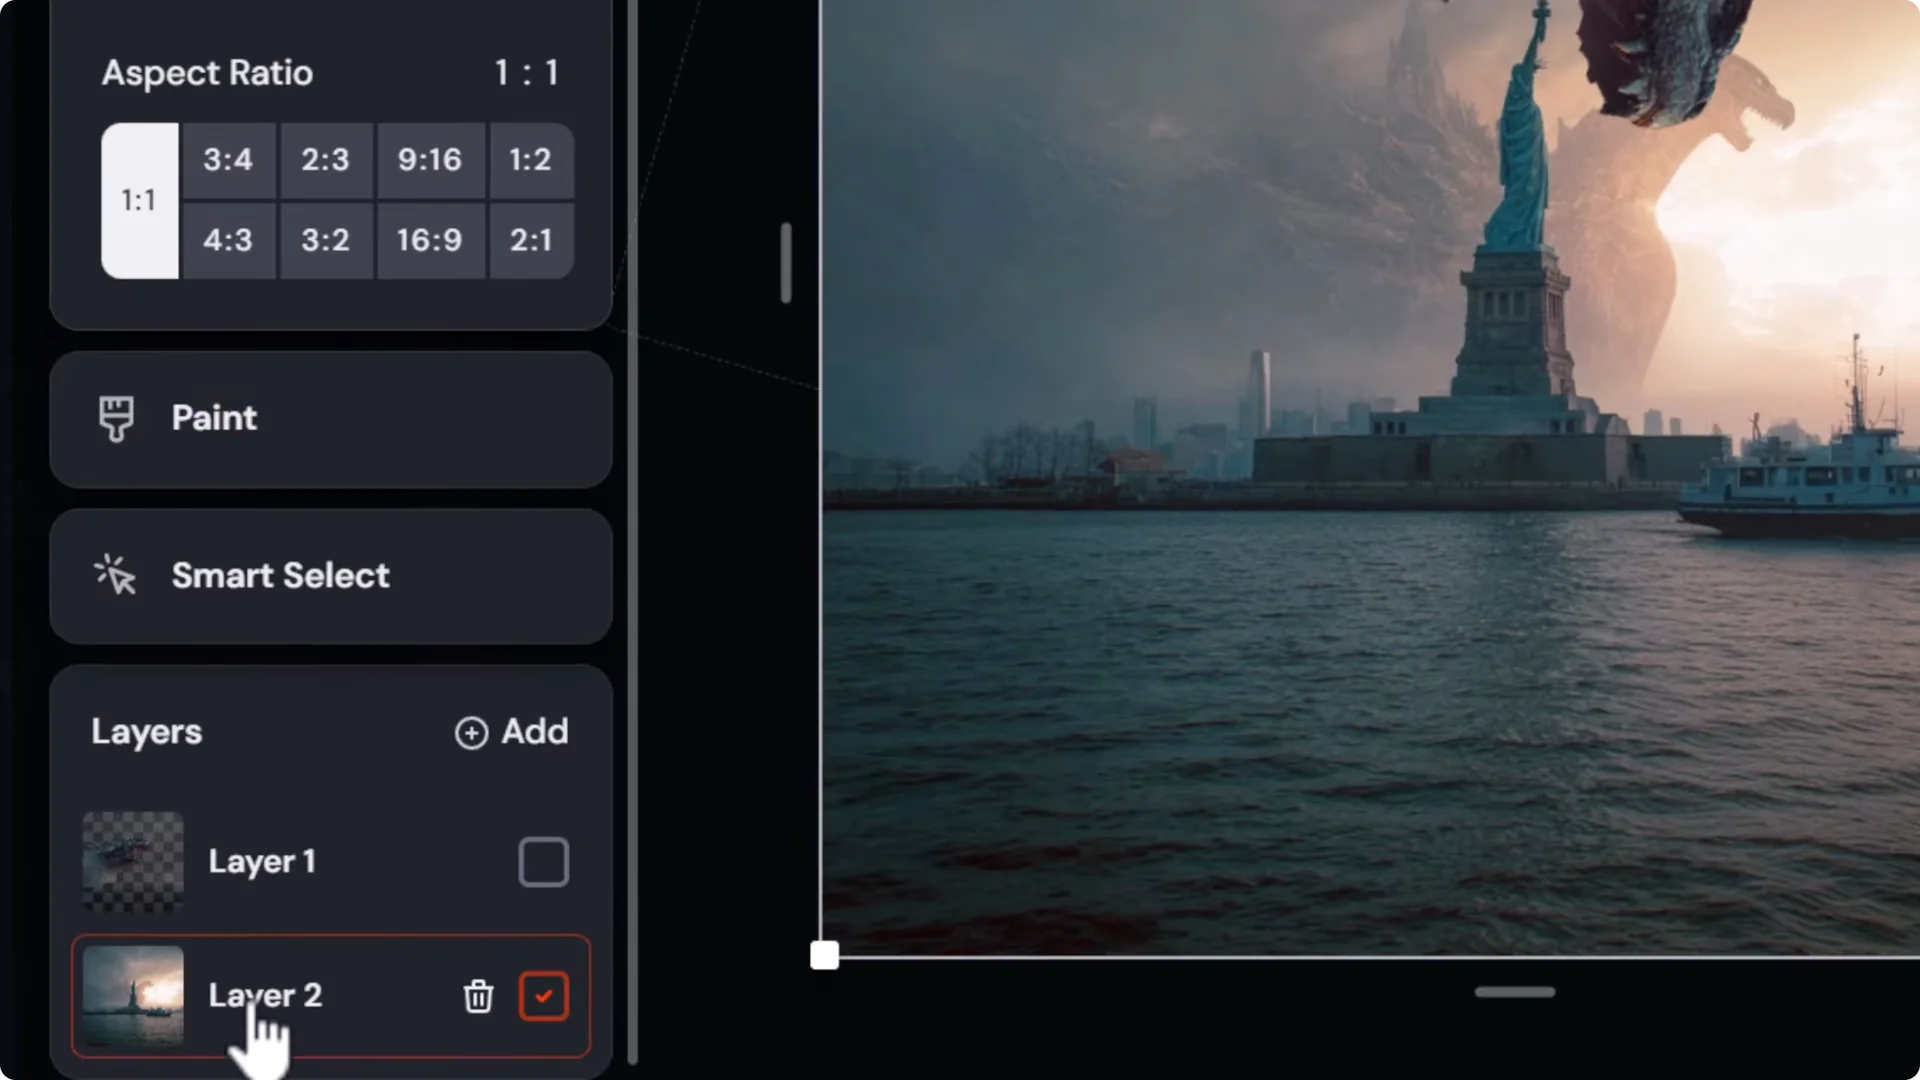
Rotating and blending layers
You can rotate layers easily:
1) Select the layer.
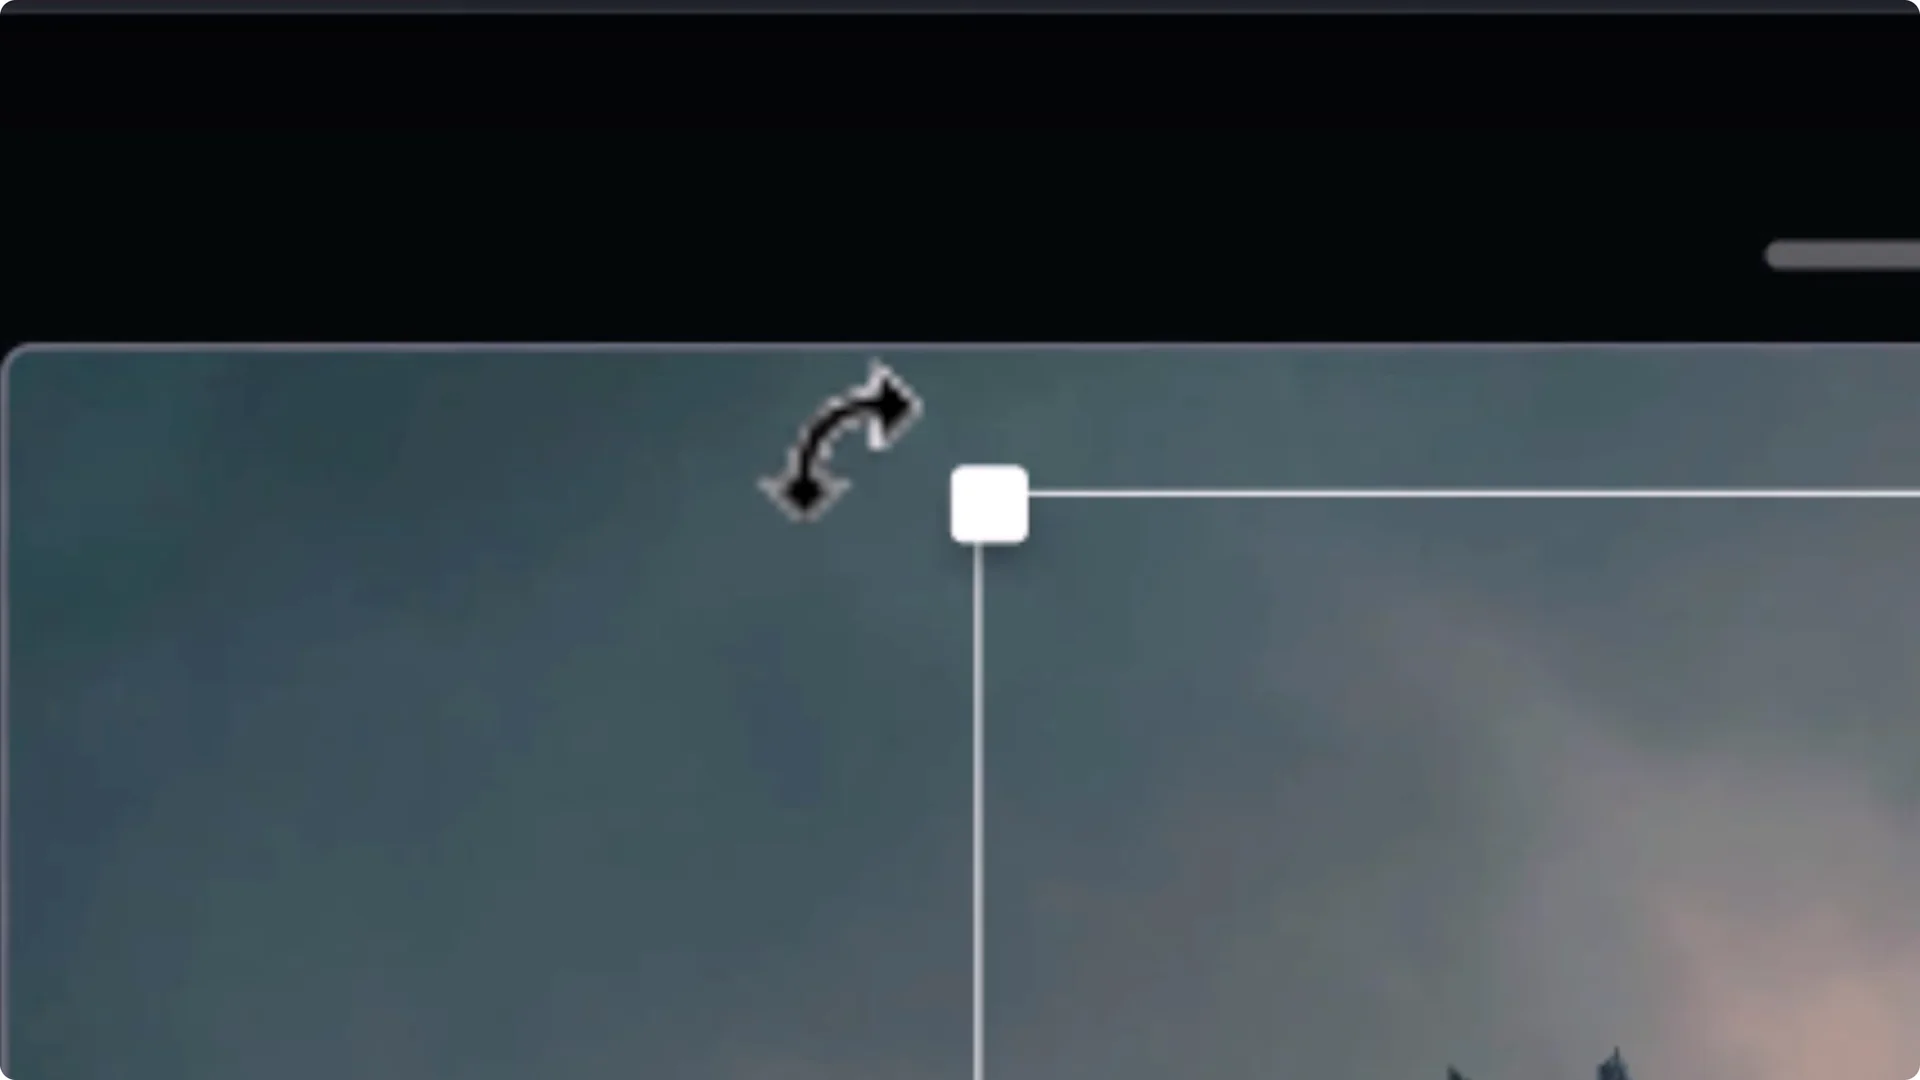
2) Click Move and resize.
3) Hover just outside a corner to reveal the rotate cursor, then rotate into position.
4) Resize as needed.
5) To blend, switch to the layer beneath, pick an appropriate brush size, and erase around edges to integrate the layer.
Switch models inside the editor
If results aren’t landing, switch models in the prompt bar. Different models interpret edits differently.
Example workflow:
- Try editing with Version 7 for general results.
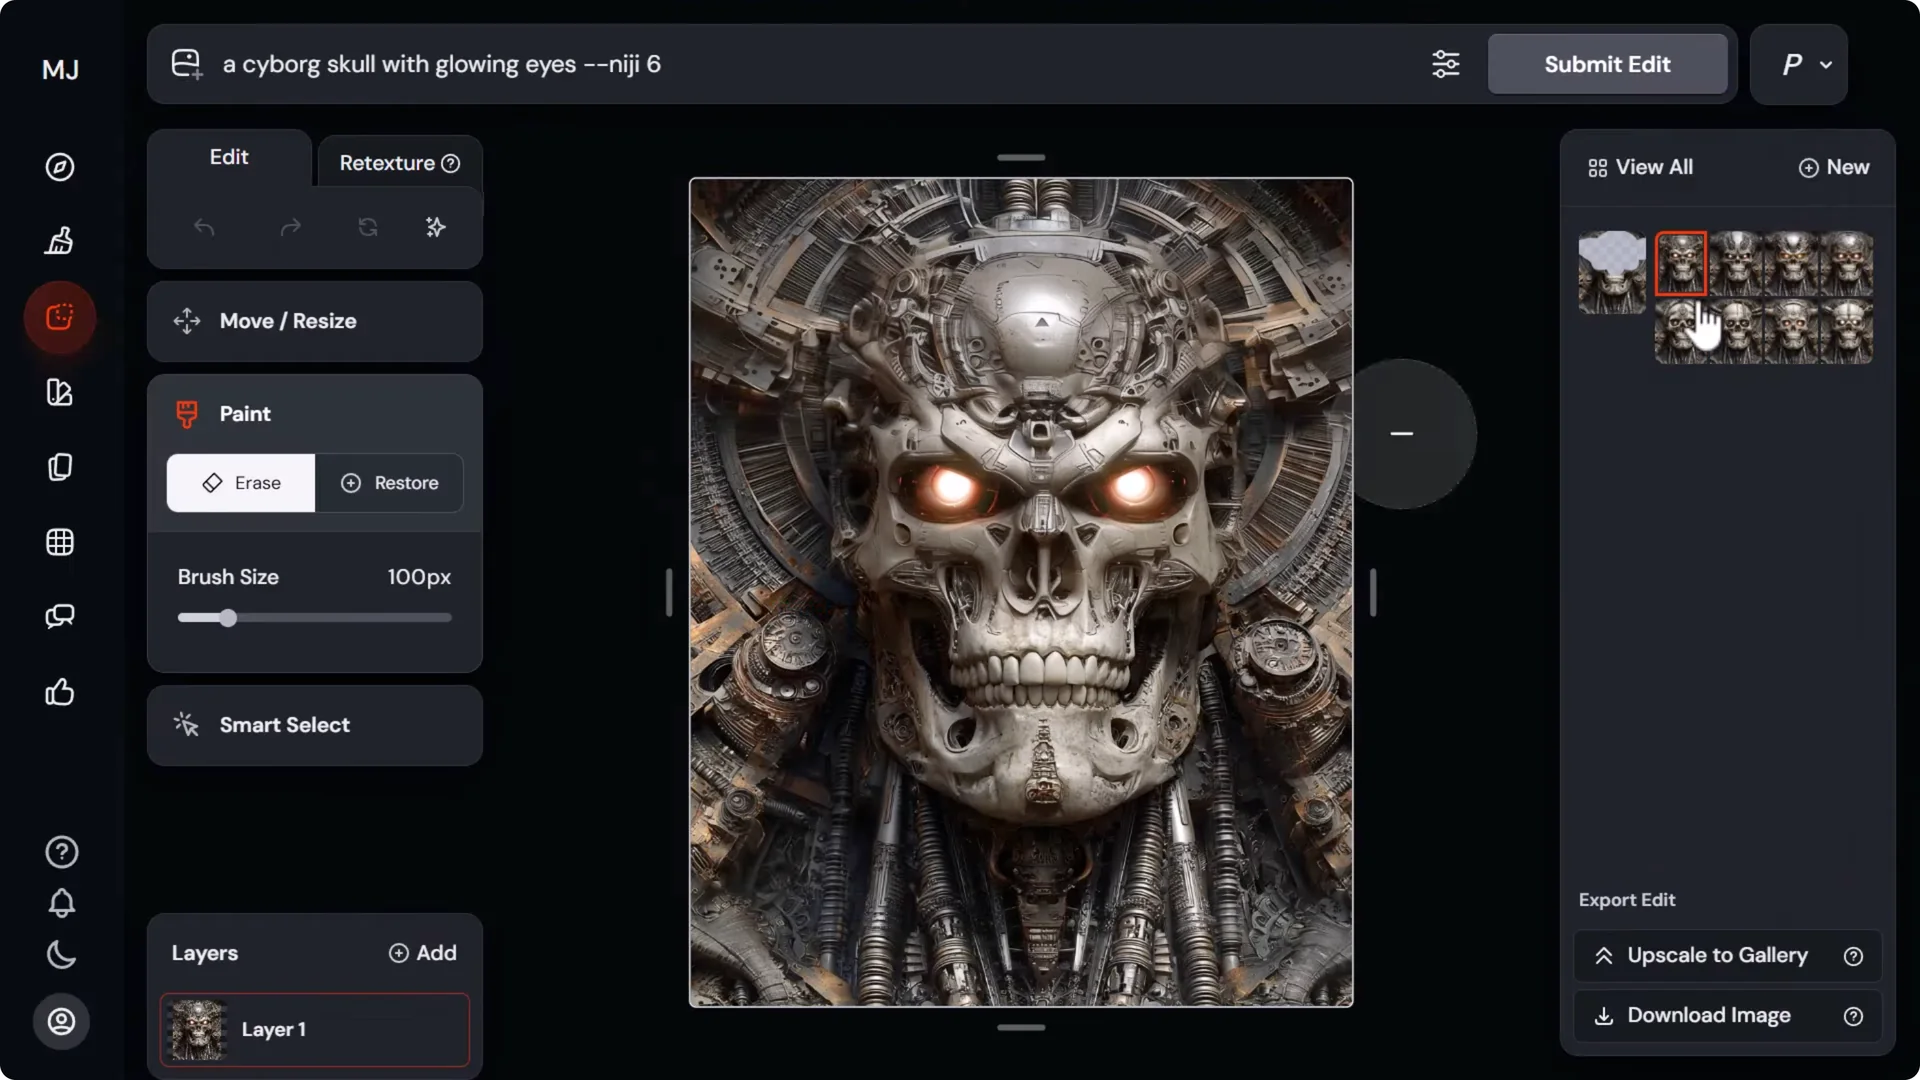
- Switch to Niji 6 for an anime style.
- Test Version 5 for a more organic look.
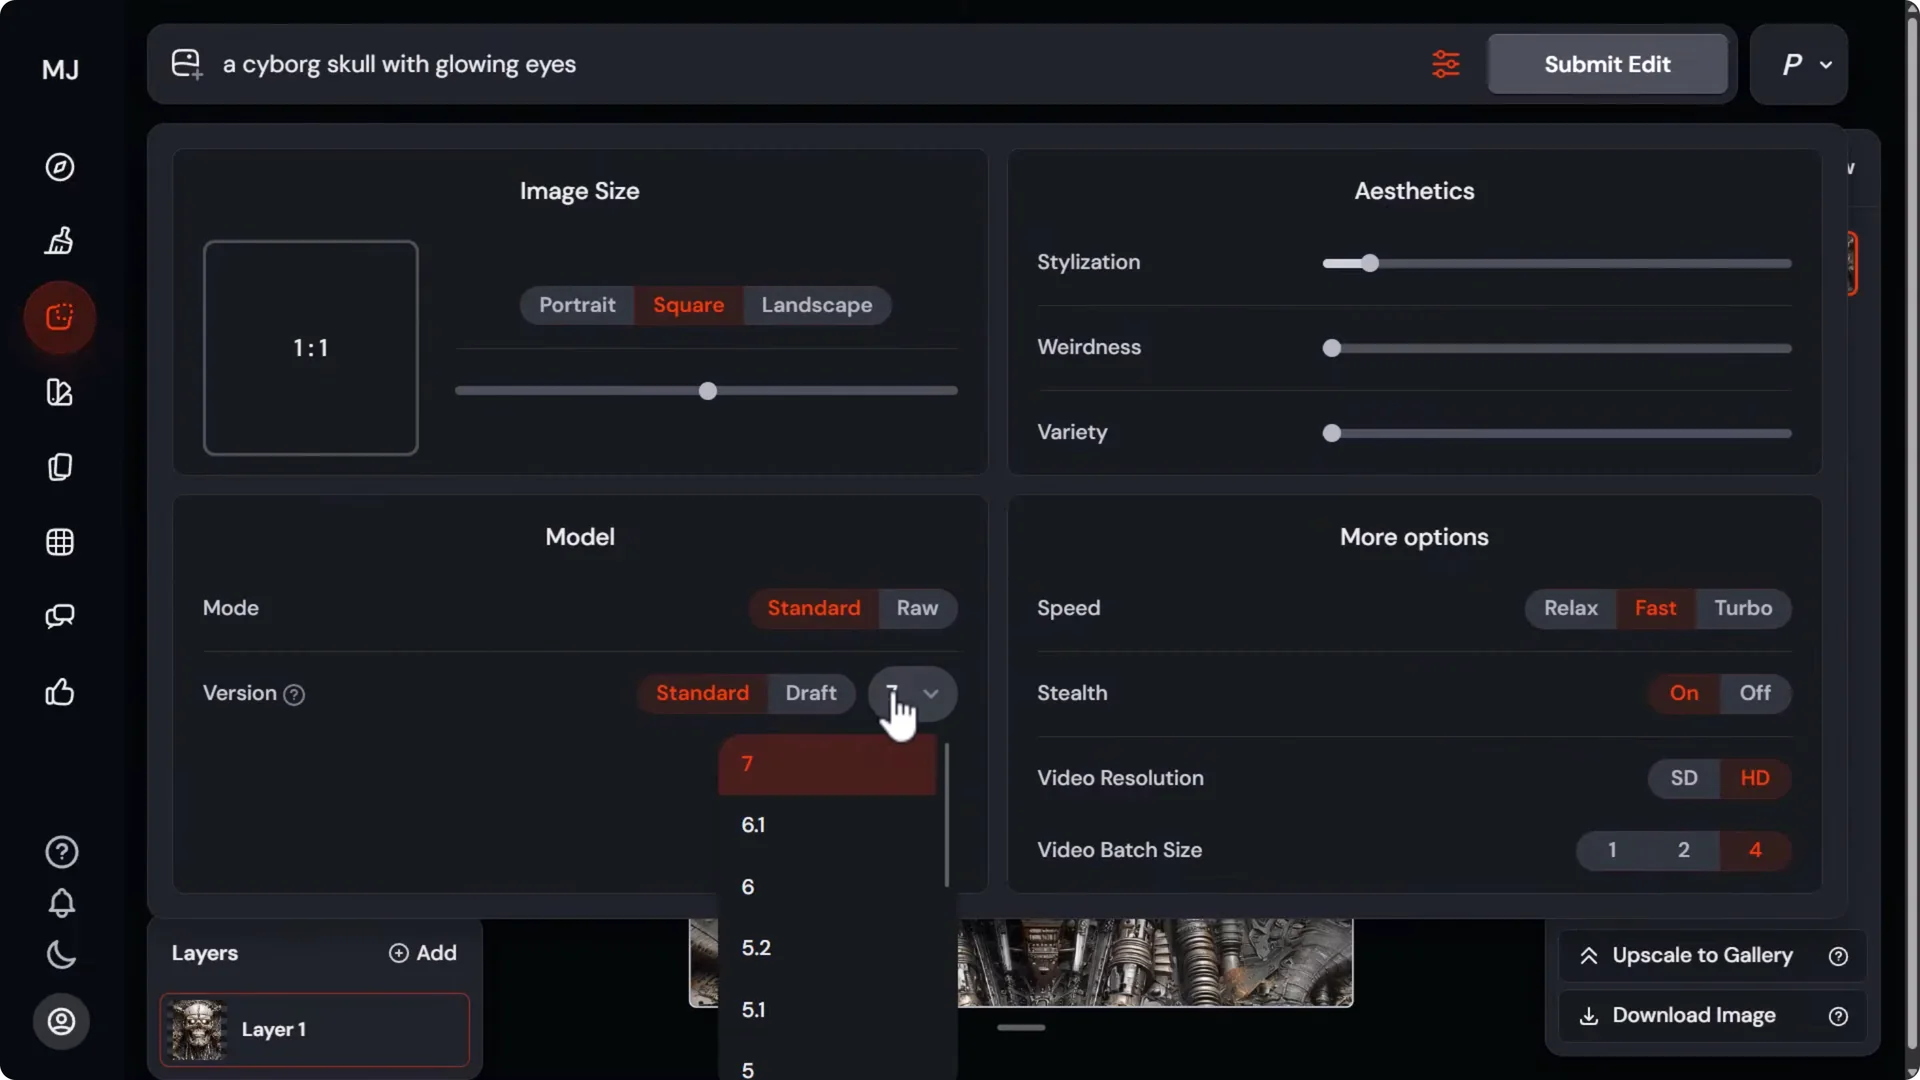
A prompt like “a cyborg skull with glowing eyes” will produce noticeably different edits across models, which can be the difference between an okay and a great result.
Stylize and personalize with references and SREF codes
Turn on personalization to nudge results toward your taste. Style references and SREF codes are powerful for editing specific areas in a specific style.
Style reference examples:
- Add a style reference image to control how a filled area looks.
- Swap the style reference to shift color and texture emphasis.
- Use an art reference, like a Hieronymus Bosch painting, to push the background or objects toward that style.
SREF codes:
- Erase a target area, write the content prompt, then add “sref” with a code to imprint that style into the edit.
- Random SREF codes can create distinct looks for eyes, clothing, or other features.
- The Style Explorer helps you pick specific codes for cartoony, painterly, or other aesthetics.
- You can apply different SREF codes to different areas by editing in steps, so only parts of the image inherit the style.
Fix image or layer upload errors
If the editor throws an upload error:
- Pause your VPN and try again.
- Try a different browser.
Better workaround:
1) Click your avatar.
2) Go to Manage uploads.
3) Find your uploaded image, right-click, and copy the image address.
4) Back in the editor, choose Edit from URL.
5) Paste the URL and confirm.
This workaround often gets you past upload issues.
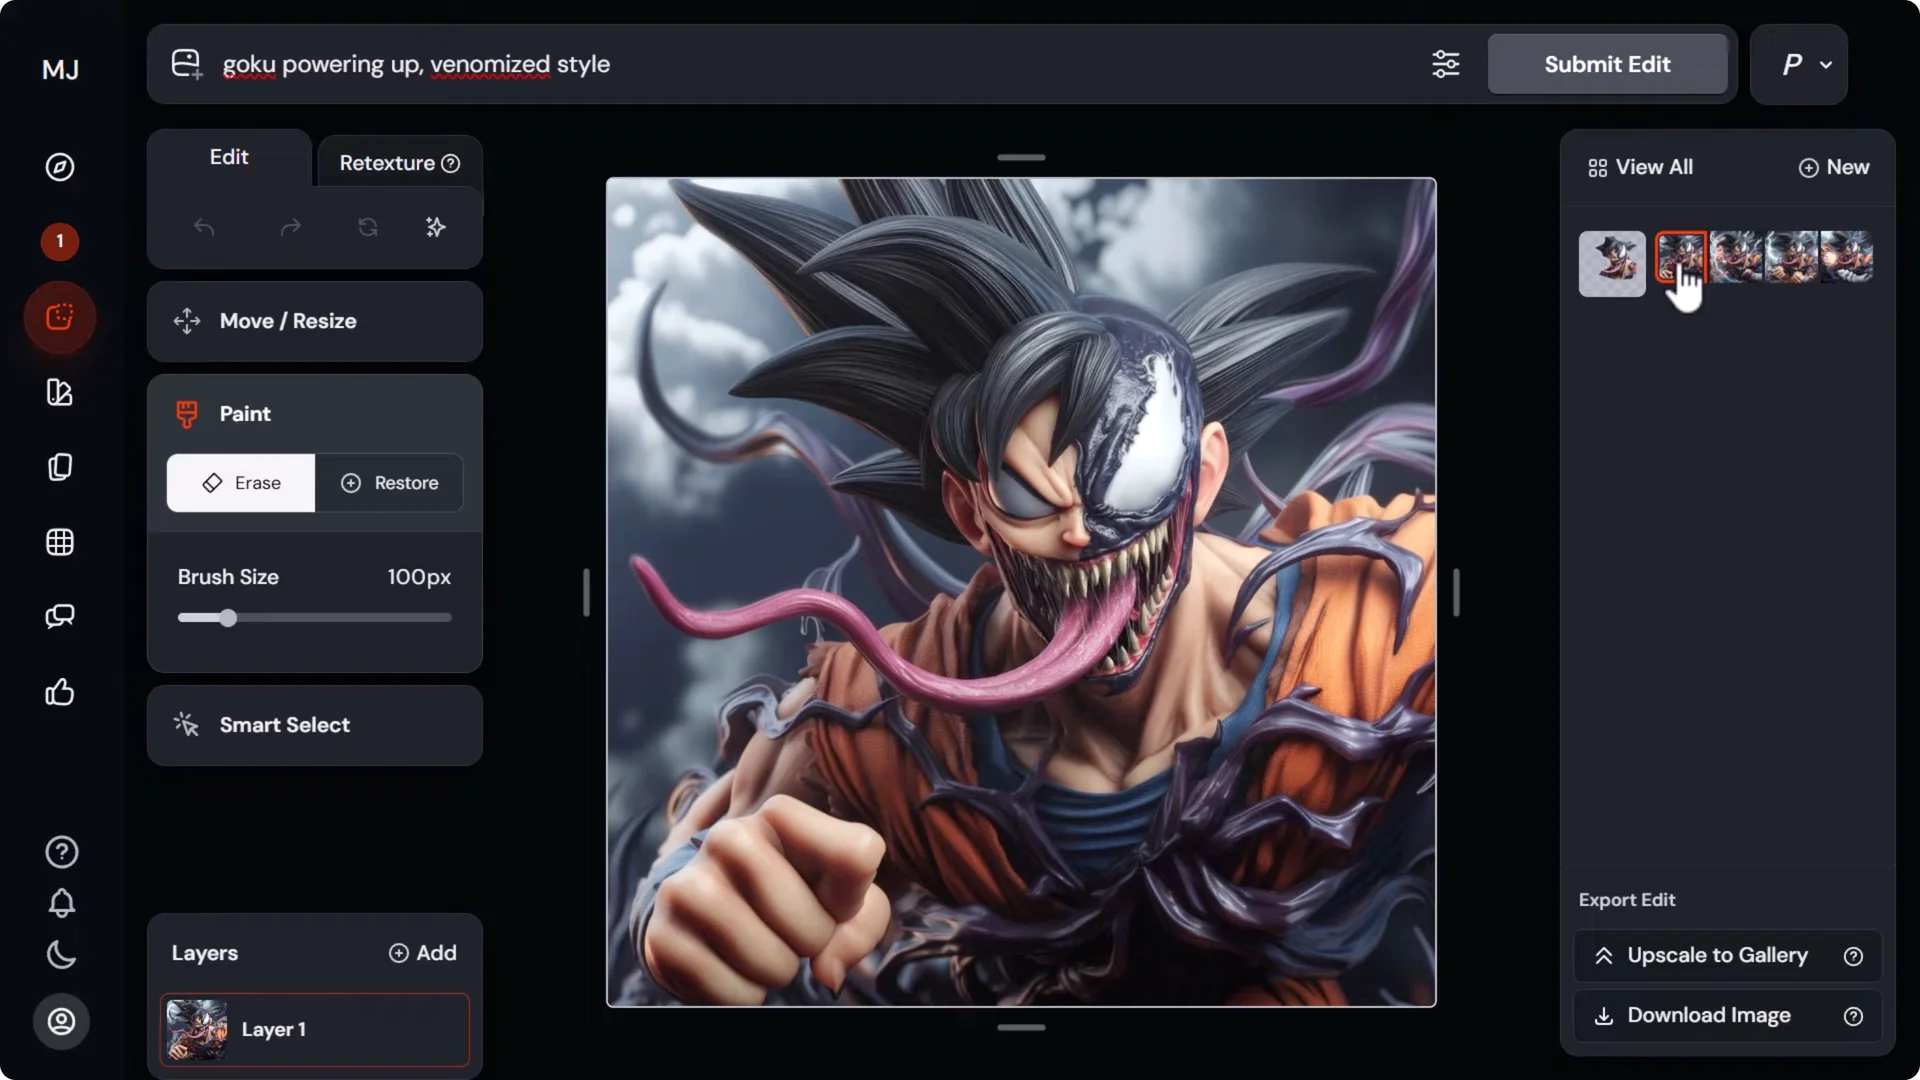
Combine images when prompting fails
When the editor refuses to add an element convincingly, generate it separately and combine inside the editor. Keeping style consistent is the key.
Process:
1) In a separate tab, prompt for the subject you want as a full composition.
2) Drag your base scene into the prompt as a style reference so the new subject matches the scene’s style.
3) Pick a generated result and download it.
4) In the editor, drag in the new subject image as a layer.
5) Use Smart select to cut out the subject and erase the background.
6) Position and scale the subject in the scene.
7) Restore any missing parts if needed.
8) On a lower layer, erase around feet, props, and contact points to make room for shadows and blending.
9) Include a prompt that mentions the subject so the editor reinforces it in the scene, then submit.
This method blends two separately generated images while maintaining a consistent look.
Character consistency in the Midjourney editor
At the moment, omni reference doesn’t work inside the editor. For character consistency, switch to Version 6 or 6.1 and use the character reference image prompt.
Step-by-step:
1) Download an image of the character you want to maintain.
2) Open your target scene in the full editor and expand the canvas if you need more space.
3) Write a clear placement prompt, for example: “A female warrior stands with calm expression to the left of a waterfall.”
4) Change the model from Version 7 to 6.1.
5) Click Add images and add your character reference image.
6) Submit and review variations that keep the character consistent.
Go beyond the Midjourney editor when needed
Sometimes the editor won’t deliver the exact edit you want. Try another tool, get the result, then bring it back into Midjourney for further blending.
Nano Banana can help with quick edits in chat. Photoshop’s generative fill gives more control over placements and edge cases.
Photopea is a free, browser-based option similar to Photoshop. Combining AI image tools with Photoshop lets you finish what AI can’t quite nail, often with just a few targeted manual touches.
Final Thoughts on Midjourney Image Editor Tips
- Use the full external editor for layers, retexture, and in-editor queuing.
- Make one change at a time and give generous selection space.
- Account for shadows, reflections, and lighting, and include those areas in your selection.
- Rotate, move, and blend layers to integrate additions convincingly.
- Switch models and use style references or SREF codes to steer results.
- Work around upload issues with Edit from URL.
- Generate subjects separately with the same style reference, then combine in layers.
- For character consistency, switch to Version 6 or 6.1 with a character reference.
- If the editor stalls, use external tools, then re-import and finish inside the editor.
These methods will improve your results and help you work around the editor’s limitations.