I like to share a lot of styles in MidJourney, but when I enhance a prompt or get more specific, those styles can get lost. Here is how I bring styles back into my images while maintaining the detail I add to prompts, so I can create better AI art with MidJourney.
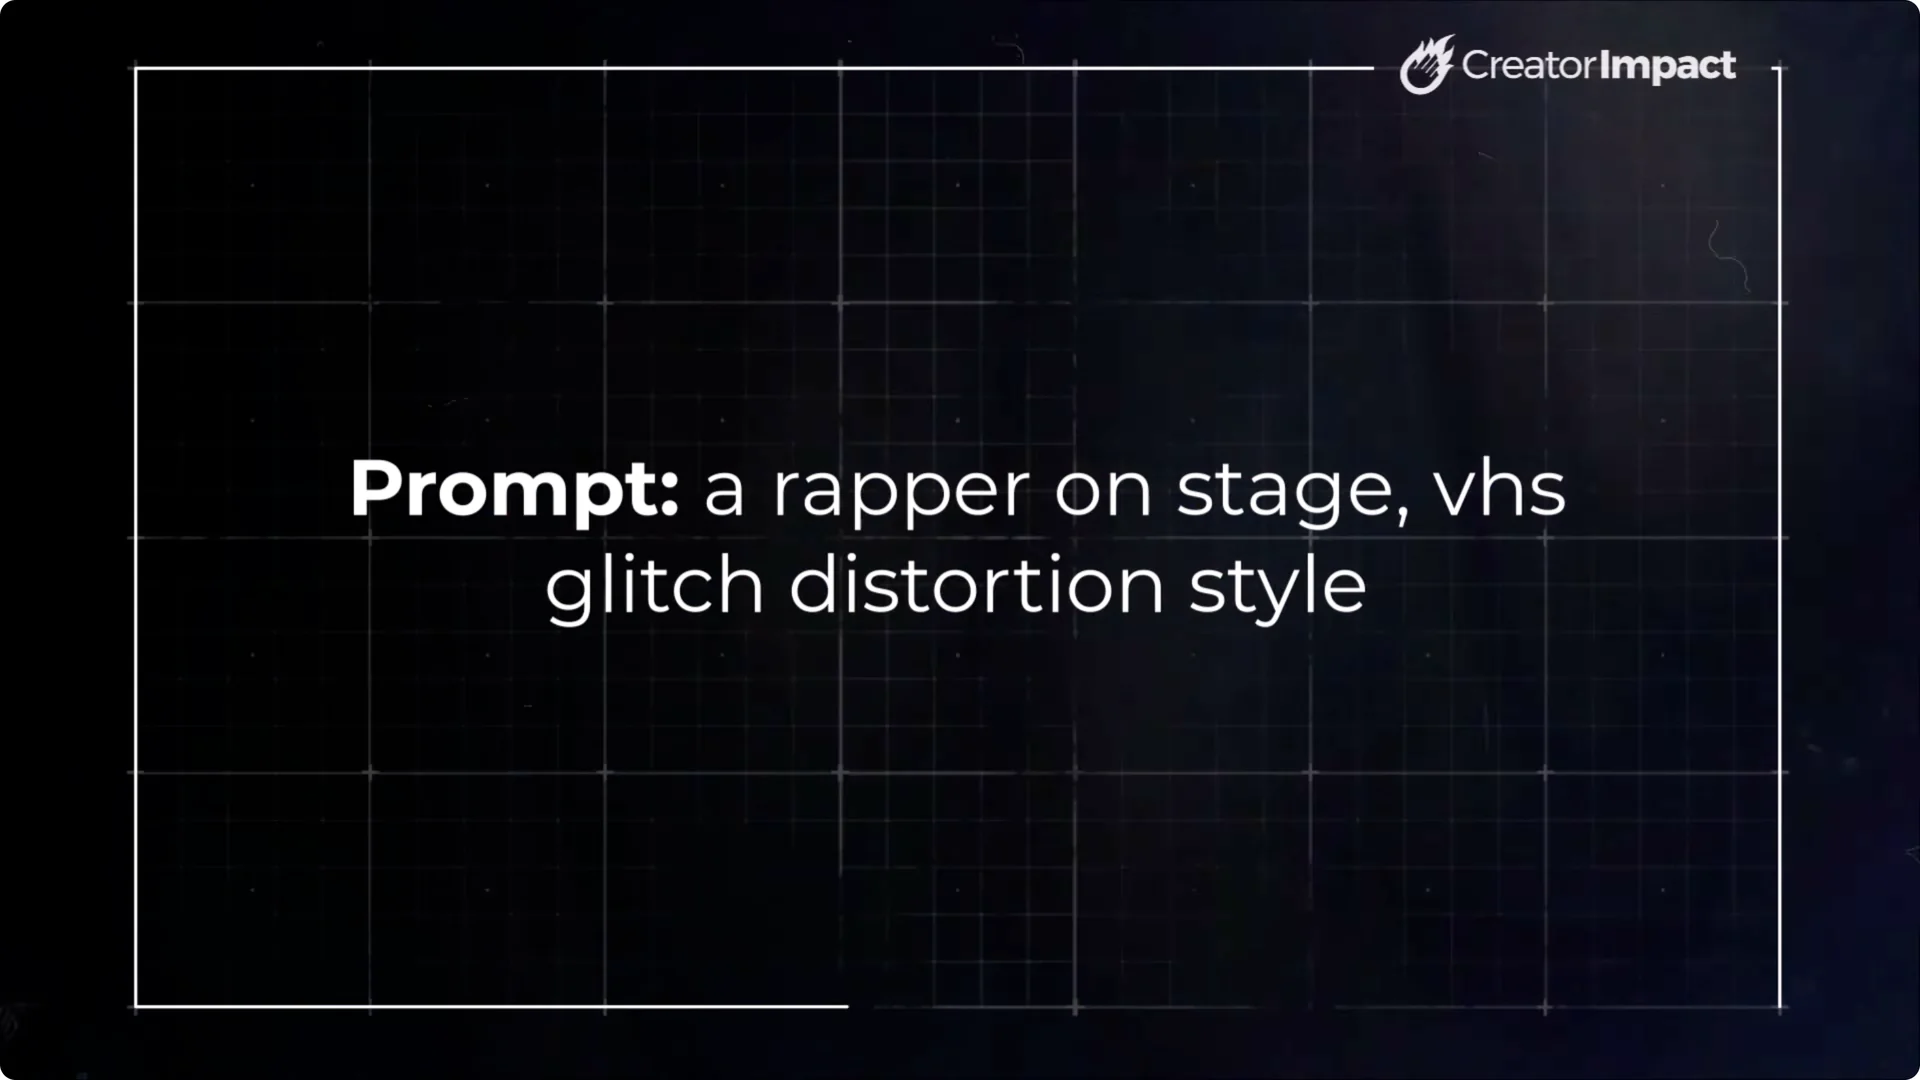
To start, I used a simple prompt: a rapper on stage, VHS glitch distortion style. The results had that nice VHS glitch feel.
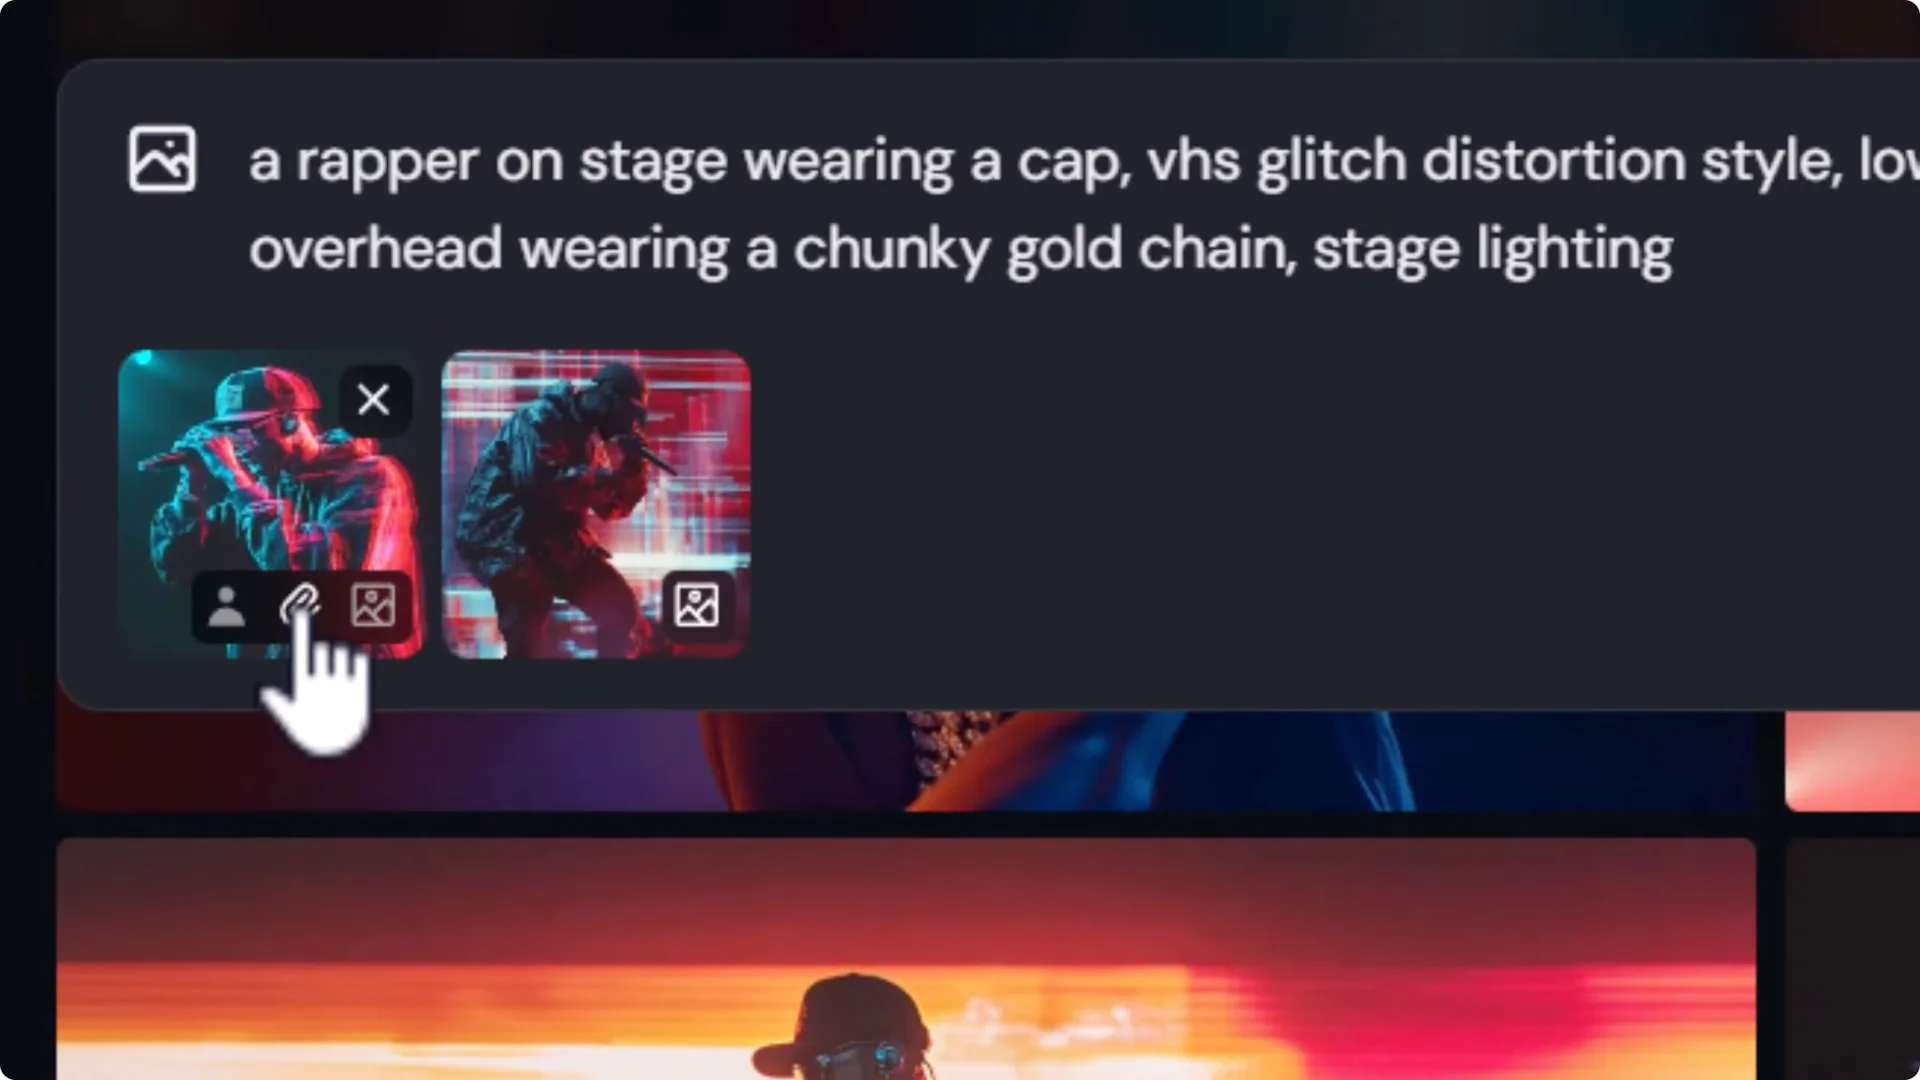
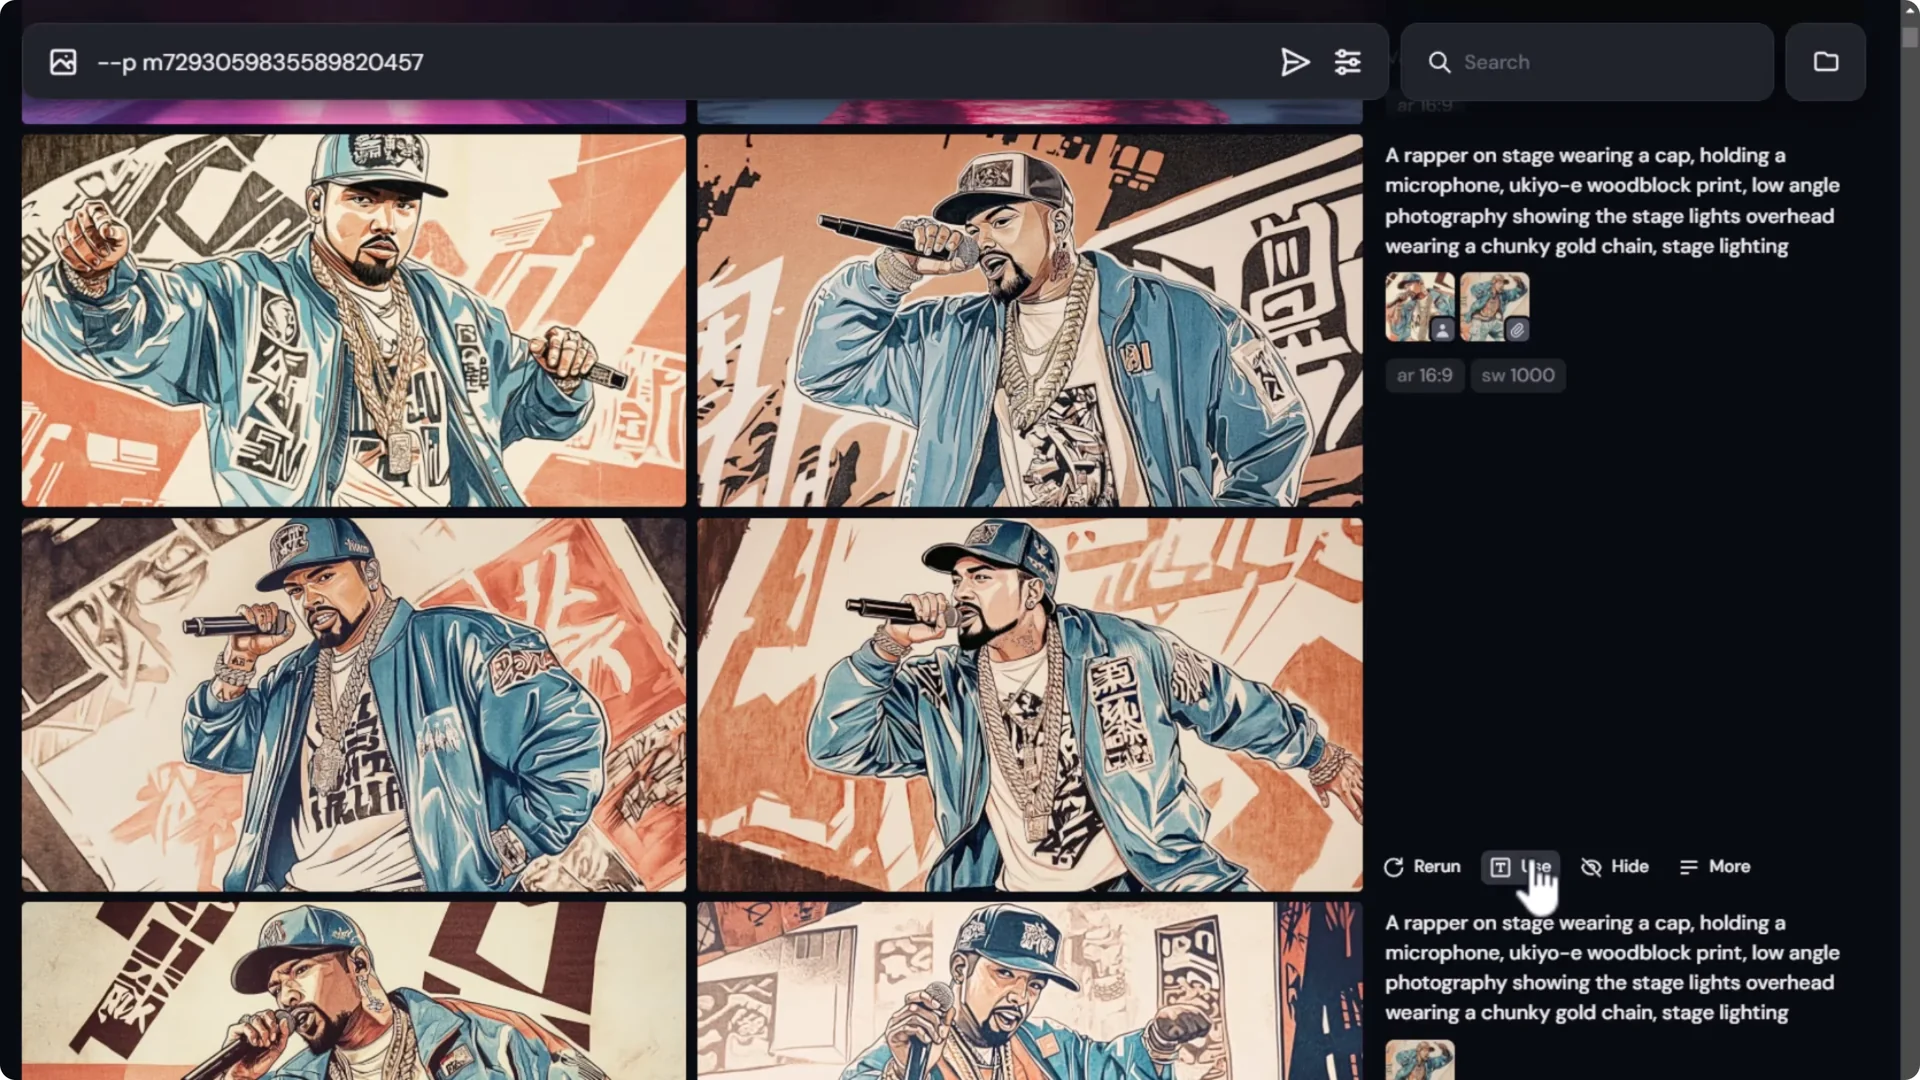
Then I took the same idea and added details: a rapper on stage wearing a cap, VHS glitch distortion style, low angle photography showing stage lights overhead, wearing a chunky gold chain, stage lighting.
I wanted to see the stage lights, the chain, and make sure he was wearing a hat. Even though I kept VHS glitch distortion style high in the prompt, the new images did not keep that look. That is disappointing, because I got the details I wanted but lost the style.
Midjourney Style Referencing: Recovering Lost Styles When Adding Detail
Use style reference images and style weight
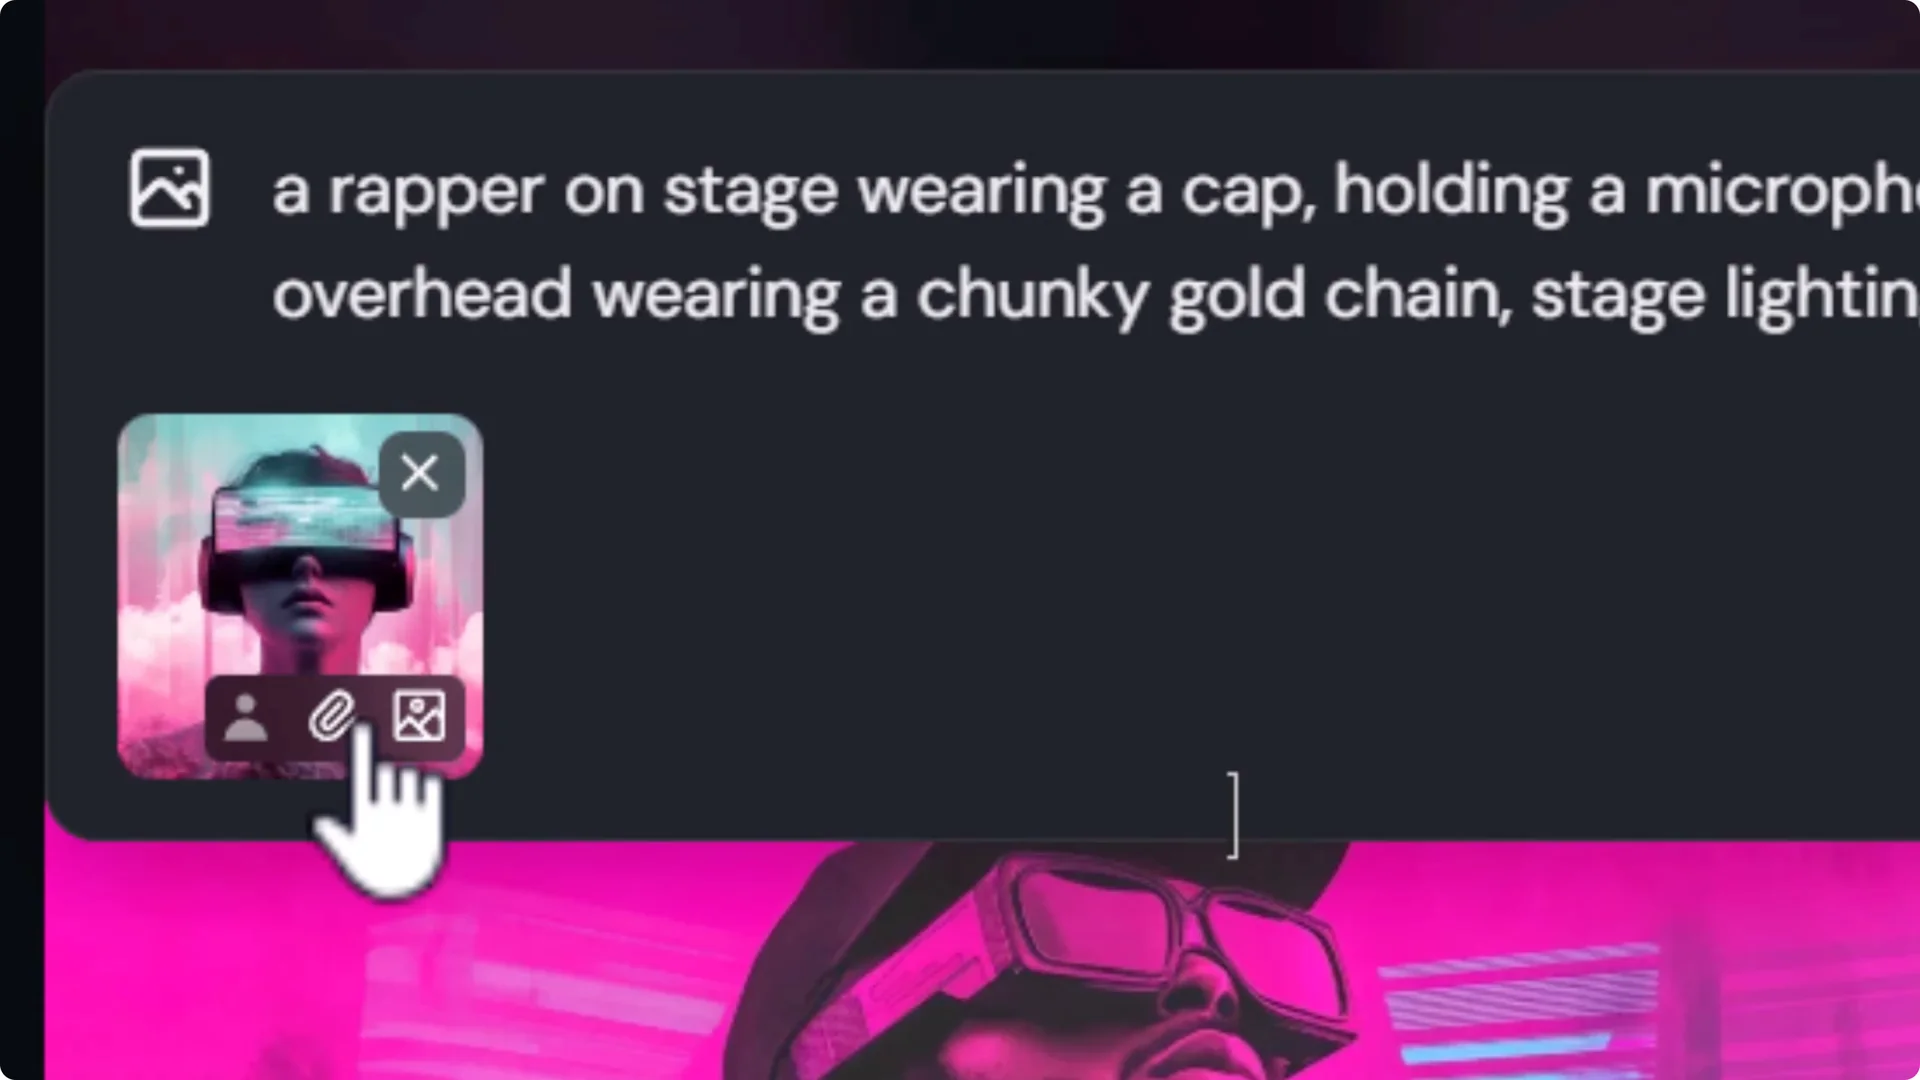
- Take your detailed prompt and paste it into the prompt bar.
- Grab the earlier images that have the style you want, then attach them as style references using the paperclip icon.
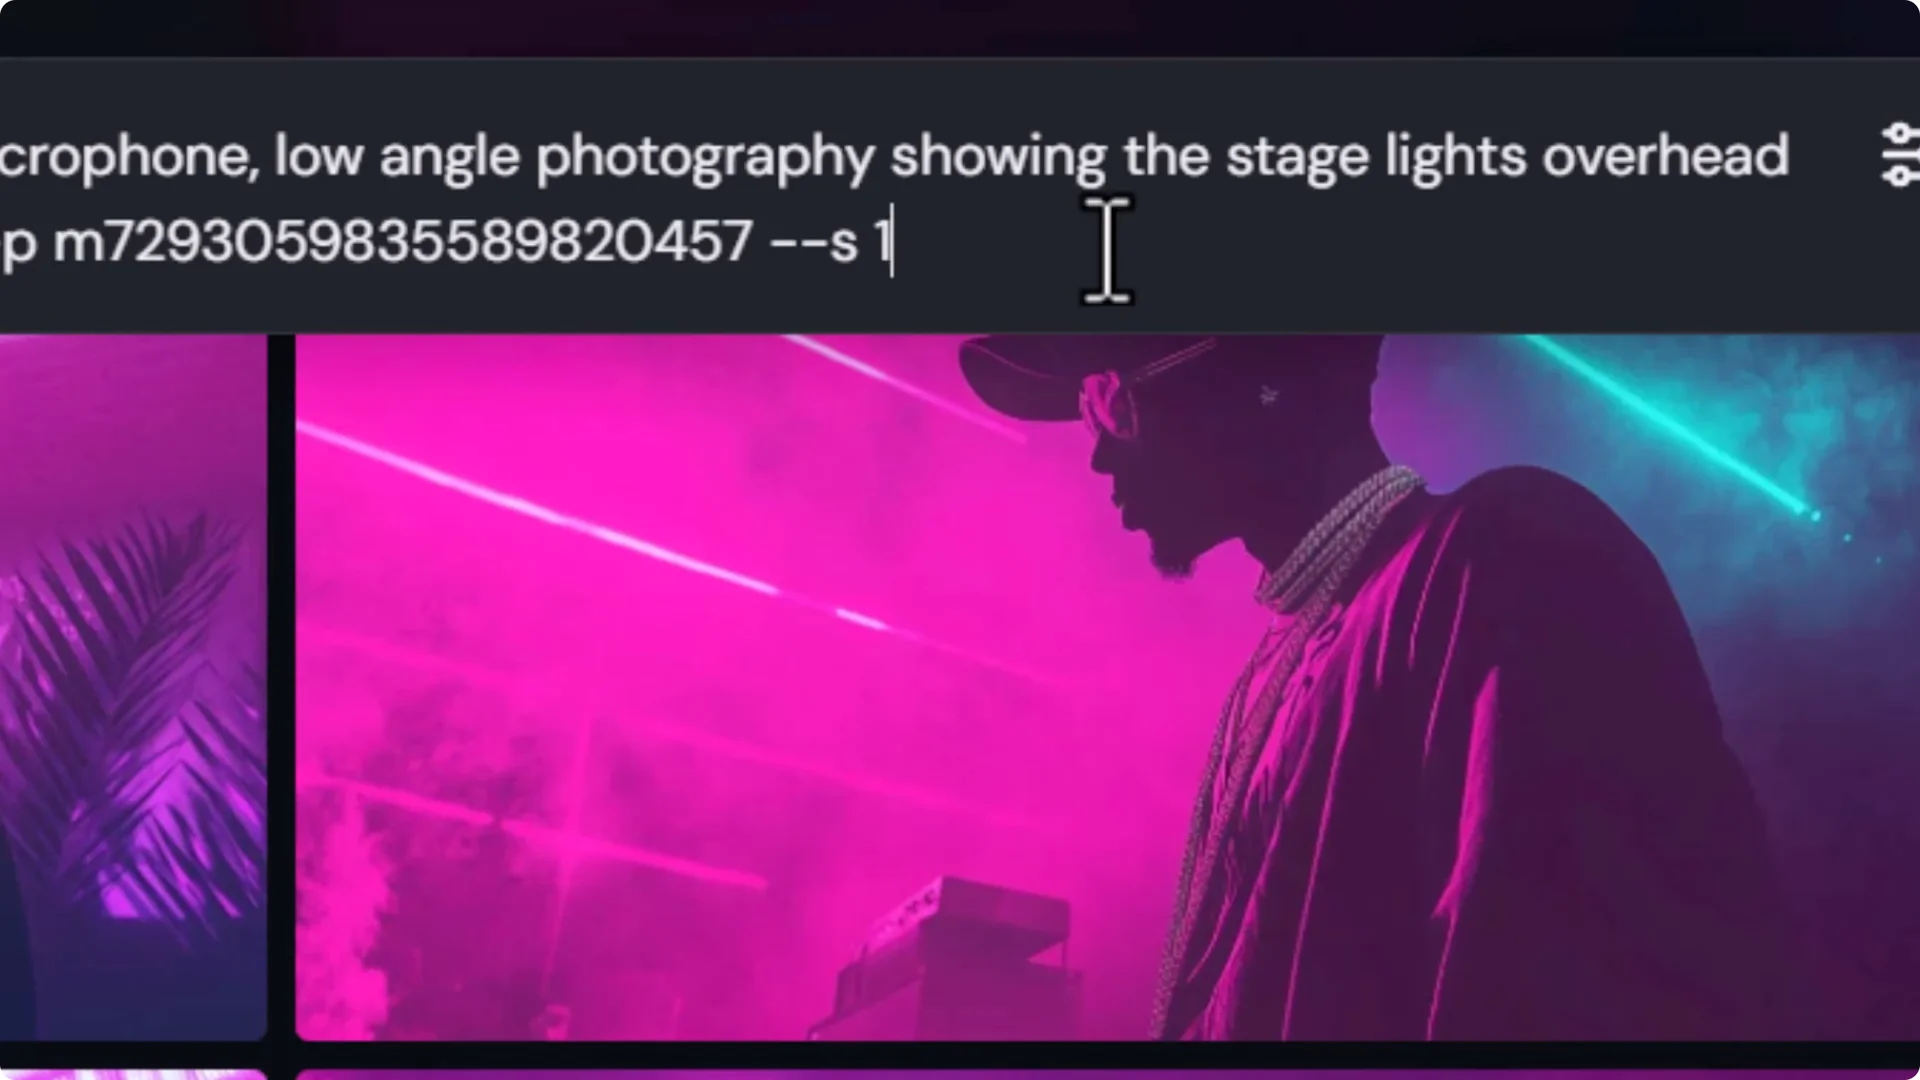
- Add a style weight and set it high to make sure the style takes over the image. I go straight to 1,000. The default is usually around 100.
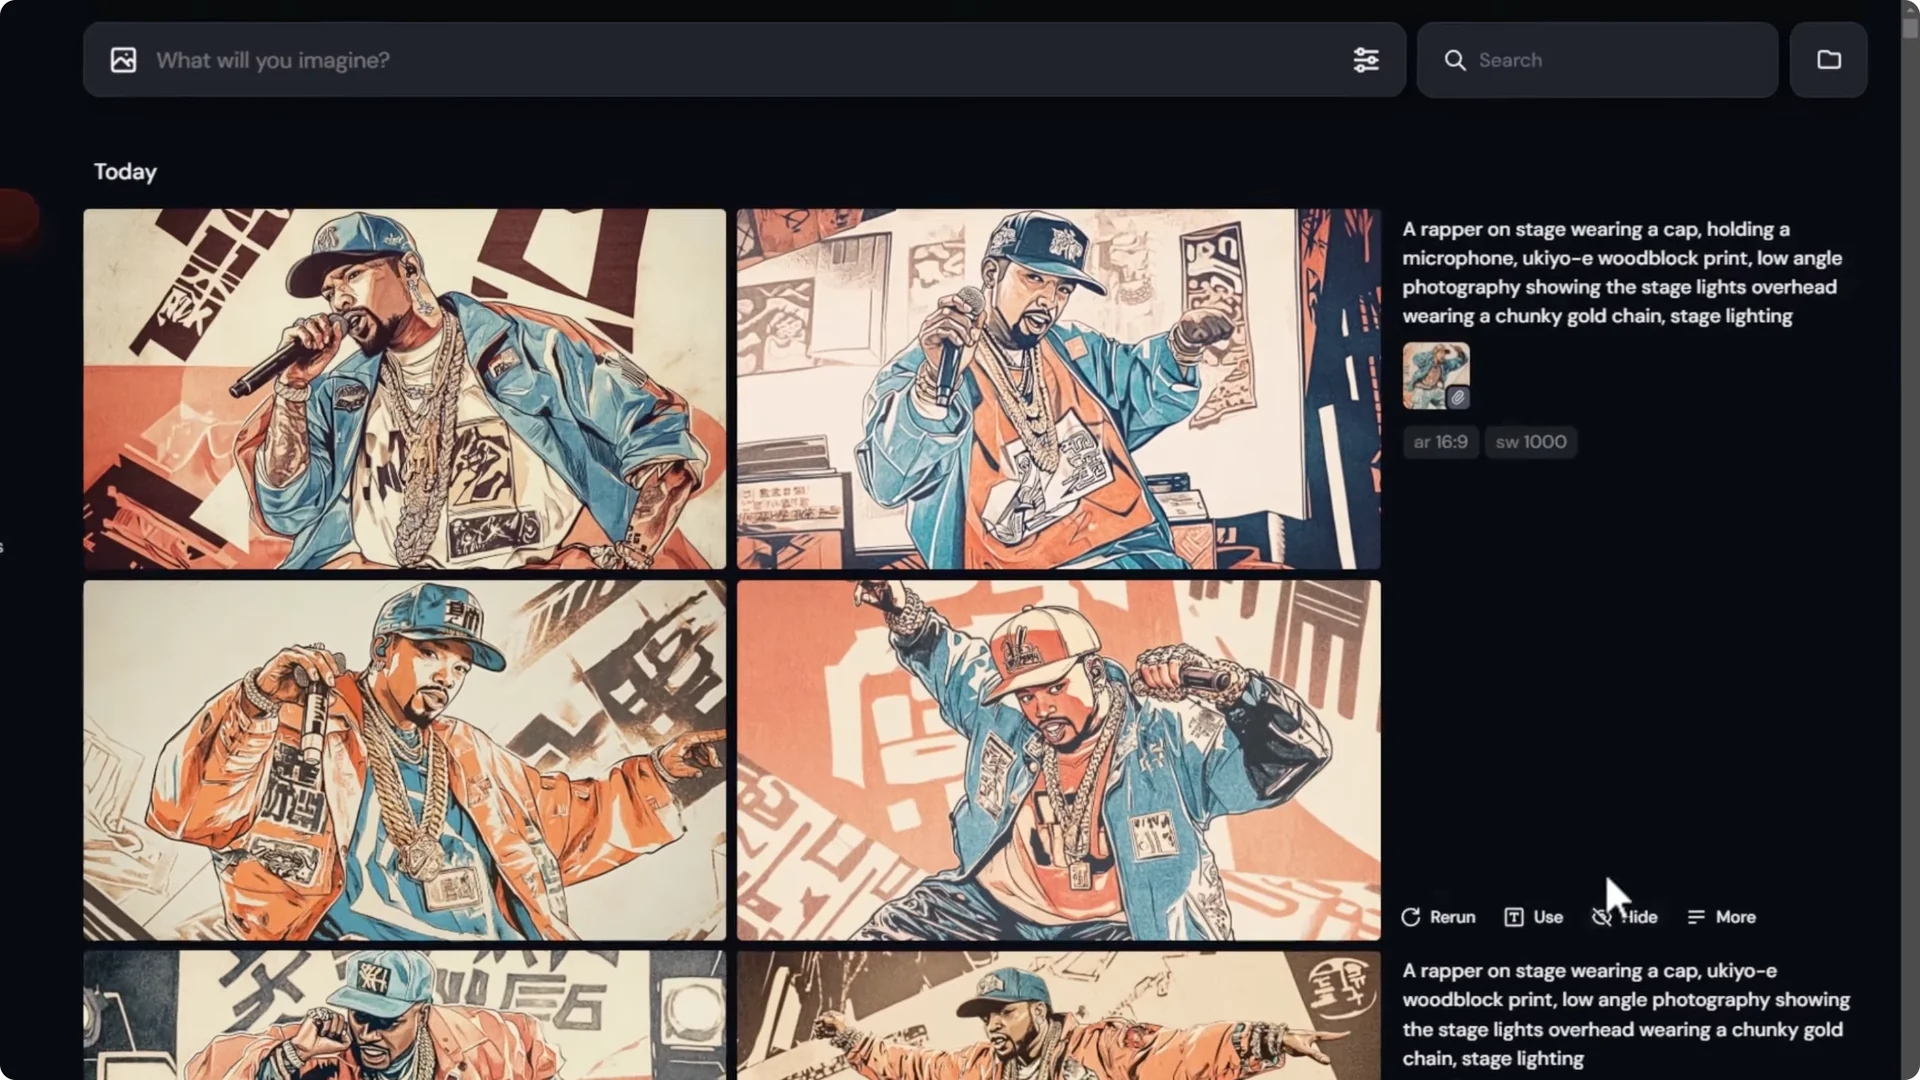
When I submit with the detailed prompt, style references, and a strong style weight, the images are much closer to what I need.
They are not always perfect, but they include the gold chain, the hat, the lower angle, and some stage lighting.
This is a more effective way to get the style with the elements I want by using the tools available to take more control of the image.

A quick recipe
- Prompt for your basic subject and the style.
- Create a more detailed prompt that adds the specifics you want.
- Drag a style image into the prompt as a style reference.
- Combine the detailed prompt with that style reference and raise style weight.
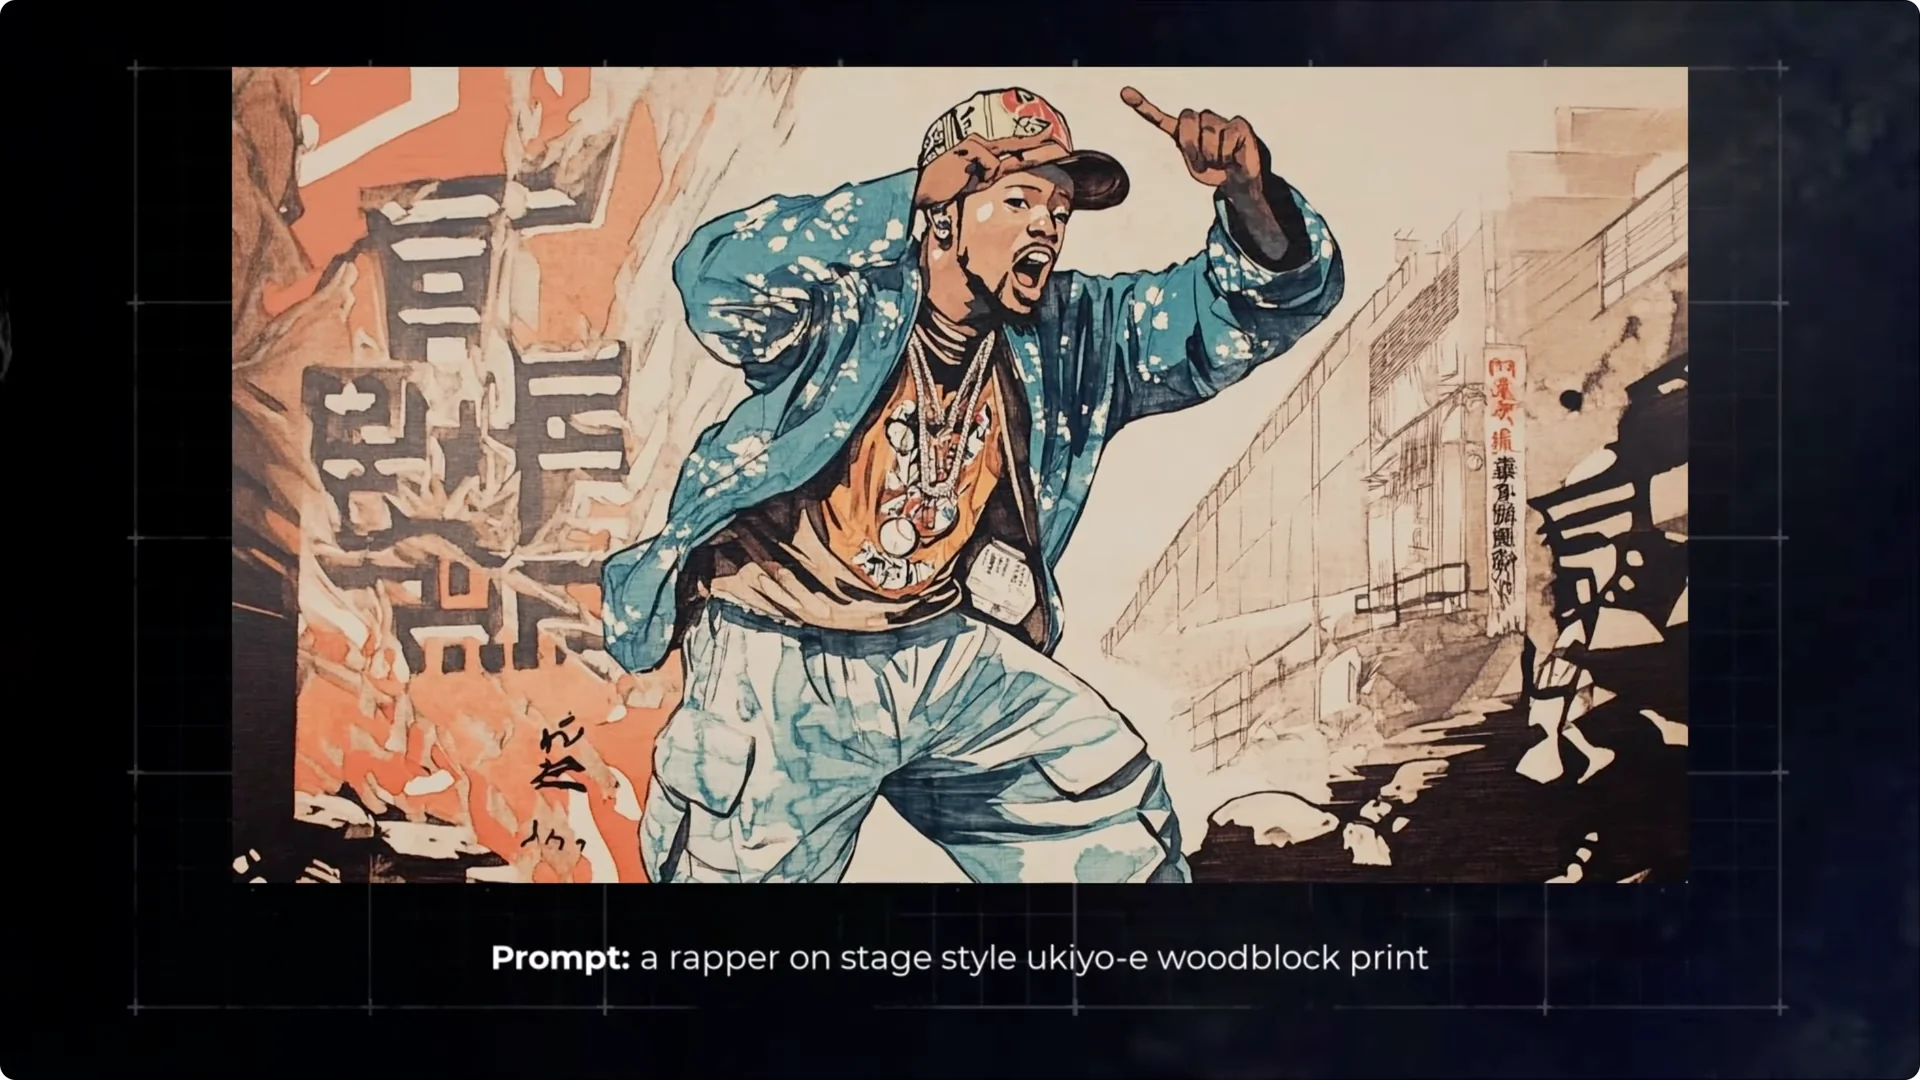
This also makes adjustments easier. If I have a Yuka woodblock style of my rapper but he is missing some elements, I add the image as a style reference, then add the missing detail.
For example, adding holding a microphone into the prompt lets me retain the style and get a better image.
Midjourney Style Referencing for Character Consistency
This approach opens up further development of your character with character references. After generating an image you like, click Use on that image with the same settings, then drag that image in as a character reference.
Submit while holding the style and the character together.
The clothing might shift a bit, but the overall character stays consistent from image to image. You can also use several images as character references to reinforce identity across a set.
Increasing Control with Midjourney Moodboard Techniques
Build a mood board from your gallery
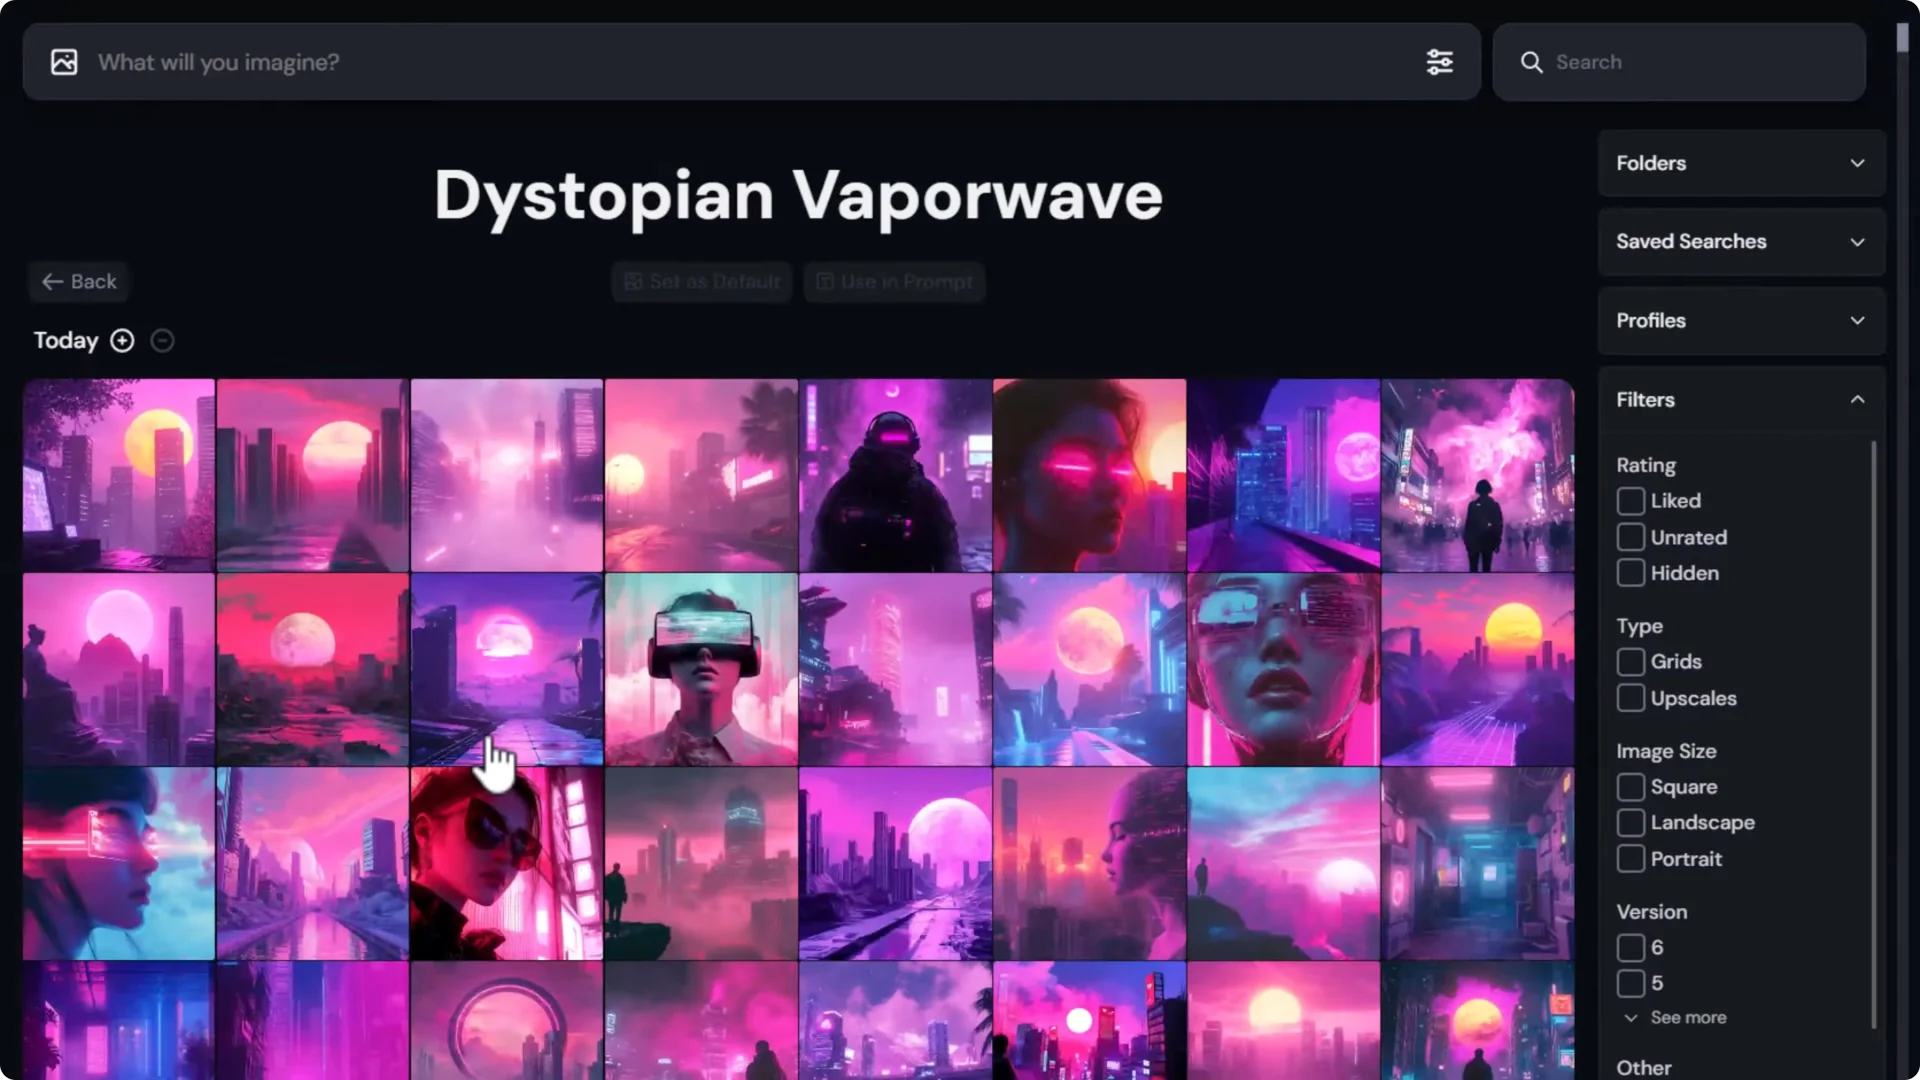
I created a basic style called dystopian vapor wave that I liked. I used –repeat 10 to generate more sets of images to feed into a mood board.
After styling the prompt and generating, I had a group of images that shared colors and subject treatments.

- Open Personalize and create a new mood board. Name it something like Dystopian Vaporwave.
- Use the gallery search to filter for your theme, then select and add all relevant images.
- Add more sets if you want by shift-selecting. You can skip any images you do not want creeping into the board.
It does not have to be images you created right now. If you have many images in different styles, just filter, select what works, and add them to the board.
Apply a mood board to your prompt
Returning to the rapper example, I avoid clicking the Use button on earlier images because it copies sref info I do not want.
I click on the text to insert the mood board code into my prompt, remove Yuka woodblock print from the text, then submit. The new images keep the elements I want and maintain that vapor wave dystopian style.
Dial the style influence with stylize
Much like a style reference, mood boards can be dialed up or down.
- Type in –stylize. The default is 100. Zero is basically off.
- To push style influence, set –stylize 1000.
With a high stylize value, the look moves deeper into the mood board style and slightly further from prompt details. That is fine if I want that push. It shows the range I can work within.
Putting Midjourney Style References Together
If I have an image but want it to look more like another image I love, I drag that second image in as a style reference. I submit and the style starts to creep in. If it still does not quite match, I take one more step.
You cannot drag the same image in a second time as a style reference, but you can also add an image reference. If I click the image reference button it turns off the style reference.
Holding Shift while clicking image reference lets me keep both. Submit with both and you will see the style dial up further while details give a little bit.
This shows the spectrum you can play with. Choose where along the line you want to land.
Building Your Own Look and Finer Adjustments
Old photo damage with a mood board
I wanted a photographic portrait of a samurai with an old damaged photo look. The first results were not bad, but I wanted a different kind of damage and did not know how to prompt for it.
I created a mood board called Old film dust and scratch with images of corroded, grainy photos and a few textures of dust and scratches.
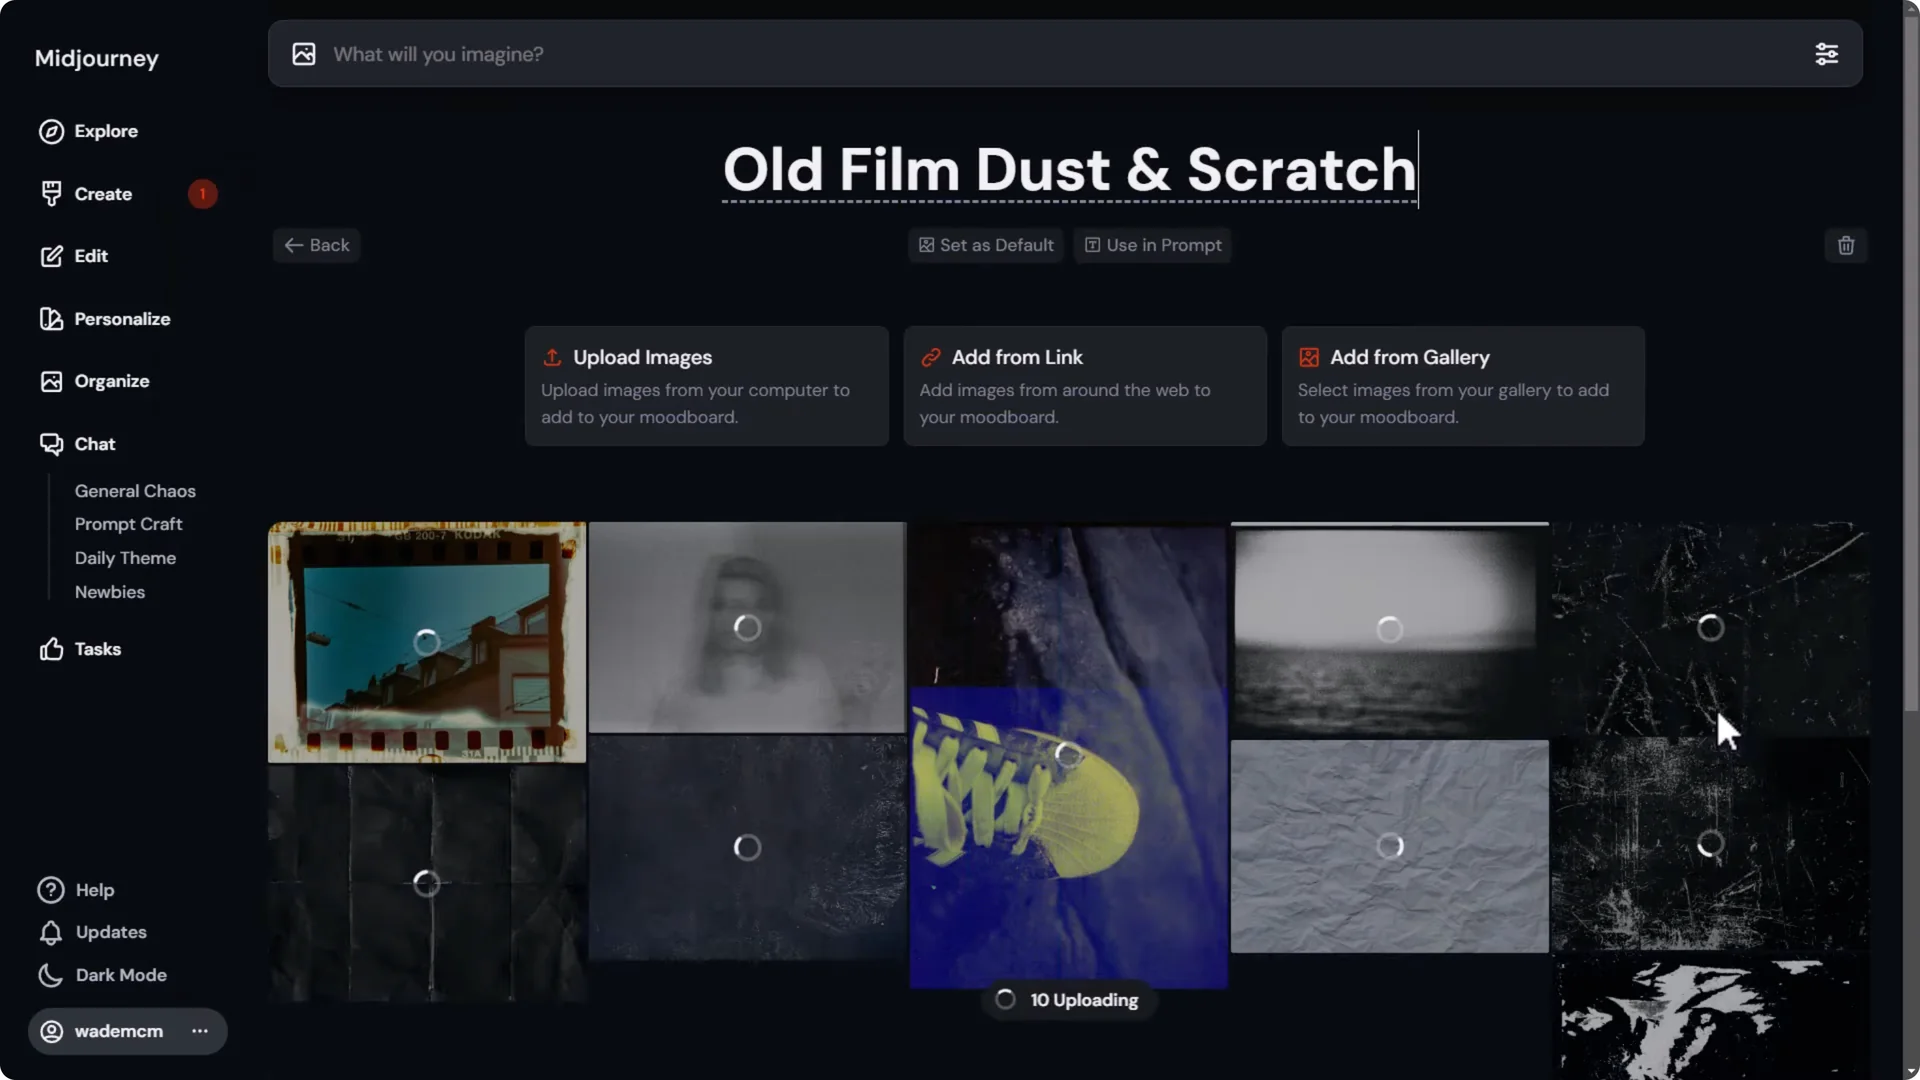
- Upload and add those images to the mood board.
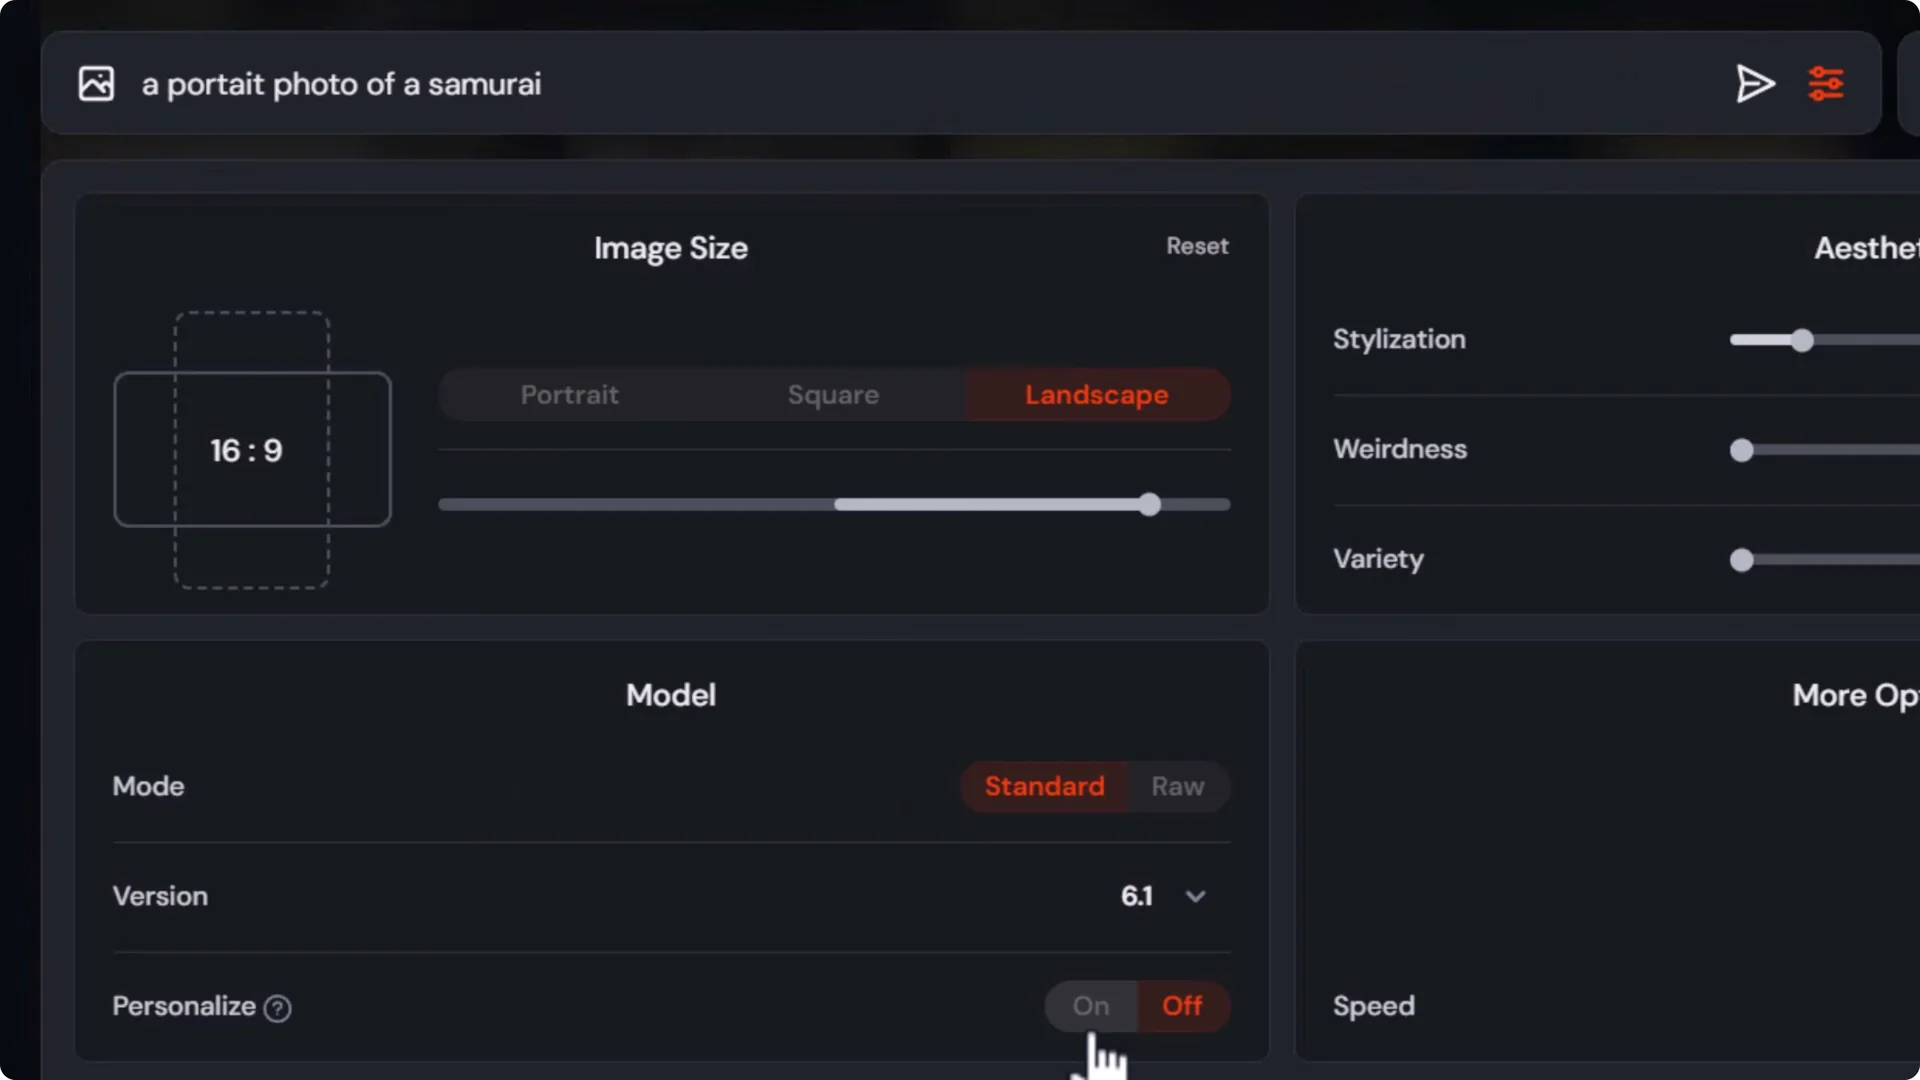
- Head back to generate, paste in a normal portrait of a samurai, open prompt settings, turn on Personalize, and switch to the Old film dust and scratch board.
- Submit and evaluate.
The photographs have a very authentic old look. If they are a little too hard to see, I can still work with that.
Prompt impact still matters
I can also add the phrase old damaged photo into the prompt while using the same mood board. The prompt still has impact. If the results are still too hard to see, I reduce stylize to dial the effect back.
- Set –stylize 40 for both prompts. The default is 100.
- This keeps the overall mood but improves clarity.
Find the sweet spot with stylize
I like to test stylize values without prompting for photo damage to see pure influence.
- Try a portrait of a samurai with no damage phrasing.
- Test a range of –stylize values and compare. From 1000 downward, the effect peels away and eventually becomes non-existent near zero.
- For this style, between 10 and 20 felt best. I used permutations in the prompt to test 12, 14, 16, 18, and so on.
Viewing those images, 16 feels like a nice photographic effect without being too noisy. 18 goes a little too far.
Combining Mood Boards for Midjourney Style Referencing
Do not be afraid to experiment with different styles. I can add my Old film dust and scratch mood board and also add dystopian vapor wave, then submit. The result is an interesting blend of the two.
When I get close to something I like, I do not stop at one image roll. A lot of the strong work you see is the result of generating many images and selecting the best.
- Reuse the same prompt with the same mood boards.
- Add –repeat 6 to create six sets with the current settings.
- If you generate 4 images per grid, that is 24 images across the six repeats, plus the initial 4, for 28 to pick from.
From that batch, I pick the best ones that find a good balance between the vapor wave look and the film grain damaged photo feel.
Final Thoughts
- Start with a simple prompt to establish a style, then add detail back in using style references and a strong style weight.
- Use character references alongside style references to keep identity consistent.
- Build mood boards from your own gallery to steer complex looks that are hard to prompt.
- Control influence with –stylize and test small ranges to find the sweet spot.
- Combine boards and references, then generate in batches and curate. This process is how I arrive at A+ results with Midjourney Style Referencing.