Midjourney has updated its organizational features on the website for your images. Here is exactly how to use those new features to organize your images.
I’ll also cover the broader organizational workflow, including how to download in bulk and hide images, plus the one approach that lets you kind of delete them.
Midjourney Image Organization: New Folder System
The new folder system is more manual than the old approach, but it’s straightforward.
Create folders
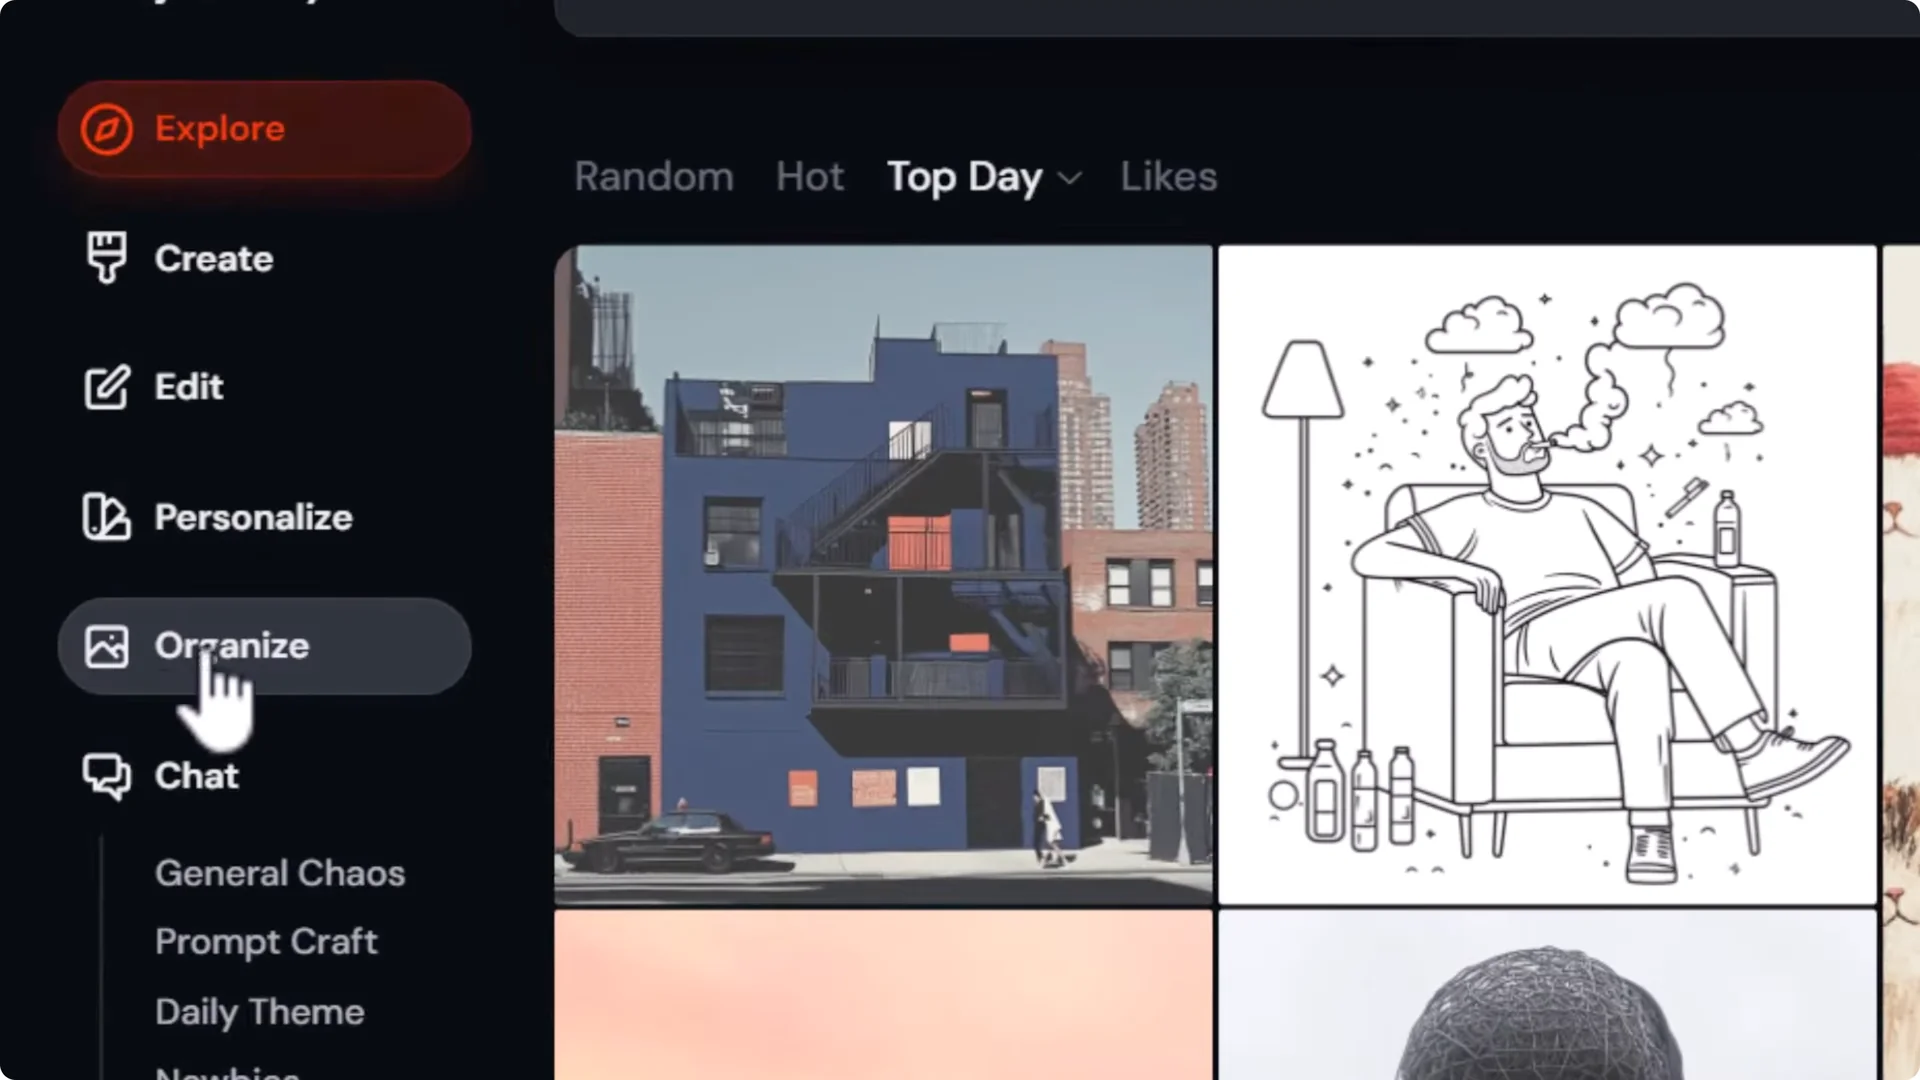
- Go to Organize.
- Open the Folders tab.
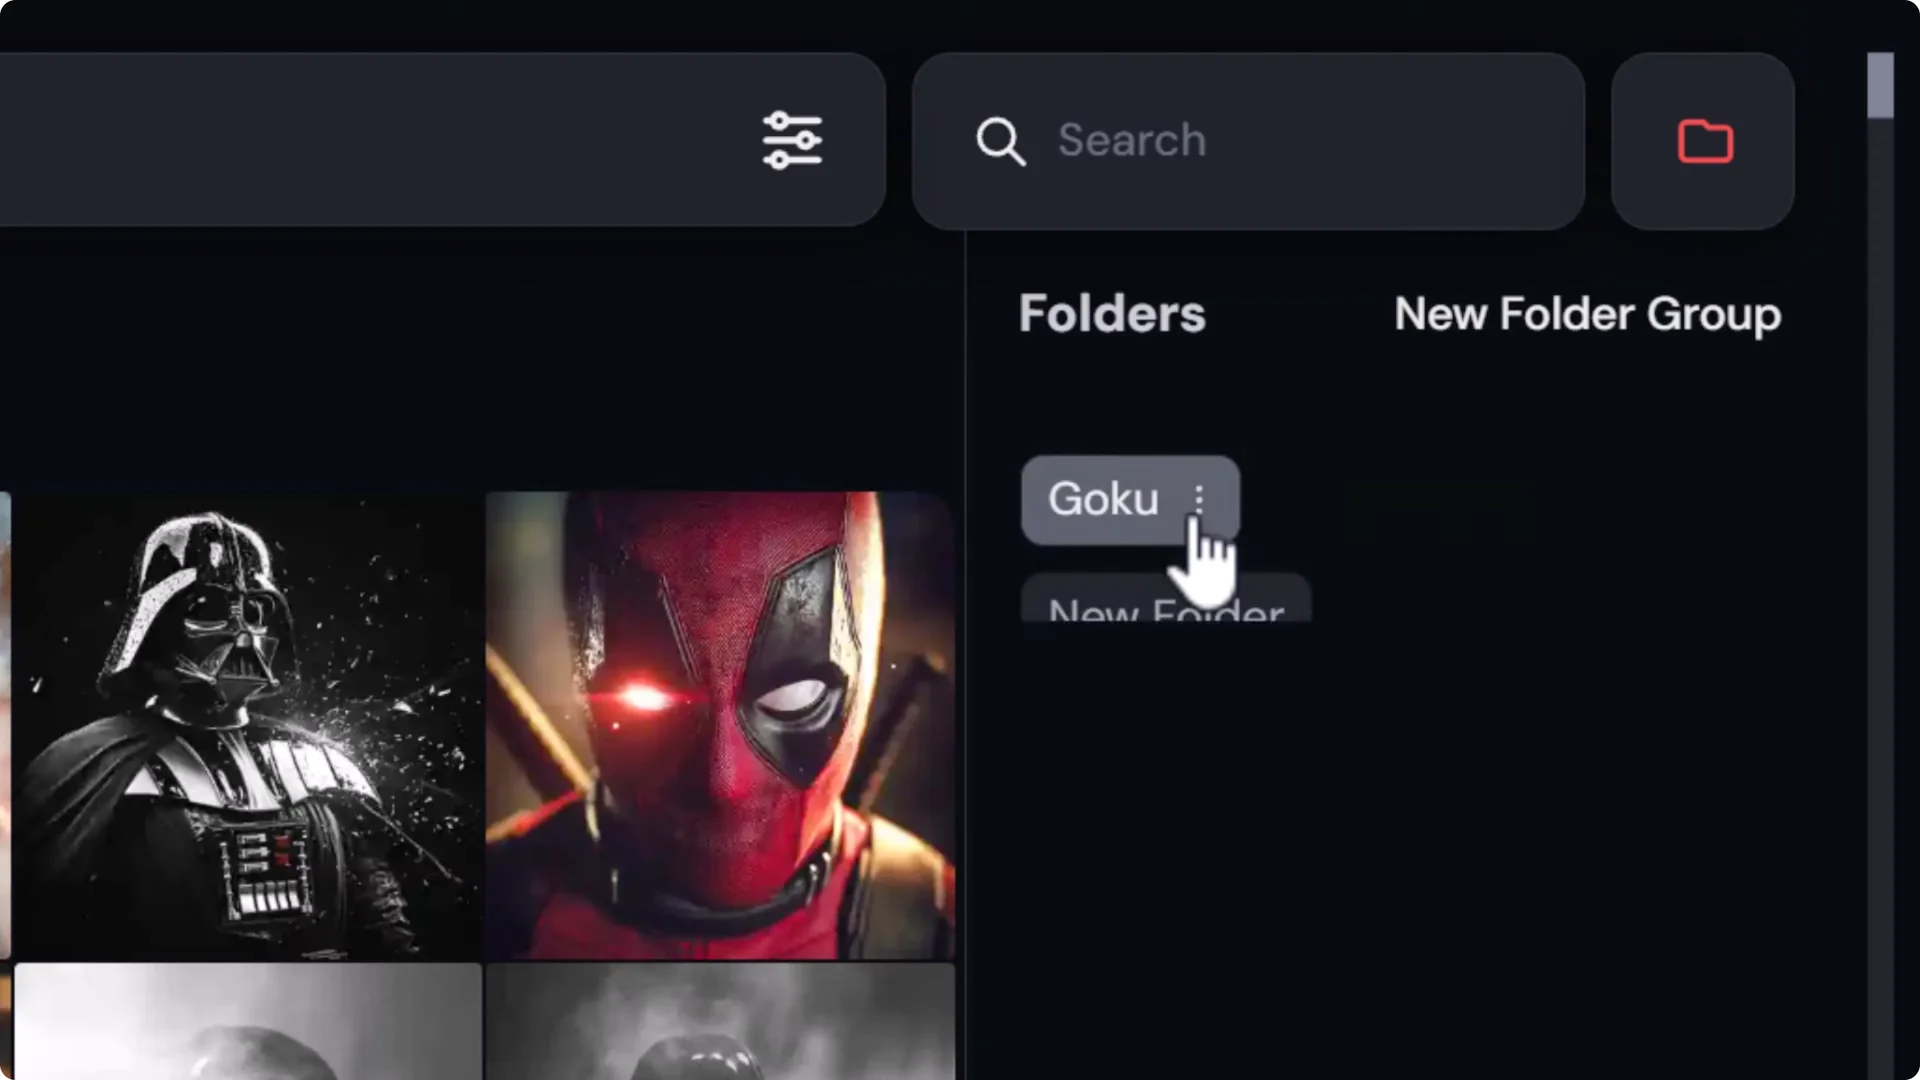
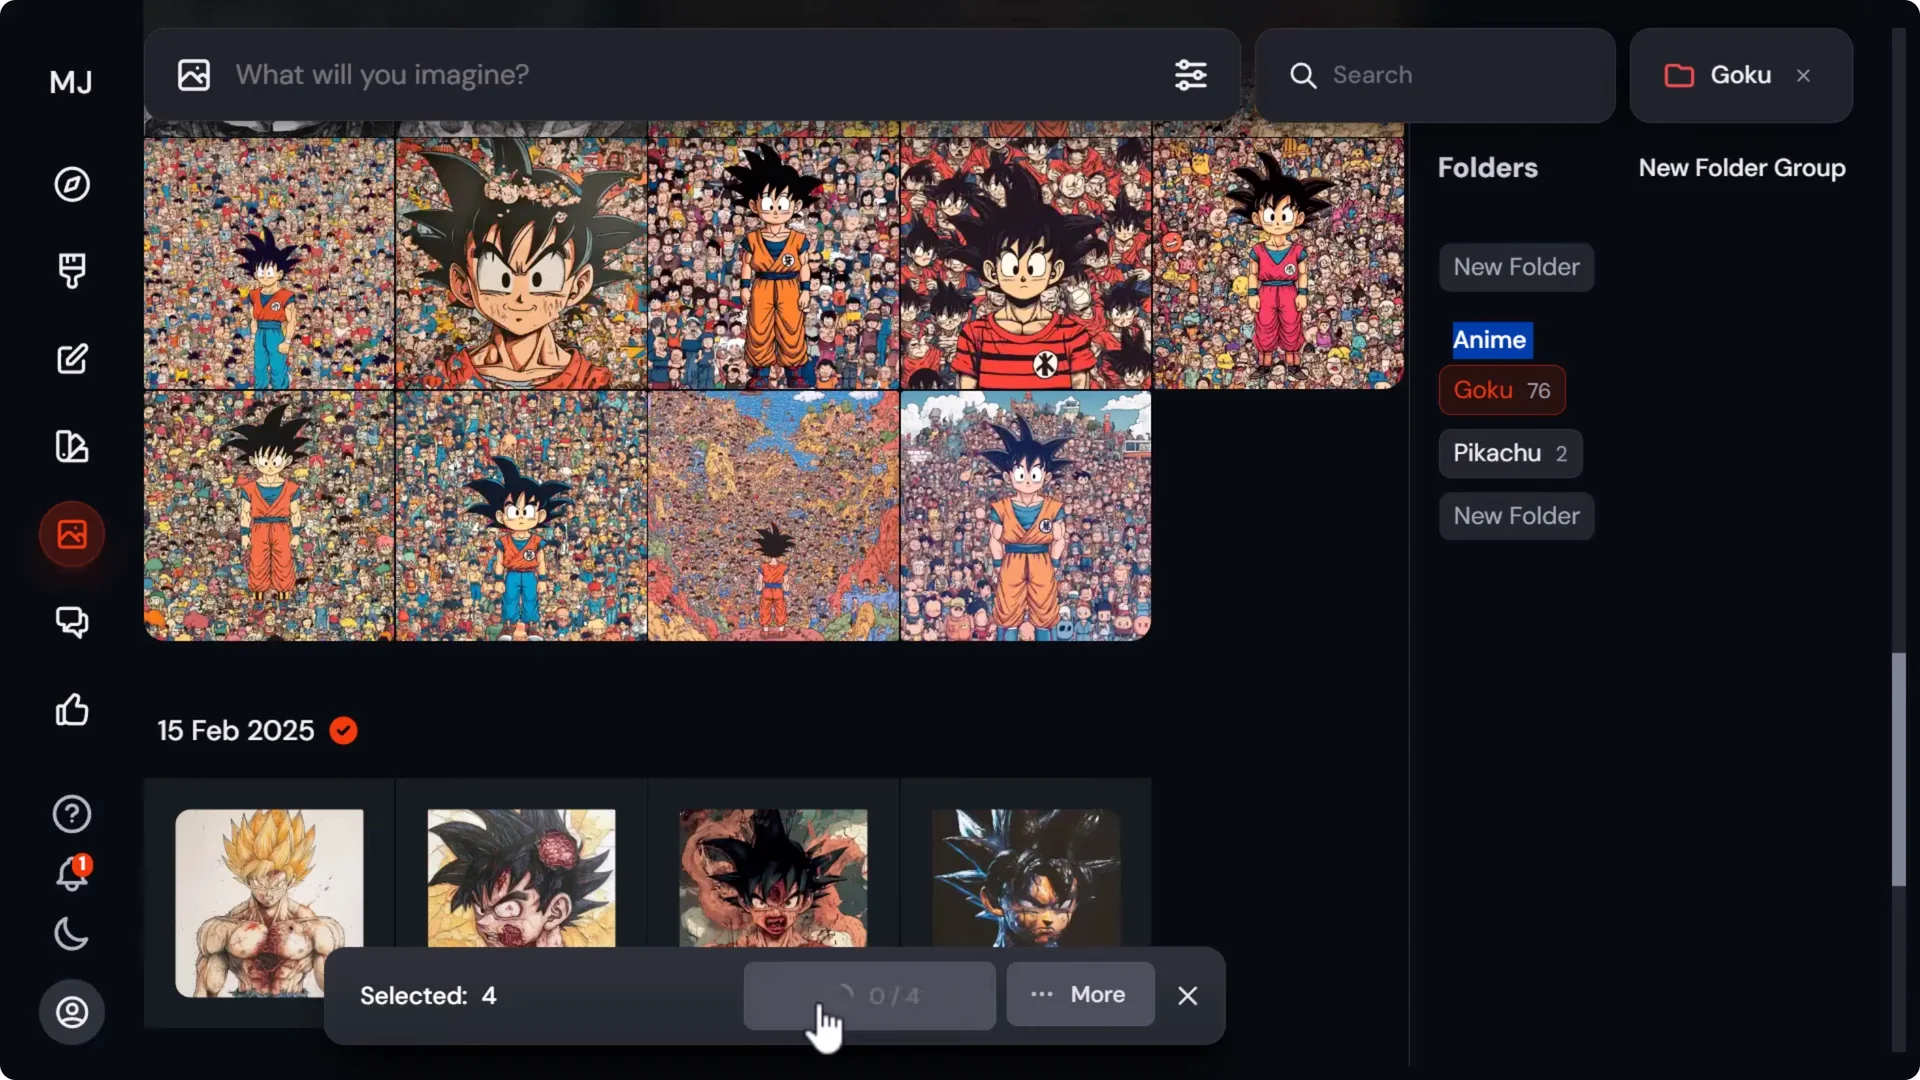
- Click New folder and name it, for example, Goku.
- Create as many folders as you need.
Add images to folders
You can add images in a few ways:
- Drag and drop images directly into a folder.
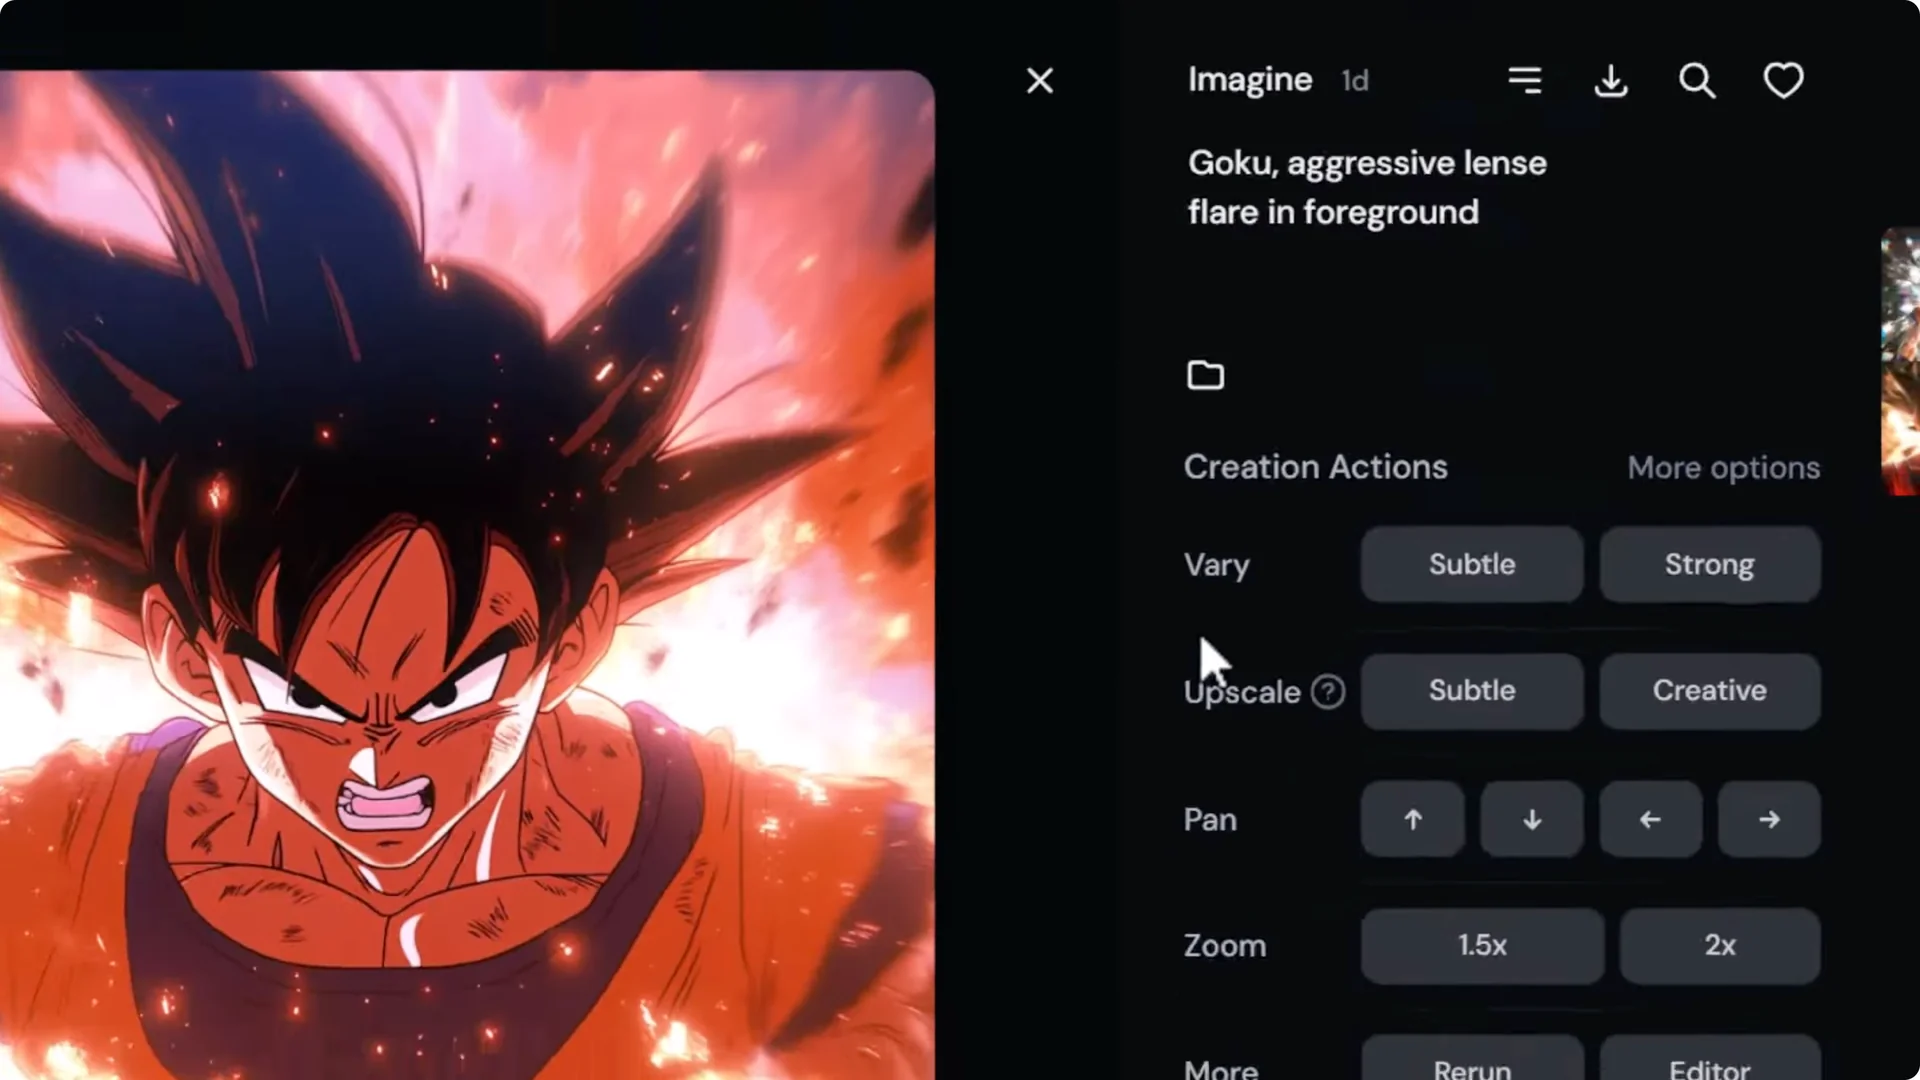
- Click an image, hit the folder icon, and add it to a folder.
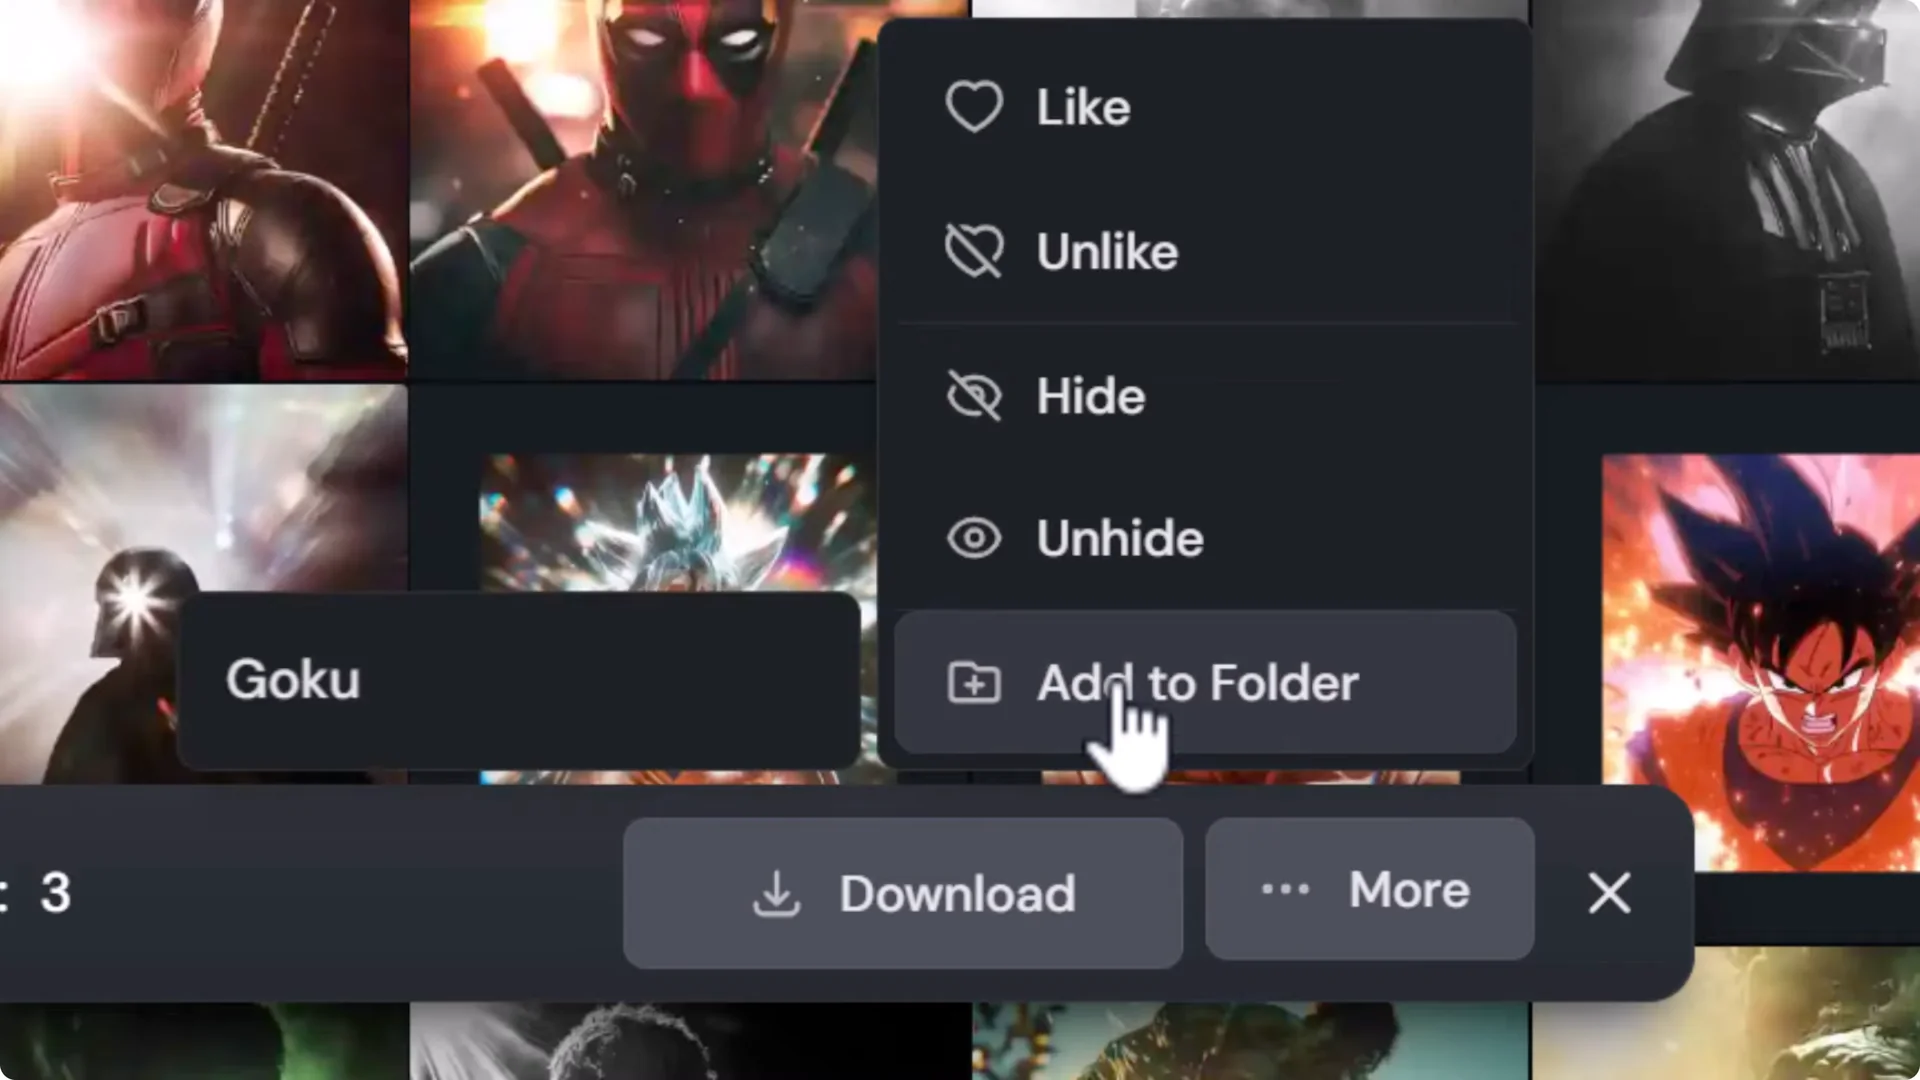
- Multi-select images, click More, choose Add to folder, then pick the folder.
View and manage folder contents
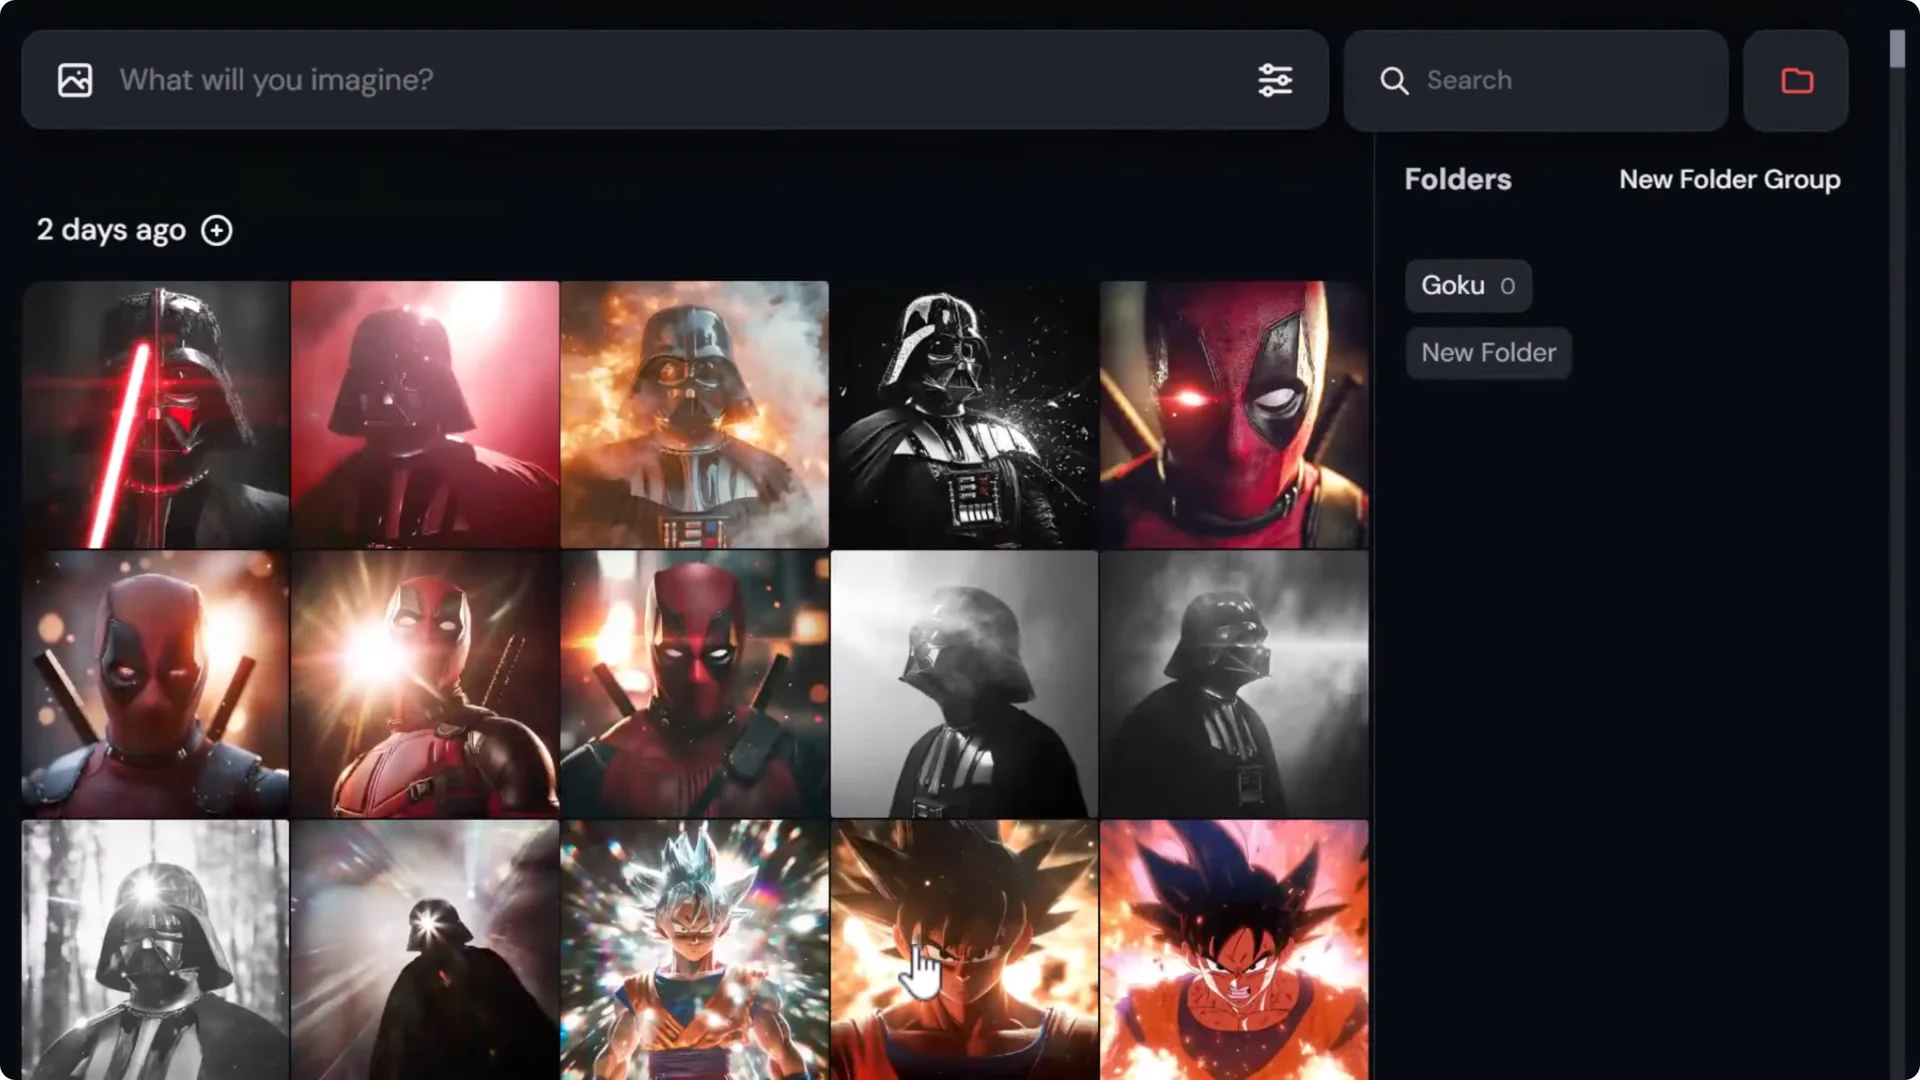
Open a folder to see its images and continue adding to it.
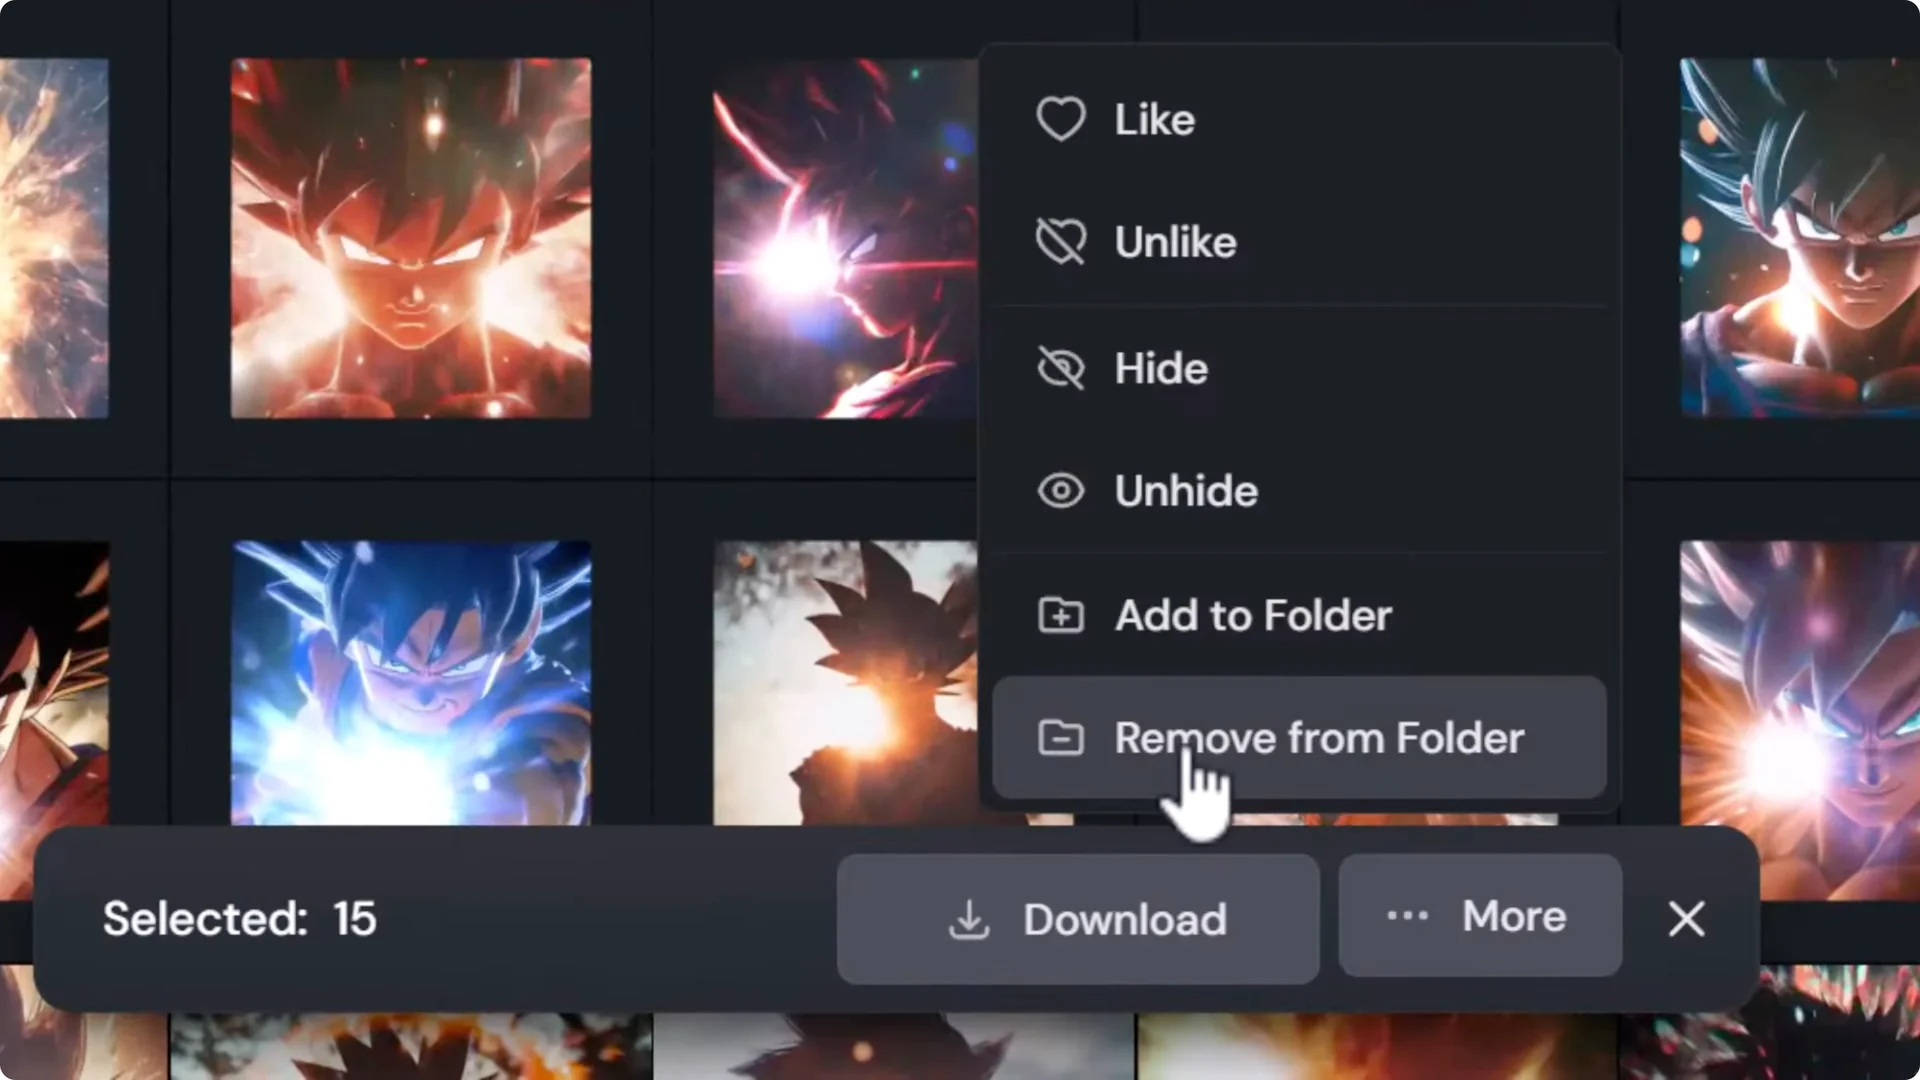
Remove an image from a folder by clicking the small X on the image inside the folder.
While a folder is open, you can multi-select and use More to remove selected images from that folder in bulk.
Use search to bulk-add
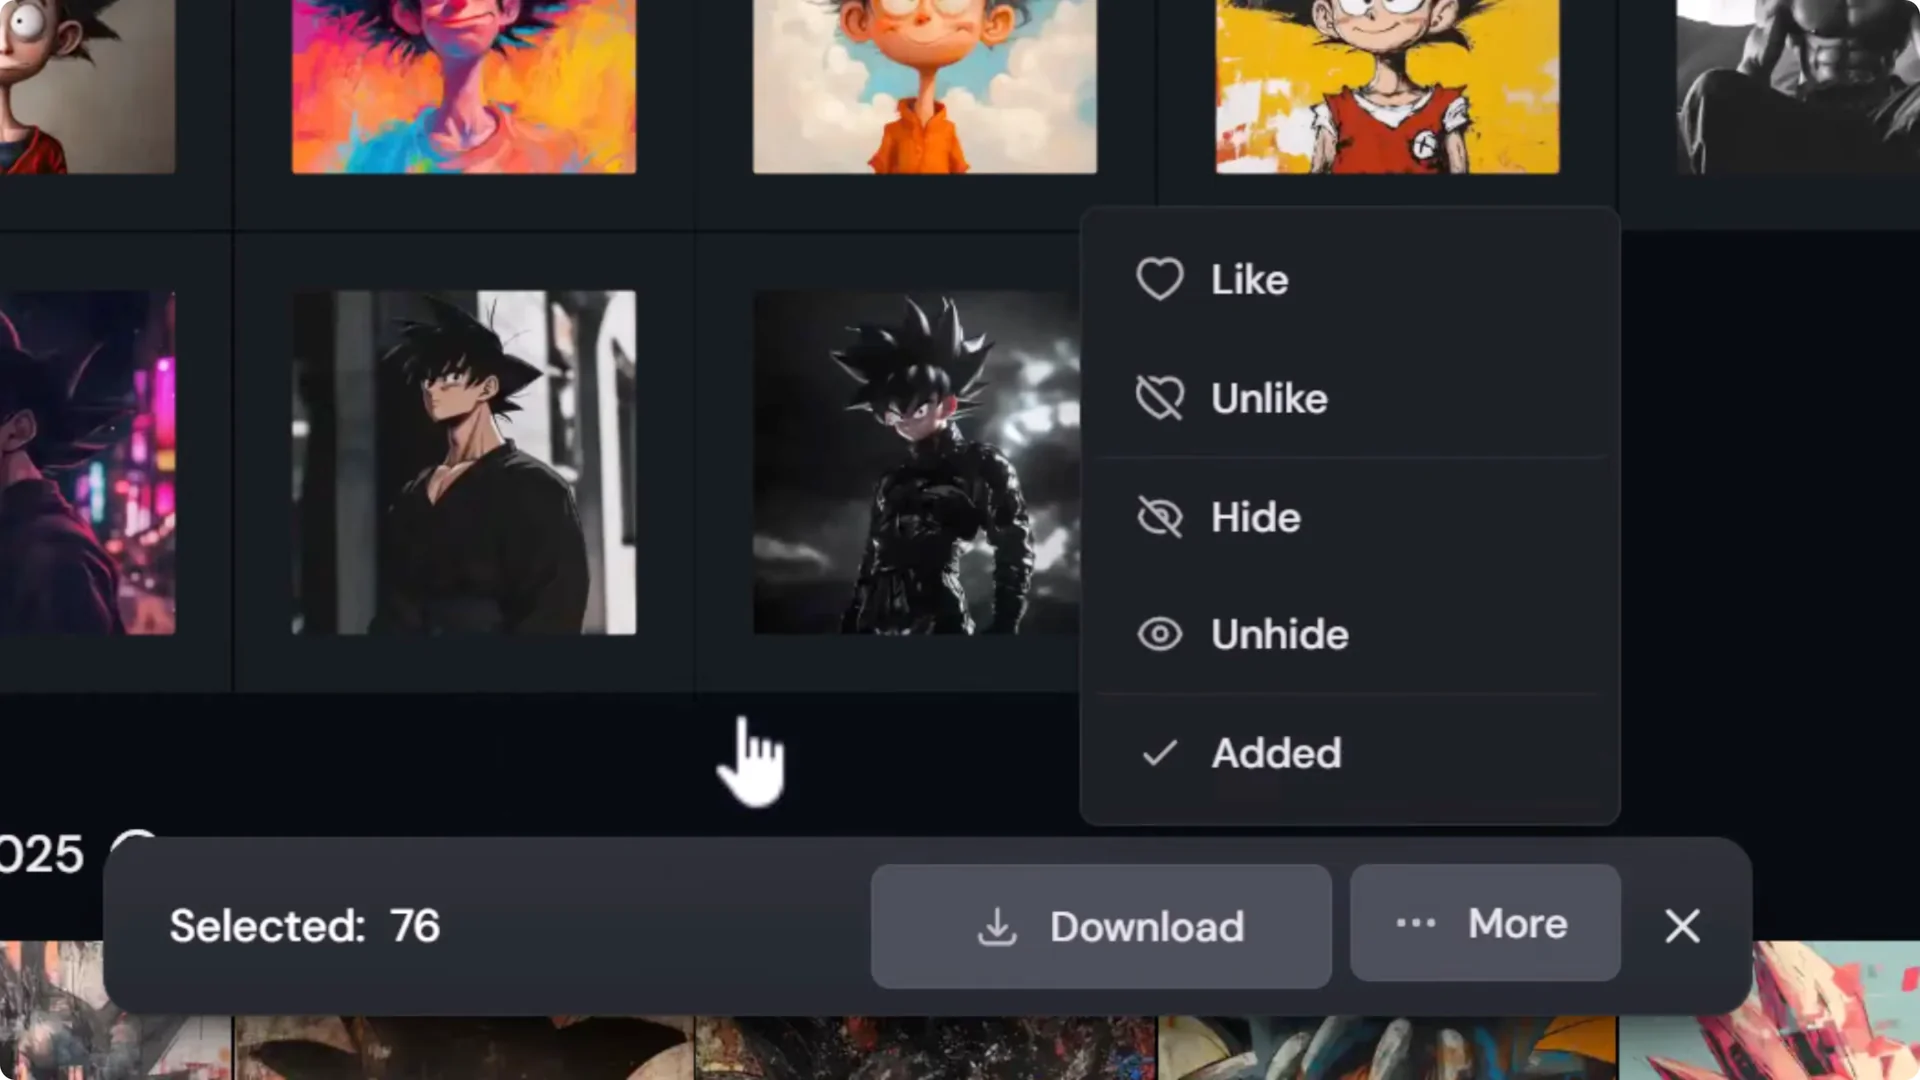
- In Organize, use Search to find related images, for example, by typing Goku.
- Select entire days or multi-select images.
- Click More, Add to folder, and send them all into your folder at once.
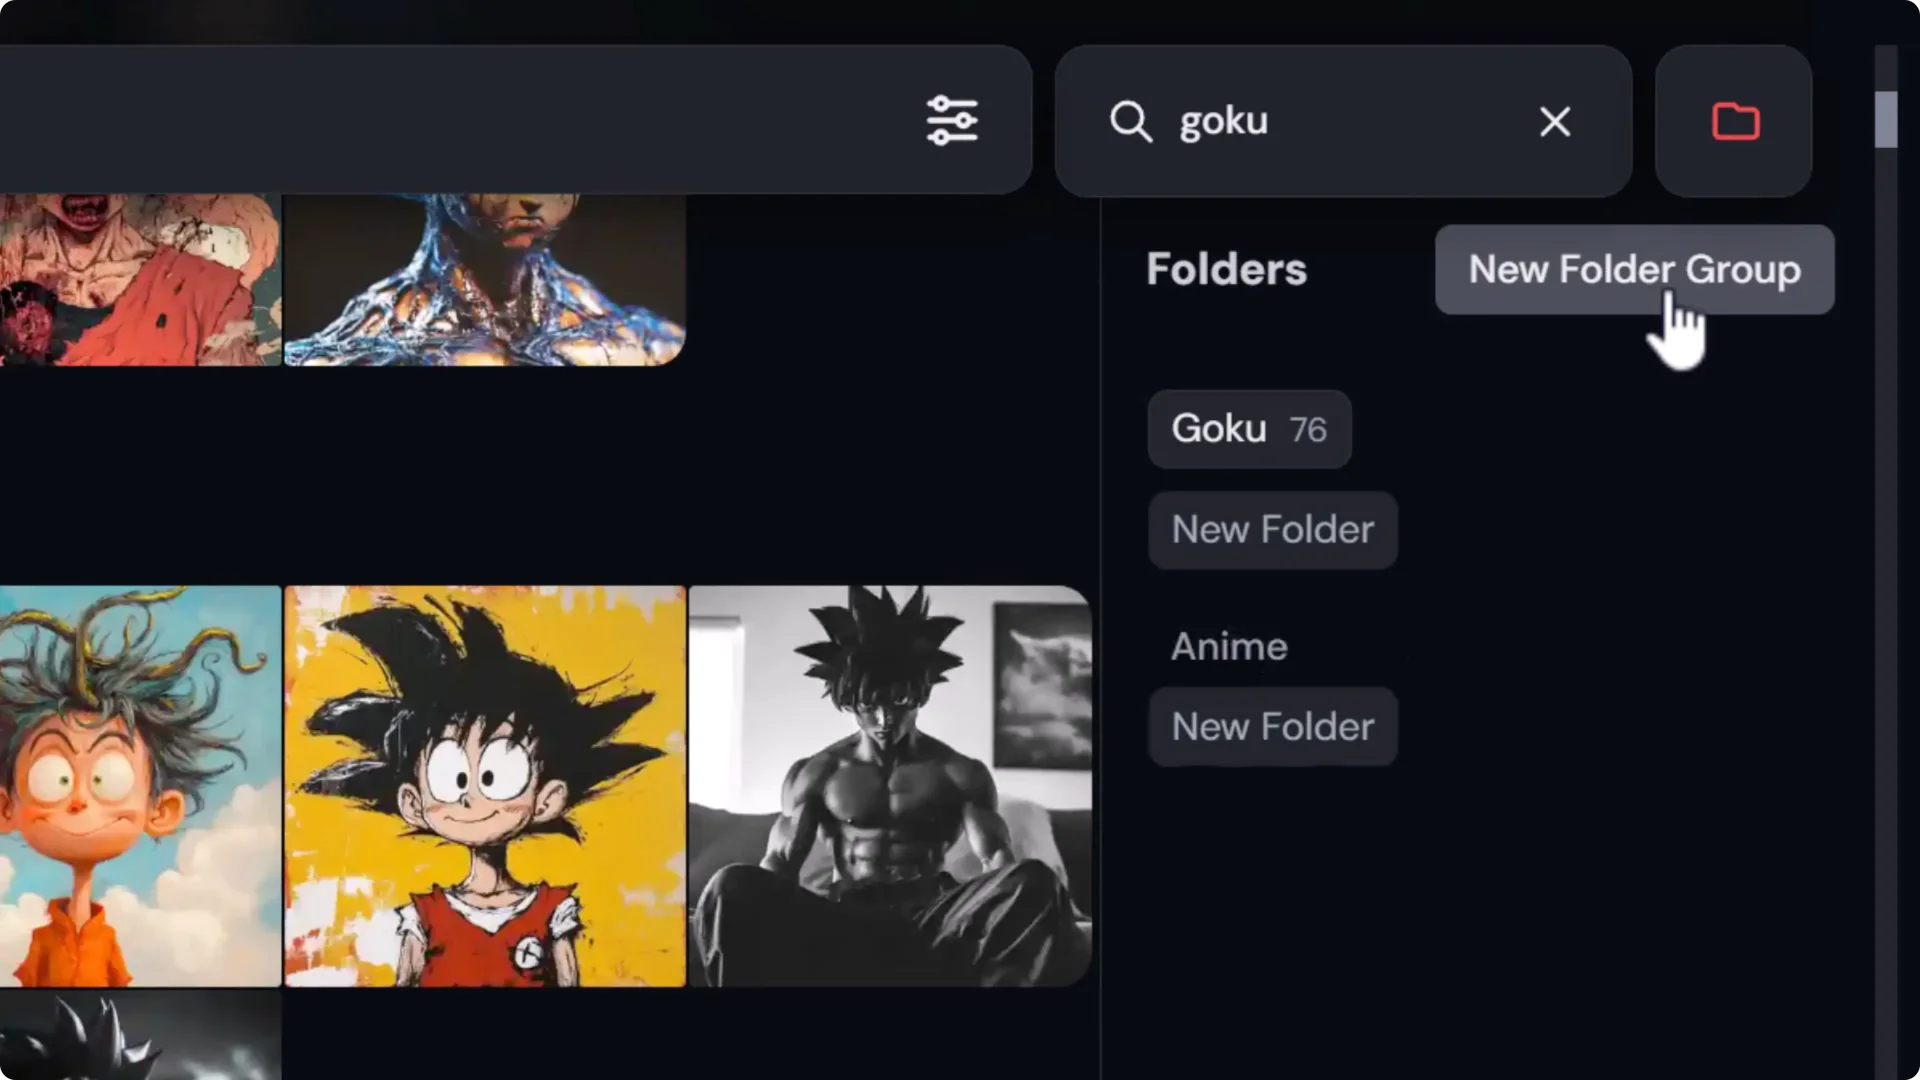
Group folders
If you plan to sort into lots of folders, create folder groups:
Create a new folder group, for example, Anime.
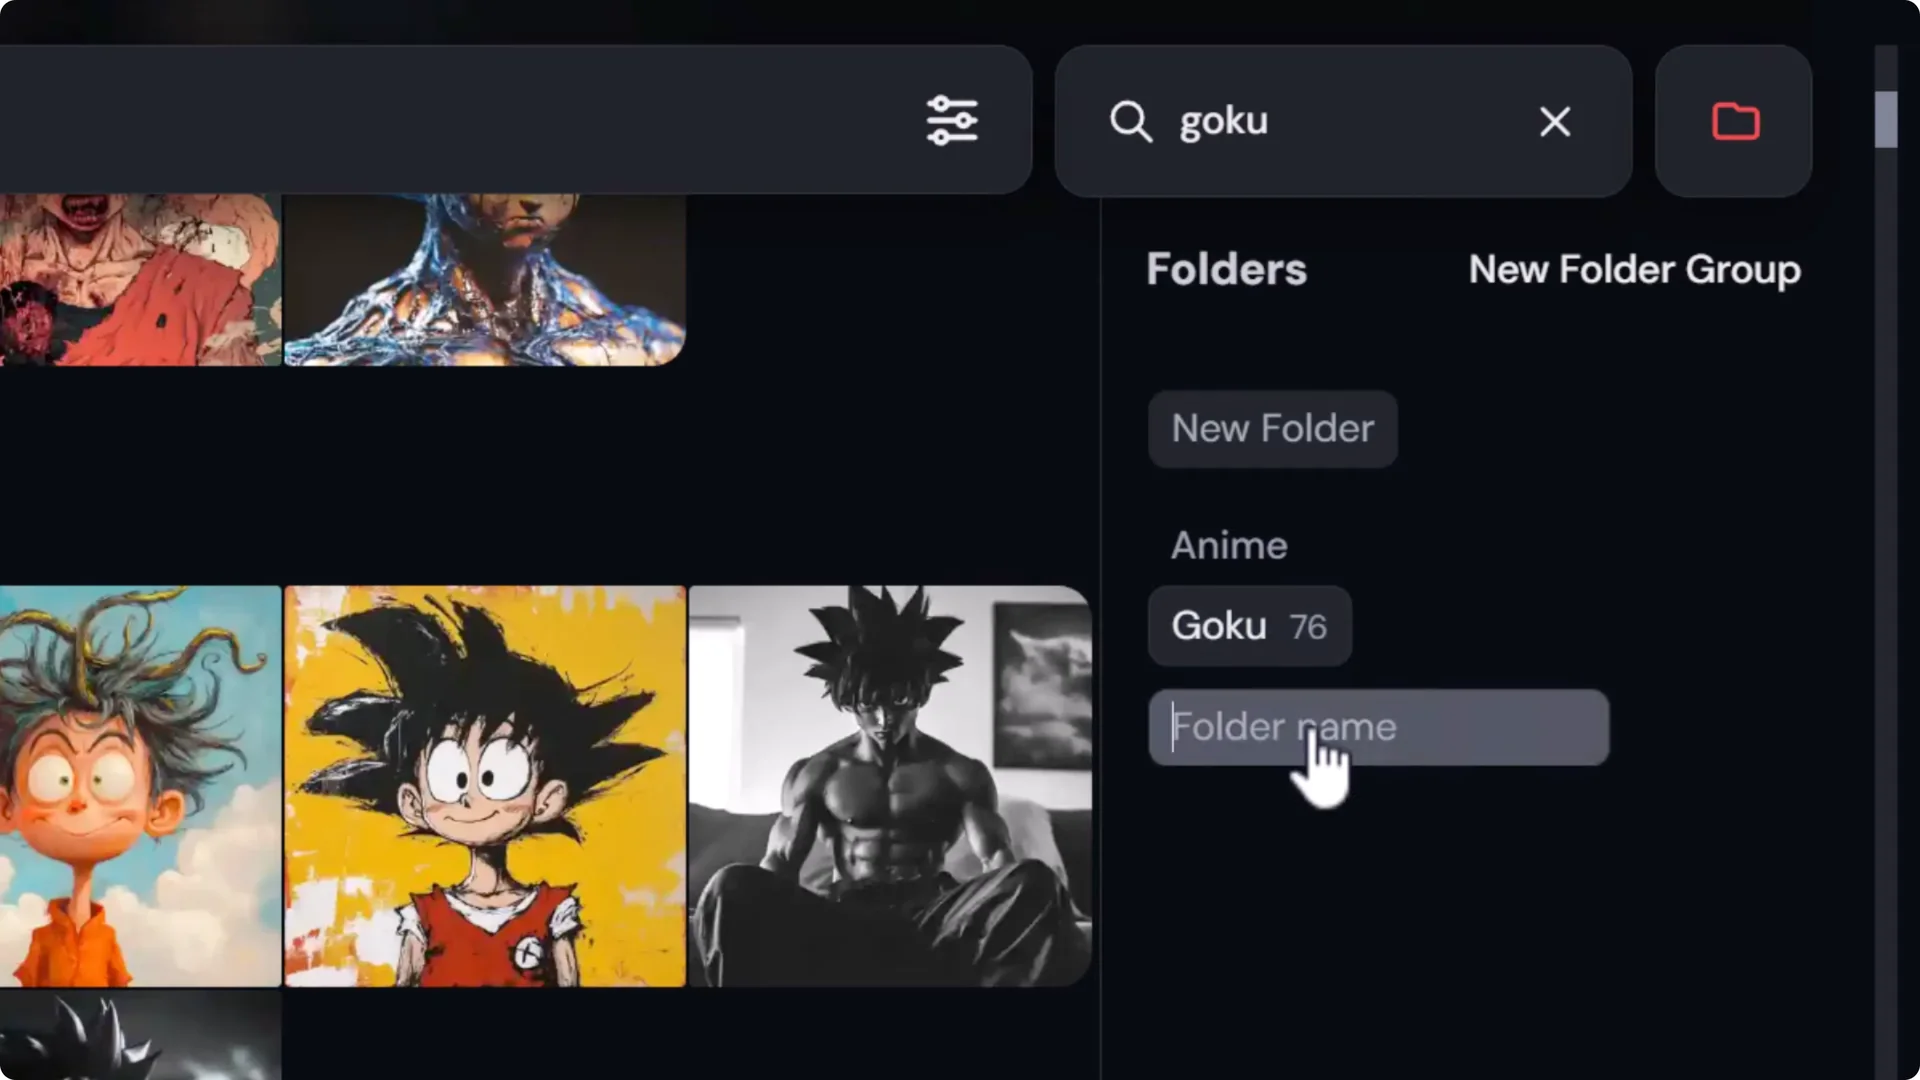
Drag folders like Goku or Pikachu into that group.
Use Search to quickly find images, then add them to the relevant folders.
This gives you a clear manual organizational process to create folders, sort images, and find what you want.
Midjourney Image Organization: Automate With Saved Searches (Old Folder System)
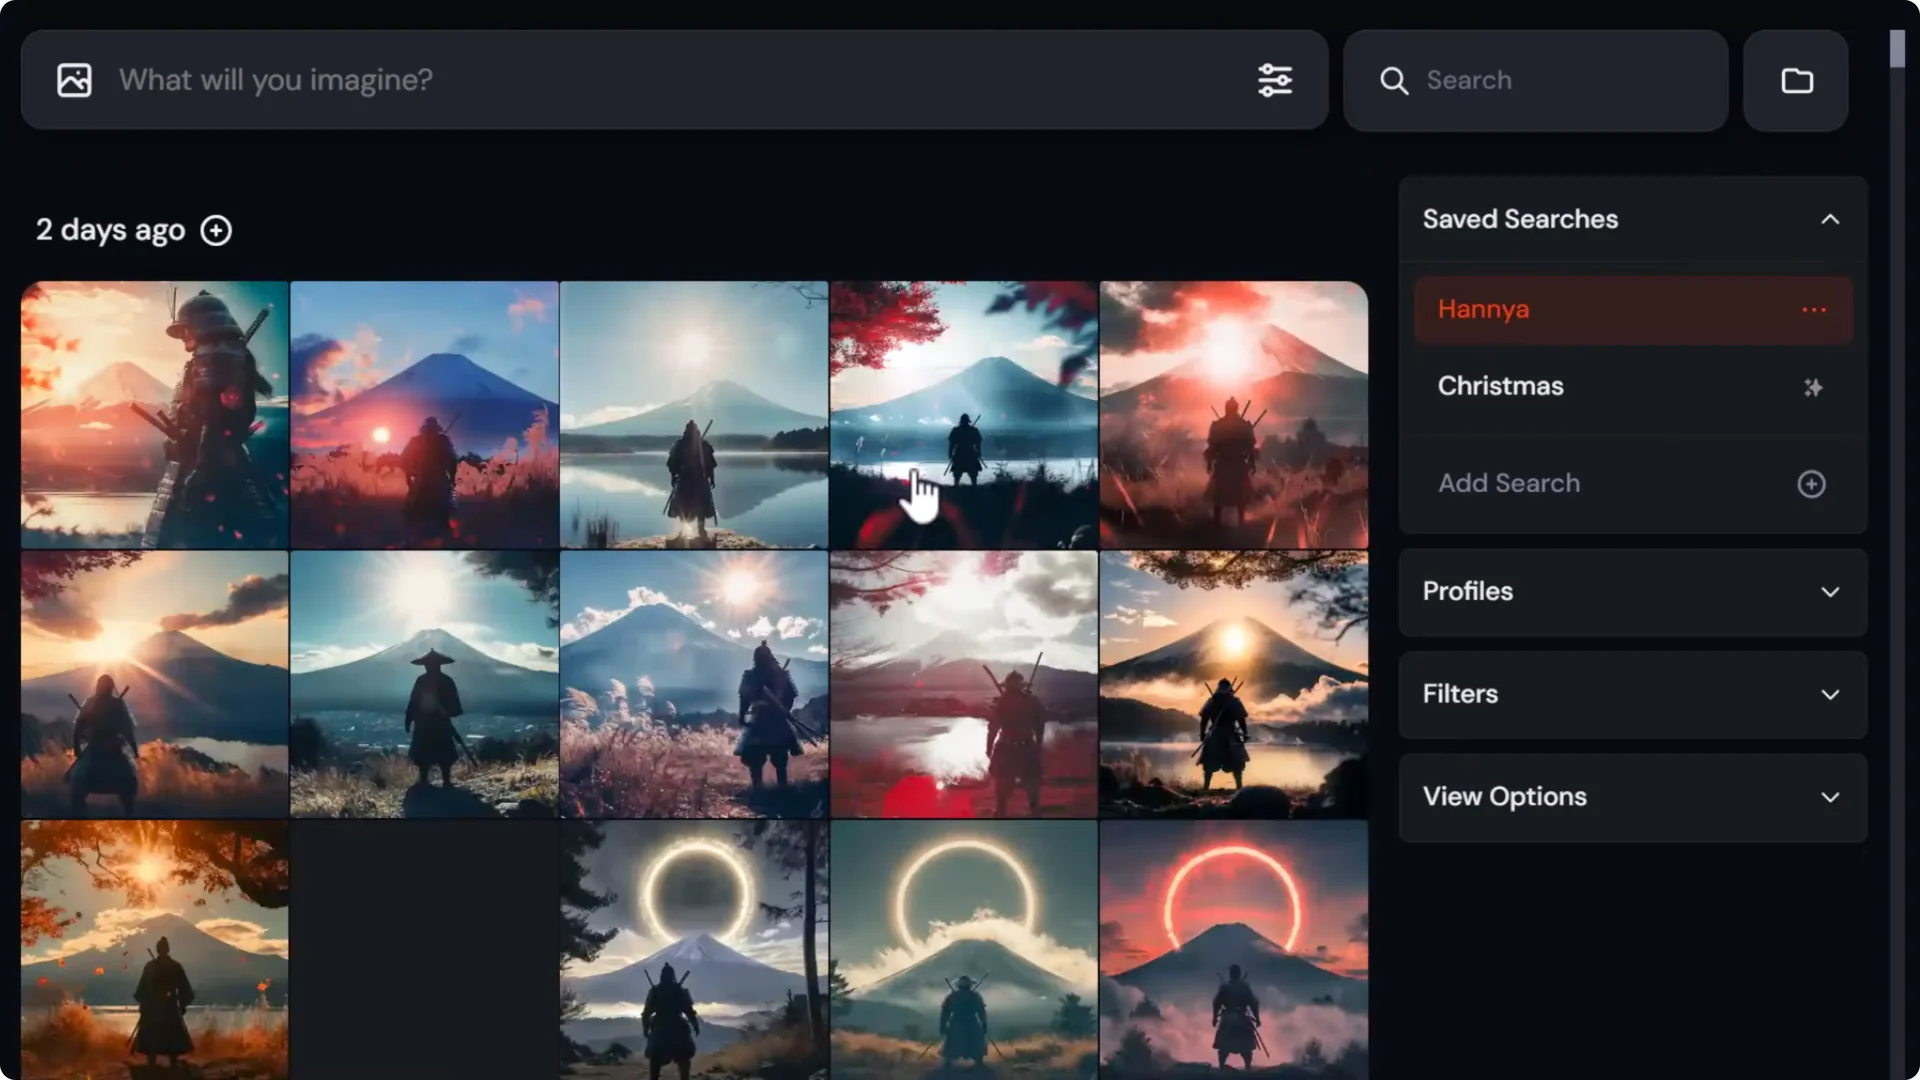
Saved searches act like filters. In the past, folders behaved this way, and they now live under Saved searches.
- Click a saved search like Hana to bring up images matching certain terms, for example, Hana or Samurai in the prompt.
- Click the three dots on a saved search to see or edit its terms.
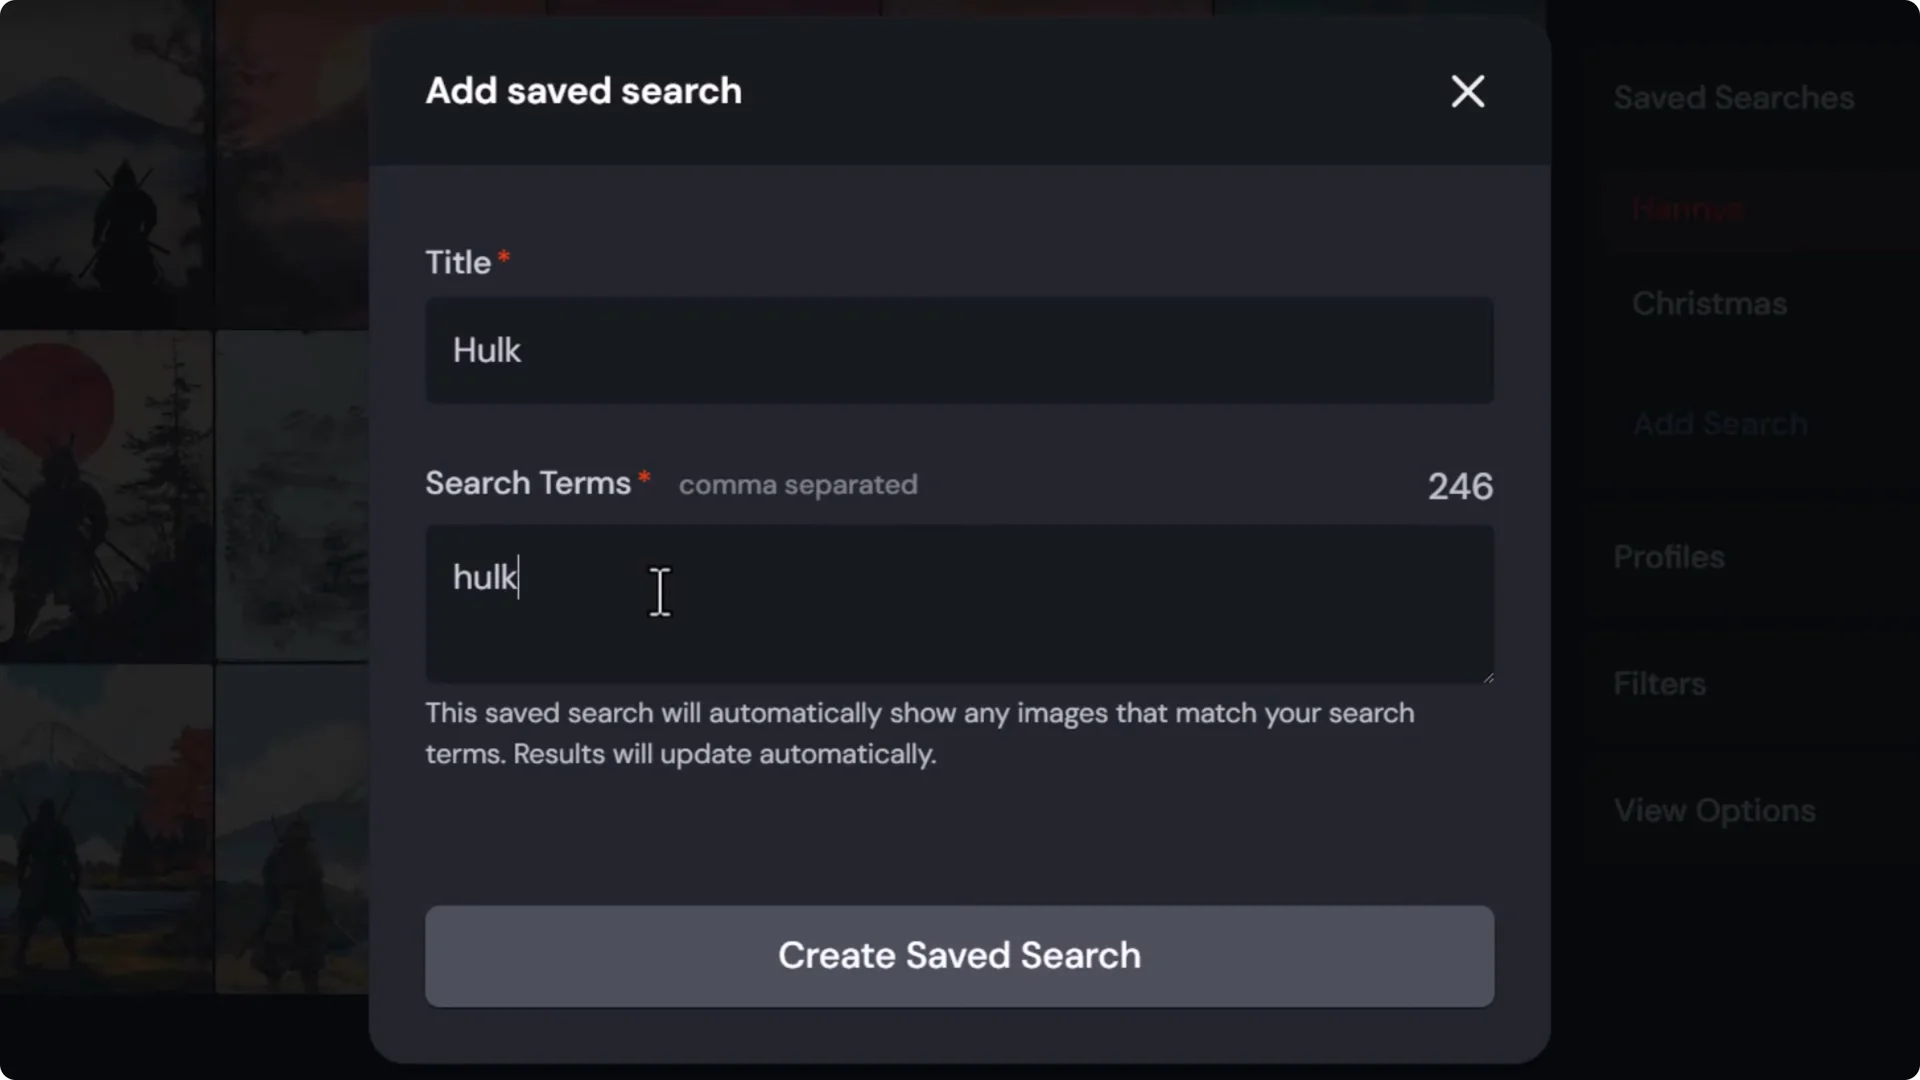
- Create a new saved search:
– Click Add search, name it, for example, Hulk.
– Add search terms, separated by commas. For example: Hulk.
– Save it. Any image with those terms in the prompt appears under that saved search.
- I often set up searches for recurring themes, like Hulk or HR Giga, so I can quickly jump to everything I’ve made in that style.
Saved searches are great when you want a more automated way to surface images based on prompt terms.
Midjourney Image Organization: Using Image Filters
Filters help you narrow down by attributes and profiles.
Filter by profile and mood boards
There is a profile section with mood boards. For example, if I select my HR Giga mood board, I’ll see images created with that mood board.
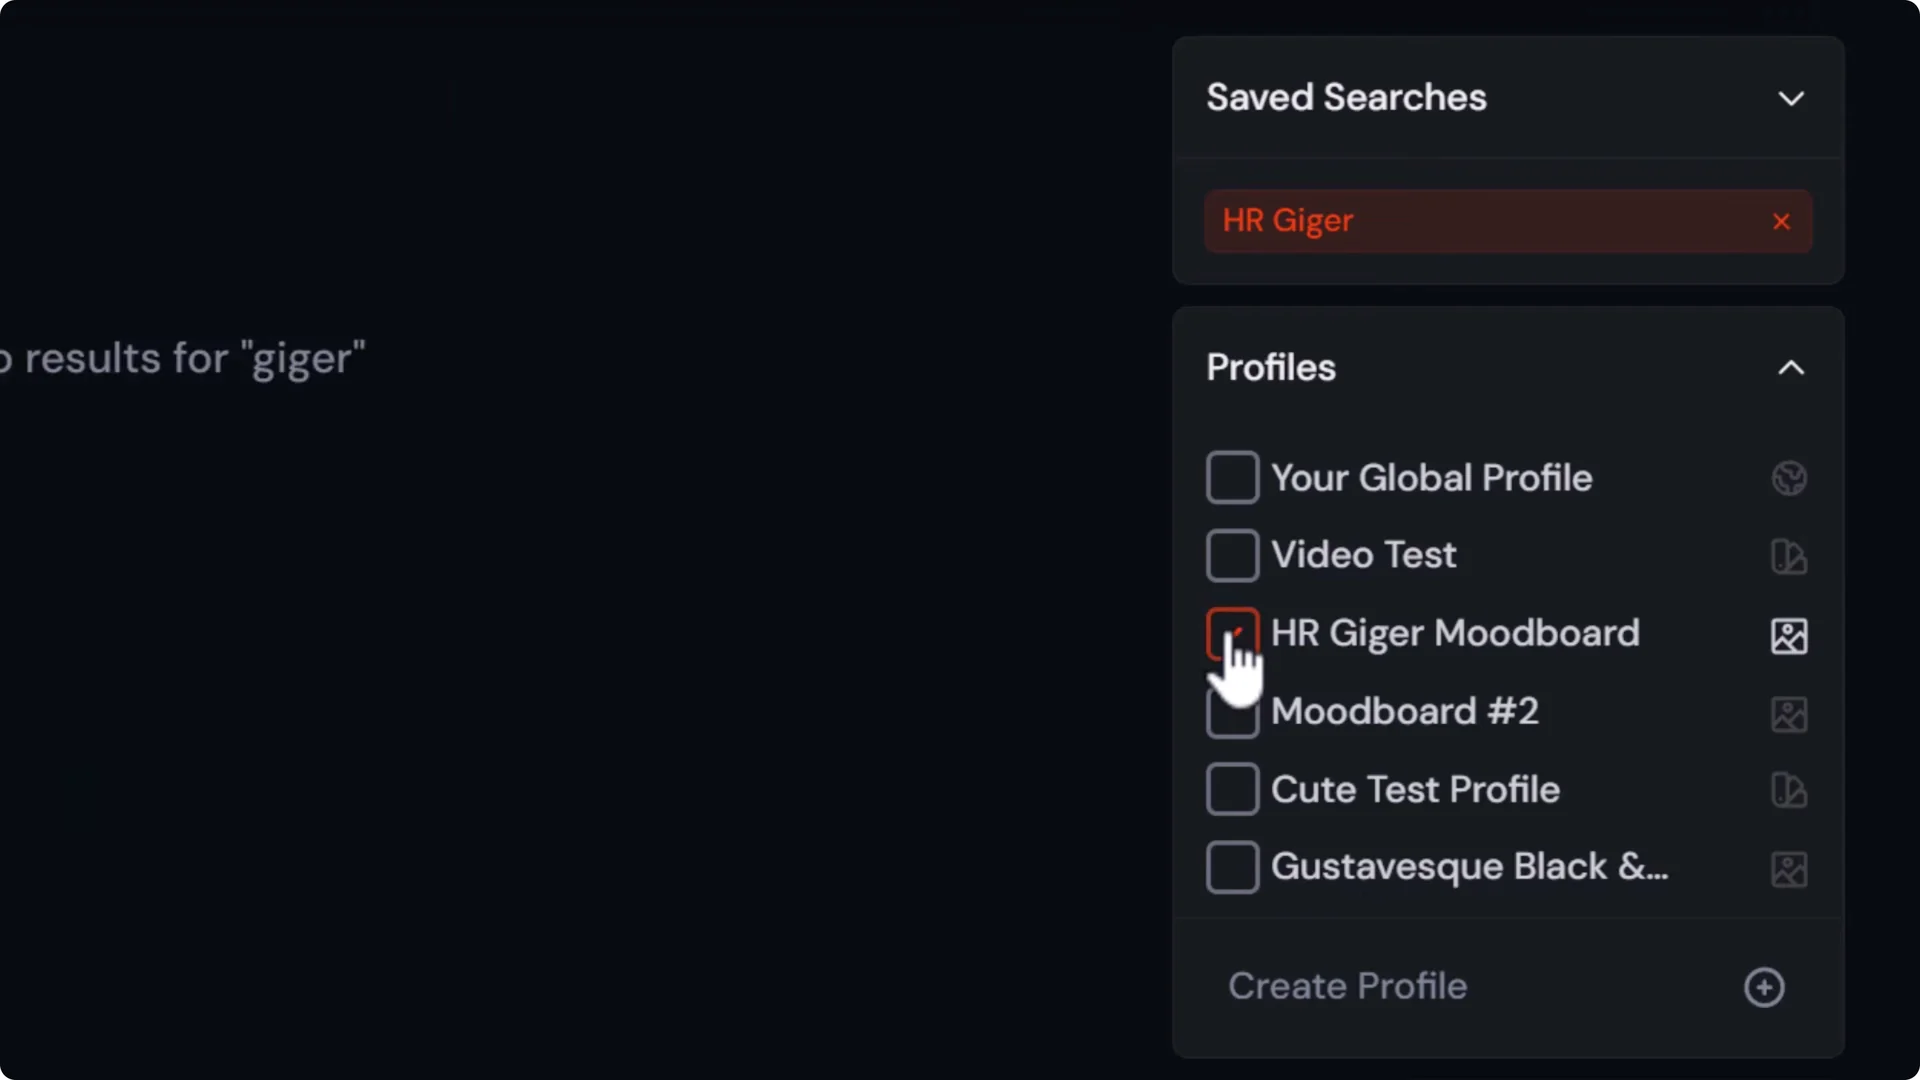
If you have an active saved search filter showing at the top, make sure to turn it off first so you’re only seeing the mood board results. You can multi-select from here as well.
I also have a Gustav black and white profile, and filtering by these personalization profiles works the same way.
Filter by likes, upscales, aspect ratio, and version
- Liked images.
- High resolution upscales.
- Aspect ratio.
- Model version.
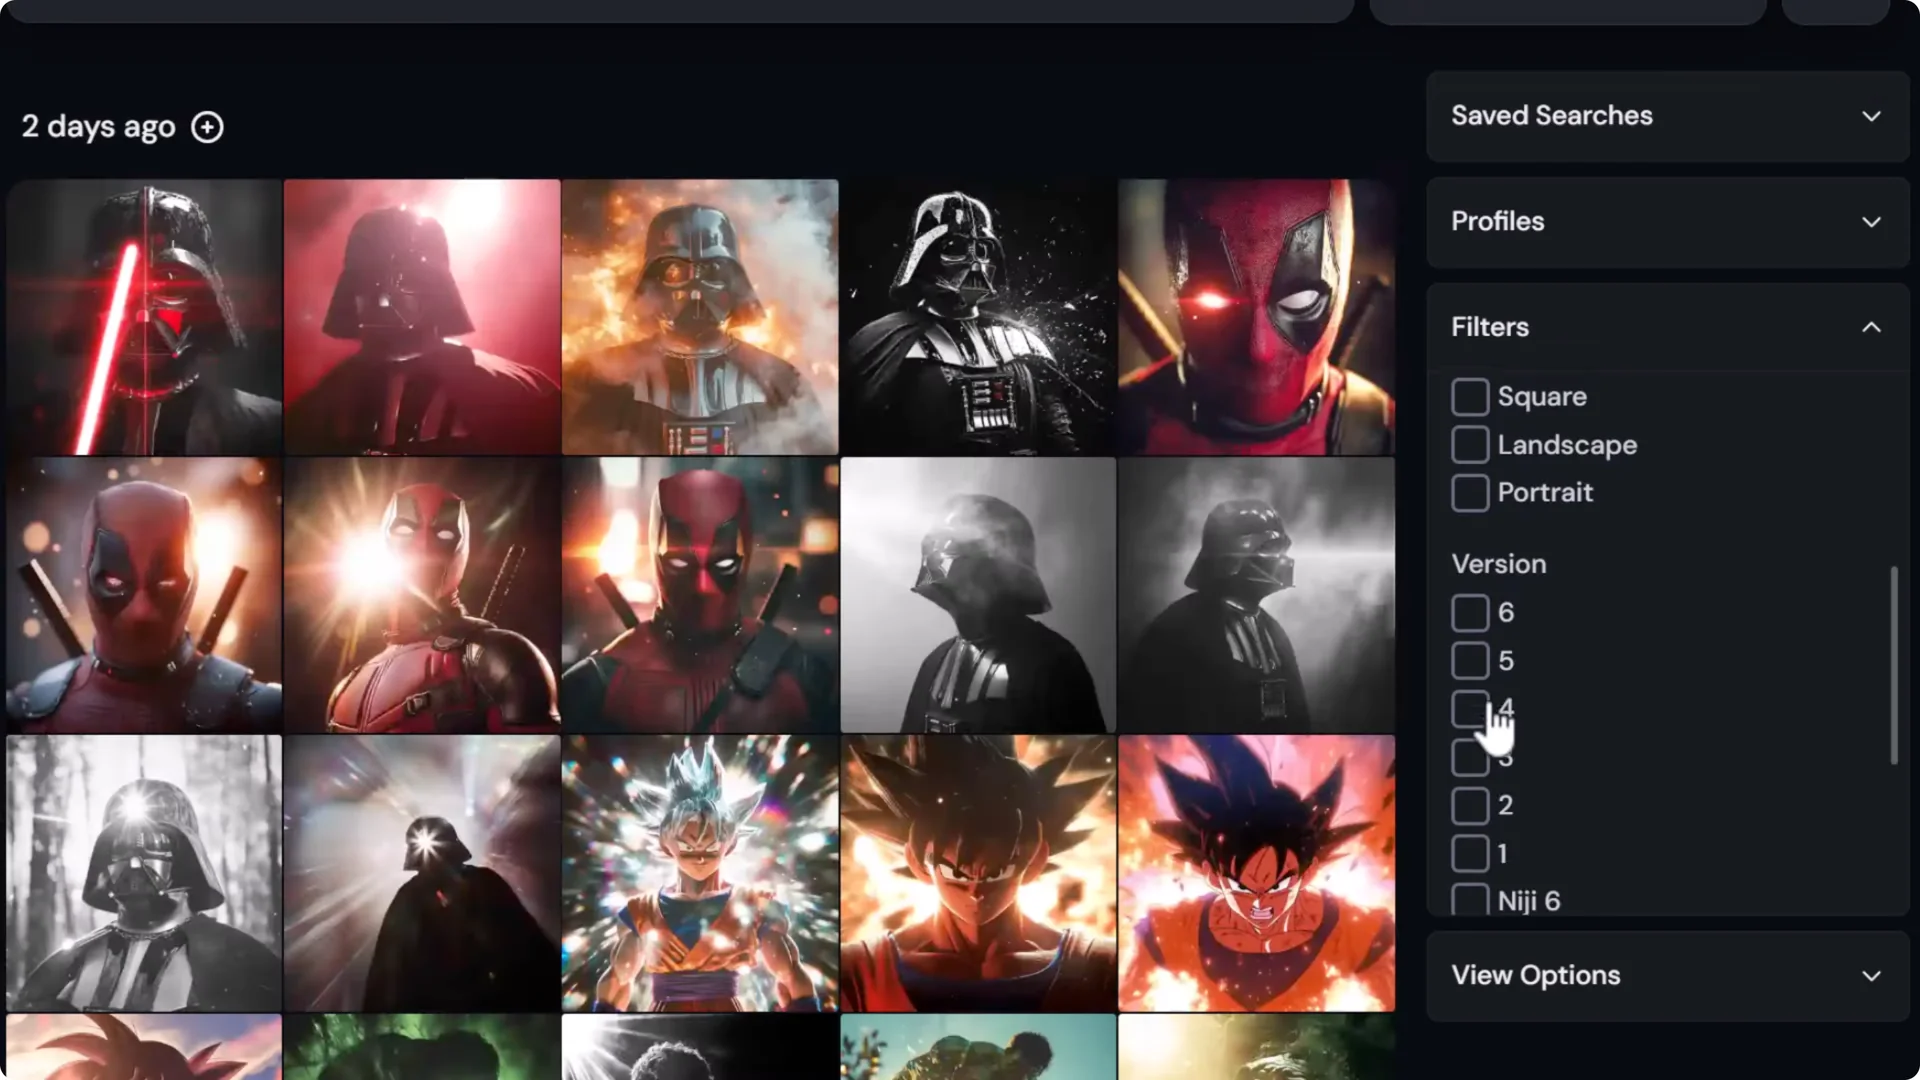
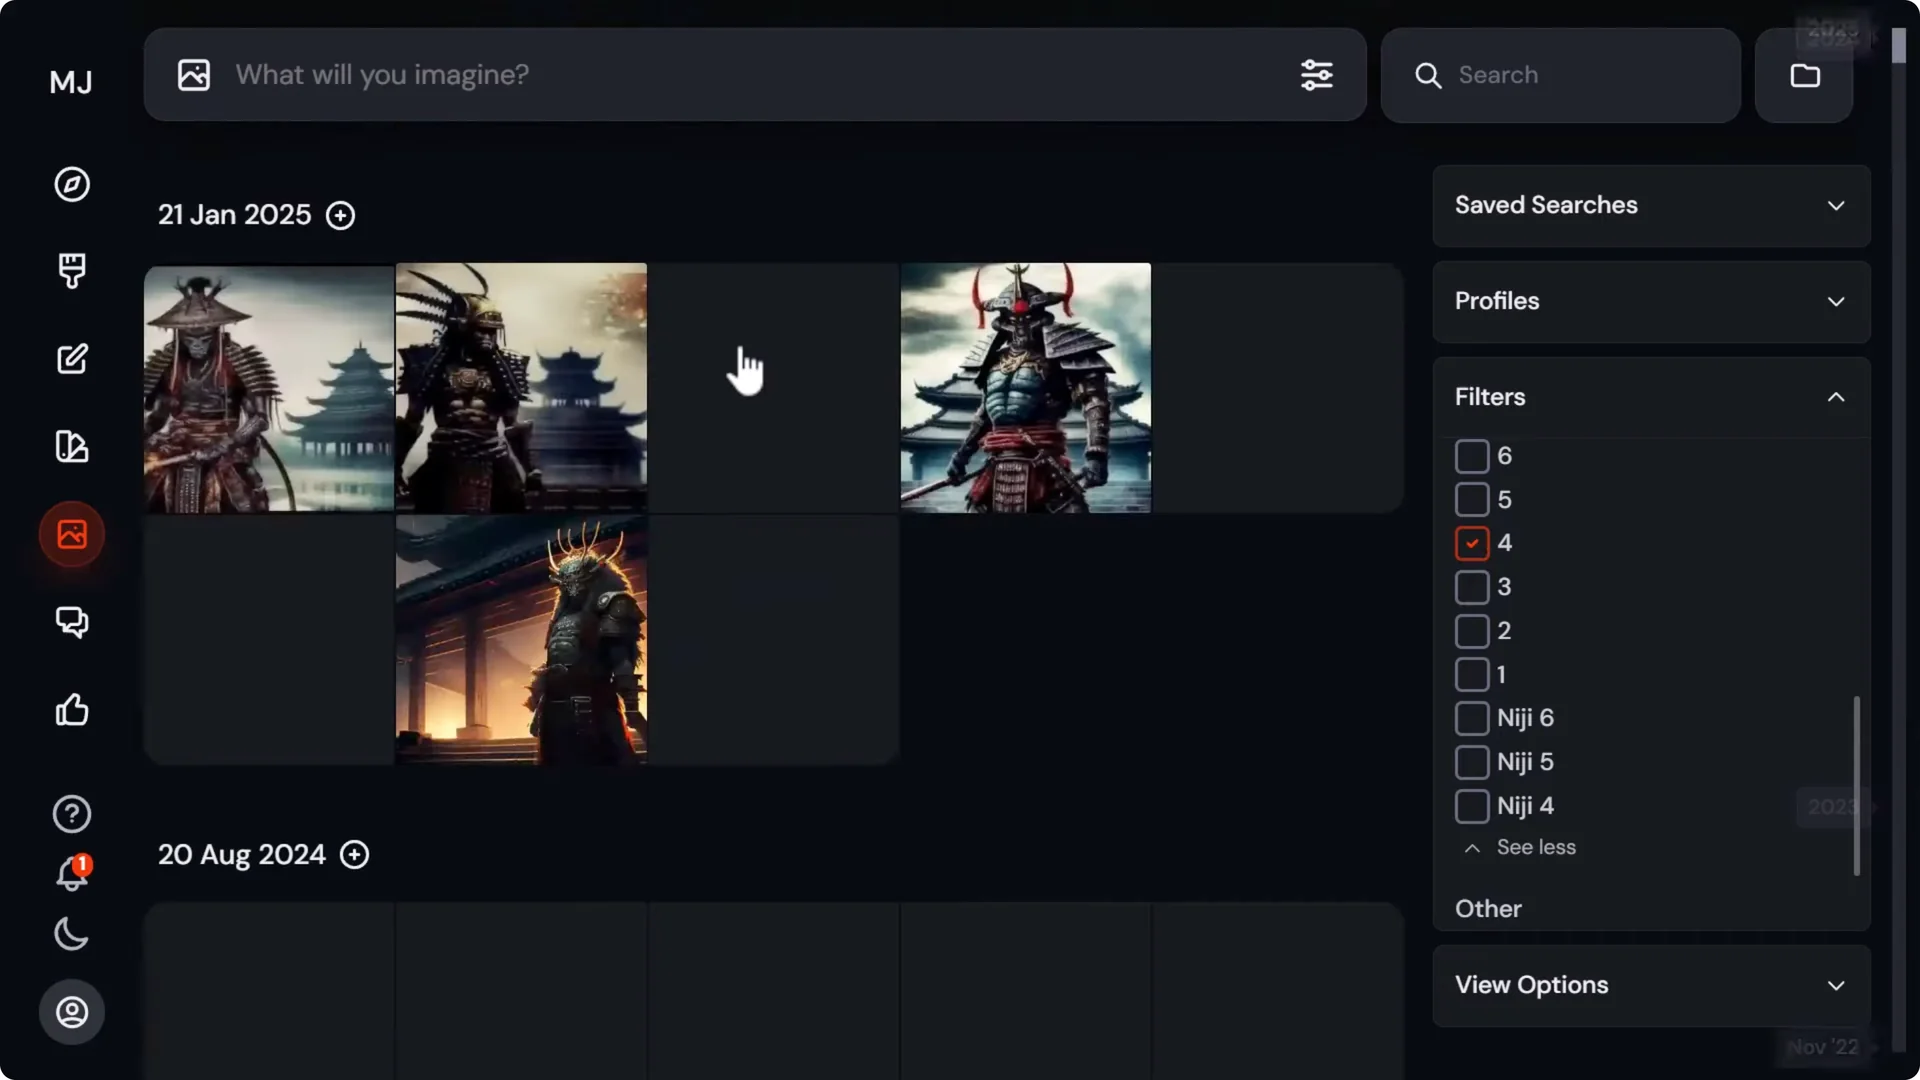
I find the Version filter especially handy for surfacing old work. Scrolling by date can be cumbersome. Instead, think of which model you were using then, for example, Version 4 or Version 3, select it, and you’ll quickly see images from that era.
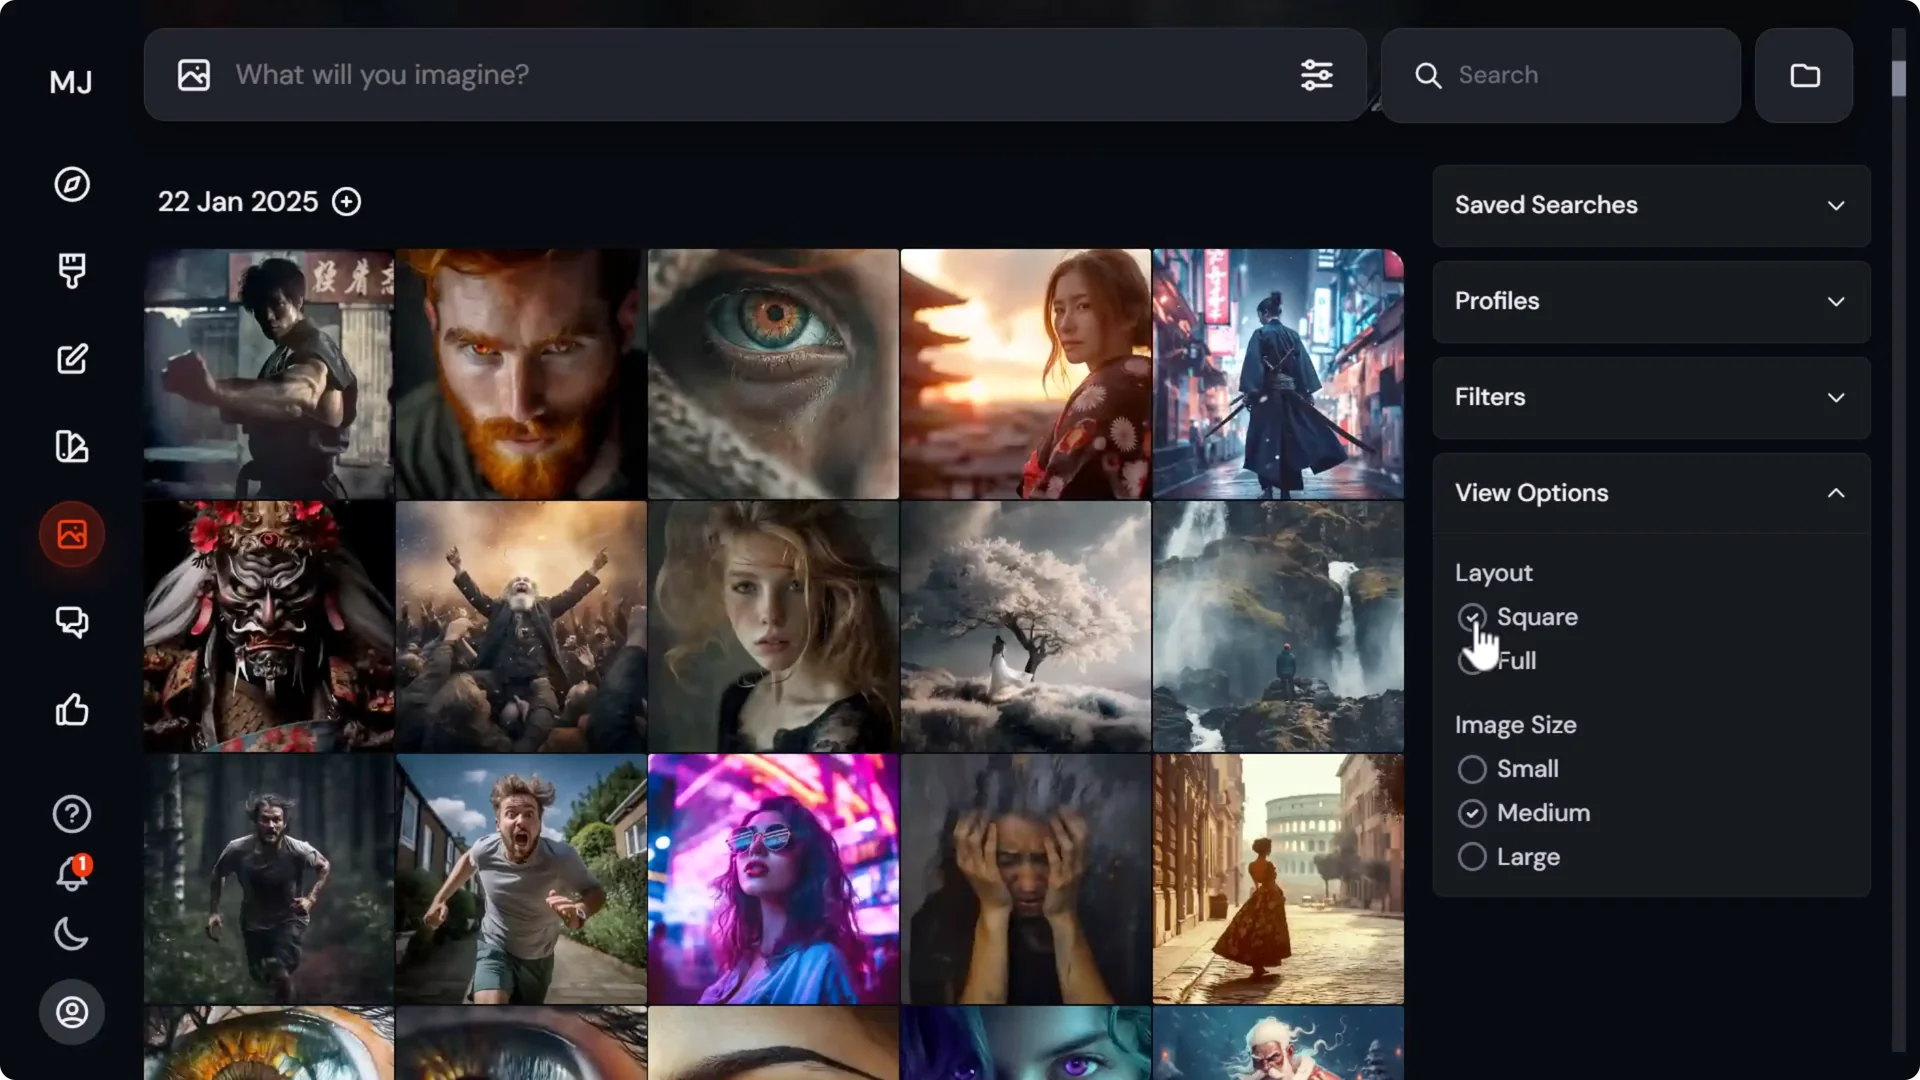
View options
- Layout: Square or Full. Square is my preference, but Full helps when you want to see images in their original aspect ratios.
- Grid size: Zoom out for quick scanning or zoom in to get a closer look.
Downloading in Bulk from MidJourney
You can download single images or entire batches.
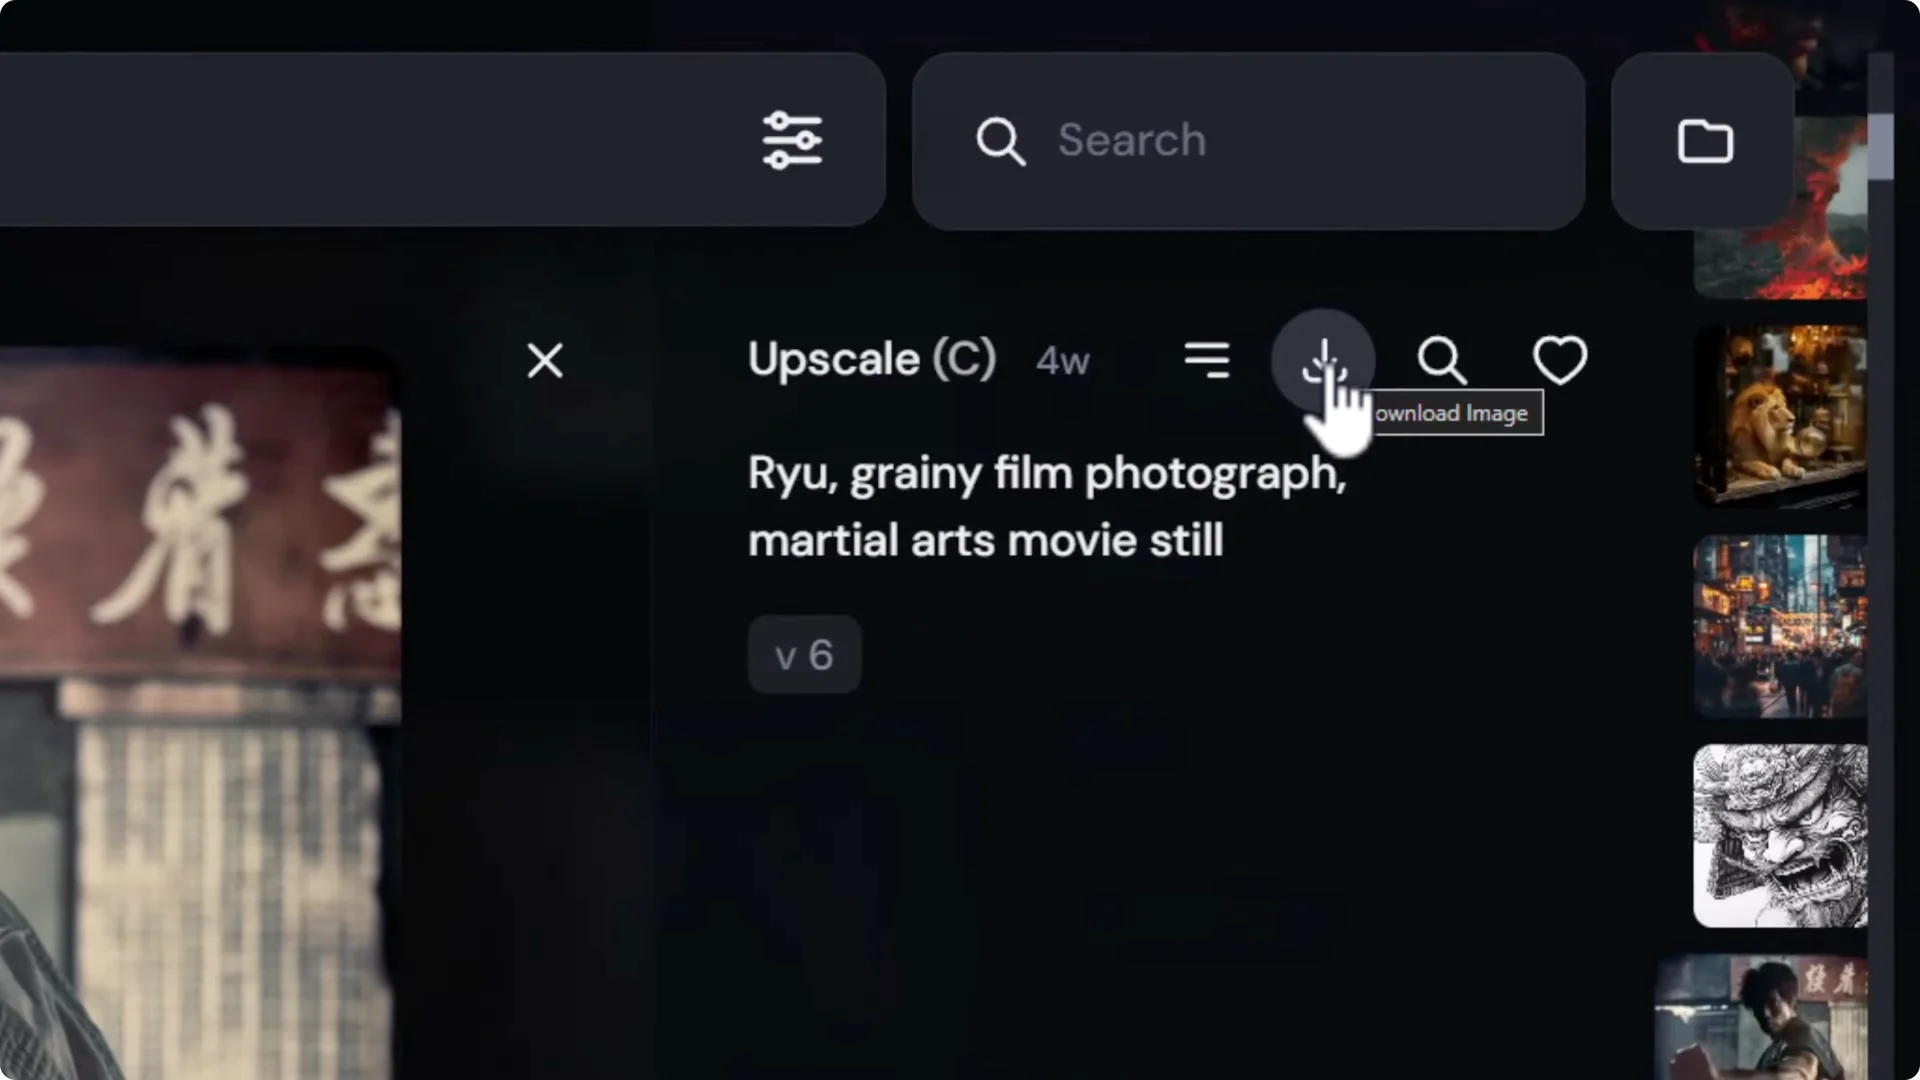
Download a single image
- Open an image.
- Click the Download button to save it to your computer.
Bulk downloads from Organize
- Go to Organize.
- Select content in any of these ways:
– Select an entire day.
– Shift-click to select multiple images.
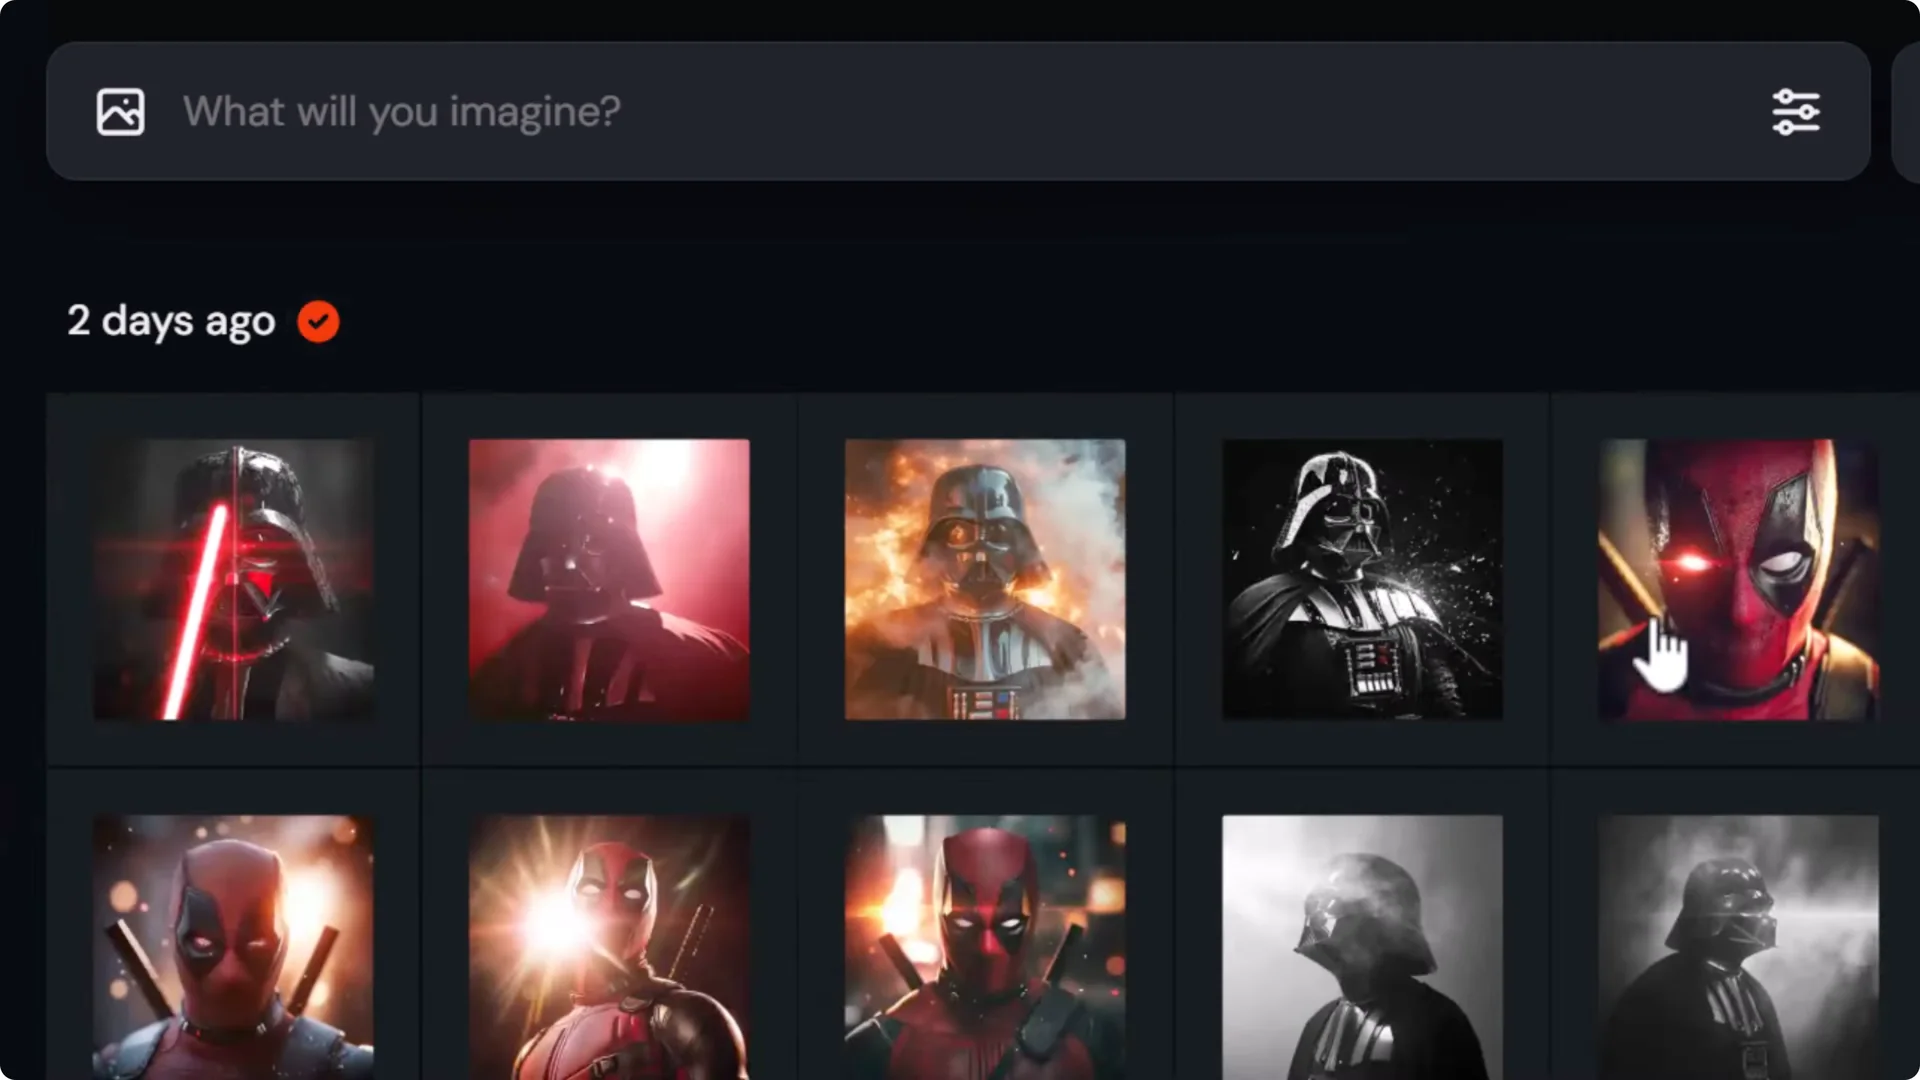
– Click and drag a selection box. Everything the box touches is selected.
– Hold Shift while dragging to deselect with the box.
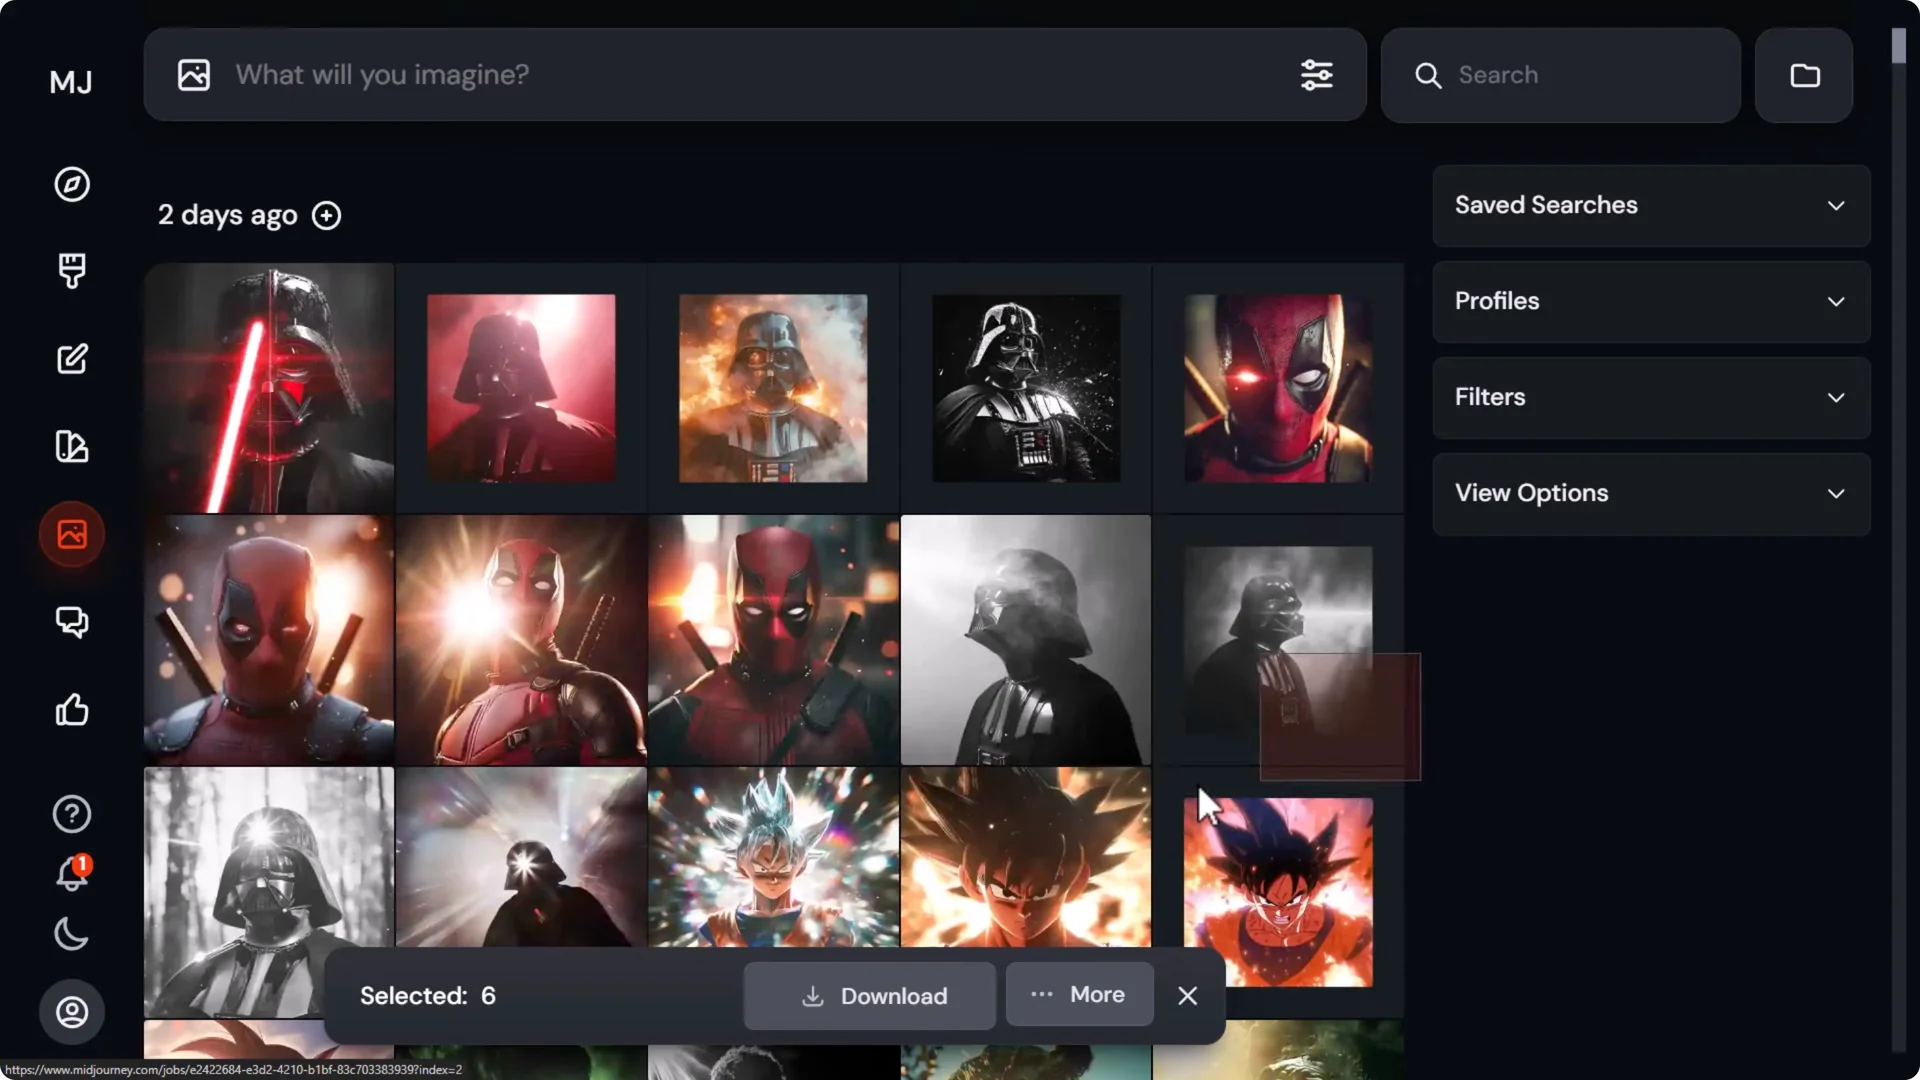
- Use Search to narrow by term, for example, Darth Vader, then select full days or specific images.
- You can also open a folder, turn off any Search filter at the top, select full days inside the folder, and download directly from that folder.
Tip: While mass-selecting, switch to a smaller grid view to see more images at once.
Download behavior and extraction
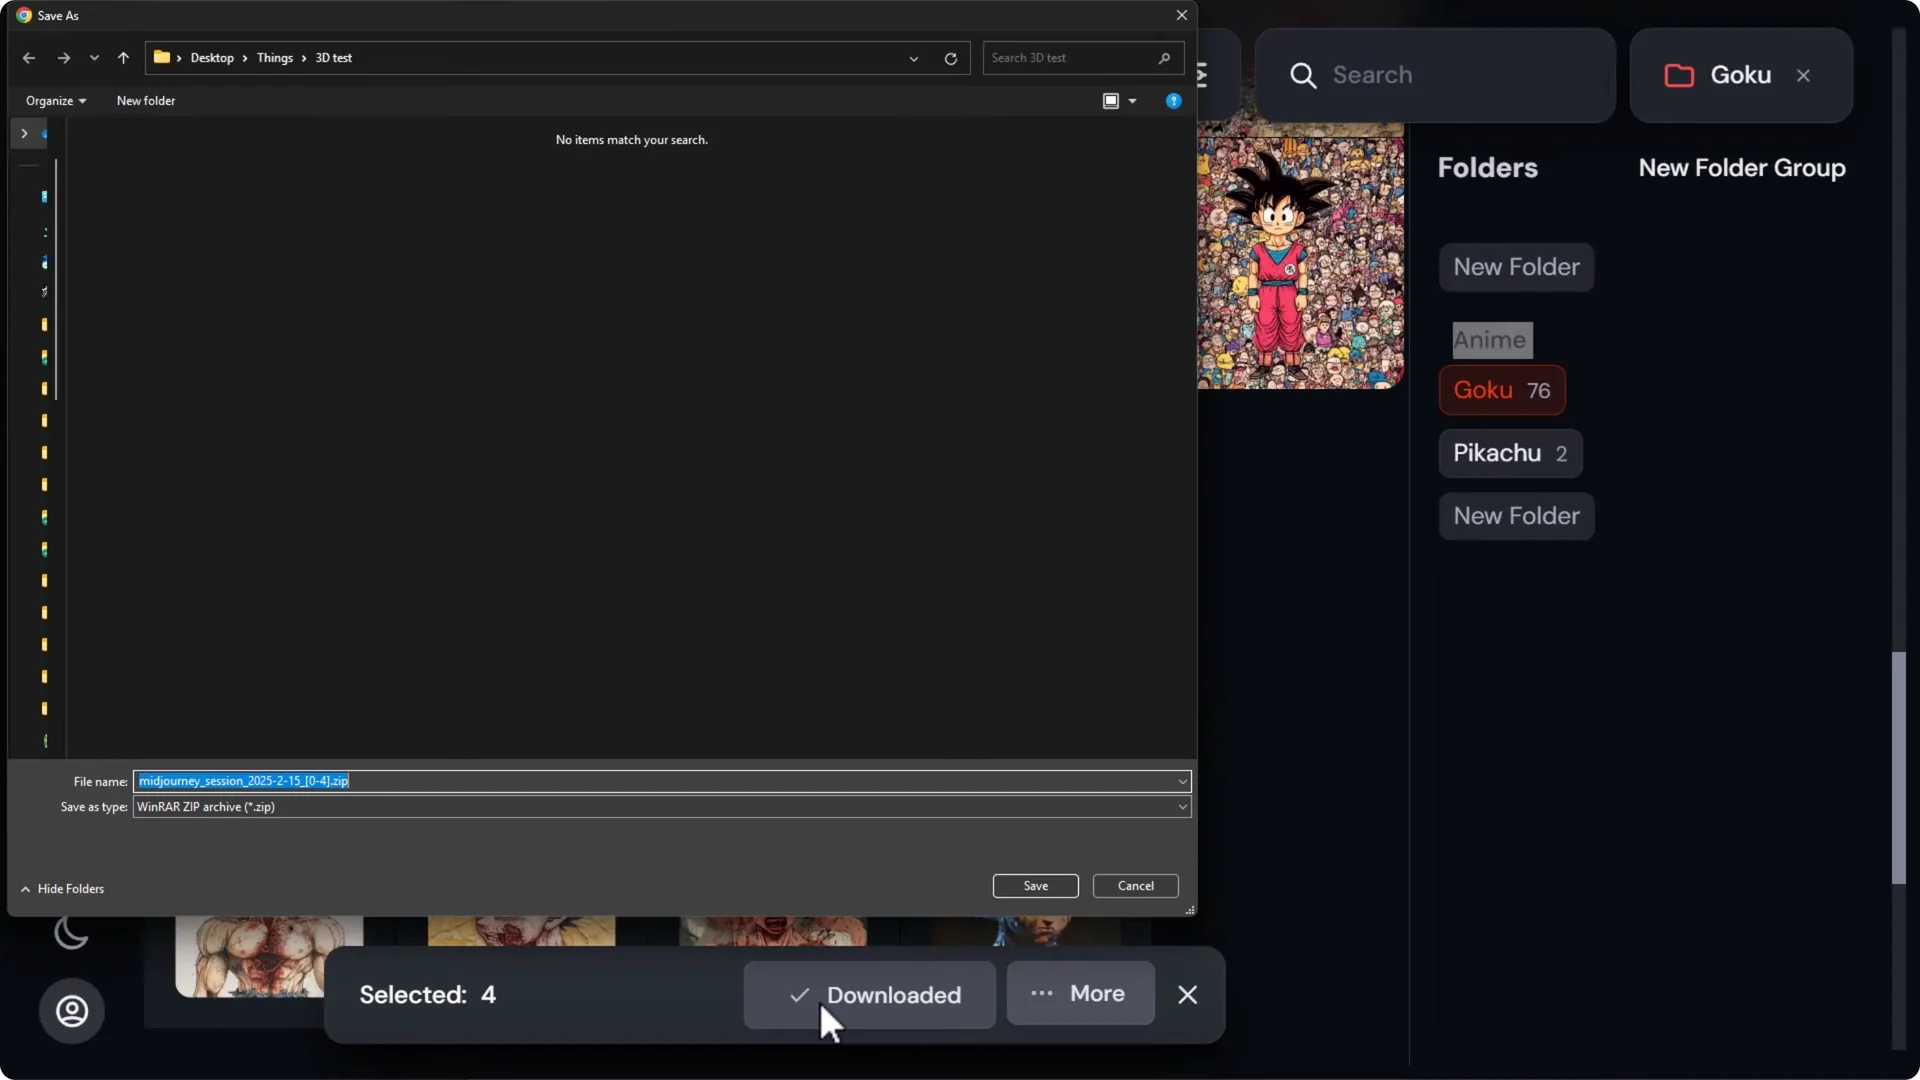
Click Download. Midjourney zips the selection.
If you select more than 50 images, Midjourney splits them into chunks of 50 by default. You’ll get multiple zip files, for example, 0 to 50, then 51 to 100.
Save the zip files and extract them with your preferred tool. You’ll get your images at full resolution, ready for your projects.
Hiding, Unpublishing, and Deleting
There are different levels of removing images from view. Here’s how they work.
Hide images from your feed
- In Organize, click an image, open the menu, and choose Hide this image. It disappears from your feed.
- Multi-select and use More to hide in bulk.
- To reverse it, go to Filters, switch to Hidden, select images, and use More to Unhide.
Hiding does not delete images. Midjourney still retains them, and they can remain visible to the public unless you have a plan that supports privacy.
Make images private with Unpublish and stealth mode
- On higher tier plans, you can use stealth mode and the Unpublish option.
- Unpublish hides the image from the public and from your feed, unlike Hide, which only hides it from your own feed view.
Permanent-feeling deletion via Discord
If you created the images in Discord, you can remove them in a way that takes them off your website feed too.
Step-by-step:
1. In Discord, find the original grid message for the image set.
2. Hover over it or tap and hold on mobile.
3. Click the red X reaction. If you don’t see it, open Add reaction, type x, and pick the red X.
4. This deletes the original message in Discord.
5. Refresh your Midjourney website feed. The images are gone from the feed and do not appear under Hidden.
Notes:
- This only works if the images were created in Discord. You can’t just use Show in Discord on a website image and delete it from there.
- Among the available options, deleting the original Discord message is the most effective way to remove images from your feed.
Final Thoughts
- Use folders and folder groups for hands-on sorting.
- Set up saved searches for automated, prompt-term based collections.
- Filter by profiles, likes, upscales, aspect ratios, and model versions to find images quickly.
- Combine search, folders, and the bulk downloader to efficiently export large sets.
- Hide images to clean up your feed, use Unpublish and stealth mode on higher tier plans for privacy, and delete original Discord messages for the most effective removal from your feed.