If you’d like to type in some basic text and then get some really insane looking images, here’s exactly how to do that using Midjourney, which many people have crowned as the king of AI art platforms.
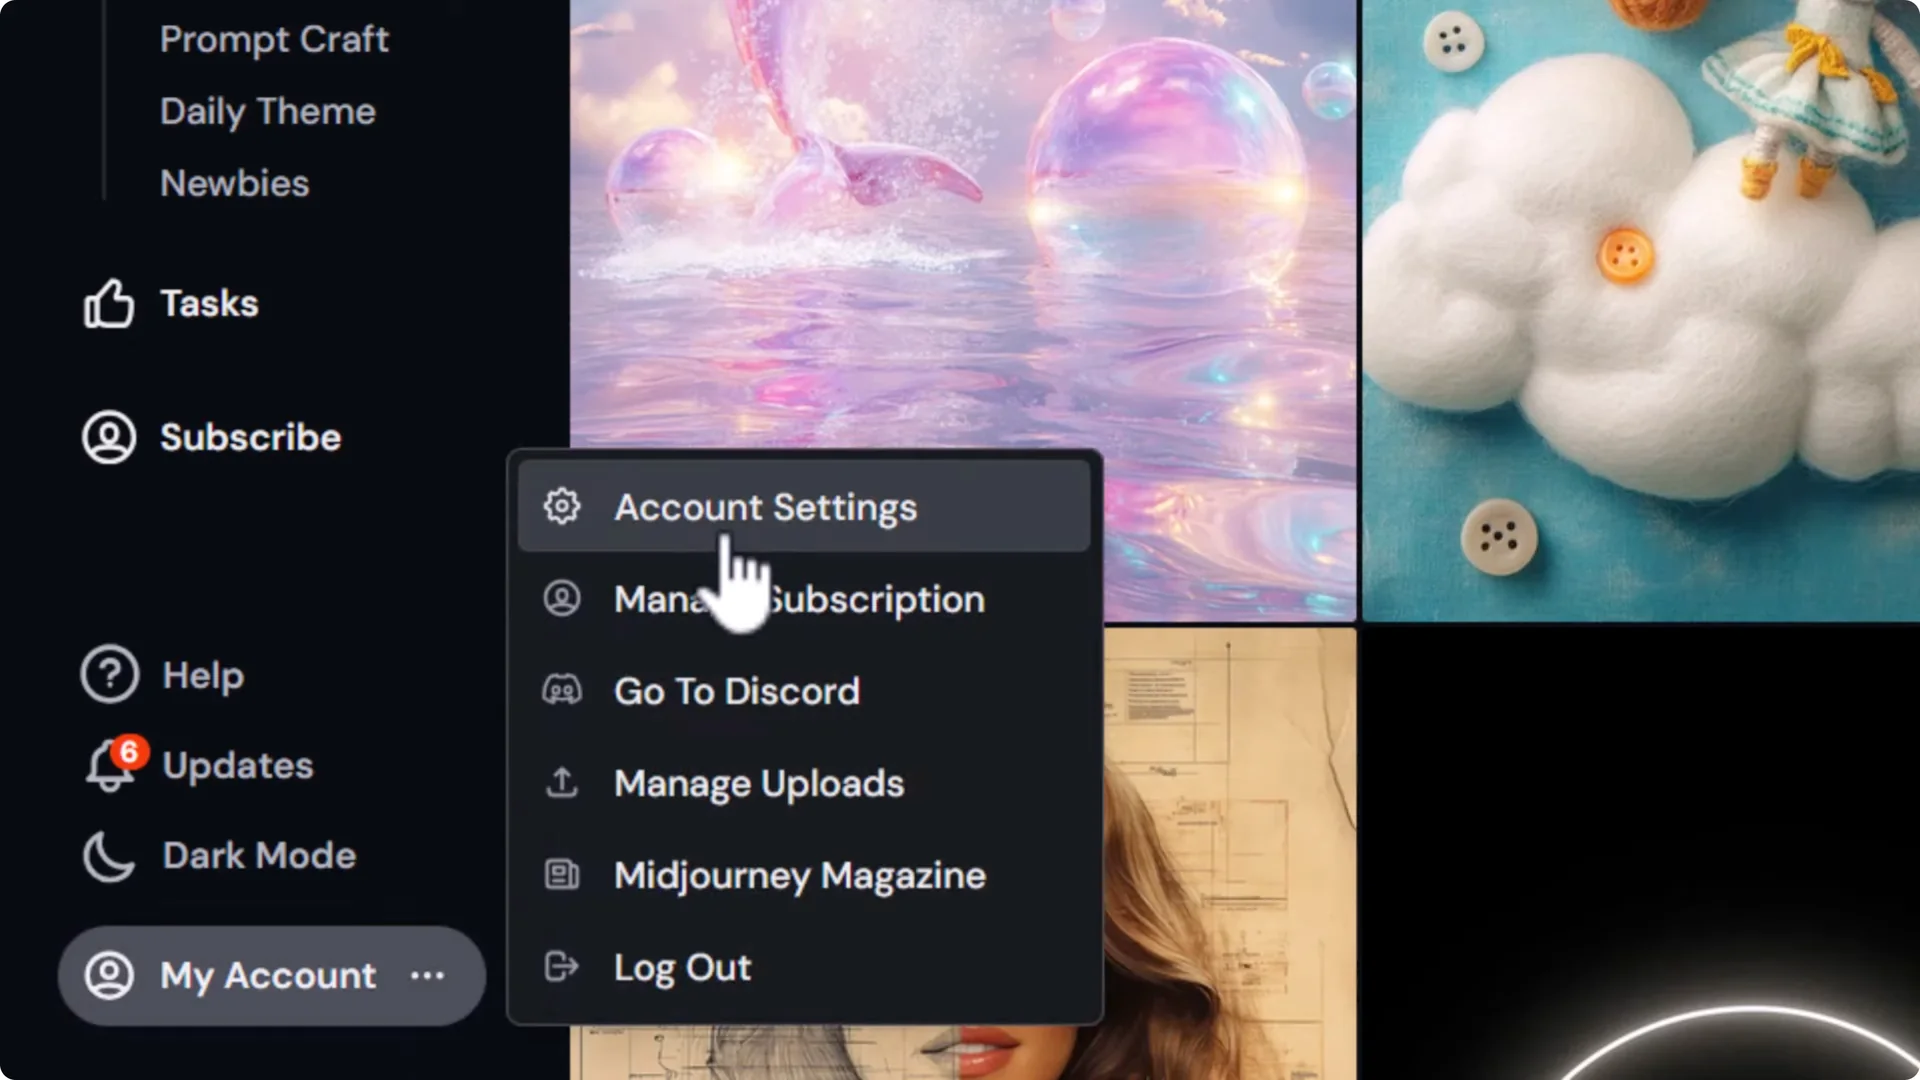
I’m focusing on the website, as Midjourney have announced in the past they’re looking to eventually get rid of Discord. If you want to use Discord, you can connect it in Account Settings, but I recommend learning here first as Discord can be a bit more complicated.
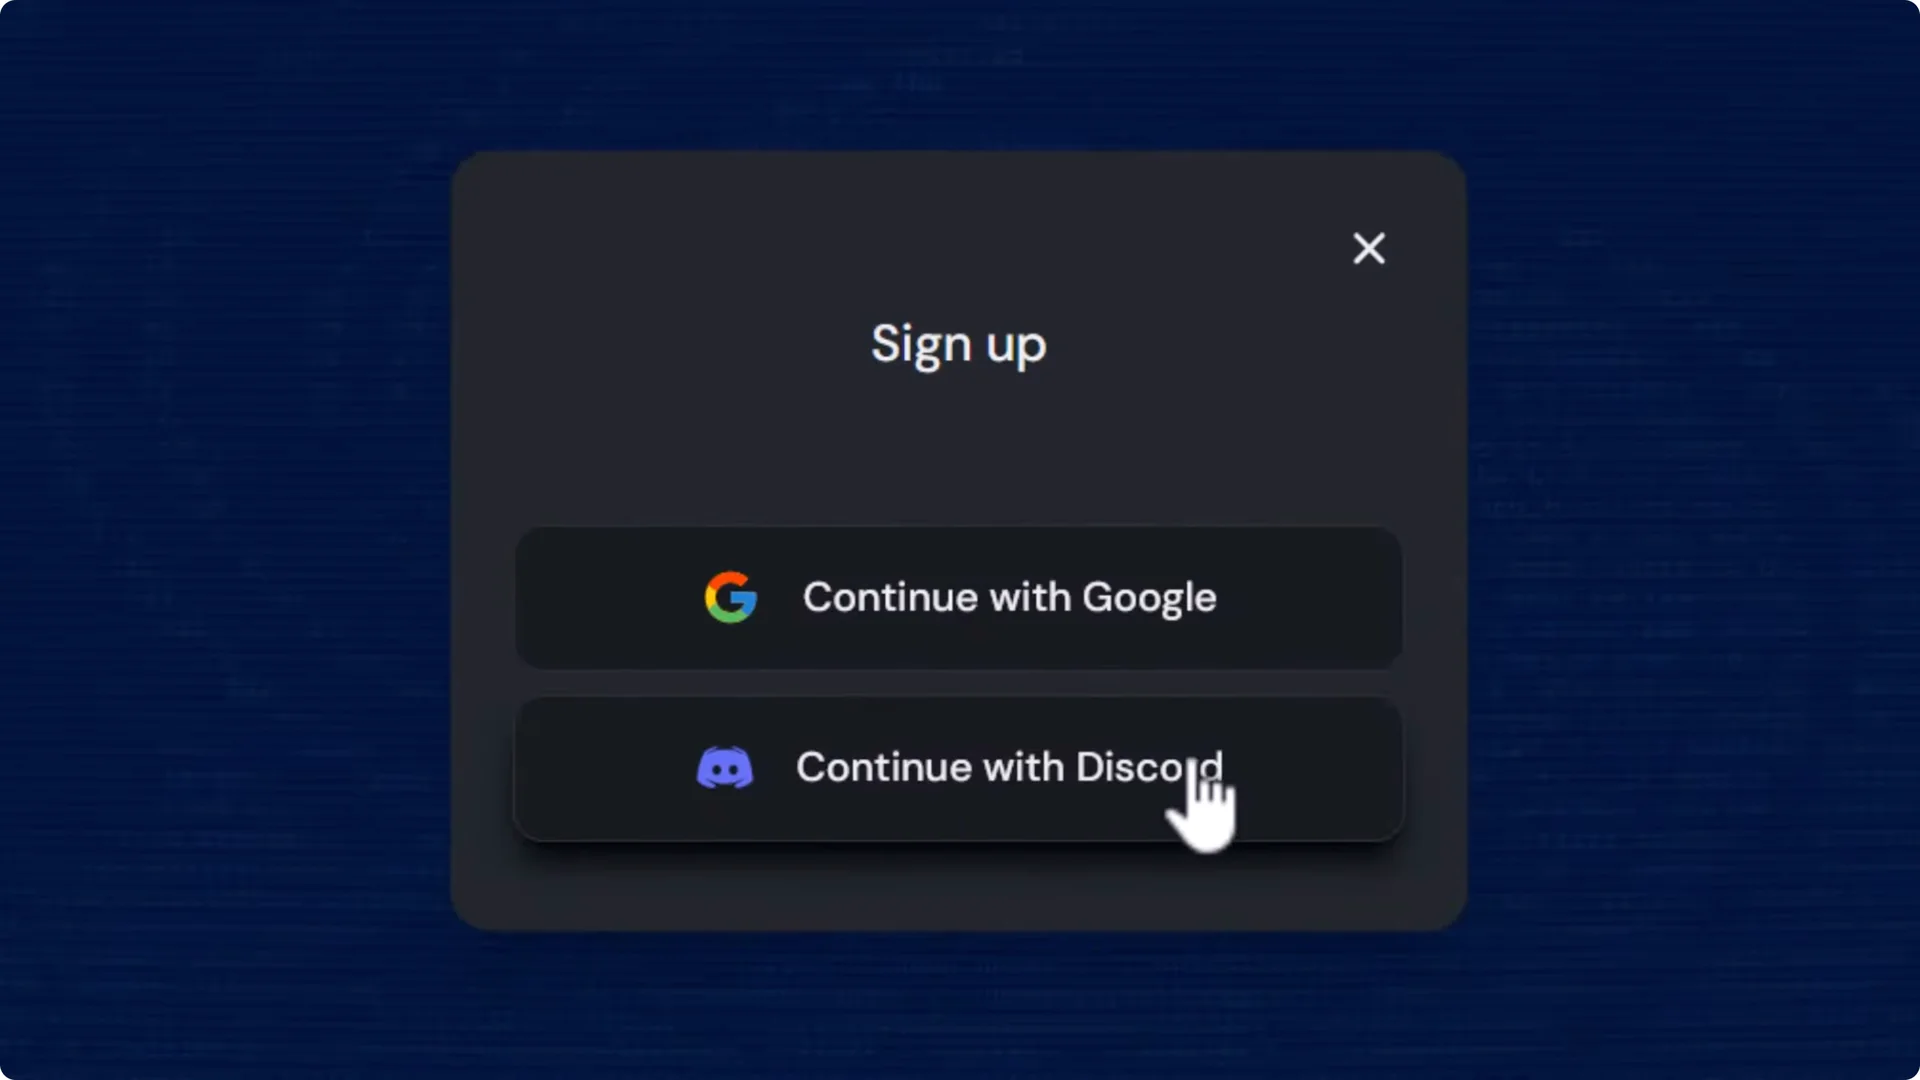
To get started, head to midjourney.com. Click Sign up and choose Discord or Google. You can link Discord later in Account Settings.
Midjourney Website Tutorial – Plans and Why They Matter
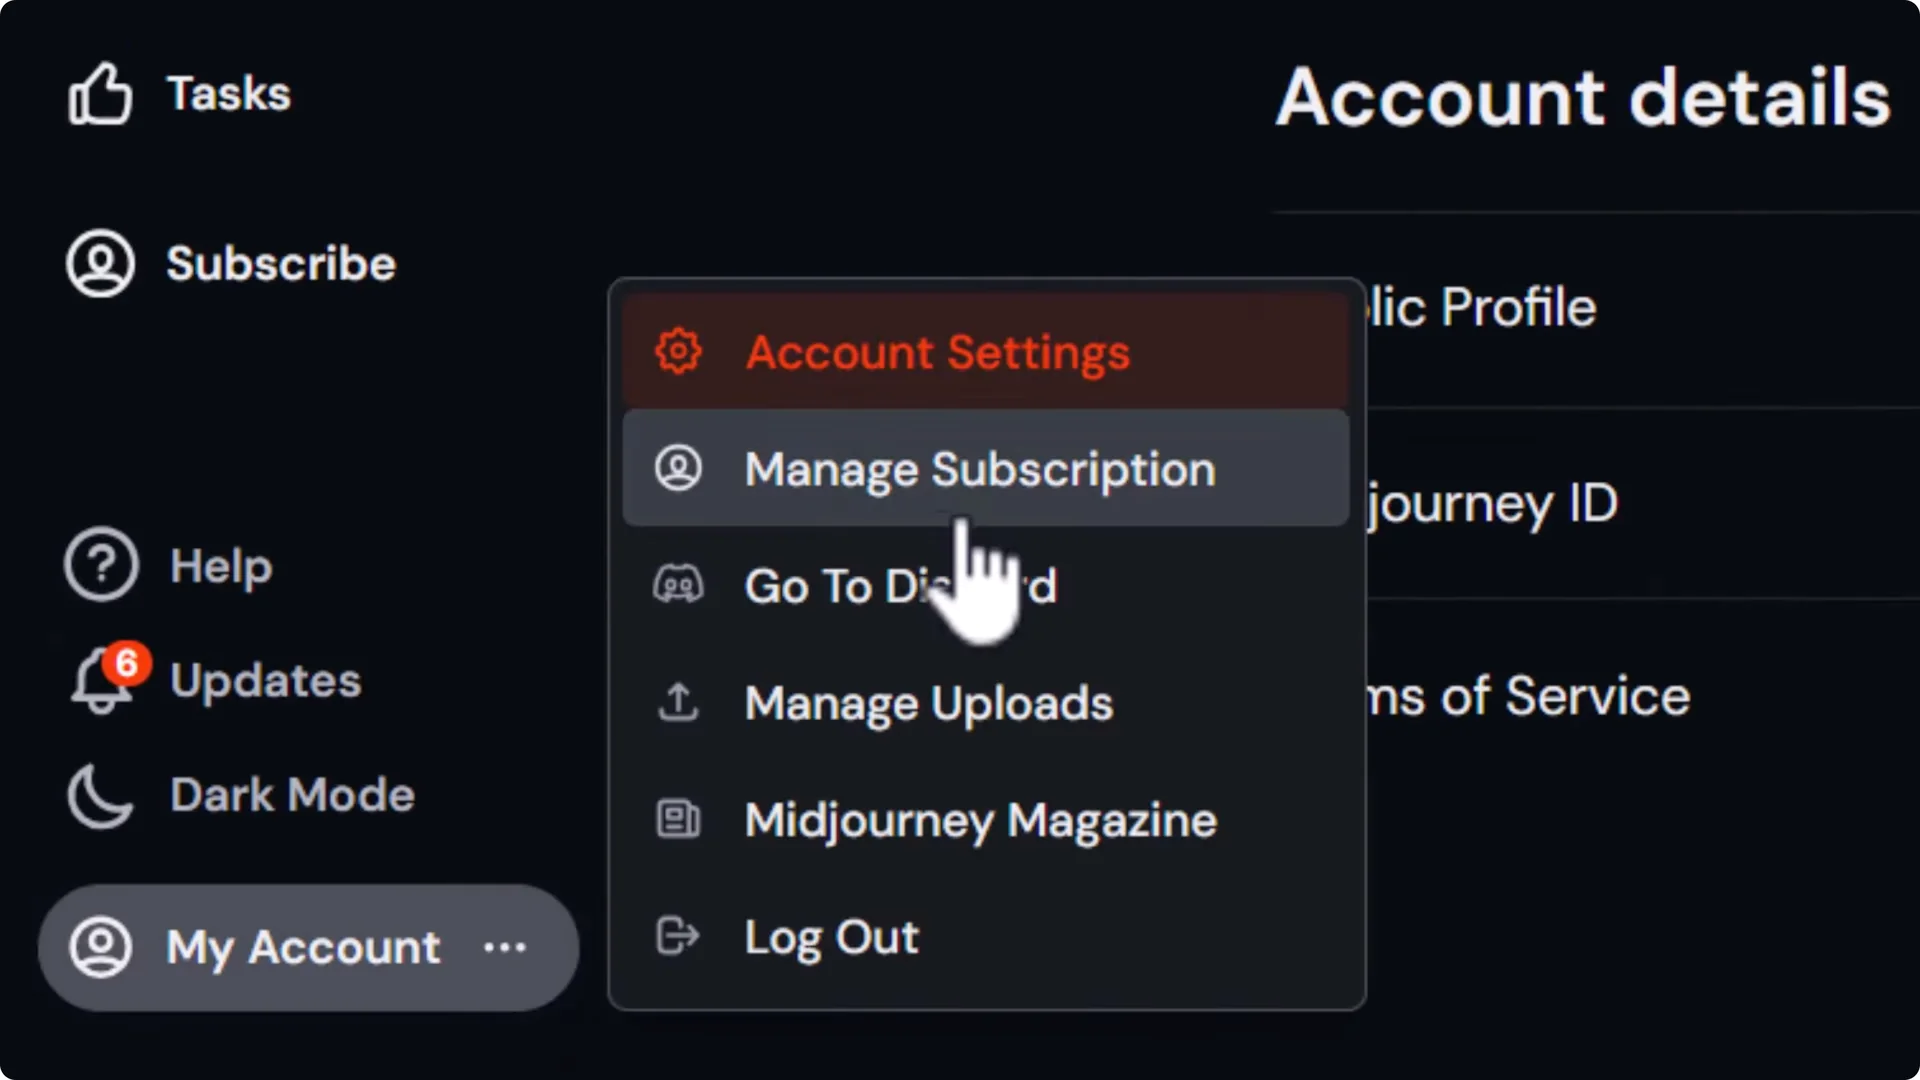
- Go to My account → Manage subscription.
- Choose a plan:
– Basic plan – $8 a month if you pay yearly. Paying yearly also gives you access to the image editor for now. Monthly is a little extra per month.
– I recommend the Standard plan. Yes, it is more expensive, but when you run out of GPU time to generate images, you get Relax mode, which means you can continue to generate images for free at a slower rate. If your budget is tight, go Basic. If you can afford it, Standard is your best bet.
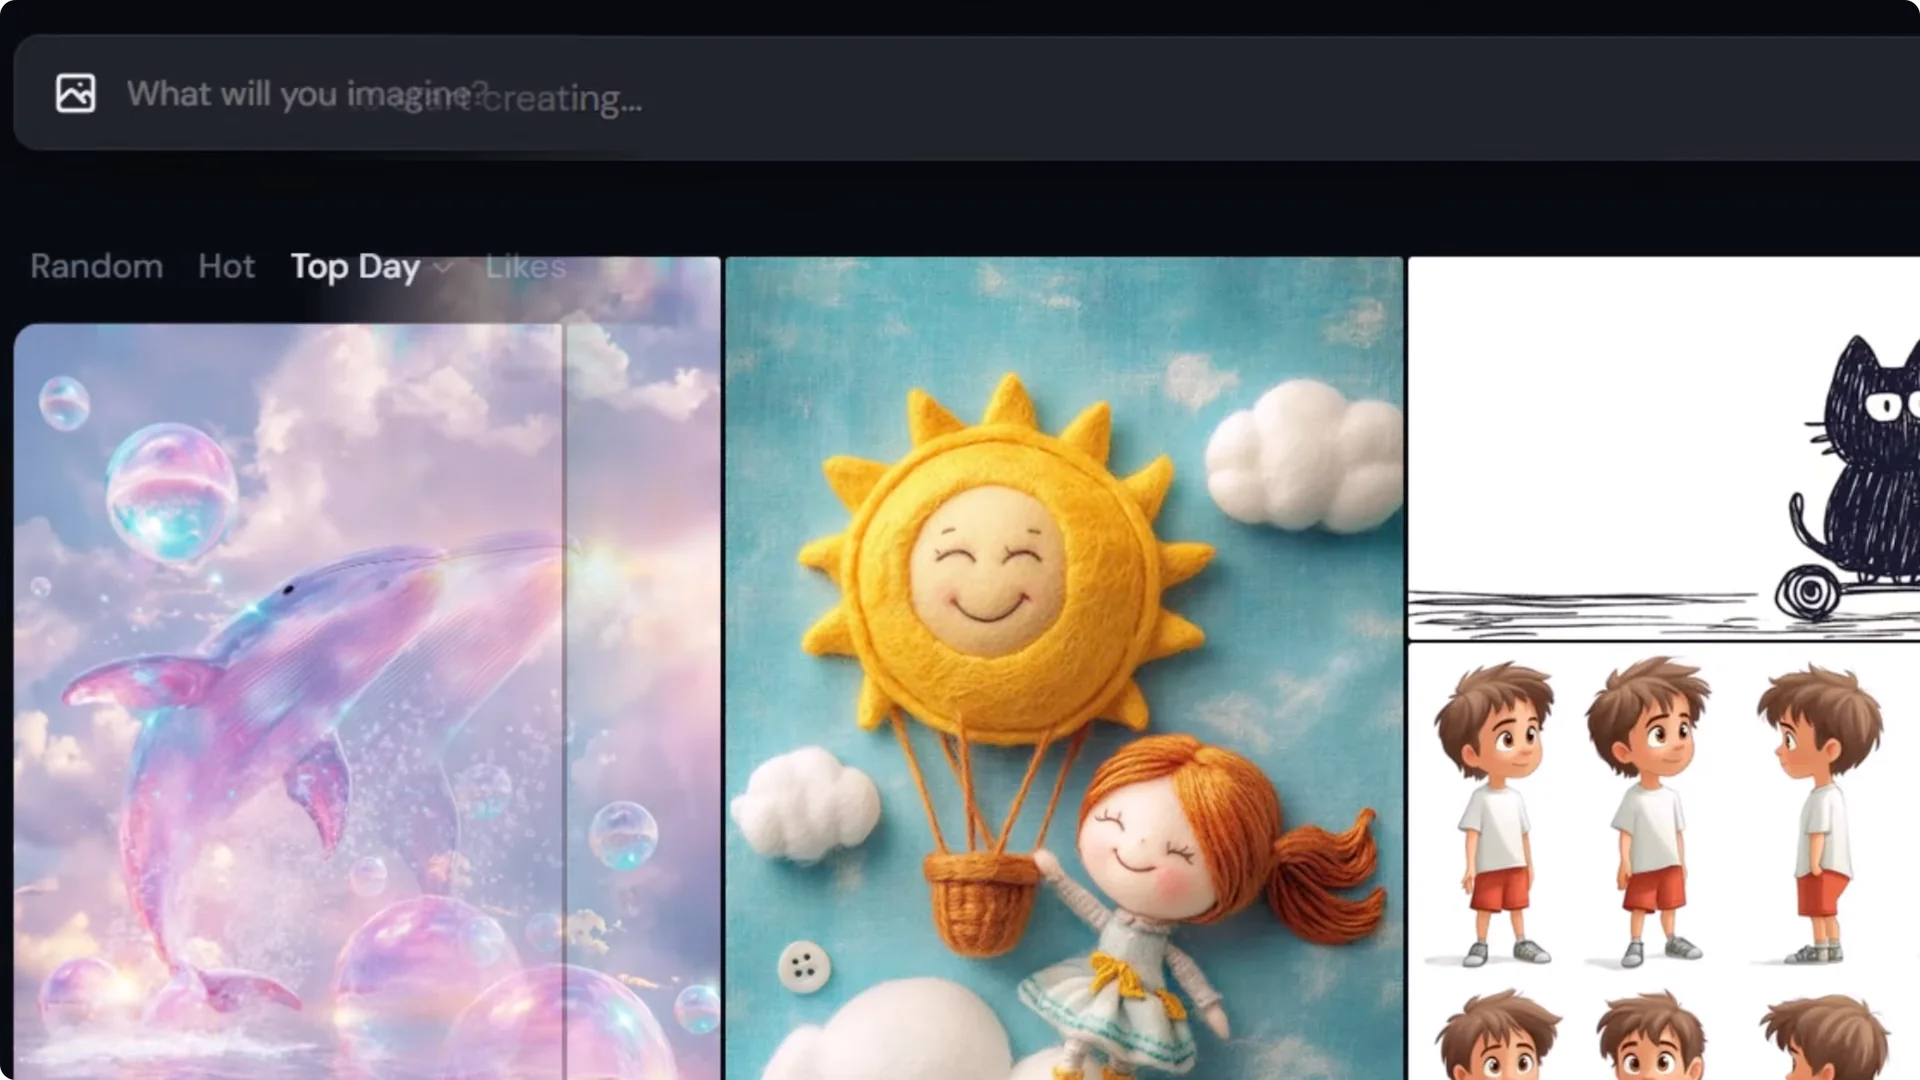
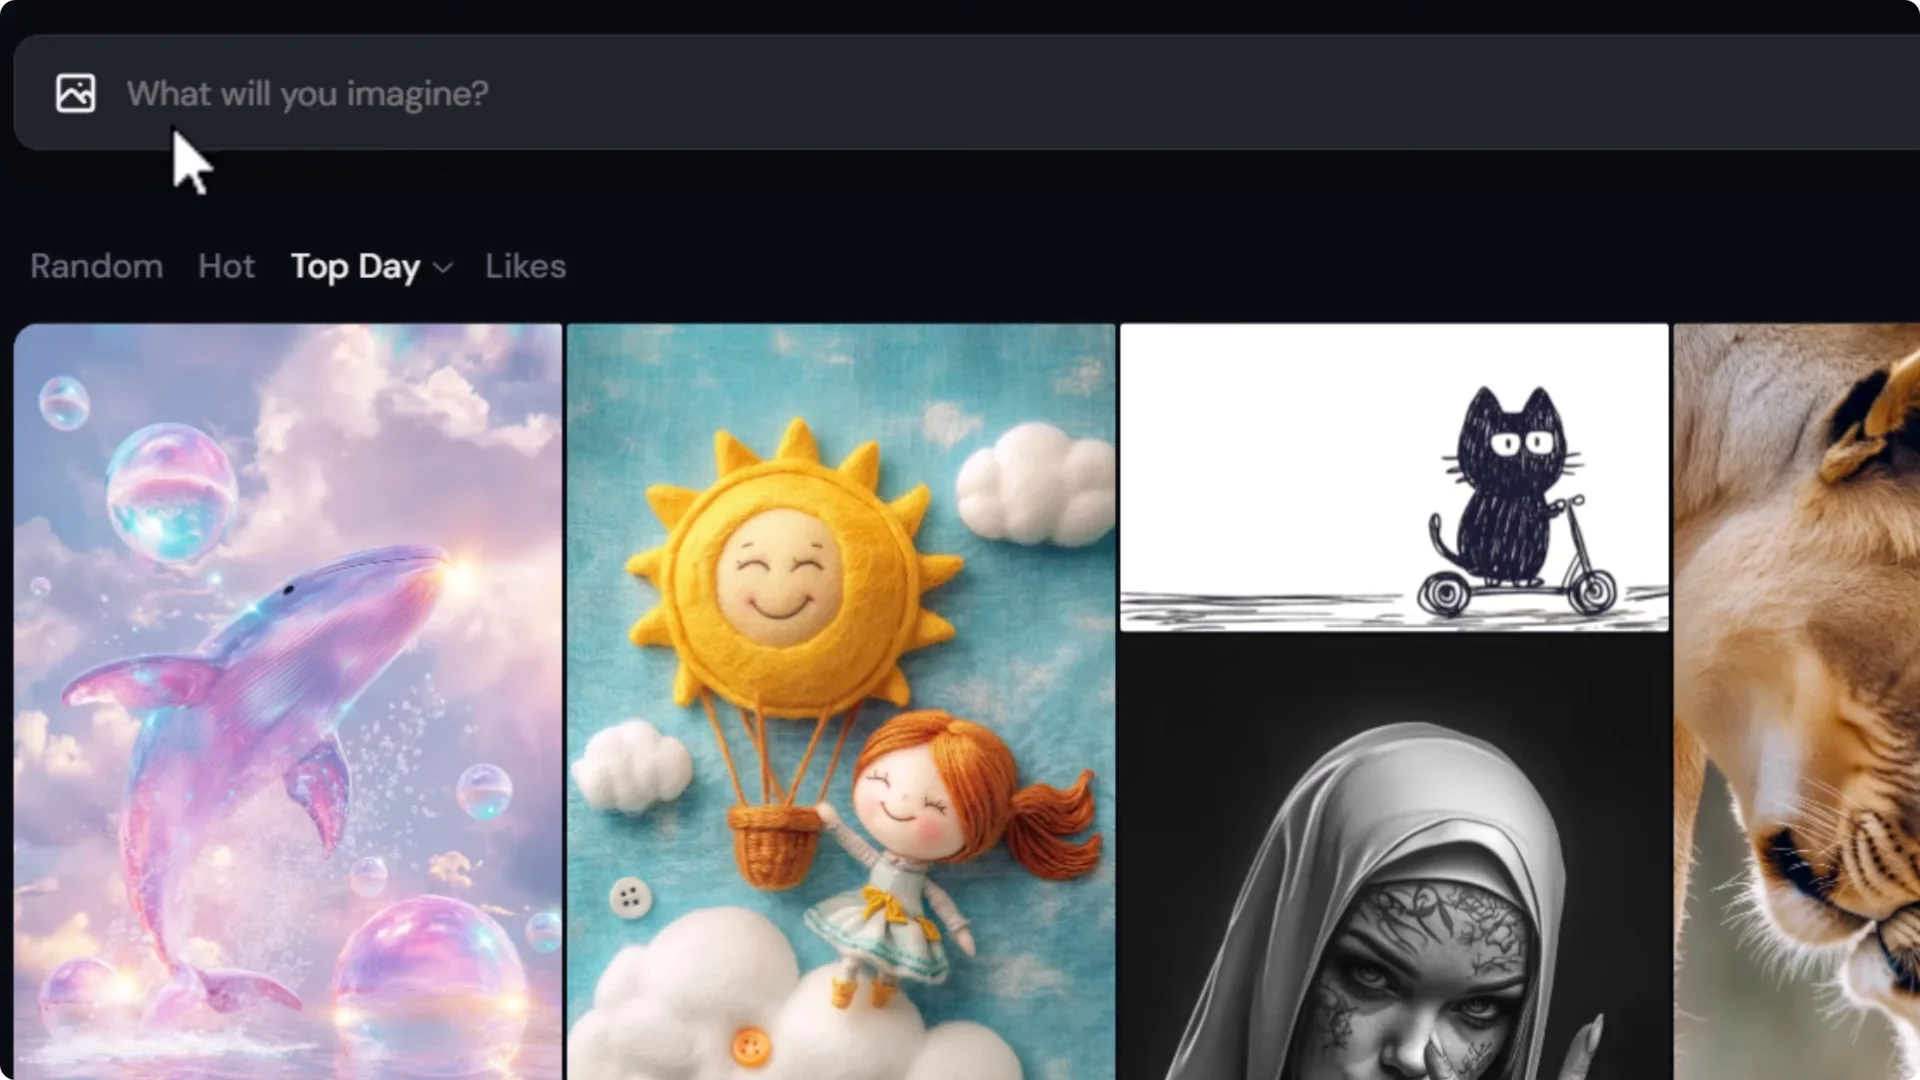
When you first log in you’ll land on Explore, which showcases artwork by other Midjourney users. If you see “subscribe to start creating,” you still need to complete your paid signup. Once you’re set up, you’ll see “what will you imagine,” and you can get started.
Midjourney Website Tutorial – Your First Image
The prompt bar at the top is where you type your prompt. It follows you around most of the site. I recommend going to Create on the left, because your results will appear at the bottom.
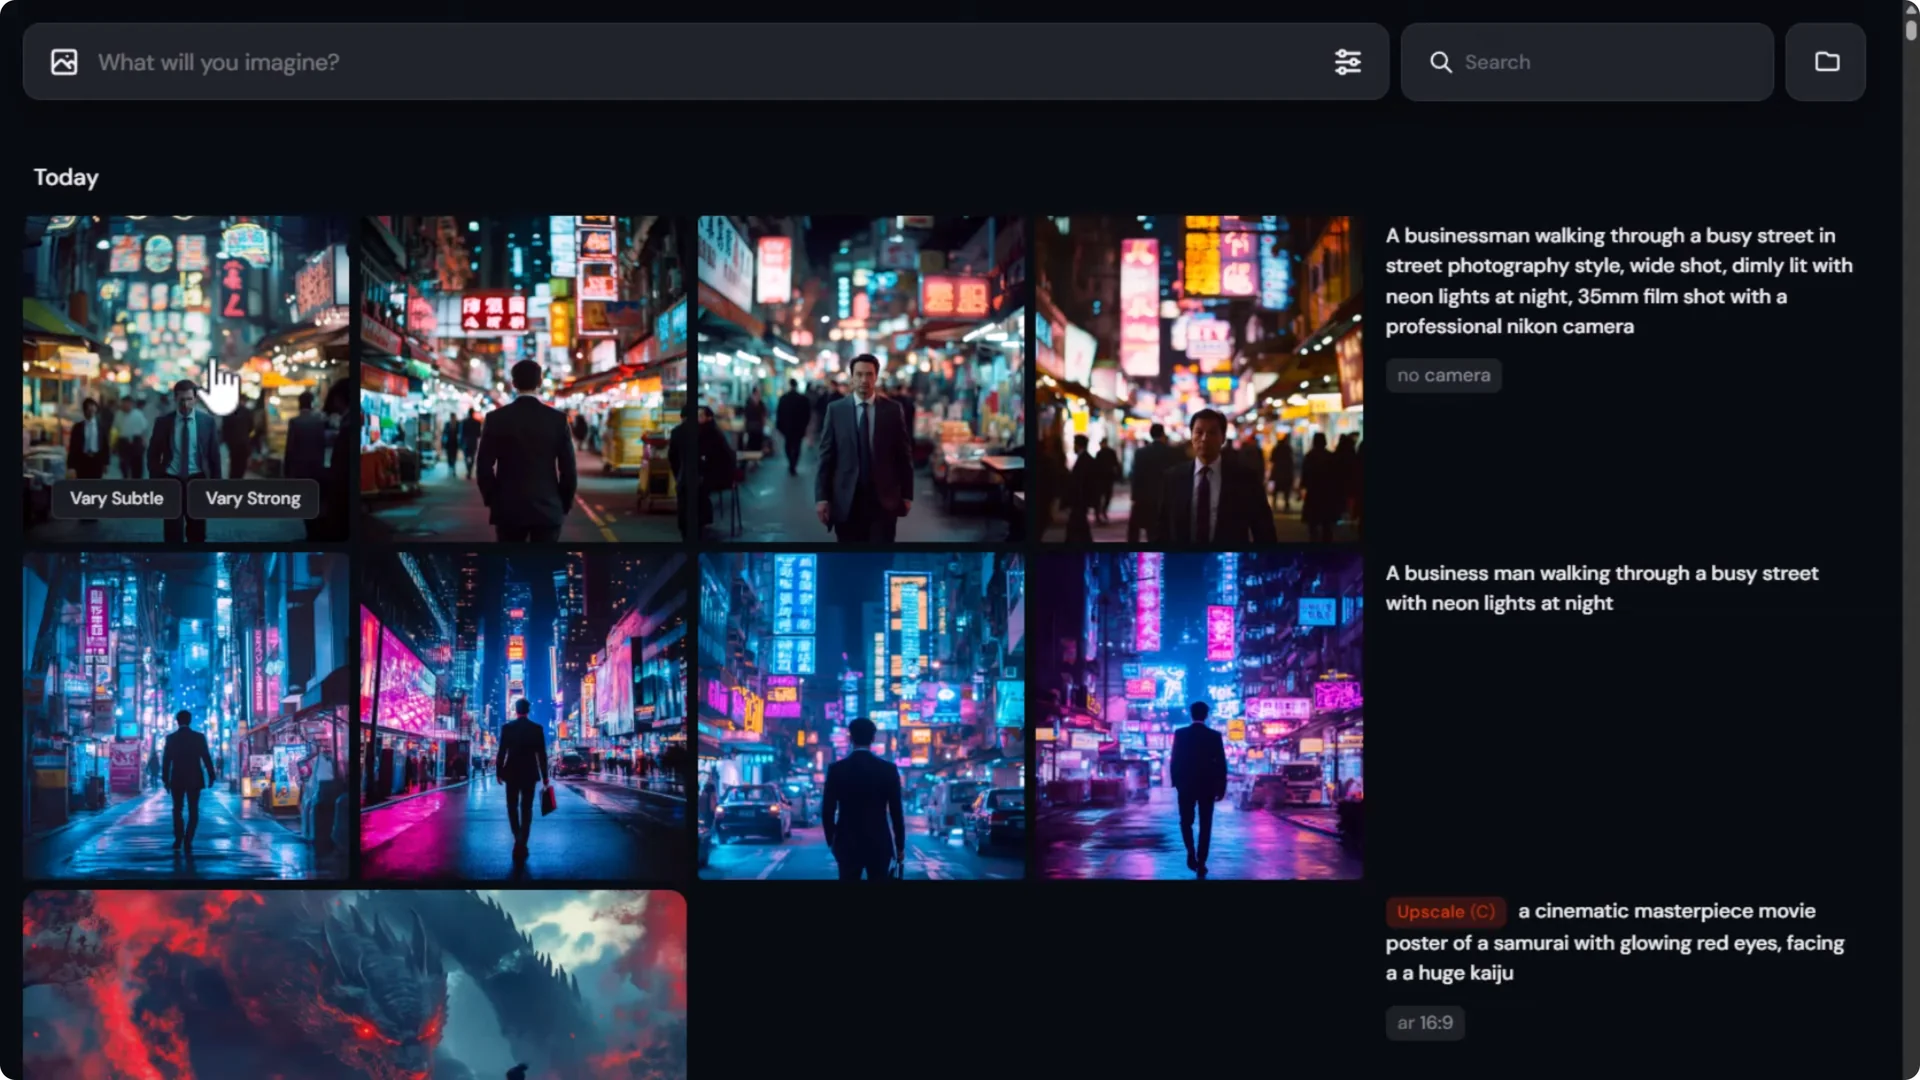
Type a description of the image you want to see. For example: a businessman walking through a busy street with neon lights at night. Press Enter.
You’ll get four images. Click any image to view it larger, and use your keyboard arrows to scroll. On the right, you’ll see the prompt used and more options.
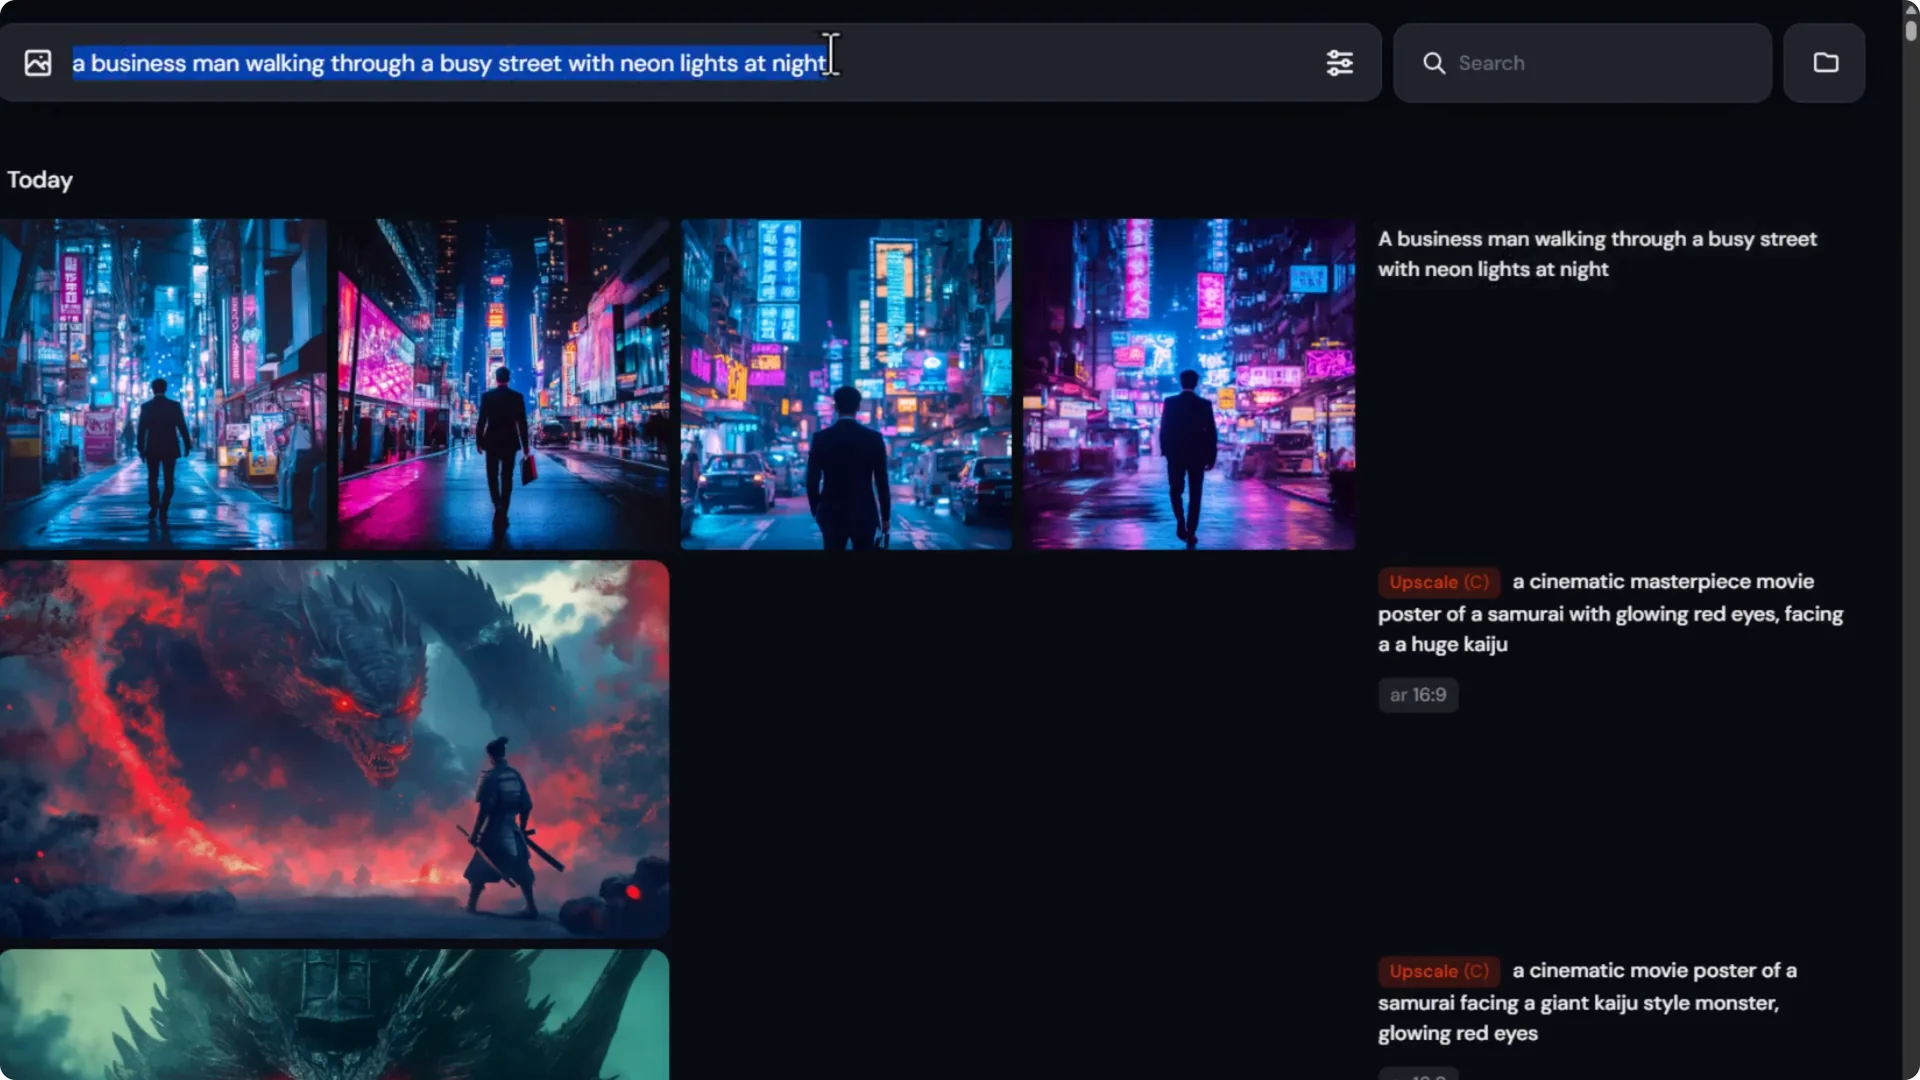
If you click the prompt text, it will put that prompt back into the prompt bar so you can reuse it and fine-tune.
Midjourney Website Tutorial – Prompt Tips and Formula
You can put anything in your prompt, but here’s what I recommend including at a minimum:
- Subject – who or what
- Scene – where it is
- Lighting – the mood and light
- Medium – photography, painting, or other
- Details – anything specific you want to see
Another powerful tool is a prompt formula. Paste in a formula and swap out certain values. For example:
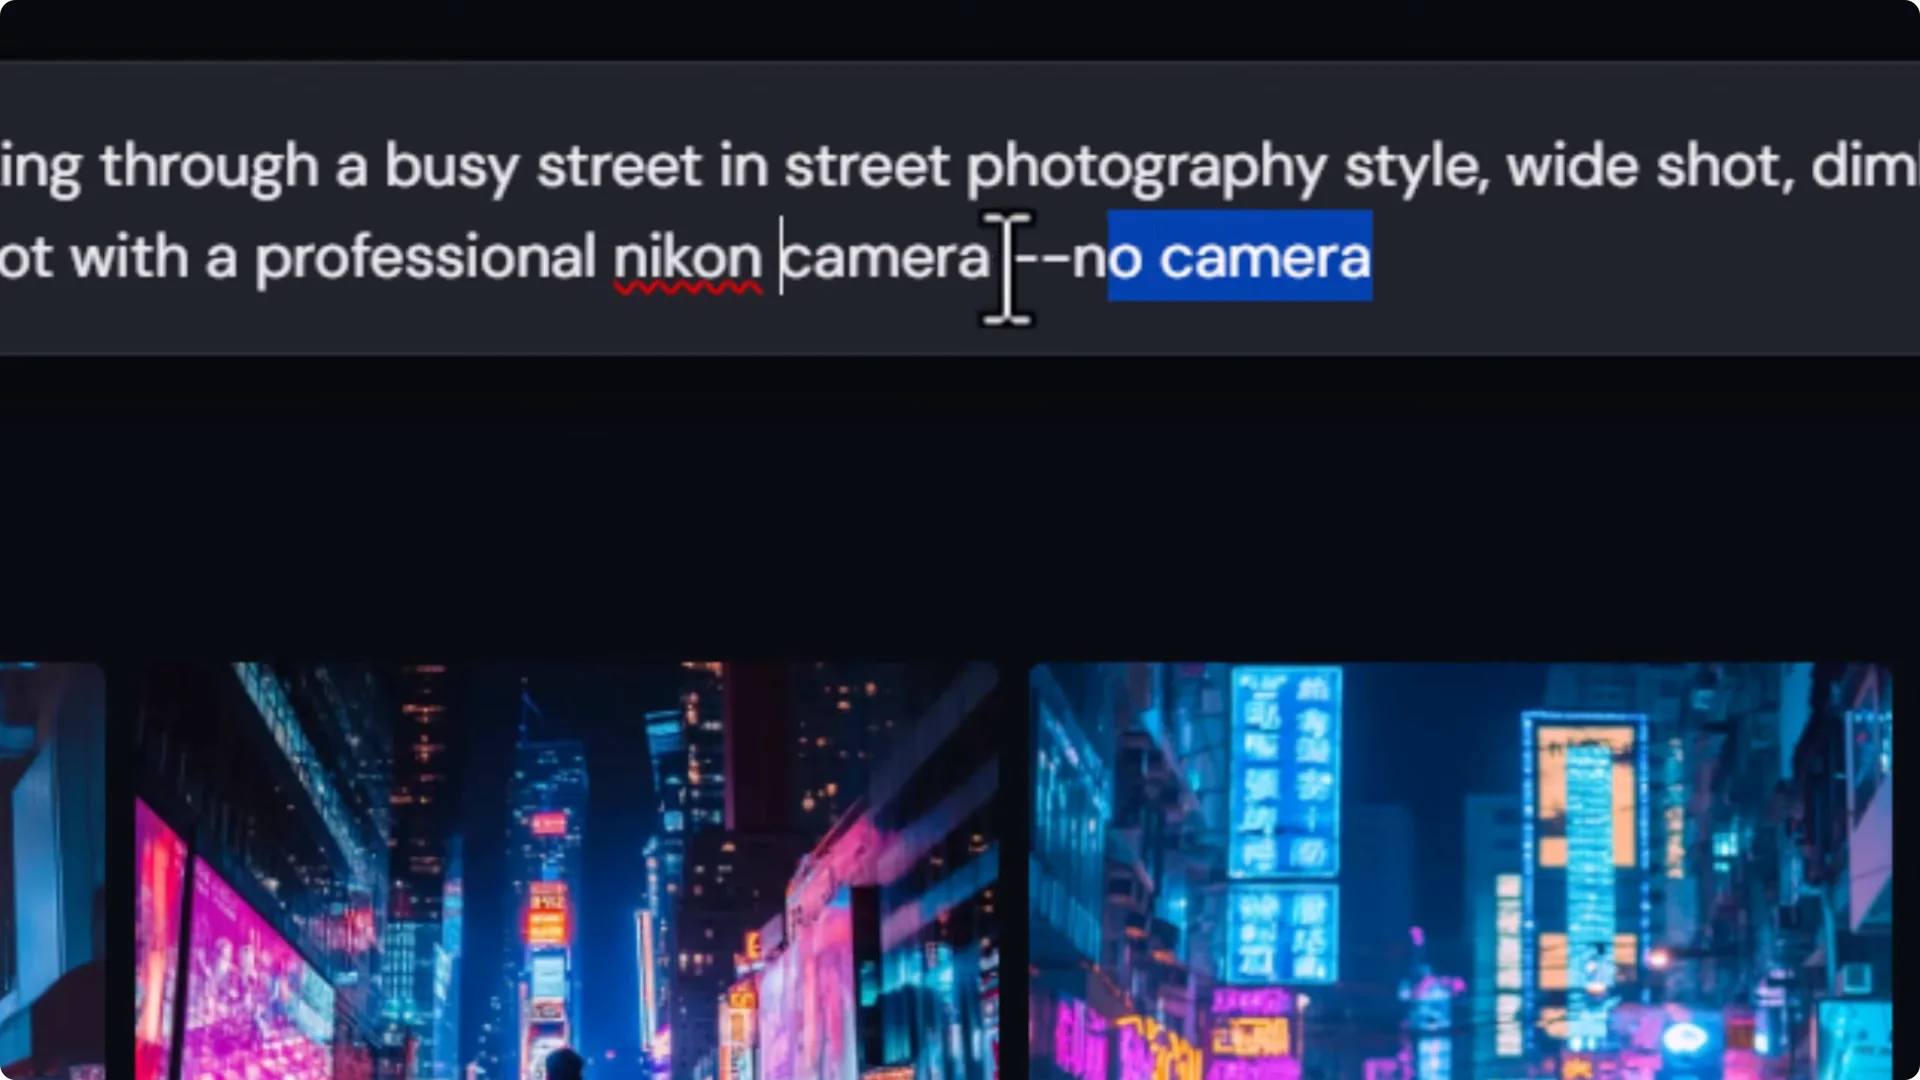
- Subject – a businessman walking through a busy street
- Style – street photography
- Composition – wide shot
- Lighting – dimly lit with neon lights at night
- Format – 35 mm film shot with a professional camera
- Negative words using “no” – camera
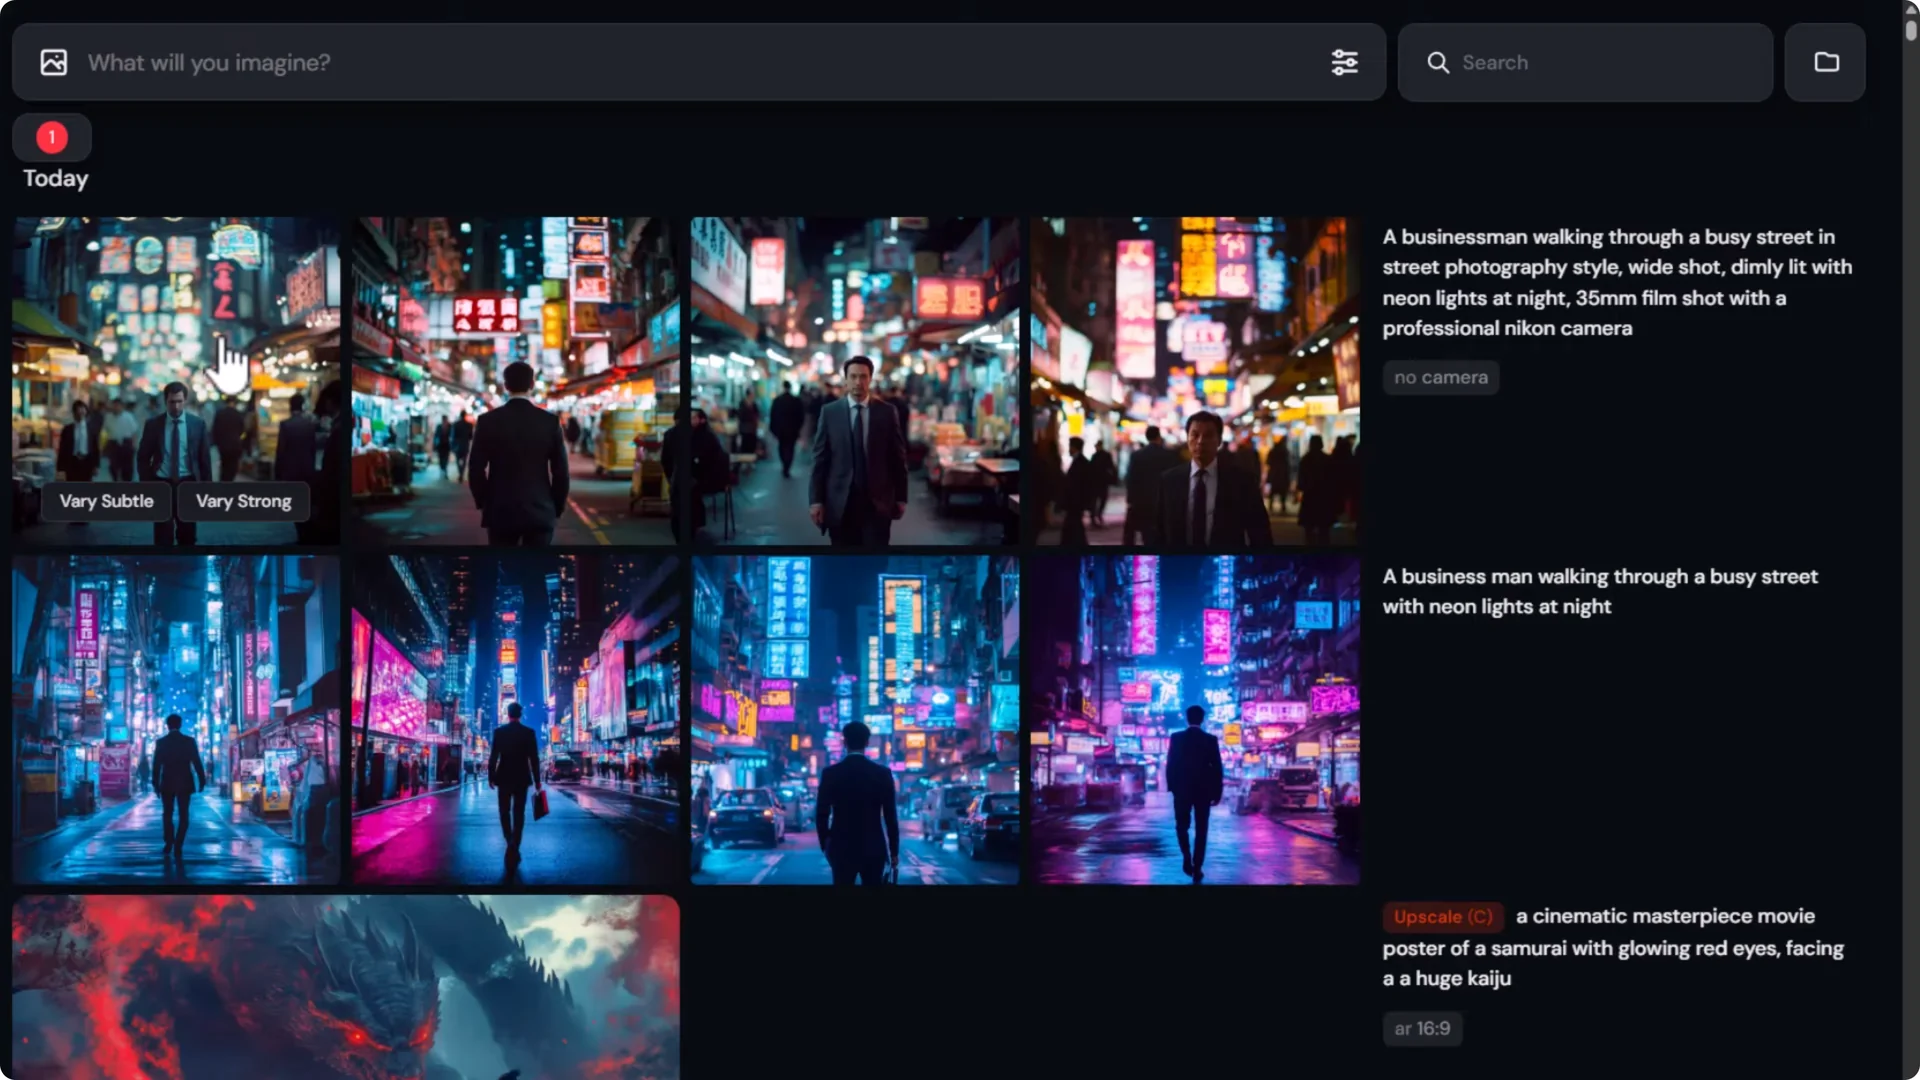
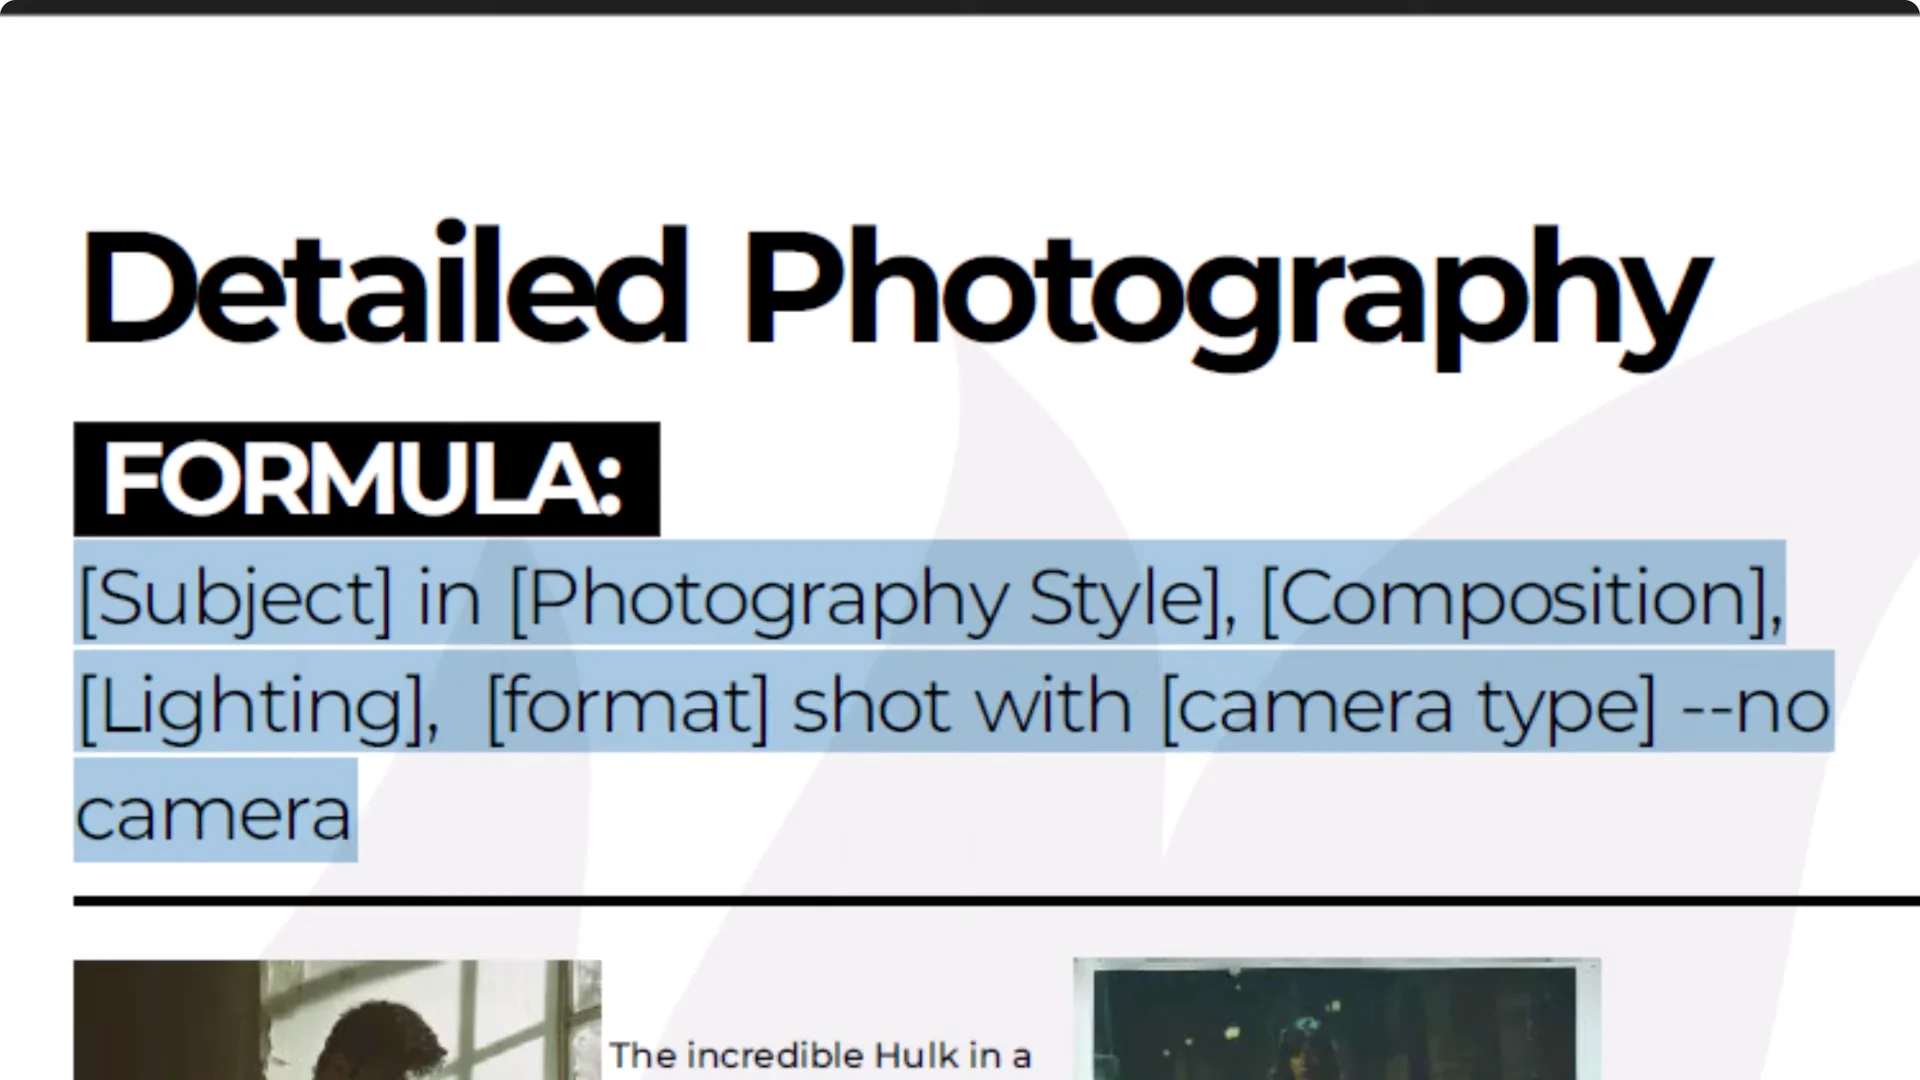
Negative words are great for things you don’t want to see in the image. Because I mentioned a camera, I don’t want a camera in the image, so I add “no camera.”
With more details and a basic formula, you’ll often get a more realistic and controlled result.
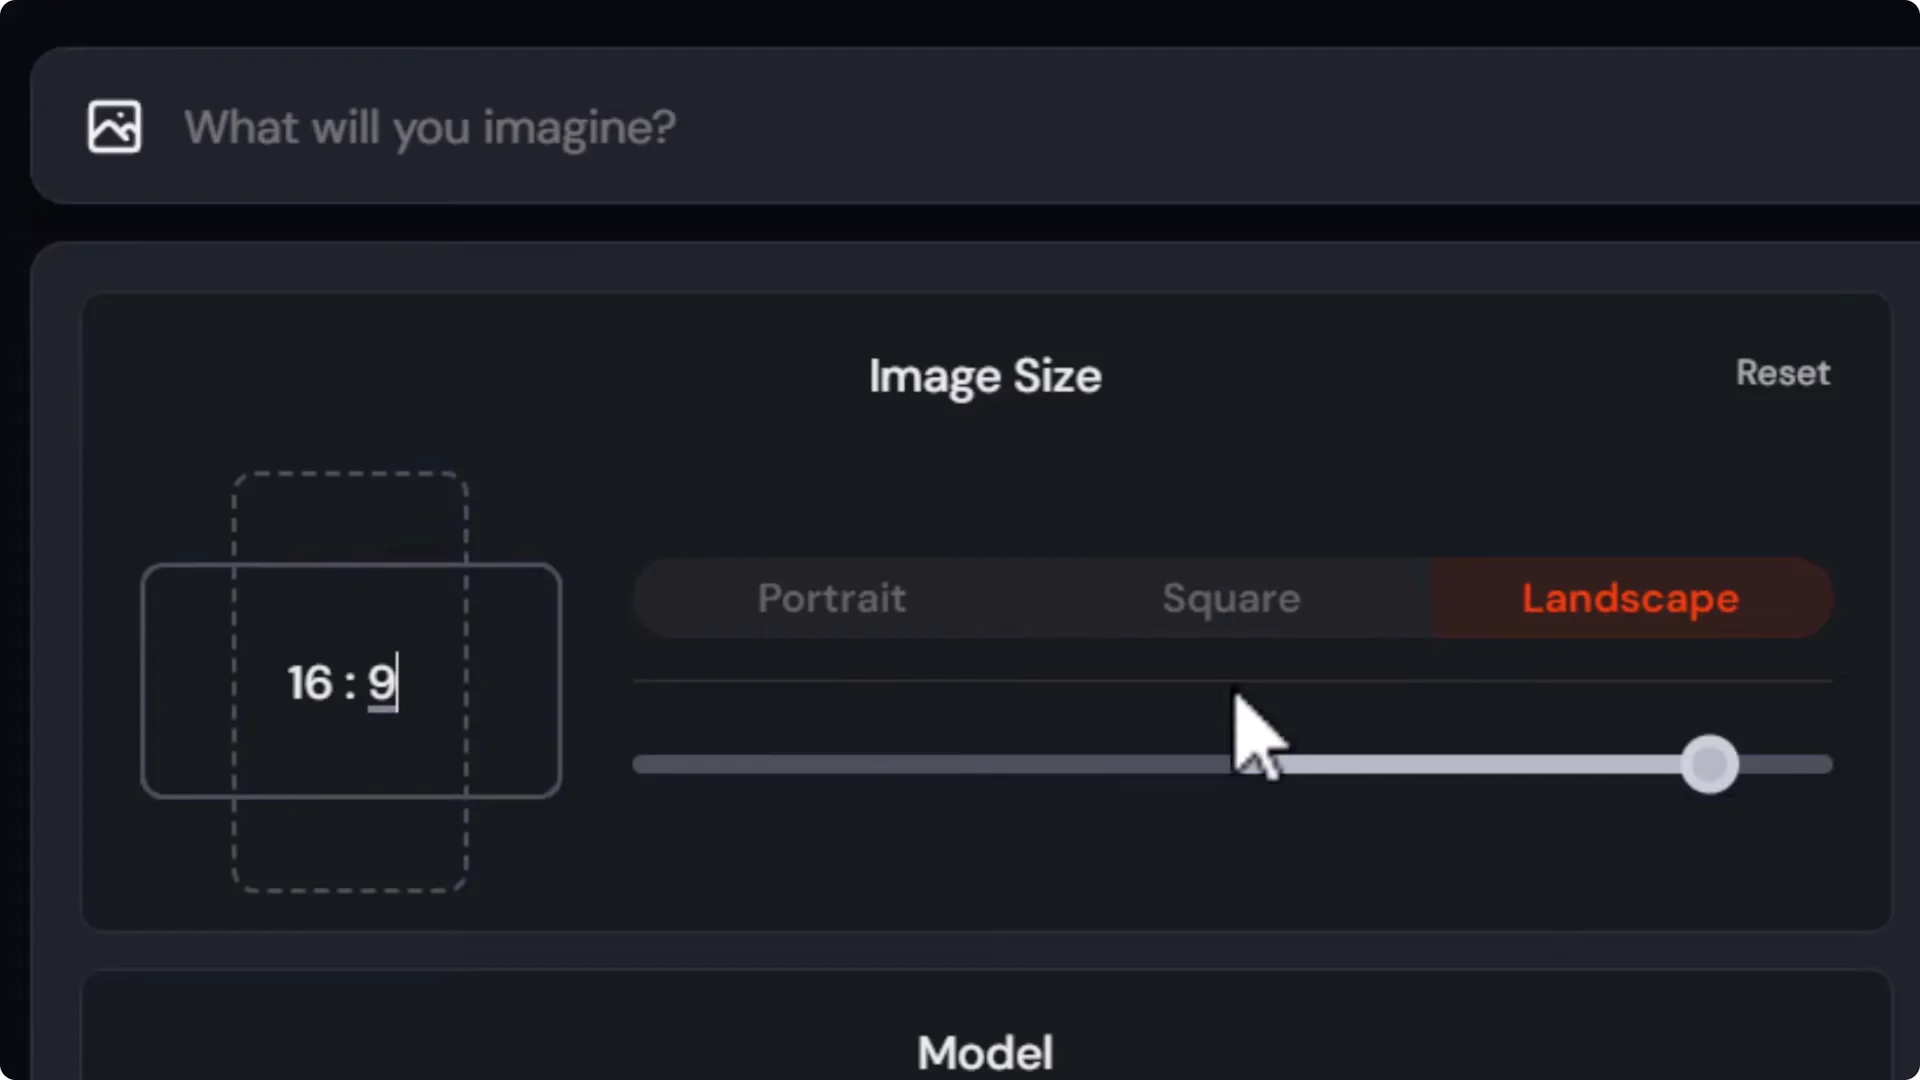
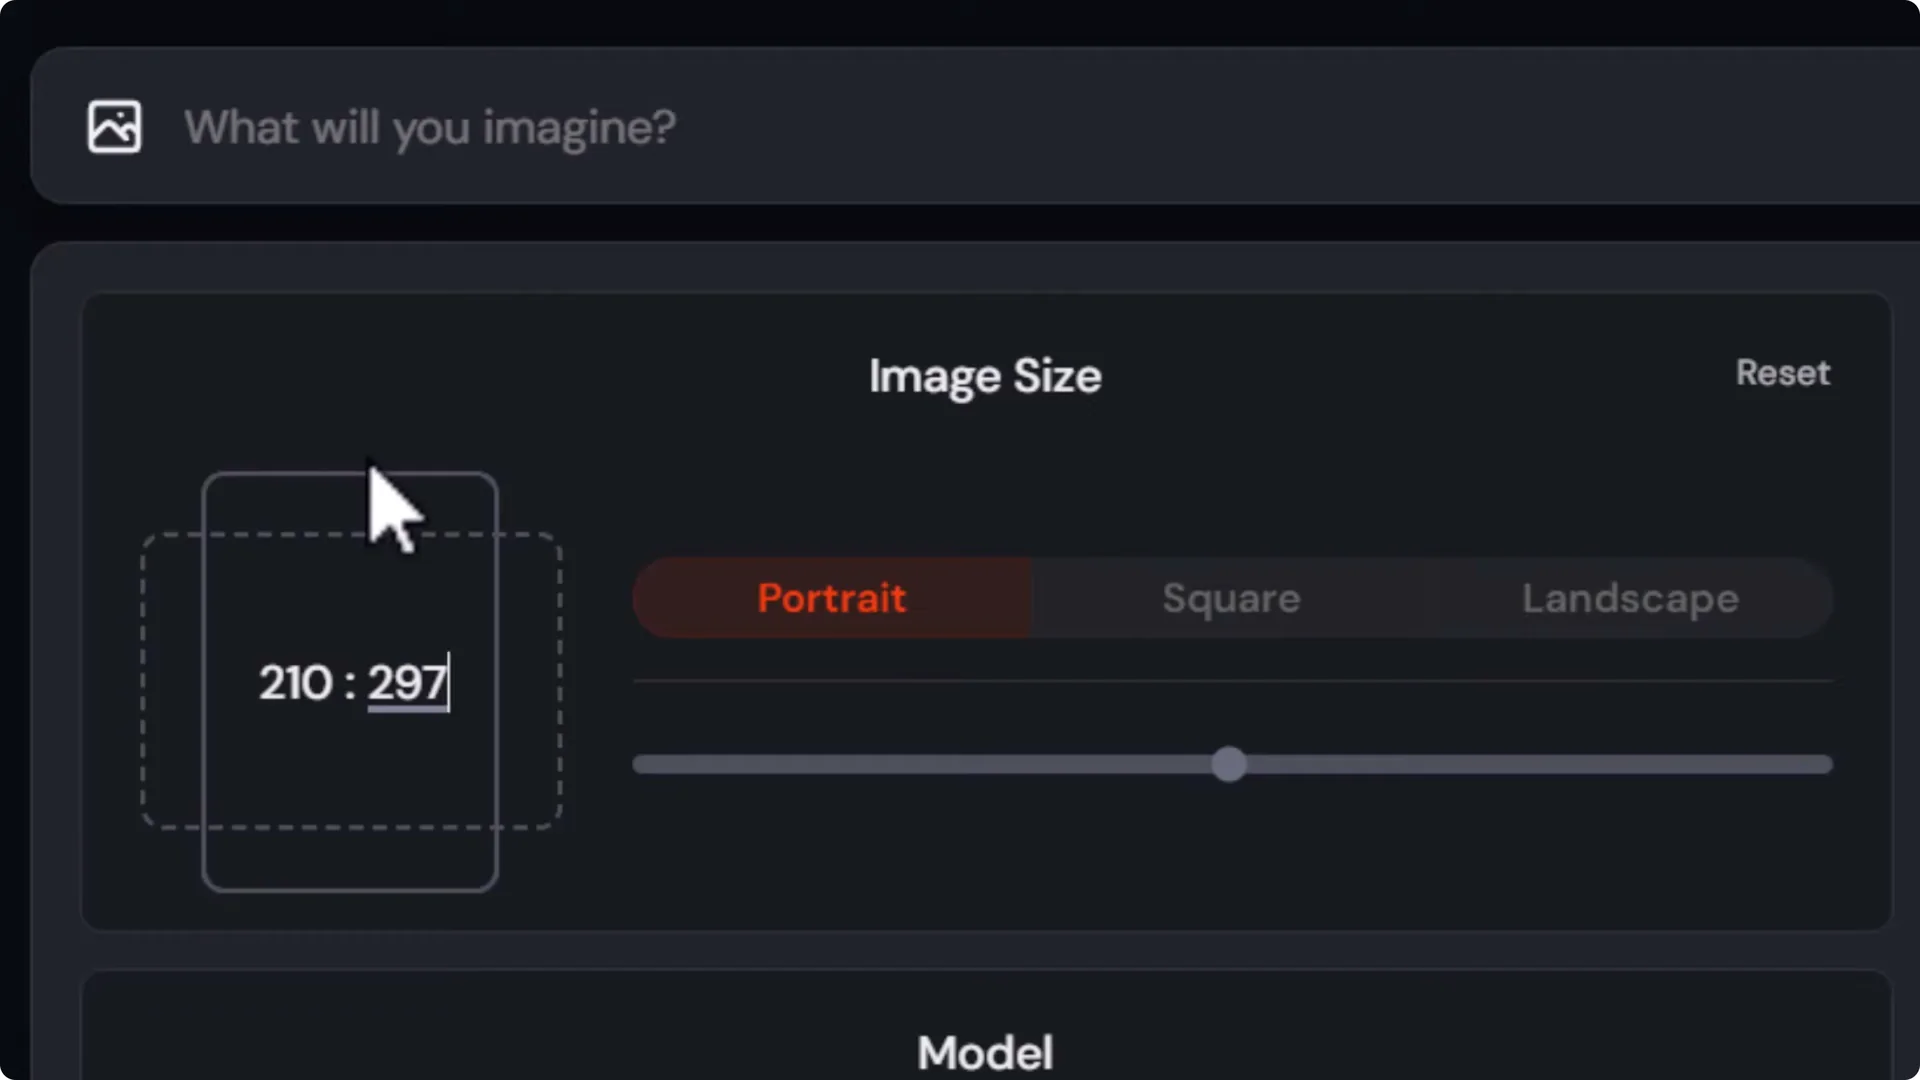
Midjourney Website Tutorial – Aspect Ratio and Core Settings
Use the settings dropdown to control your image. You can type your prompt first, then open settings.
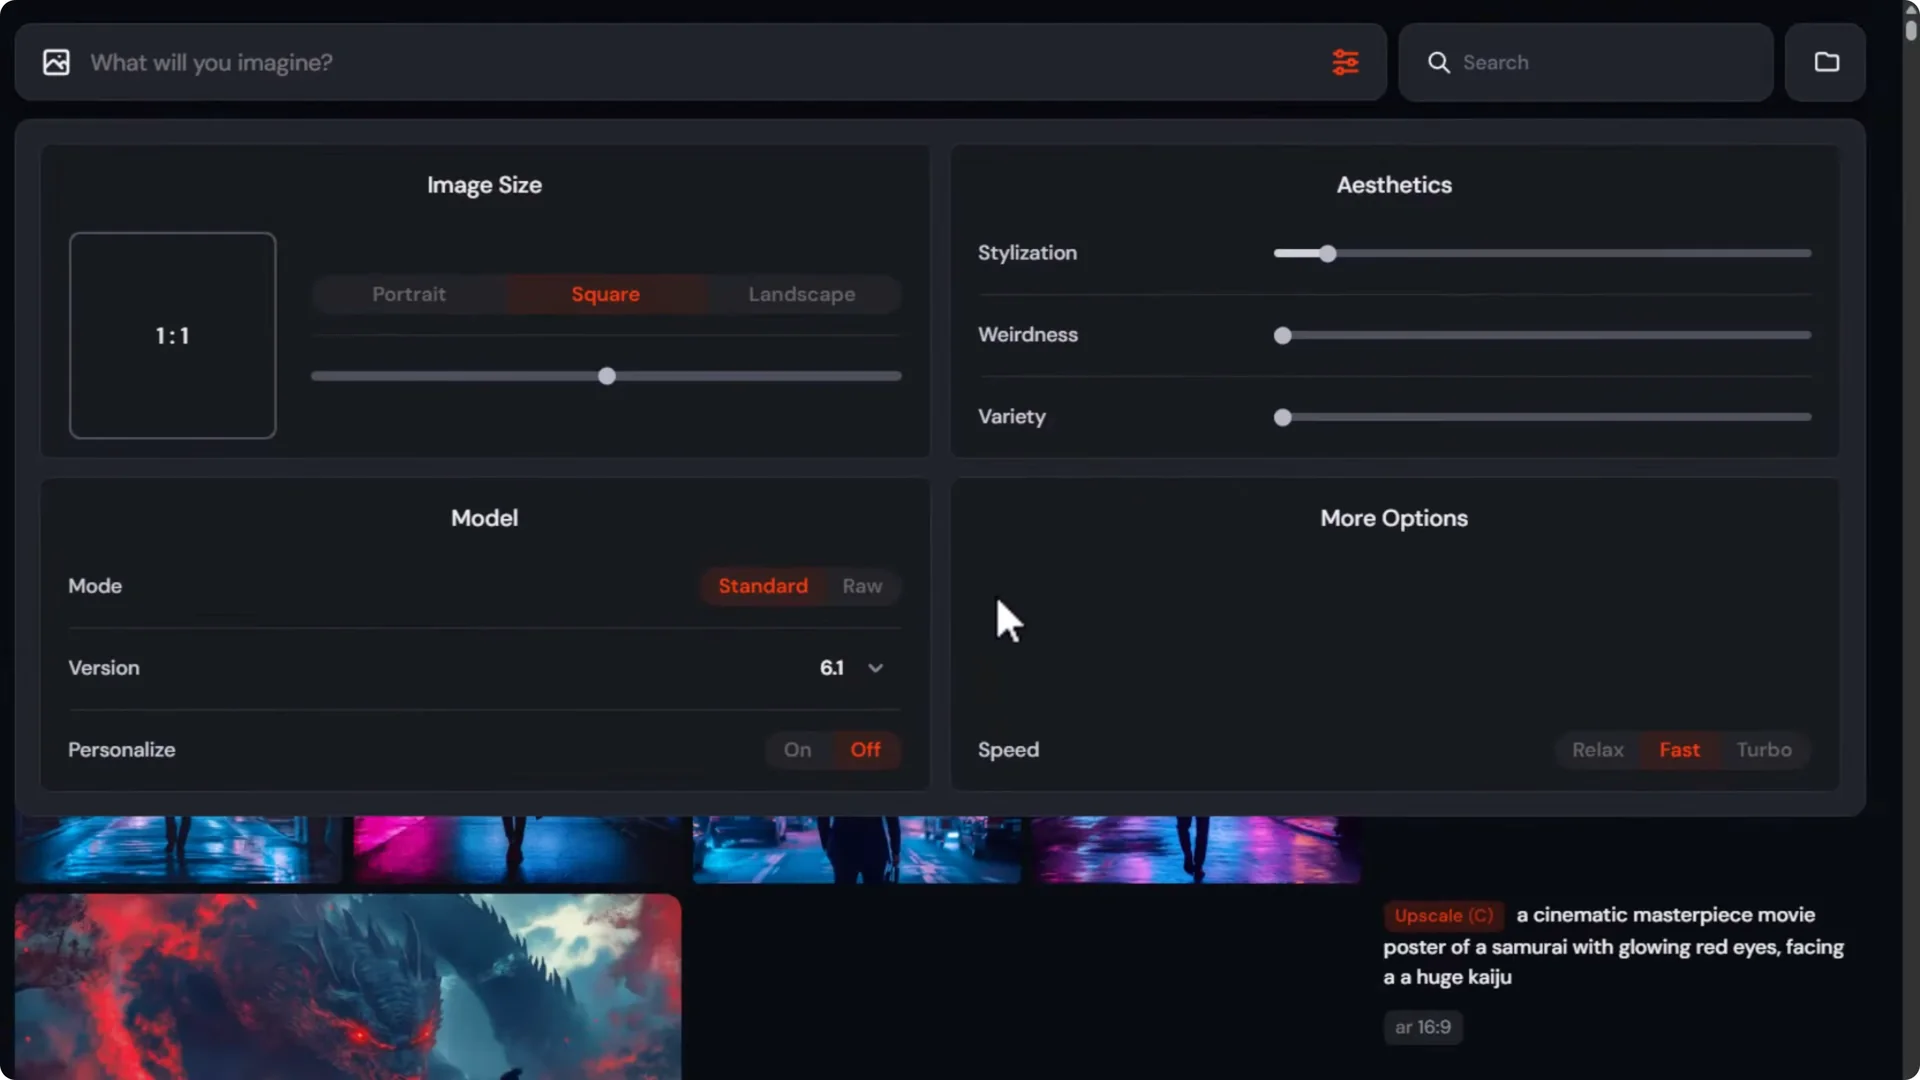
Aspect ratio and models
- Aspect ratio – choose wide or tall, or use the slider.
- Custom sizes – enter specific numbers, like 210 by 297, to match A4 proportions.
- 16-9 works perfectly for video frames.
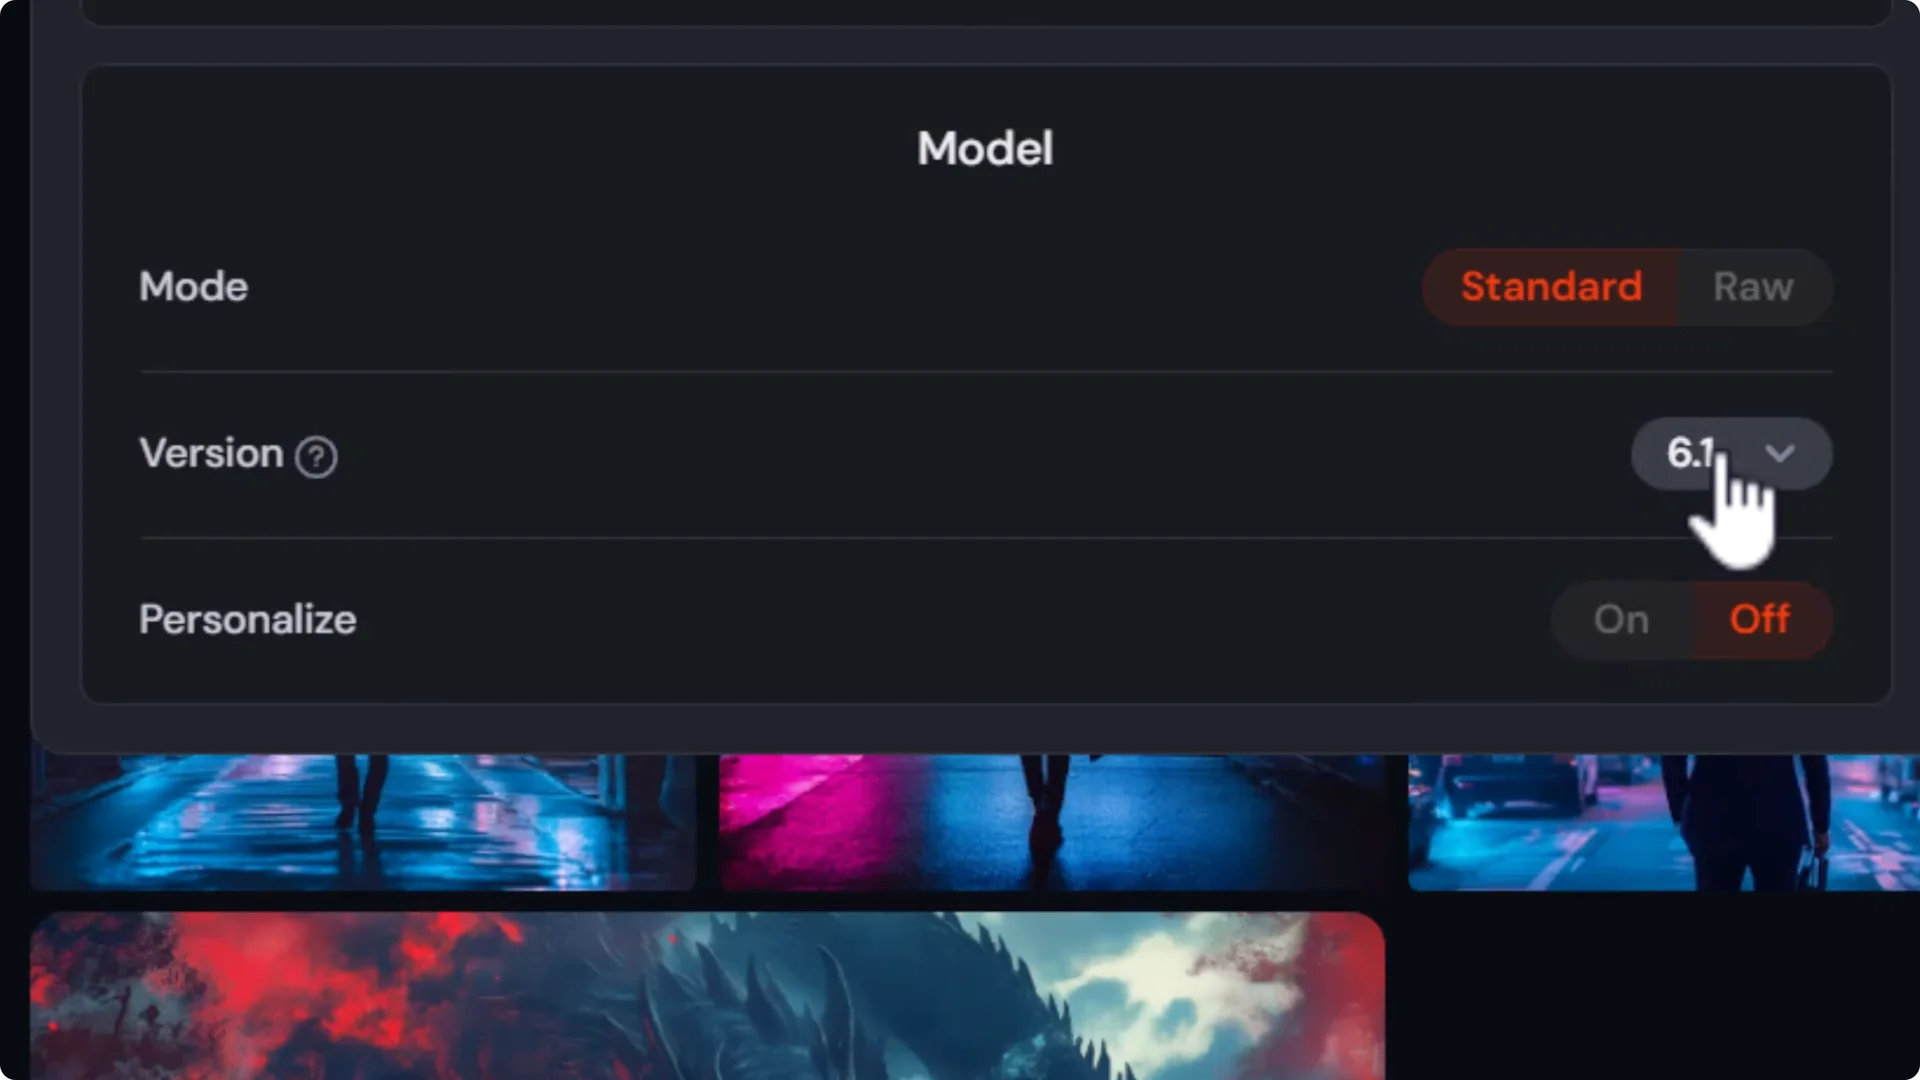
- Models – I’m using version 6.1. They’re working on version 7, so you may see that available.
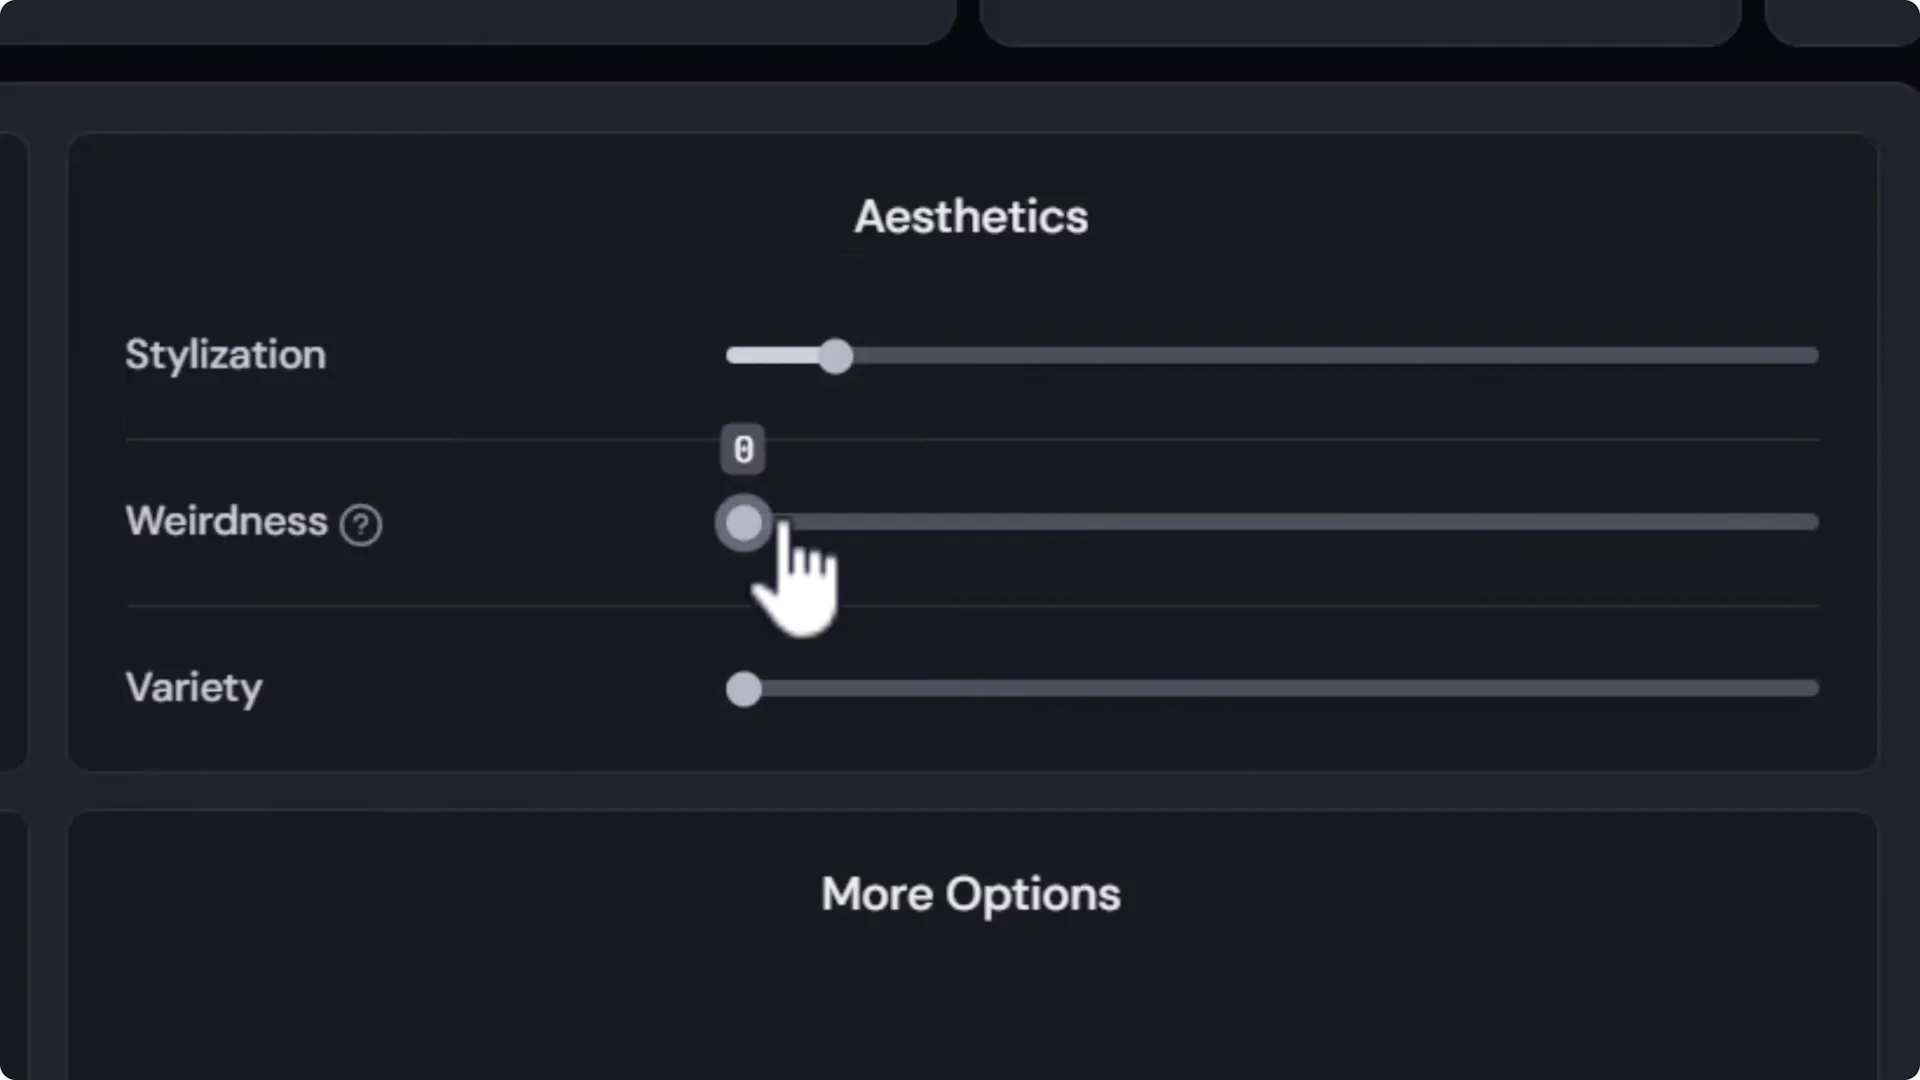
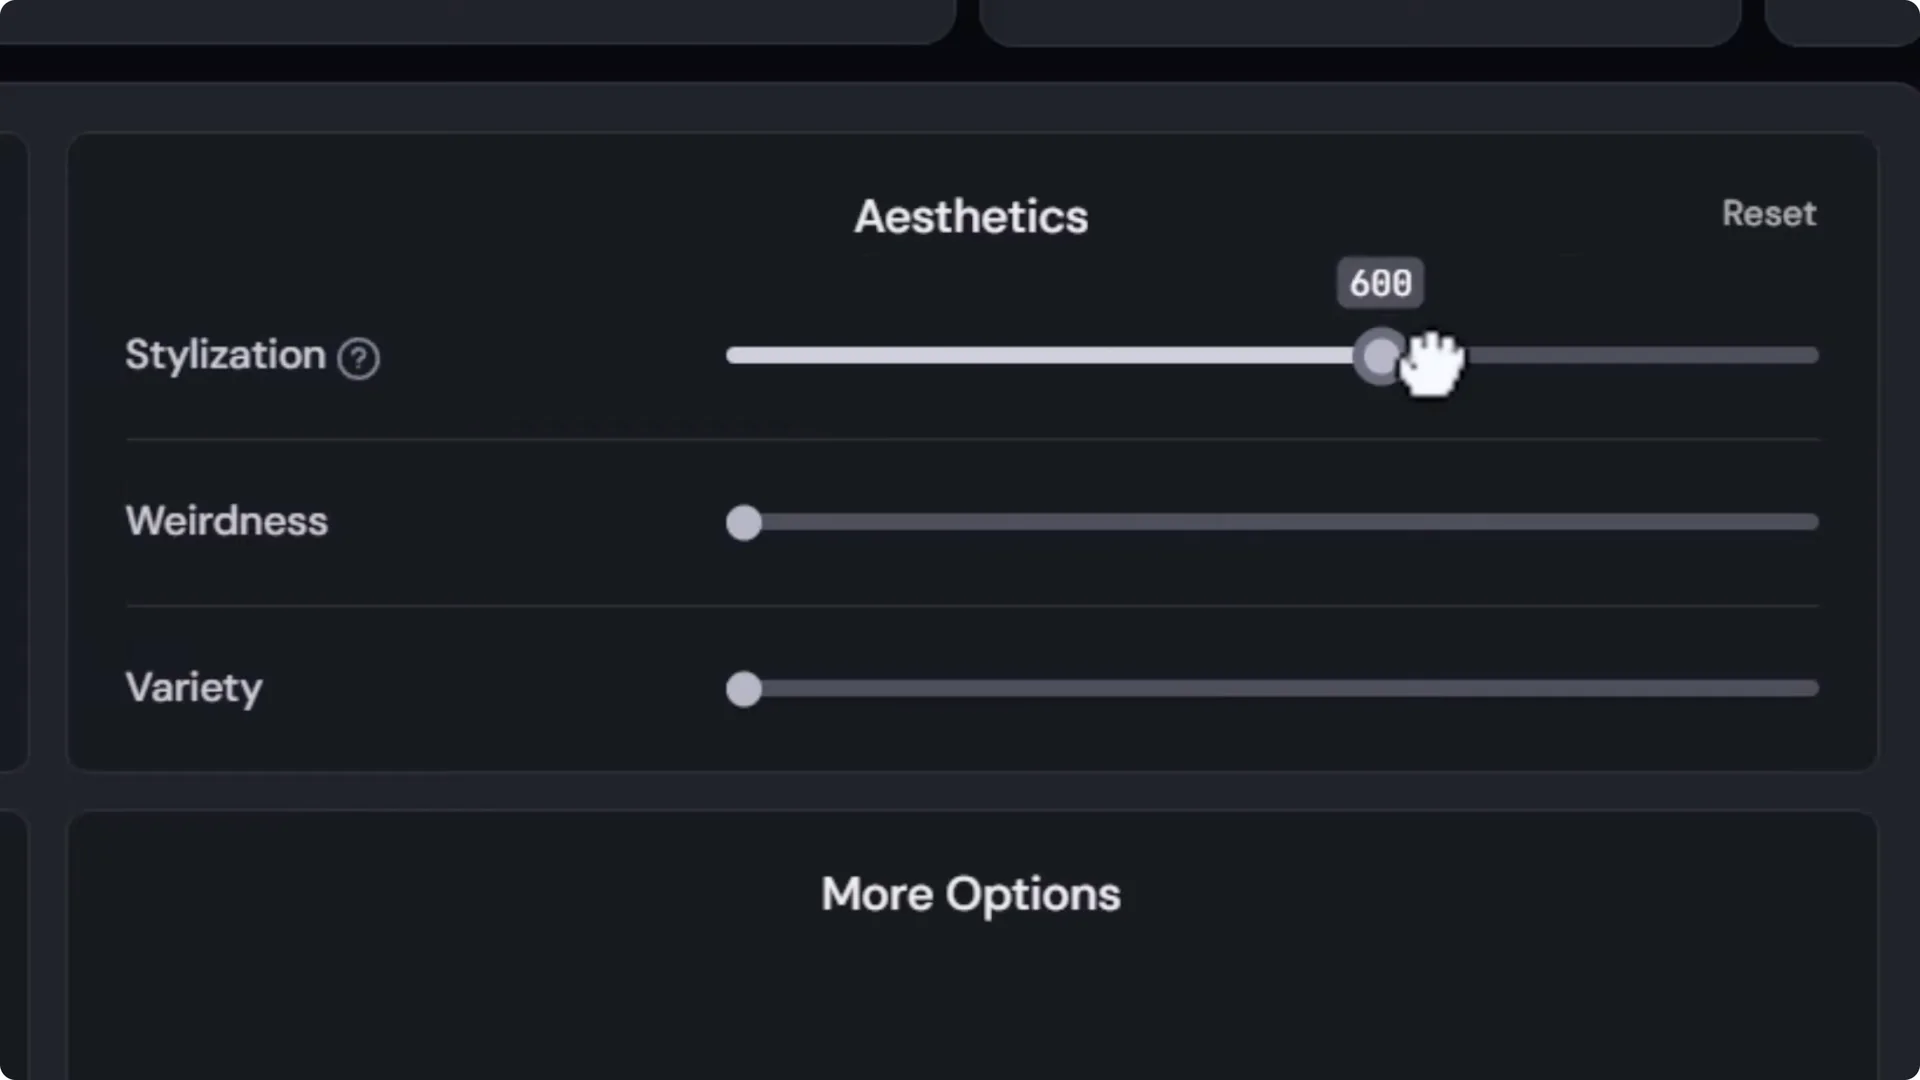
Stylization, weirdness, and variety
- Aesthetics stylization – how much Midjourney’s style influences your image. Higher values give strong style with a bit less control from your prompt.
- Weirdness – increases the weirdness factor.
- Variety – also known as chaos on Discord. At 0, your 4 images look similar. At full, each image looks very different.
Try this:
- Submit a prompt at variety 0 – the images are consistent.
- Submit the same prompt at full variety – the images are far more diverse.
- Set stylization high – Midjourney applies a more opinionated style.
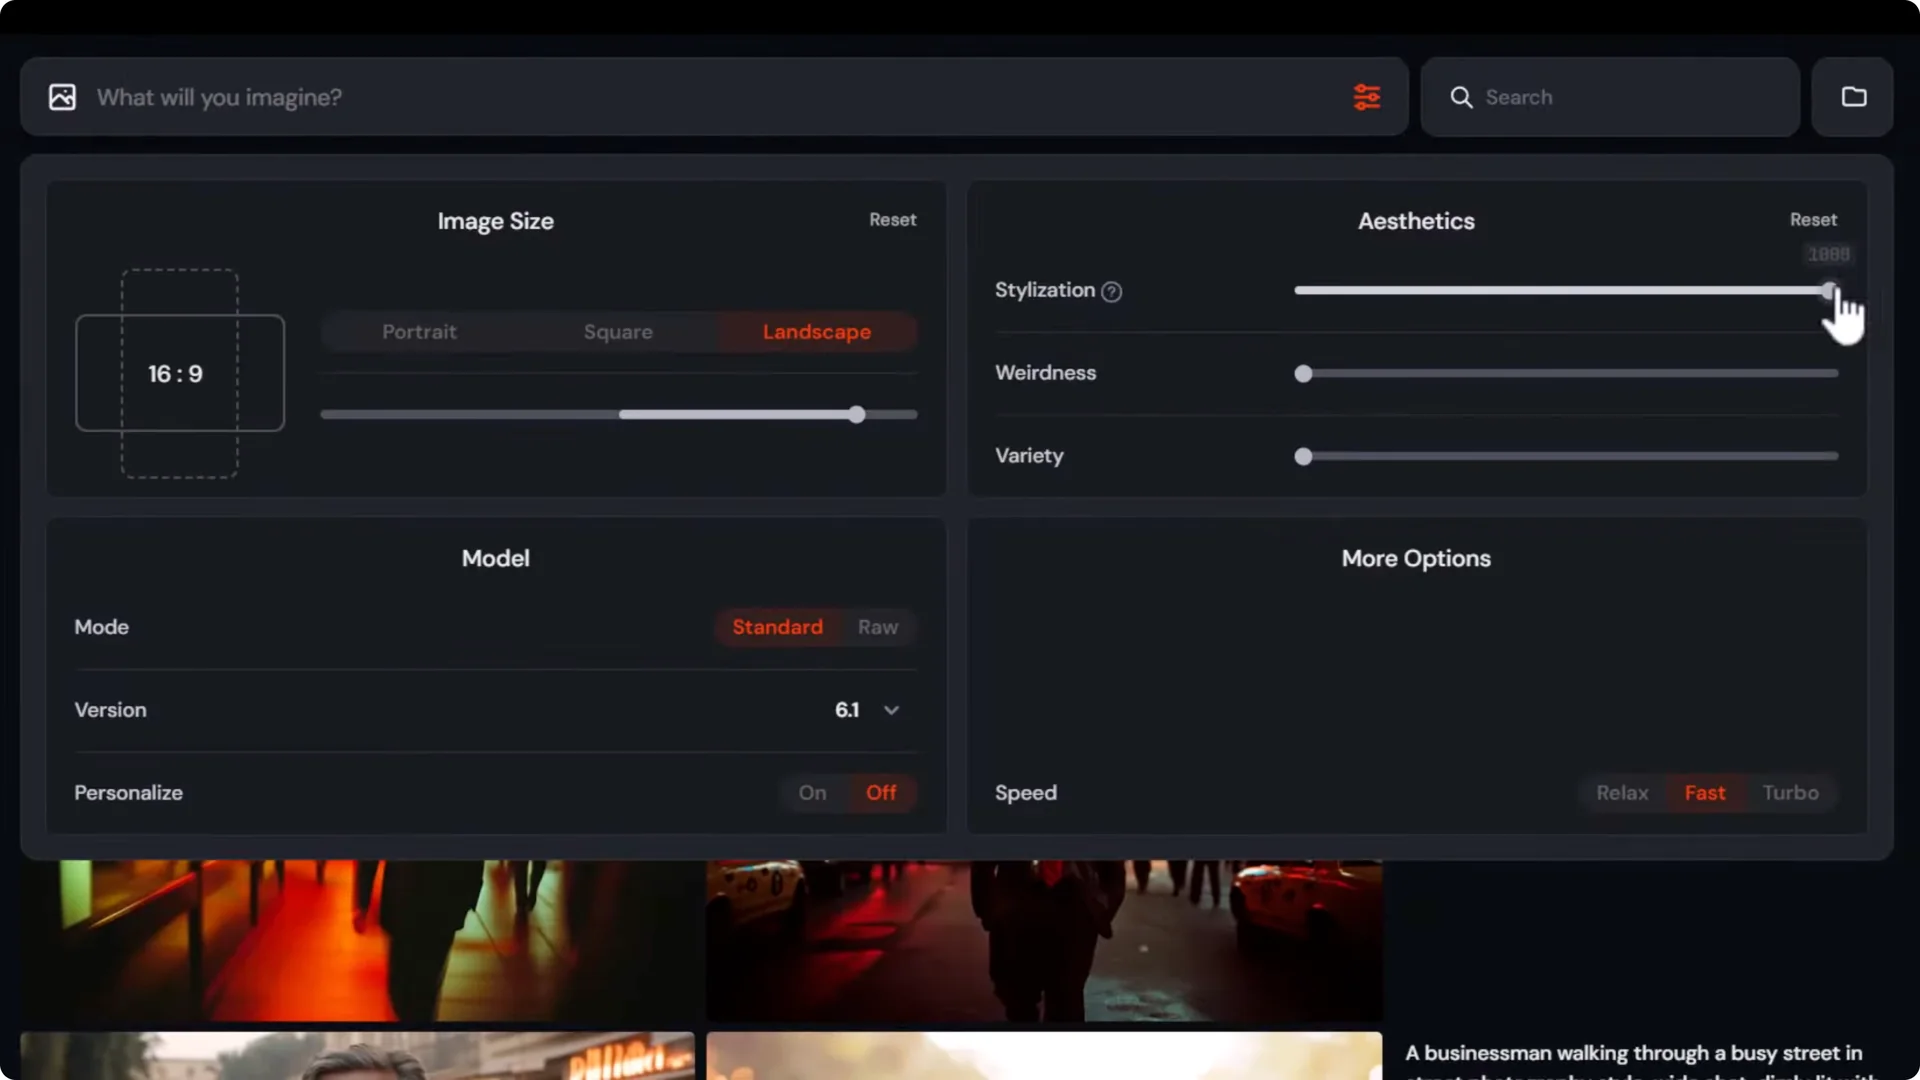
Standard vs Raw mode
- Standard – applies some of Midjourney’s nature to the images.
- Raw – follows the prompt as directly as possible and reduces the platform’s opinionated style. For very particular photography prompts, Raw can be powerful.
Speed and GPU usage
- Speed modes affect generation time and GPU usage:
– Fast – the default speed.
– Relax – much slower, but does not use your paid GPU hours. You can create essentially unlimited images in Relax without touching your quota.
– Turbo – much faster, but uses more GPU hours per image.
- Track usage – click your username → Manage subscription. You’ll see Remaining fast hours and how much you’ve used.
Midjourney Website Tutorial – Adjustments, Variations, and Remix
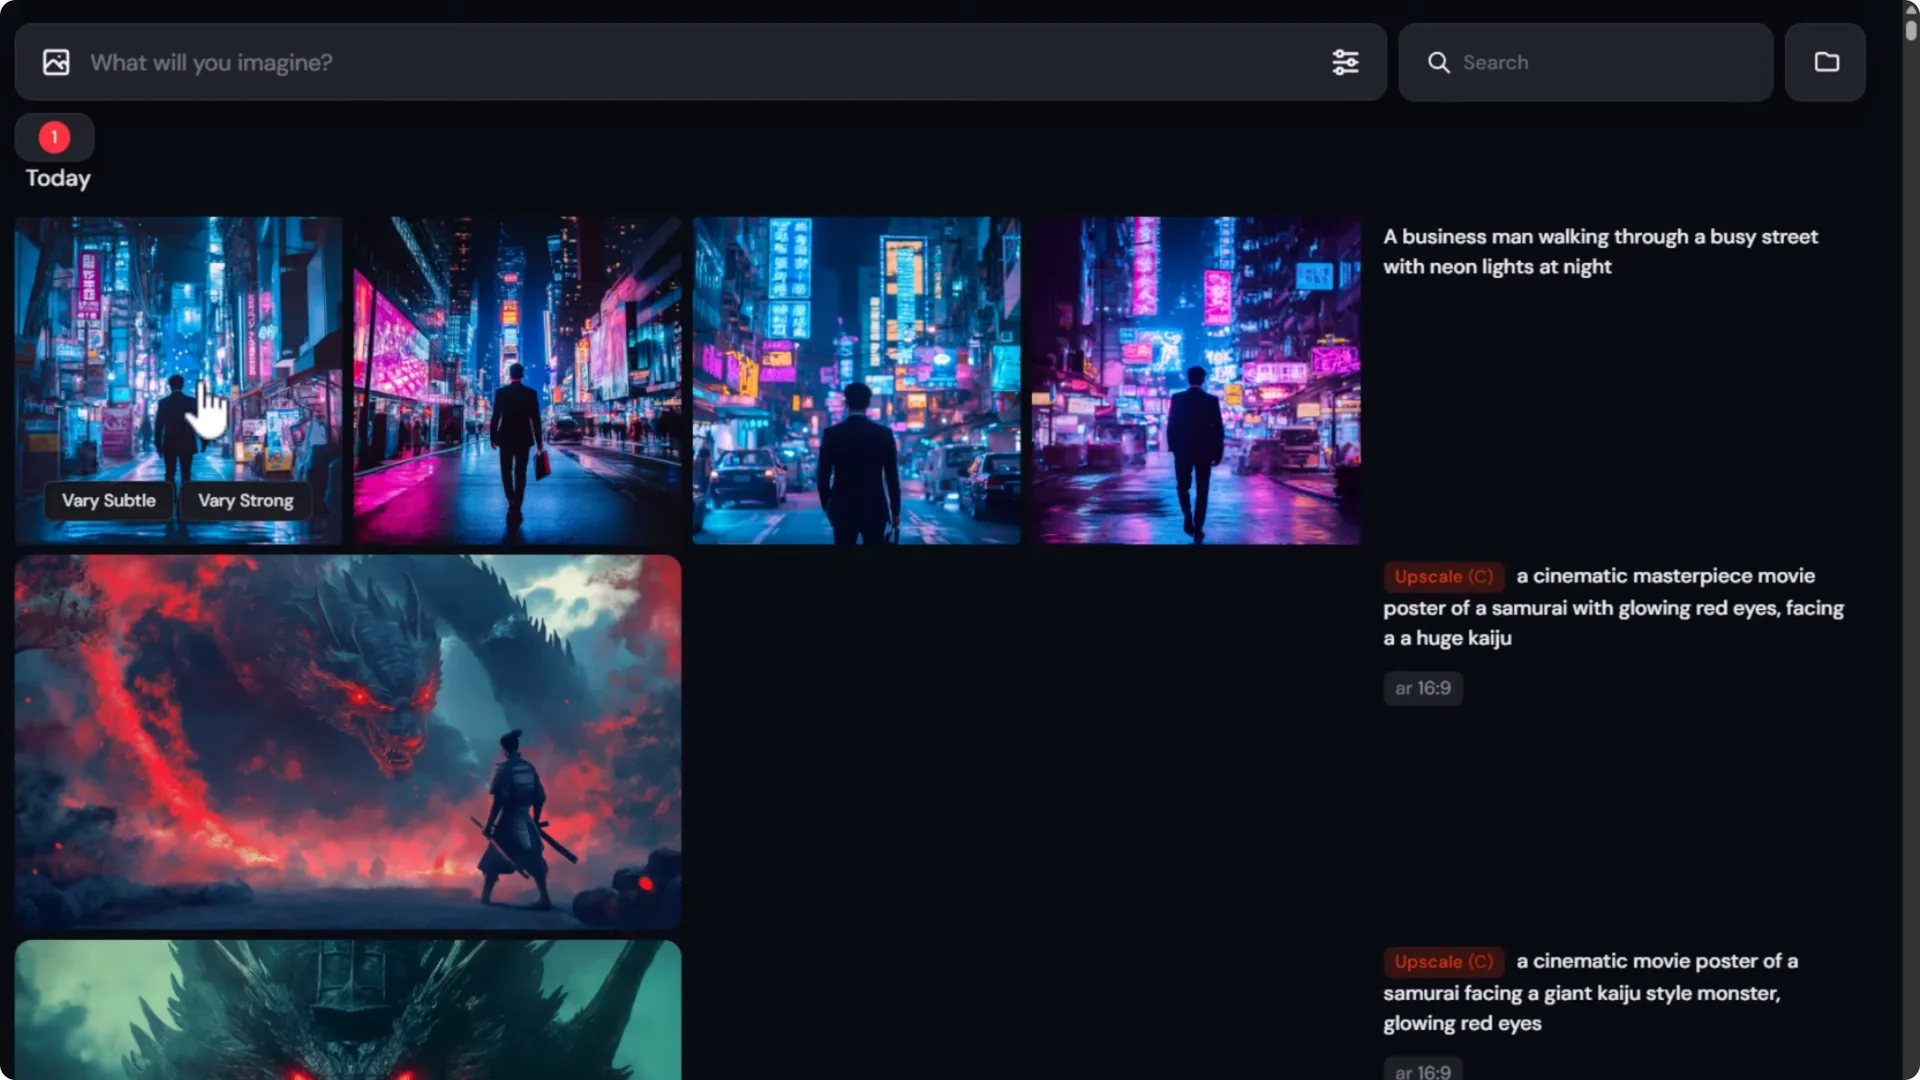
If you’re not getting what you’re after, try these tools on any grid or image:
- Rerun – resubmits the same job to generate four more images.
- Very subtle – variations that are very similar to your selected image.
- Very strong – still references the original, but allows more freedom.
Edit your prompt and resubmit. For example, remove “neon lights” and just say “dimly lit at night” for a less aggressive look.
Remix lets you change the prompt while referencing an image you like:
- Click the image → More options → turn on Remix.
- Use Remix subtle to make minor prompt changes while keeping composition close.
- Use Remix strong for more noticeable changes.
Example change:
- Add “cool color palette with blues” near the start of your prompt. Remix subtle might show minor differences. Remix strong gives a more pronounced blue tone.
Midjourney Website Tutorial – Upscaling and Downloading
Click an image and download it, but note the base resolution:
- A wide image example – 1456 x 816 pixels.
- A square image – 1024 x 1024 pixels.
- Shapes vary, but the base size hovers around those numbers.
To get higher resolution:
- Open the image and choose an Upscale option:
– Subtle – upscales while keeping details consistent.
– Creative – re-renders details. Often smoother, sometimes with more visible changes.
- I recommend submitting both and choosing the one you like. In many cases the results are close, but one will have nicer details in faces, hands, or textures.
- After upscaling, example output – 2912 x 1632 pixels.
If you need even higher resolution, you can use an external upscaler like Topaz Gigapixel to go to 6k, 8k, or higher.
Midjourney Website Tutorial – Exploring Image Models
For a quick comparison, use a simple prompt like “cyber punk samurai girl.”
- Version 6.1 produces high detail and accuracy.
- Switch to version 3 with the same prompt and you’ll see a vastly different look and lower detail. If you use models version 4 or earlier, they tend to render at lower resolution and need upscaling to get full-size images.
- Below version 1 you’ll see the nii models – 6, 5, and 4. These are Japanese anime inspired models and do a great job with that style. I actually prefer the look of 5 for some prompts, even though 6 is more technically capable.
- Older standard models often feel more artistic in layout and composition. I recommend trying multiple models when you’re after a particular style.
Midjourney Website Tutorial – Organize and Learn From Others
- Organize tab – view all images you’ve made. Click an image to see the prompt, add it to your prompt bar, and continue working from there.
- Explore page – see what others are making. You can view the prompt and settings they used. Click to use that exact prompt, adjust the settings to your liking, and submit. It’s a great stepping stone to create your own images.
Final Thoughts
Midjourney on the web is straightforward once you know the flow: sign up, pick a plan that fits your budget, and start in Create with a clear prompt. Include subject, scene, lighting, medium, and details. Use settings for aspect ratio, stylization, weirdness, variety, and mode to find your look. Rerun, subtle or strong variations, and Remix help you iterate quickly.
Upscale with Subtle or Creative and pick the best result. Try different models, including nii for anime, and explore older versions for more artistic compositions. Use Organize to keep working on your images and Explore to learn from prompts that already produce great results.