I took an original picture and produced a modified version using Perplexity AI. Perplexity recently added the GPT-Image 1 model, which lets you upload a photo and give instructions for what you want changed. The model edits the image for you, and I’ll walk you through how I use it along with several practical examples.
I prefer to keep the speaker’s voice in the results, so I’ll show the exact prompts and settings I rely on. In a few places I’ll point out limitations I noticed, like minor texture loss or square-only outputs. For context, I used Whisper Flow to convert my voice to text while testing.
Getting started with Perplexity AI Photo Editing
Enable GPT-Image 1 in settings because this is the model that currently edits images most accurately on Perplexity. Gemini 2.0 Flash can edit images too, but GPT-Image 1 is far more precise in my testing.
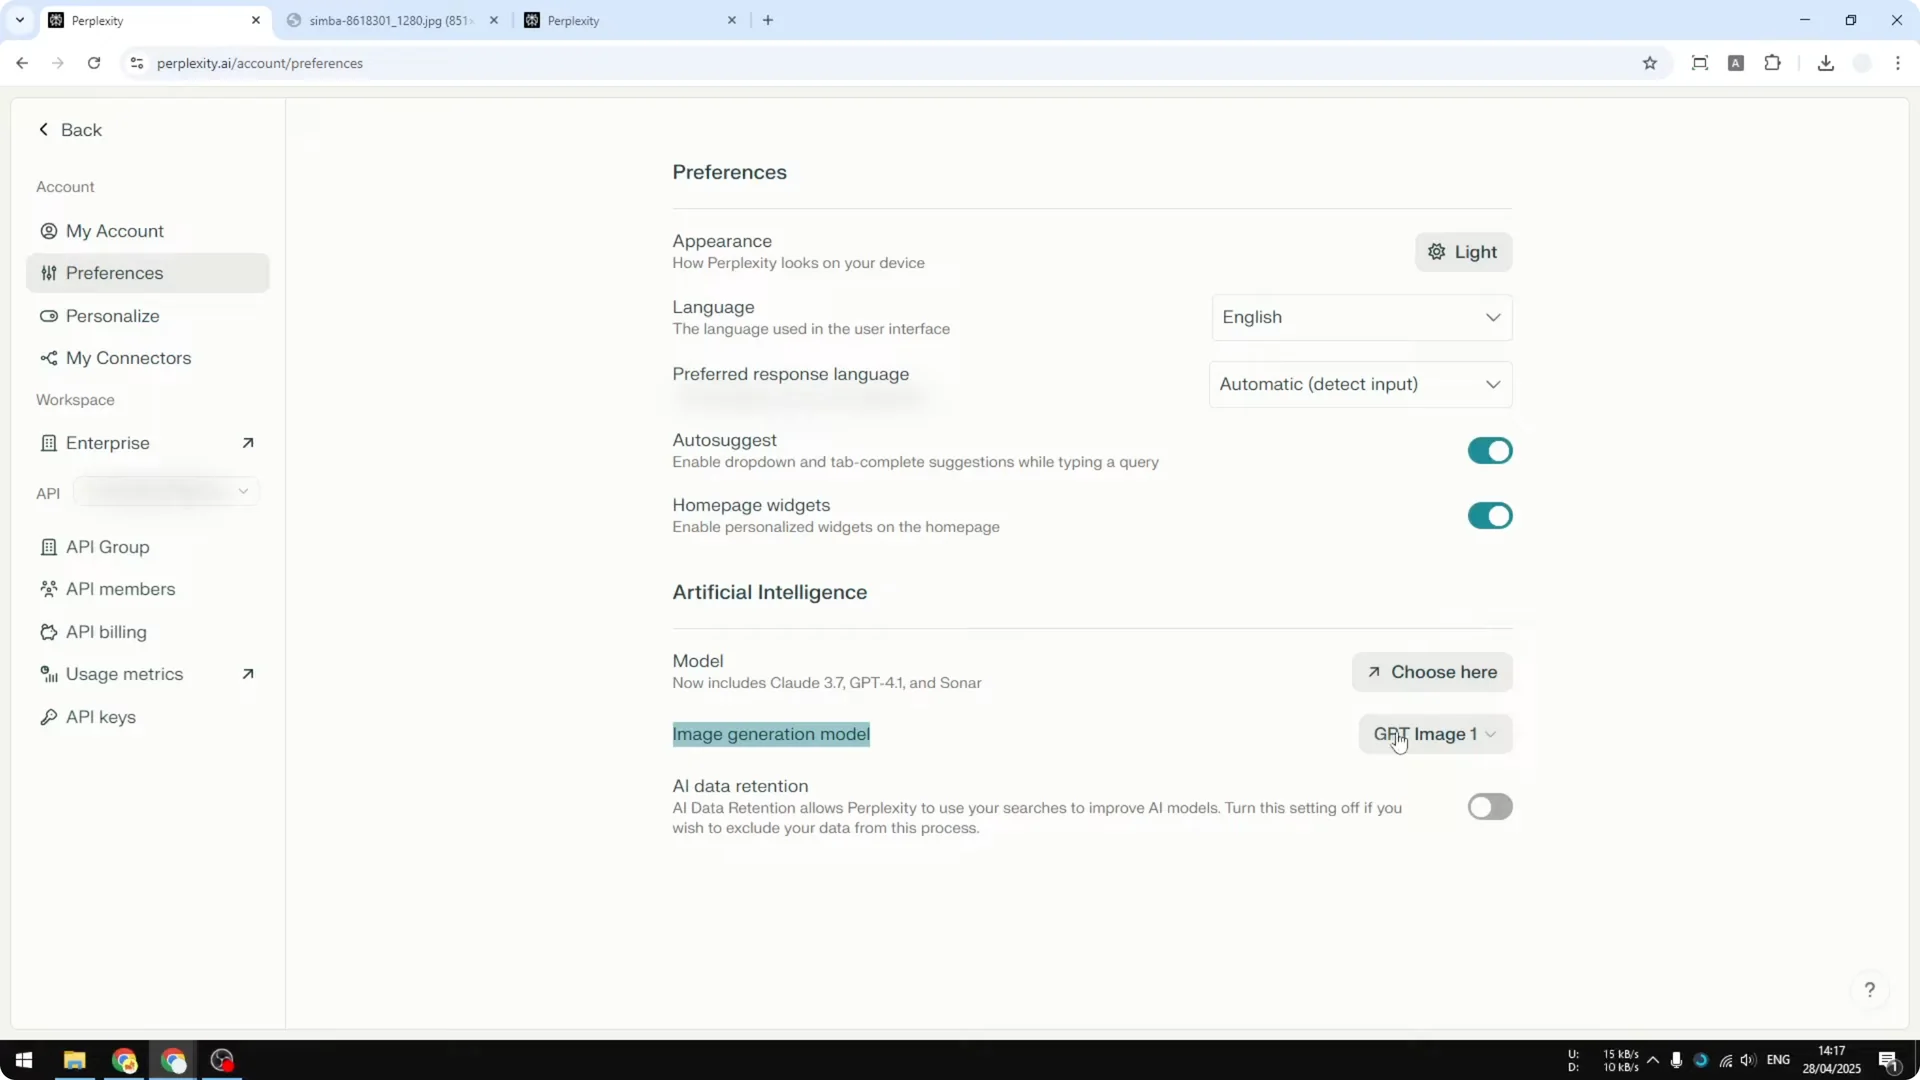
Step 1: Open Settings in Perplexity.
Step 2: Go to Preferences.
Step 3: Under AI image generation model, select GPT-Image 1.
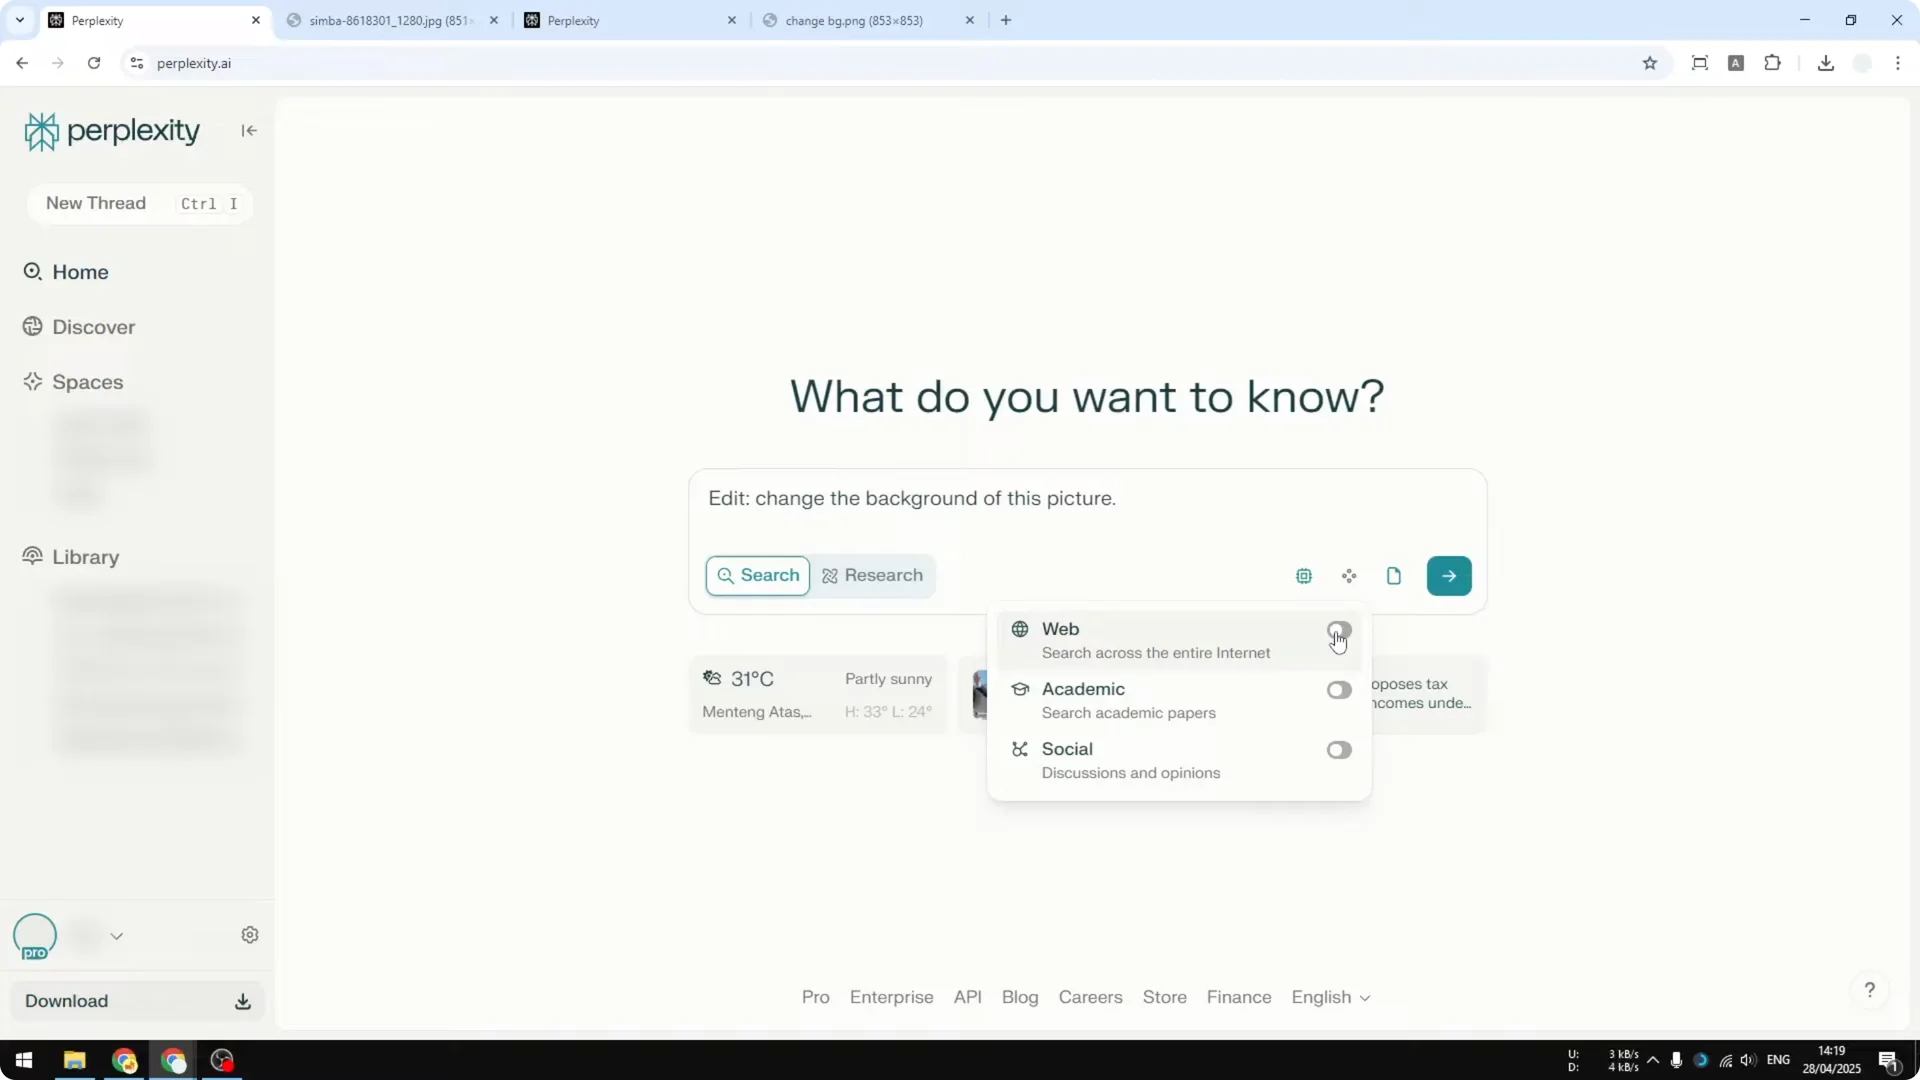
I also recommend enabling Web. From my testing, disabling Web often causes Perplexity to respond with text instead of editing the image. Keeping Web on improves the odds of getting a proper edited output.
If you work with AI art communities, managing your public presence matters. For quick profile tips, see user profiles.
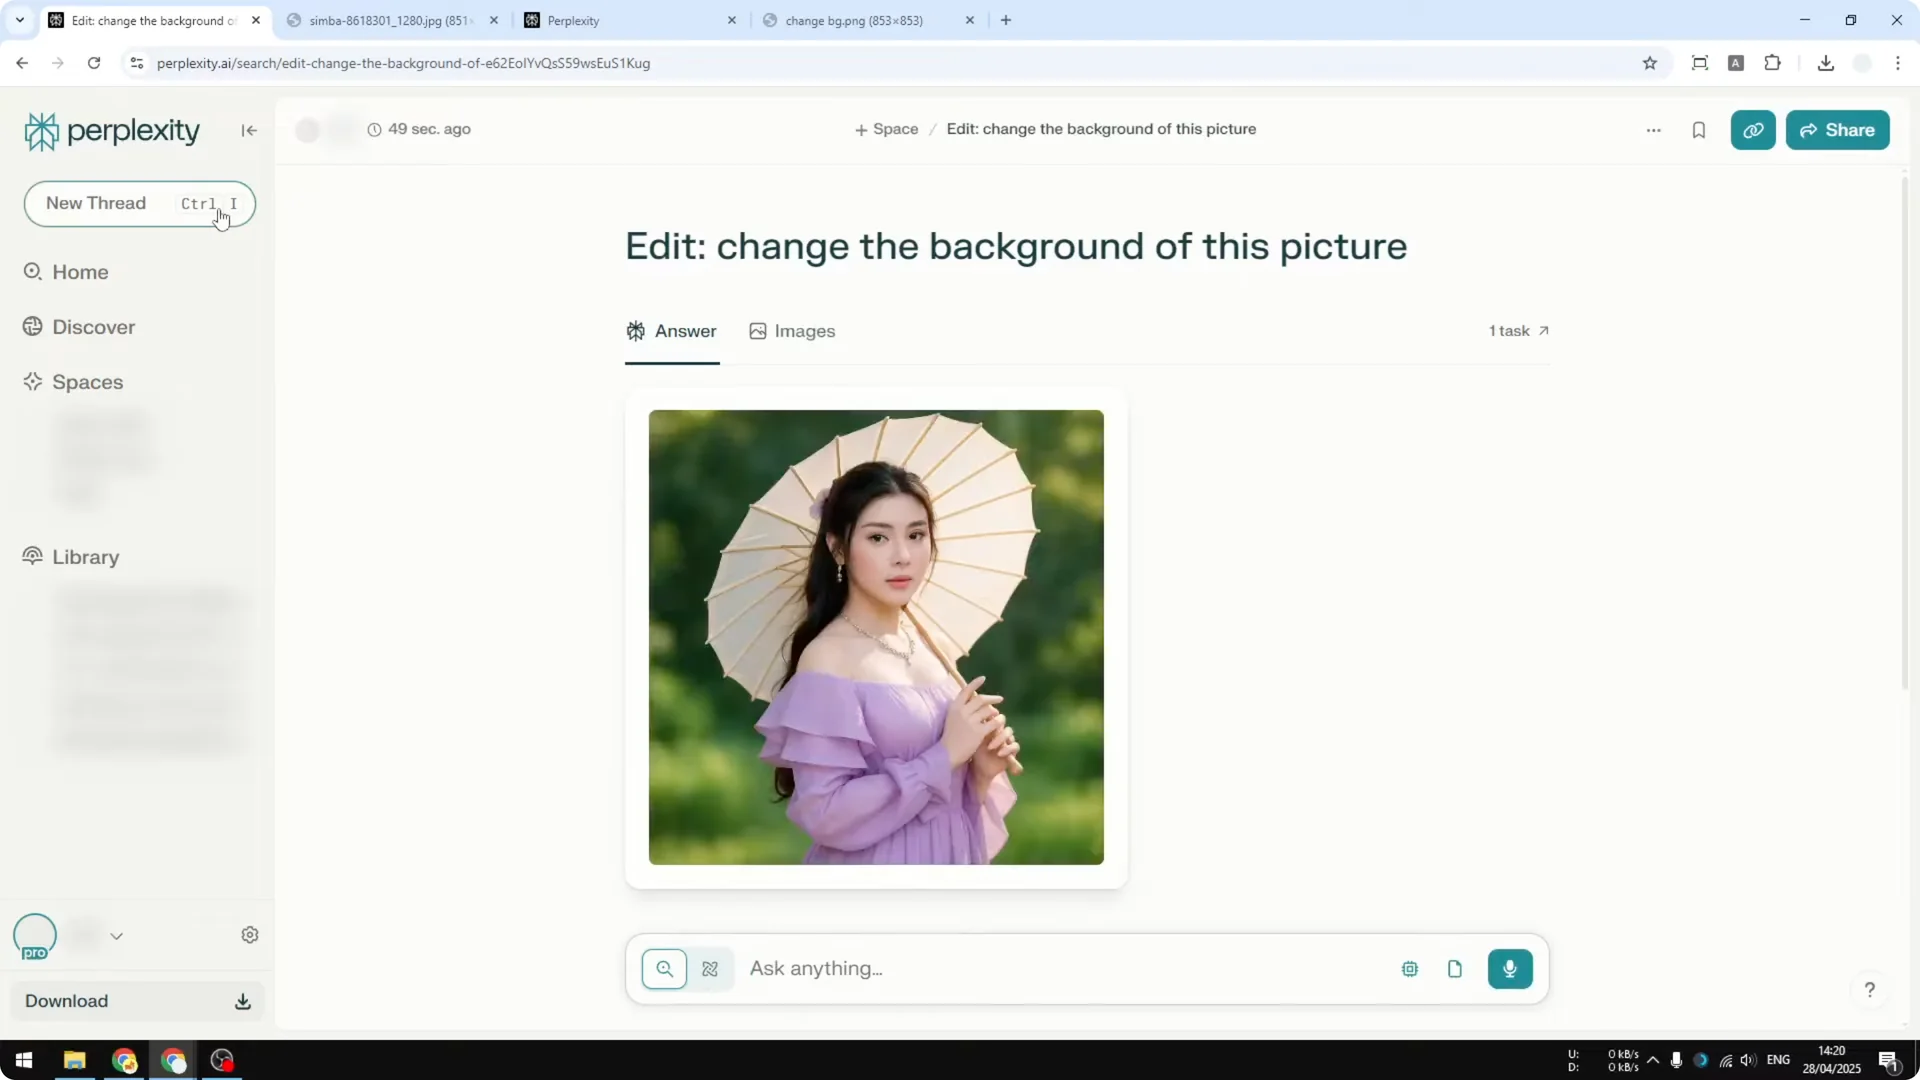
Change a background with Perplexity AI Photo Editing
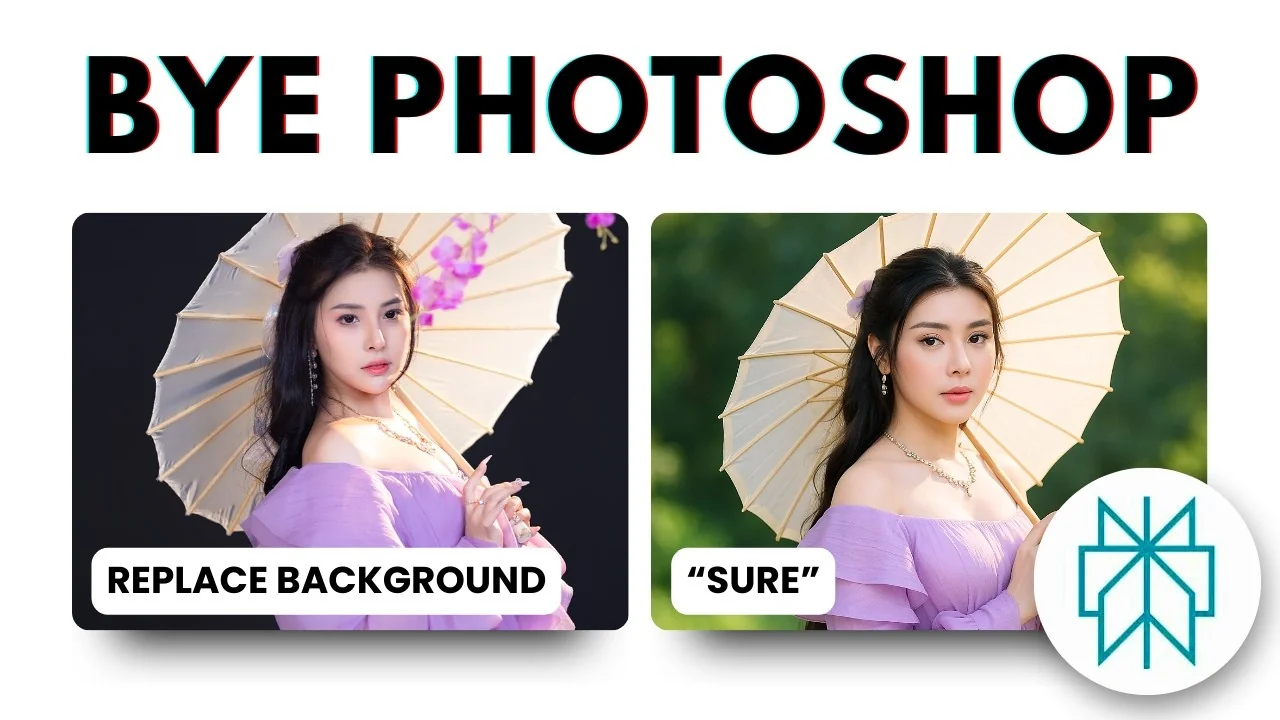
I started with a portrait against a plain dark background and asked Perplexity to change the backdrop. One crucial prompt tip: include the word “edit.” Without it, Perplexity may ignore the image and answer with plain text.
Step 1: Drag and drop your image into Perplexity or upload it via the clip icon.
Step 2: Type a prompt that begins with “edit,” for example: “edit – replace the background with a softly lit studio scene.”
Step 3: Make sure Web is enabled, then send the message and wait about 1 to 2 minutes. In most cases, it finishes in under a minute.
The result kept the overall color structure and look. Some small details changed, likely due to GPT-Image 1 running at a lower setting, but the output still matched the original vibe with a new background.
If you also experiment with prompt styling, you might like the Midjourney tool here: style creator.
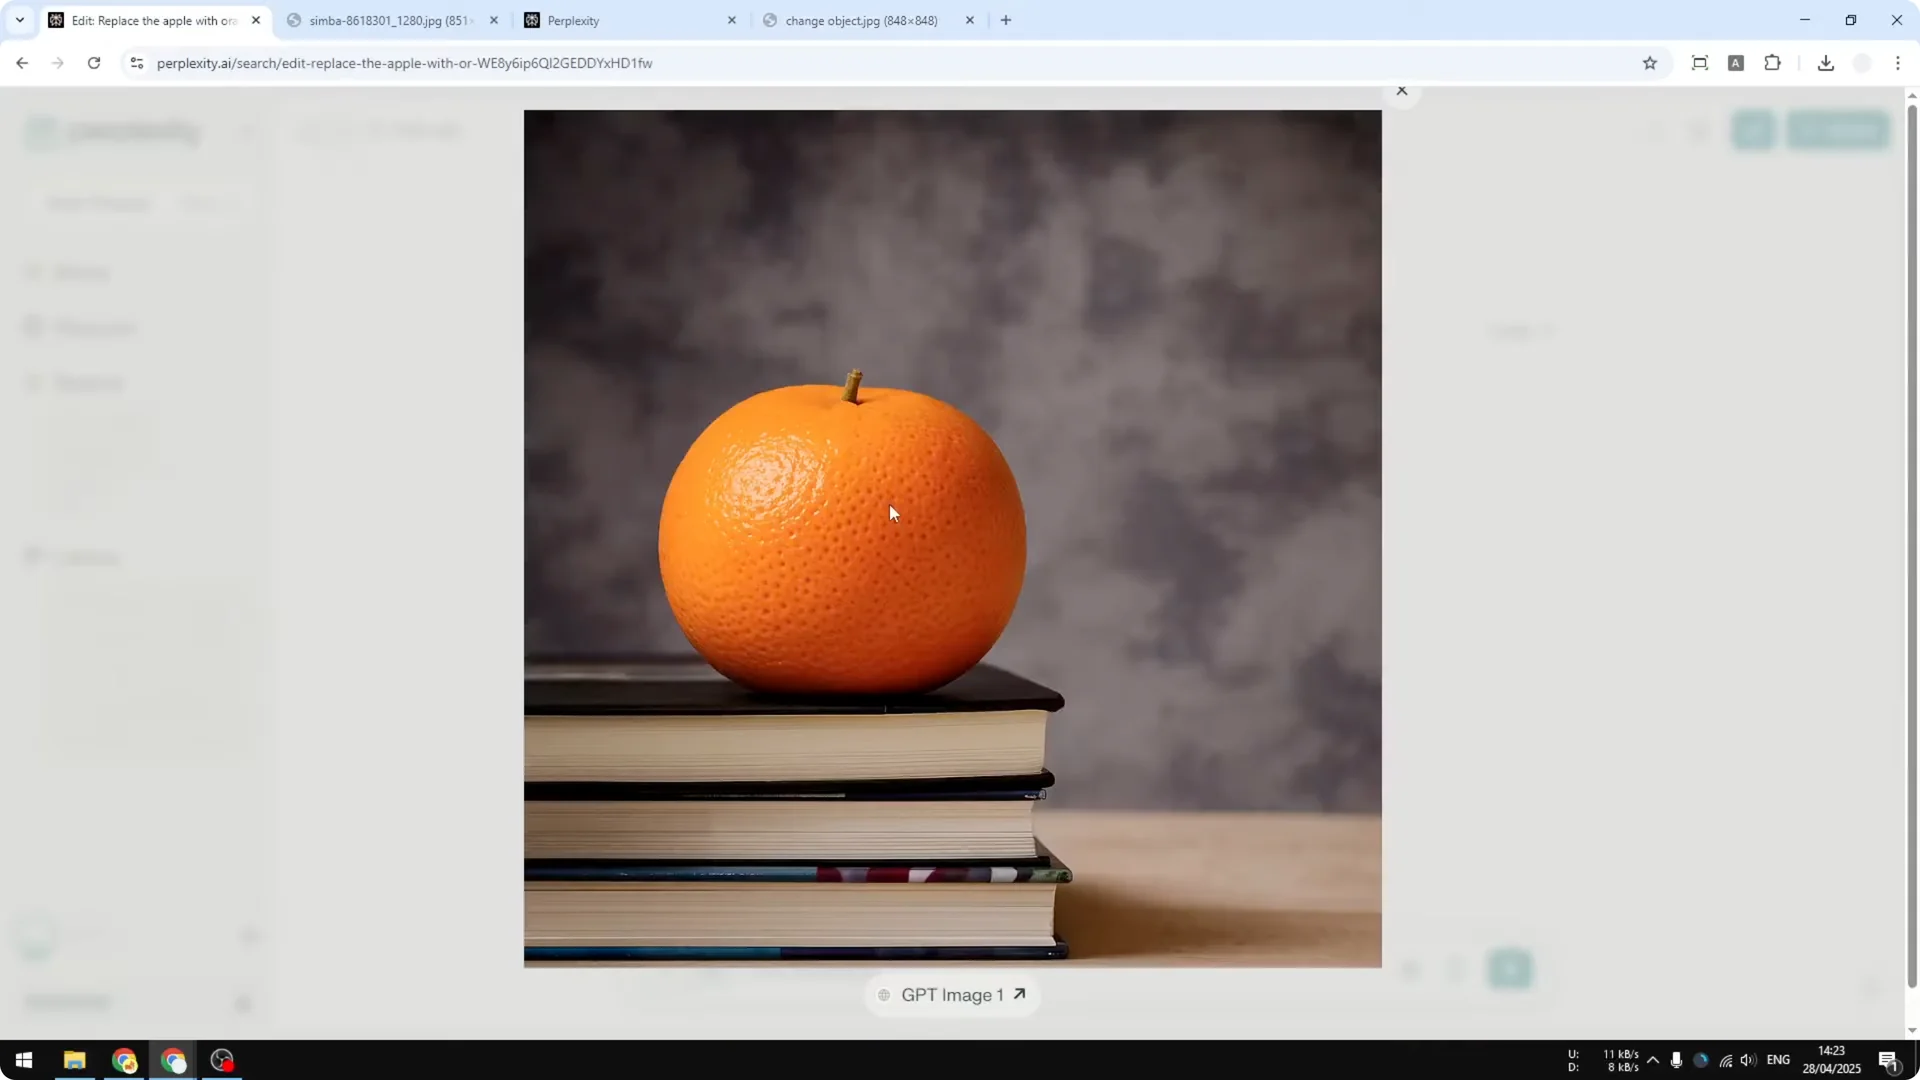
Replace an object with Perplexity AI Photo Editing
I tested object replacement by turning an apple into an orange. The prompt was short and direct.
Step 1: Upload the image.
Step 2: Use a clear instruction, for example: “edit – replace the apple with an orange.”
Step 3: Send and wait for the edited result.
The swap worked well, and the apple became an orange. I did notice textures are not always preserved perfectly by GPT-Image 1 in Perplexity. If you can accept a little texture loss, the overall edit is still solid.
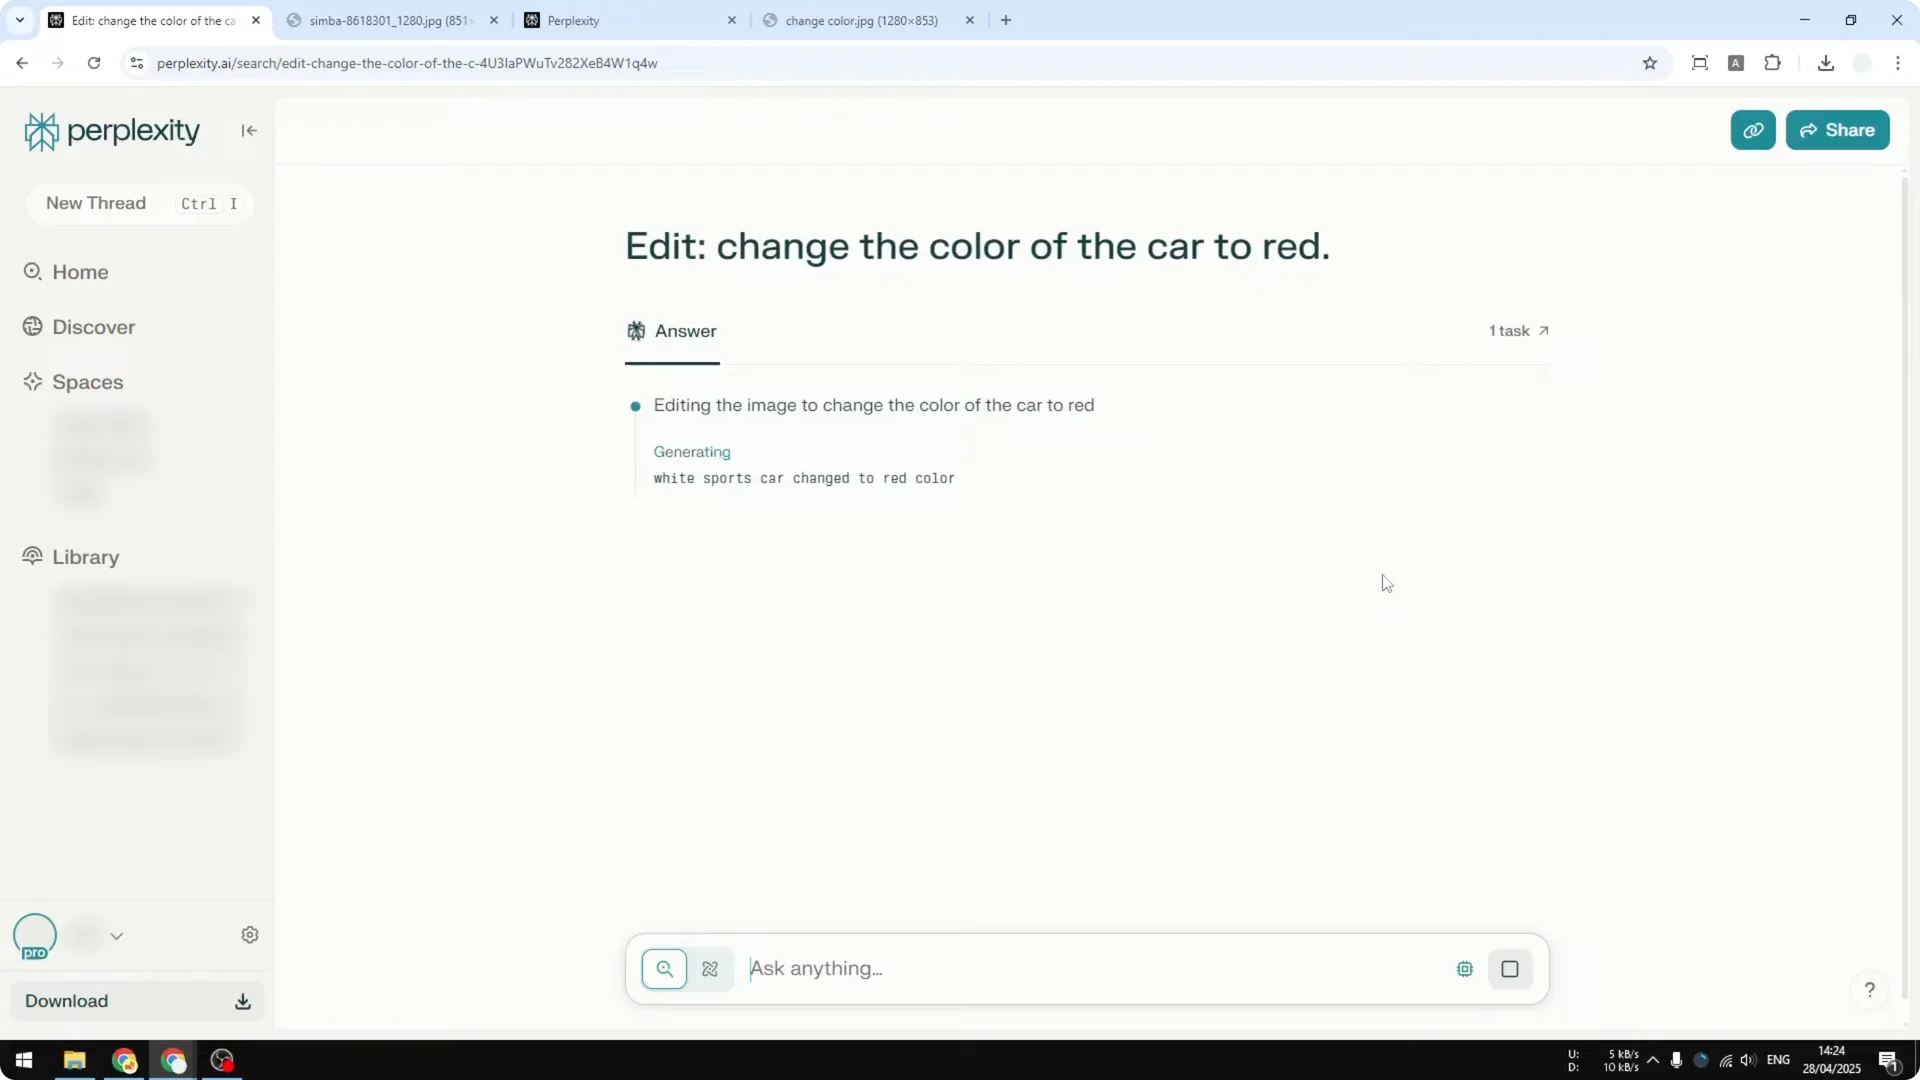
Recolor a car with Perplexity AI Photo Editing
Next, I changed a car’s color from white to red. You can use drag and drop or click the clip button to select the file if drag and drop is not available.
Step 1: Upload the car photo.
Step 2: Prompt: “edit – change the color of the car to red.”
Step 3: Send and review the square output.
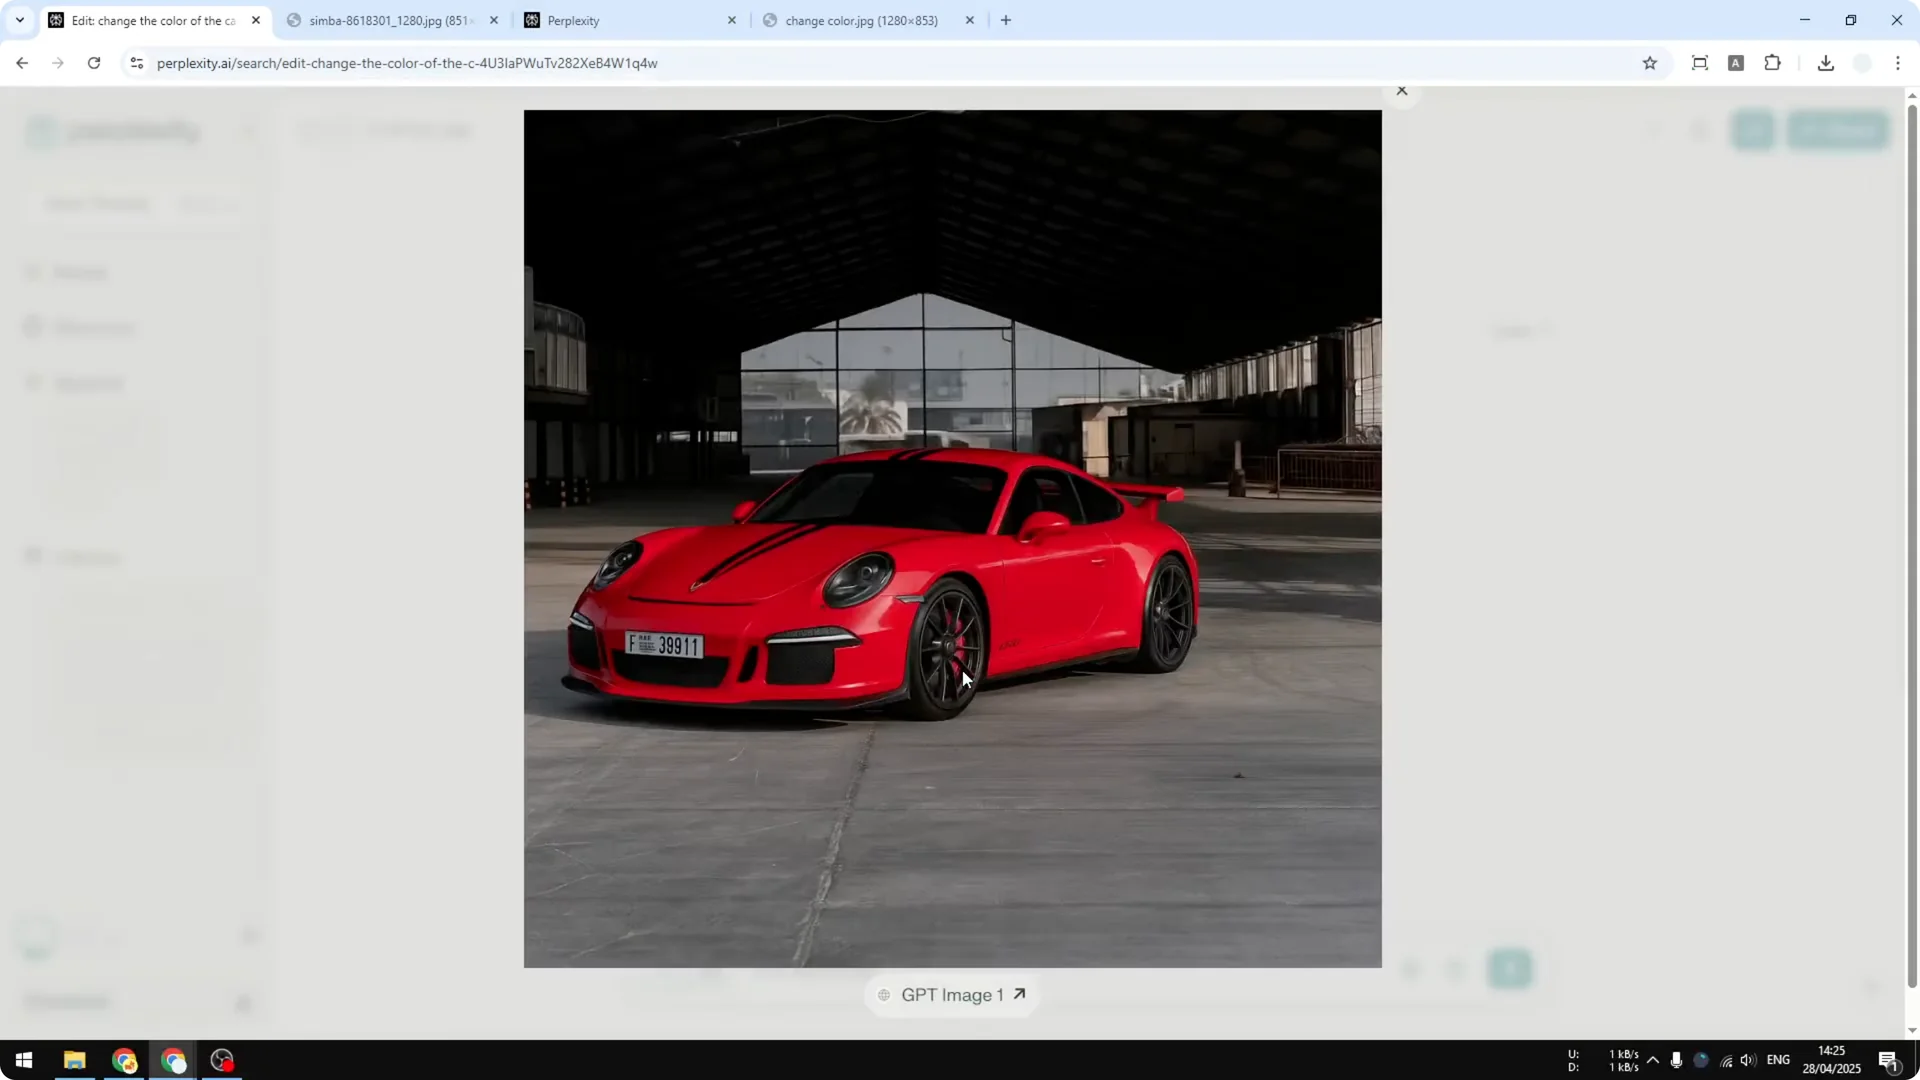
Perplexity currently outputs a 1:1 image, even if you upload a 9×6, vertical, or horizontal picture. Keep that in mind if you need a specific aspect ratio. I’m hoping they add output size options, but right now Perplexity focuses on research features more than full editing controls.
The recolor came out clean and maintained the structure of the car. Minor elements like the plate markings can shift slightly, but the overall result holds up.
If you want more control over what appears publicly in your AI galleries, see how to hide images.
Remove distractions with Perplexity AI Photo Editing
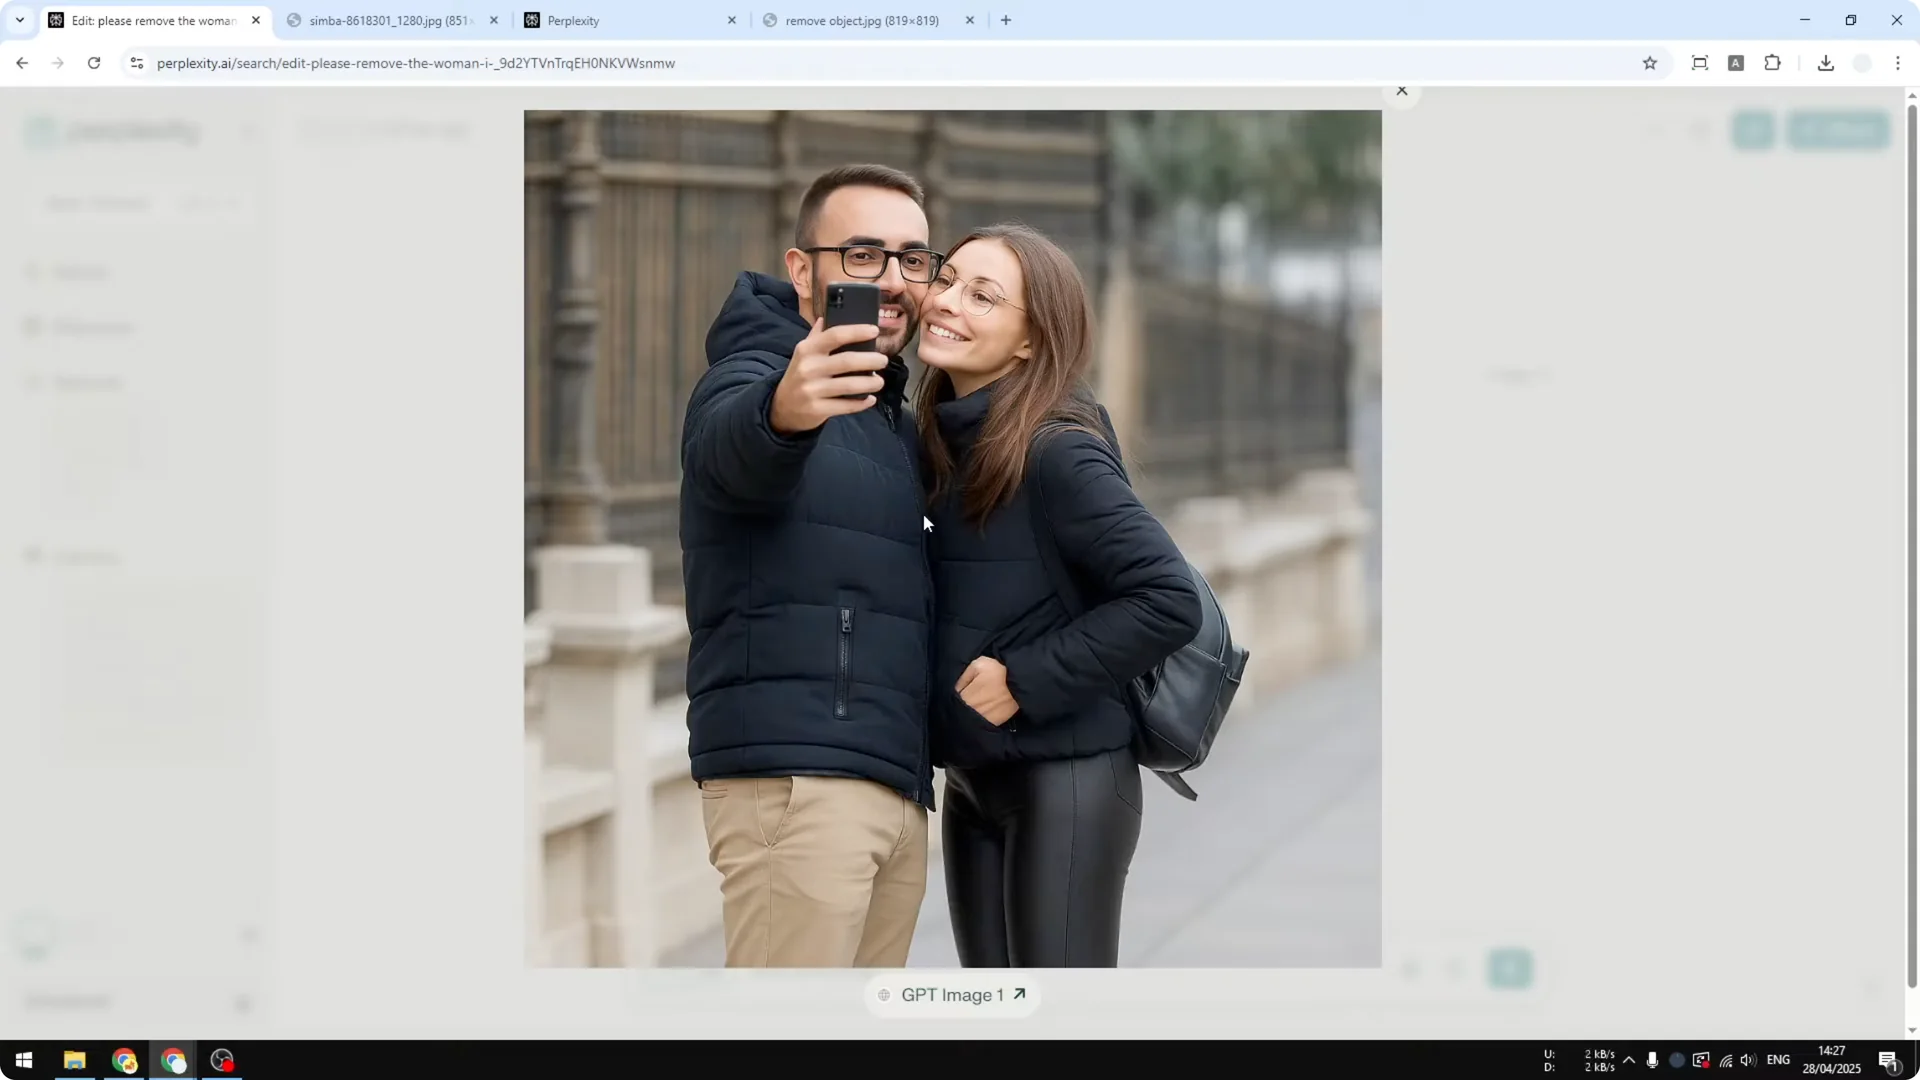
I had a selfie with an older woman visible in the background. I asked Perplexity to remove her.
Step 1: Upload the photo.
Step 2: Prompt: “edit – remove the woman in the background.”
Step 3: Send and wait for the cleanup.
The removal was clean, and the scene looked natural at a glance. If you zoom in, you may notice reduced fabric detail in some areas compared to the original, but the overall look remains consistent and the distraction is gone.
Make a transparent background with Perplexity AI Photo Editing
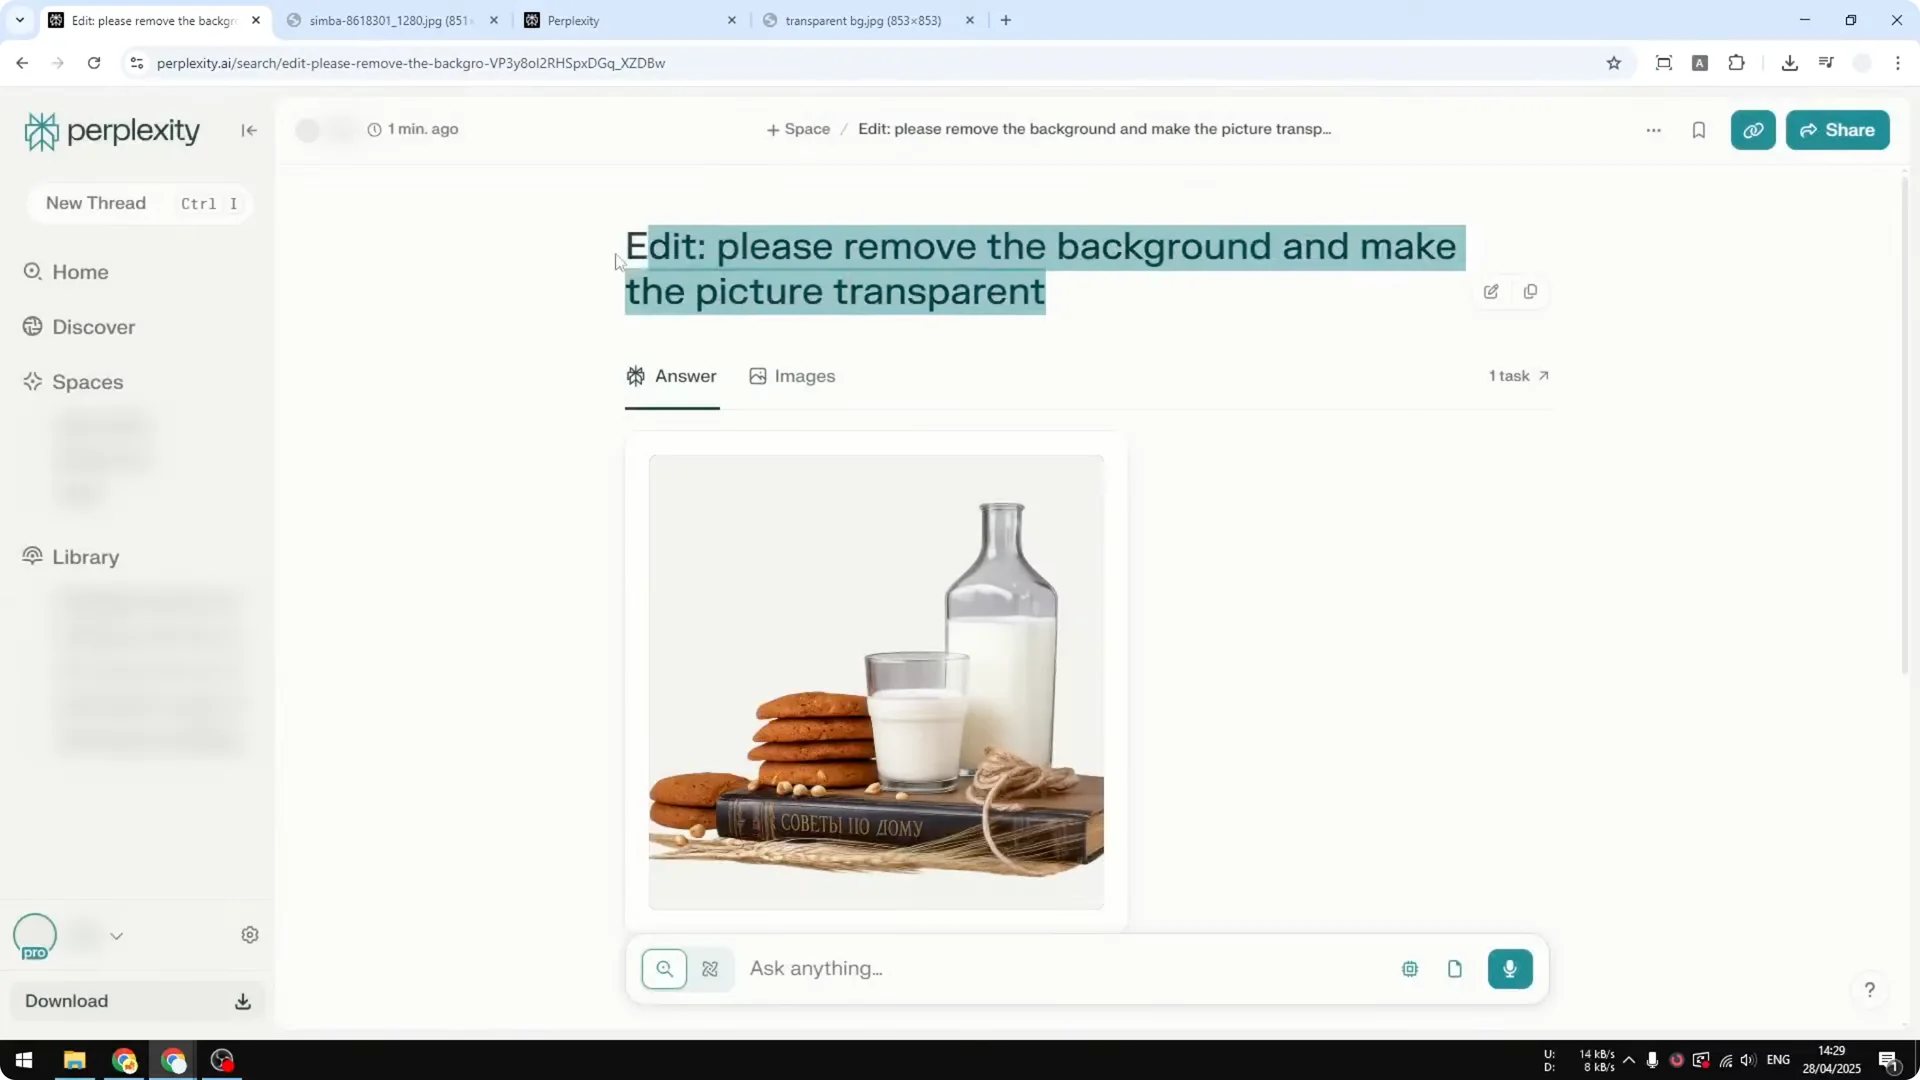
I used a product-style shot on a dark wooden surface and turned the background transparent. You must include the word “transparent” or “transparent PNG” so the model knows to preserve transparency.
Step 1: Upload the product photo.
Step 2: Prompt: “edit – remove the background and make it transparent PNG.”
Step 3: Send and confirm that the subject remains while the background shows site elements behind it.
The subject and decor stayed intact, and the background became fully transparent. This makes it much easier to swap in a new background later with minimal effort.
For archiving large sets from creative sessions, here’s a quick helper on bulk download.
Tips and limits in Perplexity AI Photo Editing
Always include the word “edit” in your prompt to ensure Perplexity performs an image change rather than replying with text. Enable Web, or it may skip editing and answer with a generic response.
Expect a 1:1 output no matter the input size. Processing usually completes in under a minute, but I’ve seen edits take up to 2 minutes.
If you often switch between Perplexity and Midjourney, it helps to manage profile visibility and content access across tools. More tips here: hide feature.
Final thoughts on Perplexity AI Photo Editing
GPT-Image 1 inside Perplexity can change backgrounds, replace objects, recolor items, remove distractions, and export transparent backgrounds with simple prompts. Keep prompts short, include “edit,” and enable Web for the best results.
Results are strong overall with occasional texture softness and a fixed square output. For quick edits driven by text instructions, it is accurate and practical for day-to-day image tweaks.