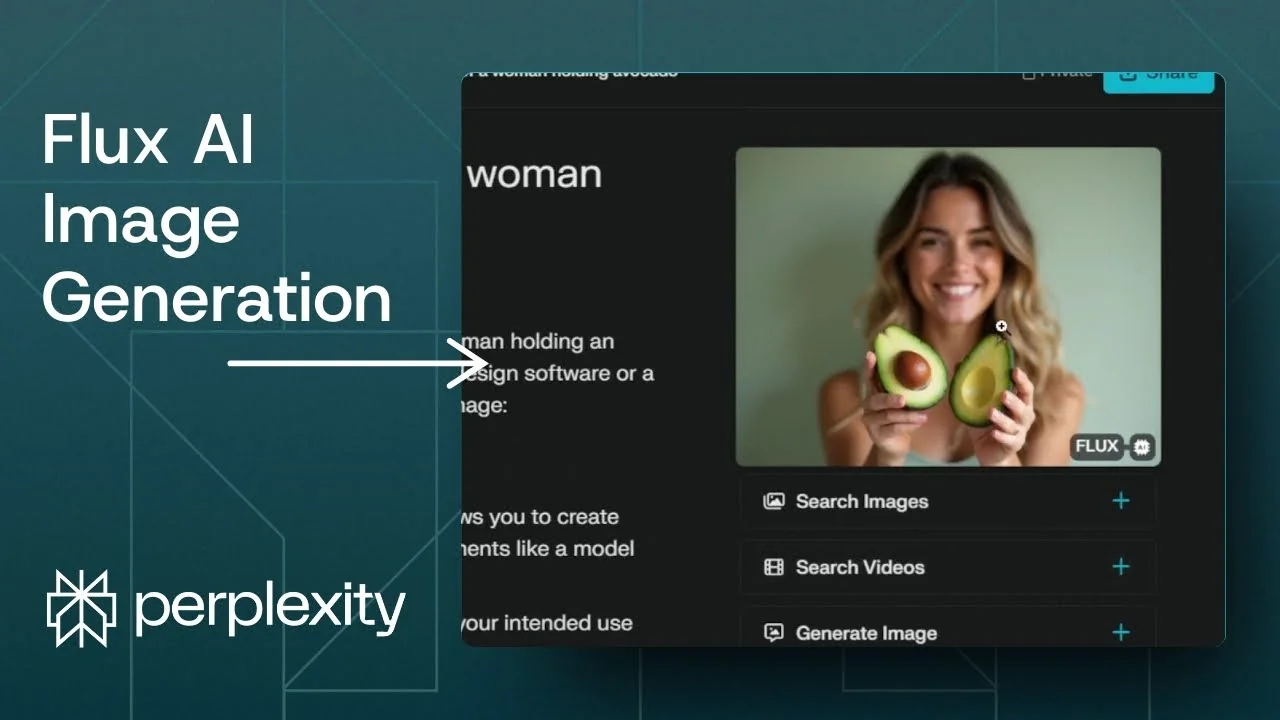
I’m going to show you how to generate an AI image using the Flux .1 model in Perplexity. Perplexity has multiple models for image generation, including DALL-E 3, Playground, and Flux .1. I believe Flux .1 is the best model for image generation.
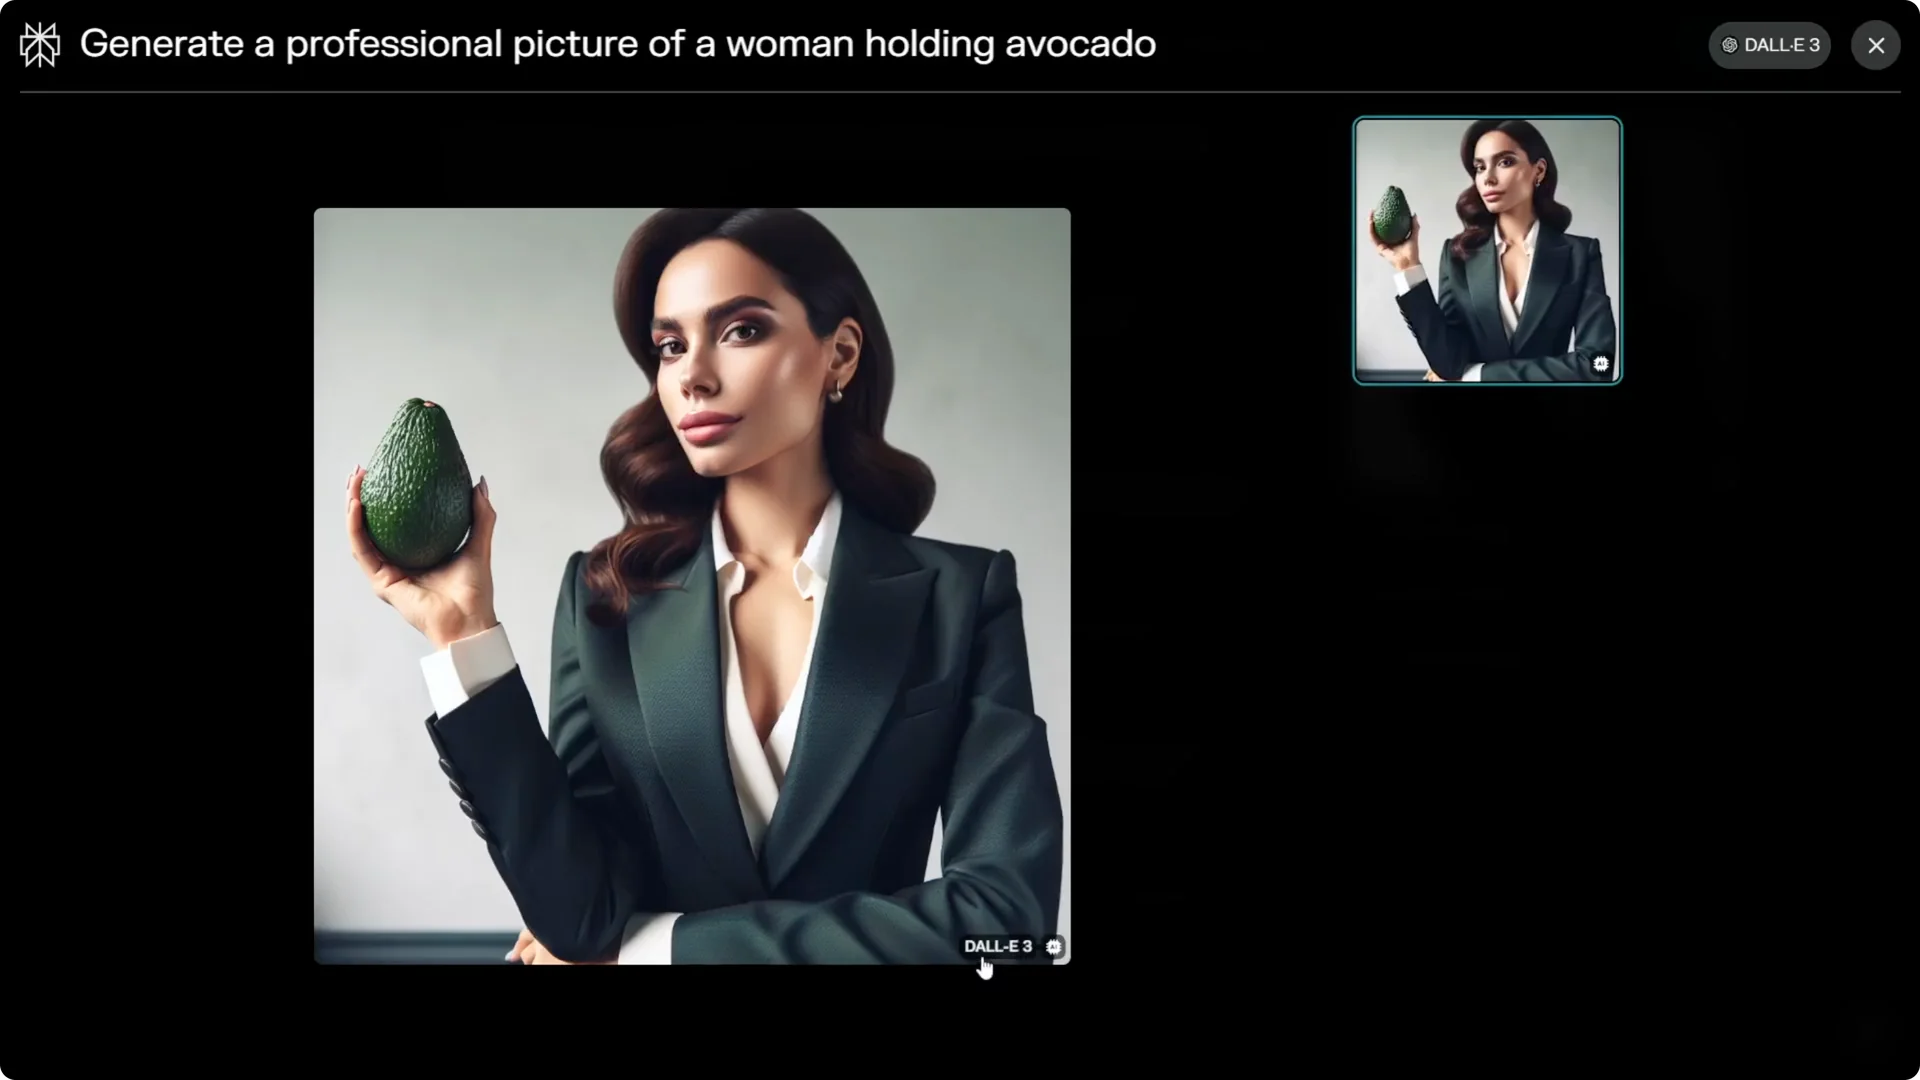
I have an example prompt for a professional photo of a woman holding an avocado that was previously generated by DALL-E 3. I’ll show you how to set Perplexity so it consistently uses the Flux model when you create images. If you want a quick way to edit images after generation, take a look at the Flux 2 Klein editor.
Perplexity Flux Image Generation setup
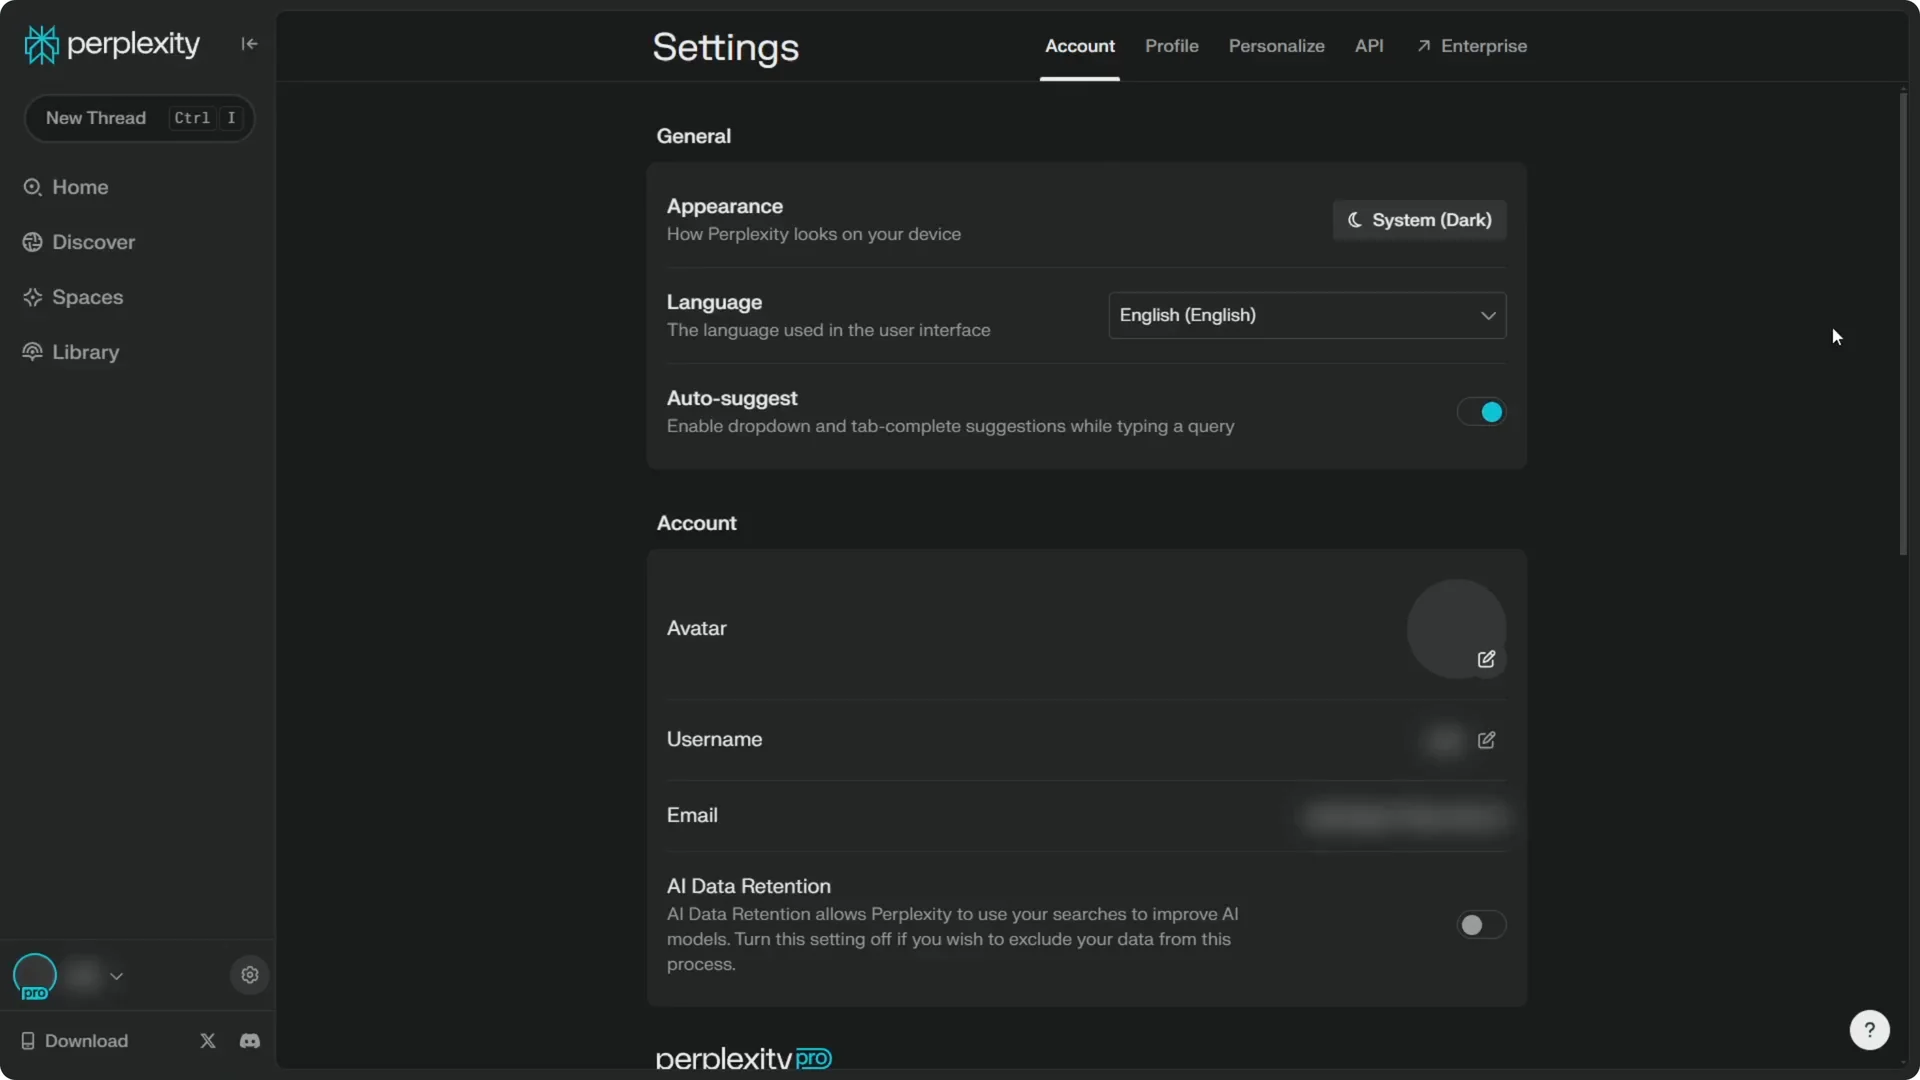
Go to the Settings page. In the Account section, scroll to the Perplexity Pro section.
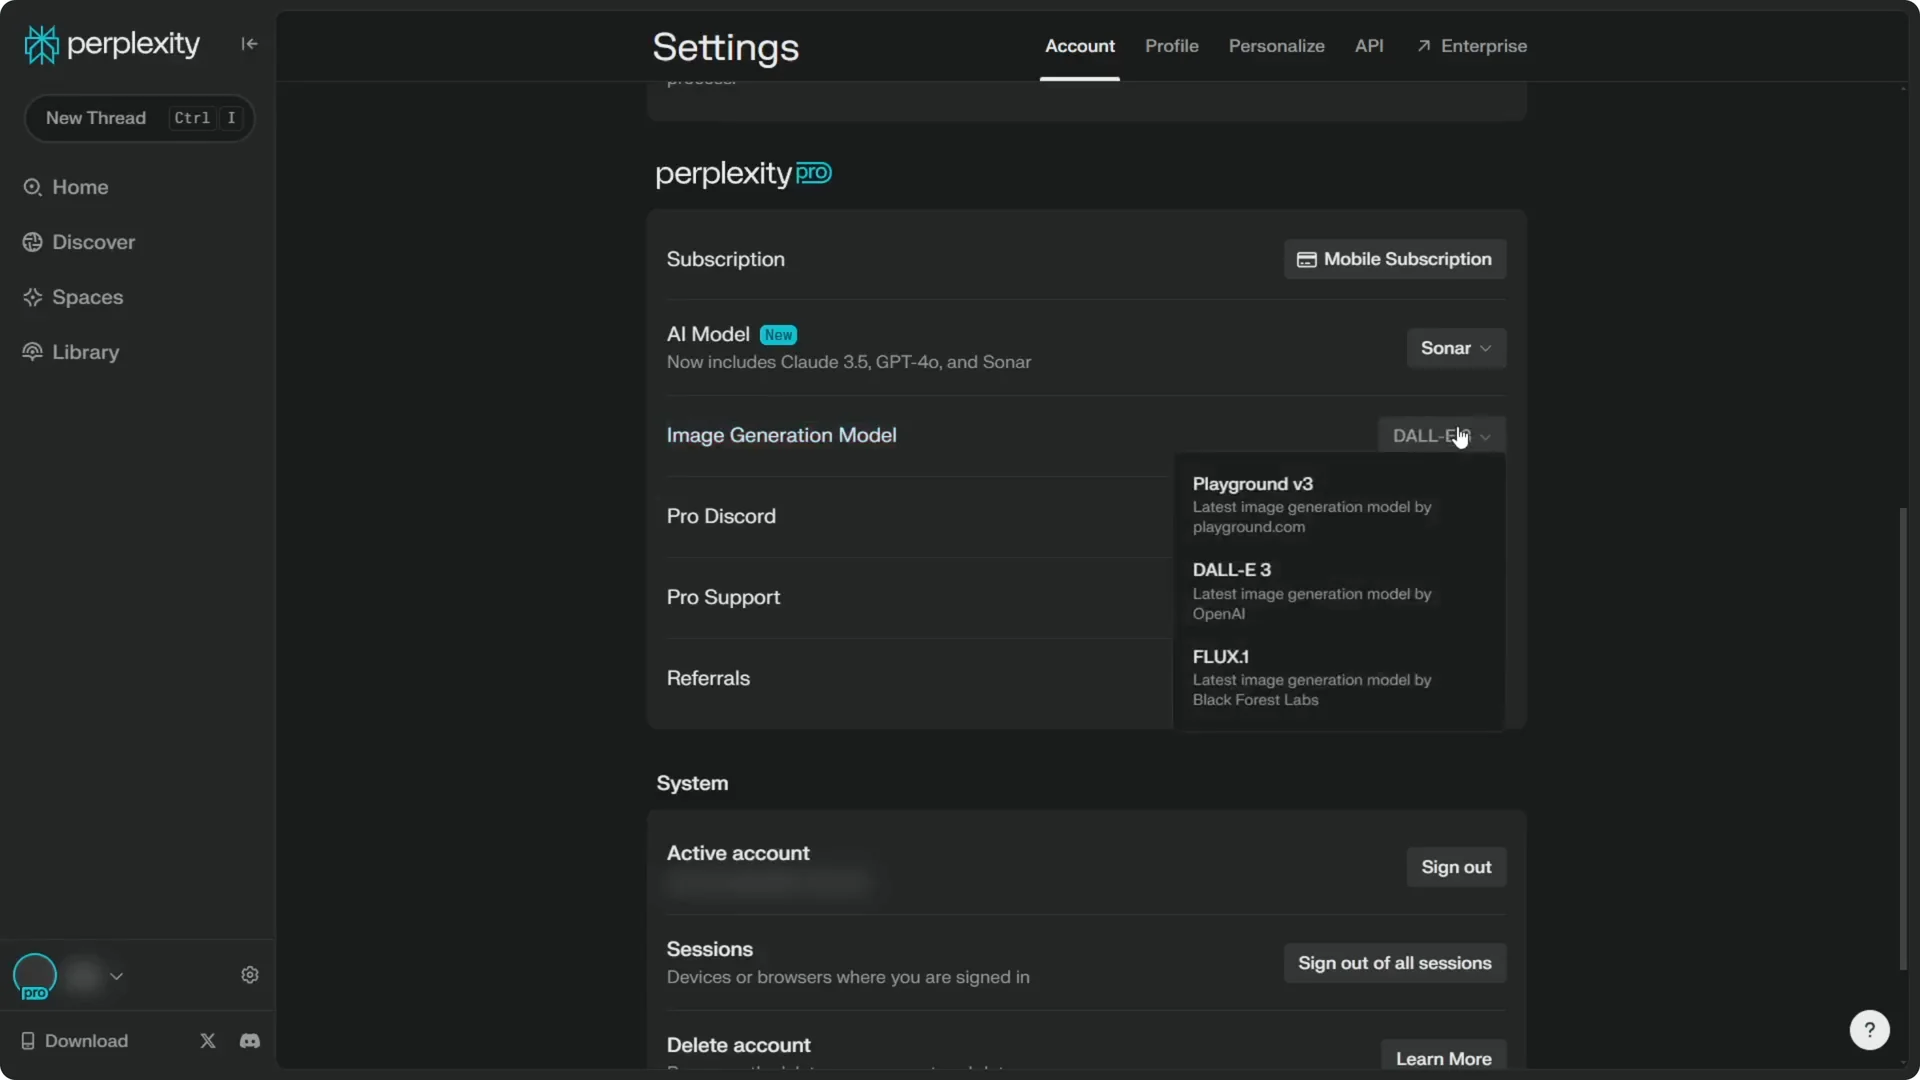
This feature is available with the Pro subscription. There you will see Image generation model.
Switch the model
Change the model from DALL-E 3 or Playground to Flux .1. I want to use that to generate the same picture, and I find it gives better results.
Perplexity Flux Image Generation steps
Set the model and mode
Step 1: Open Settings and go to Account. Scroll down to the Perplexity Pro section.
Step 2: In Image generation model, switch to Flux .1 from DALL-E 3 or Playground. This sets Flux .1 as the default for your images.
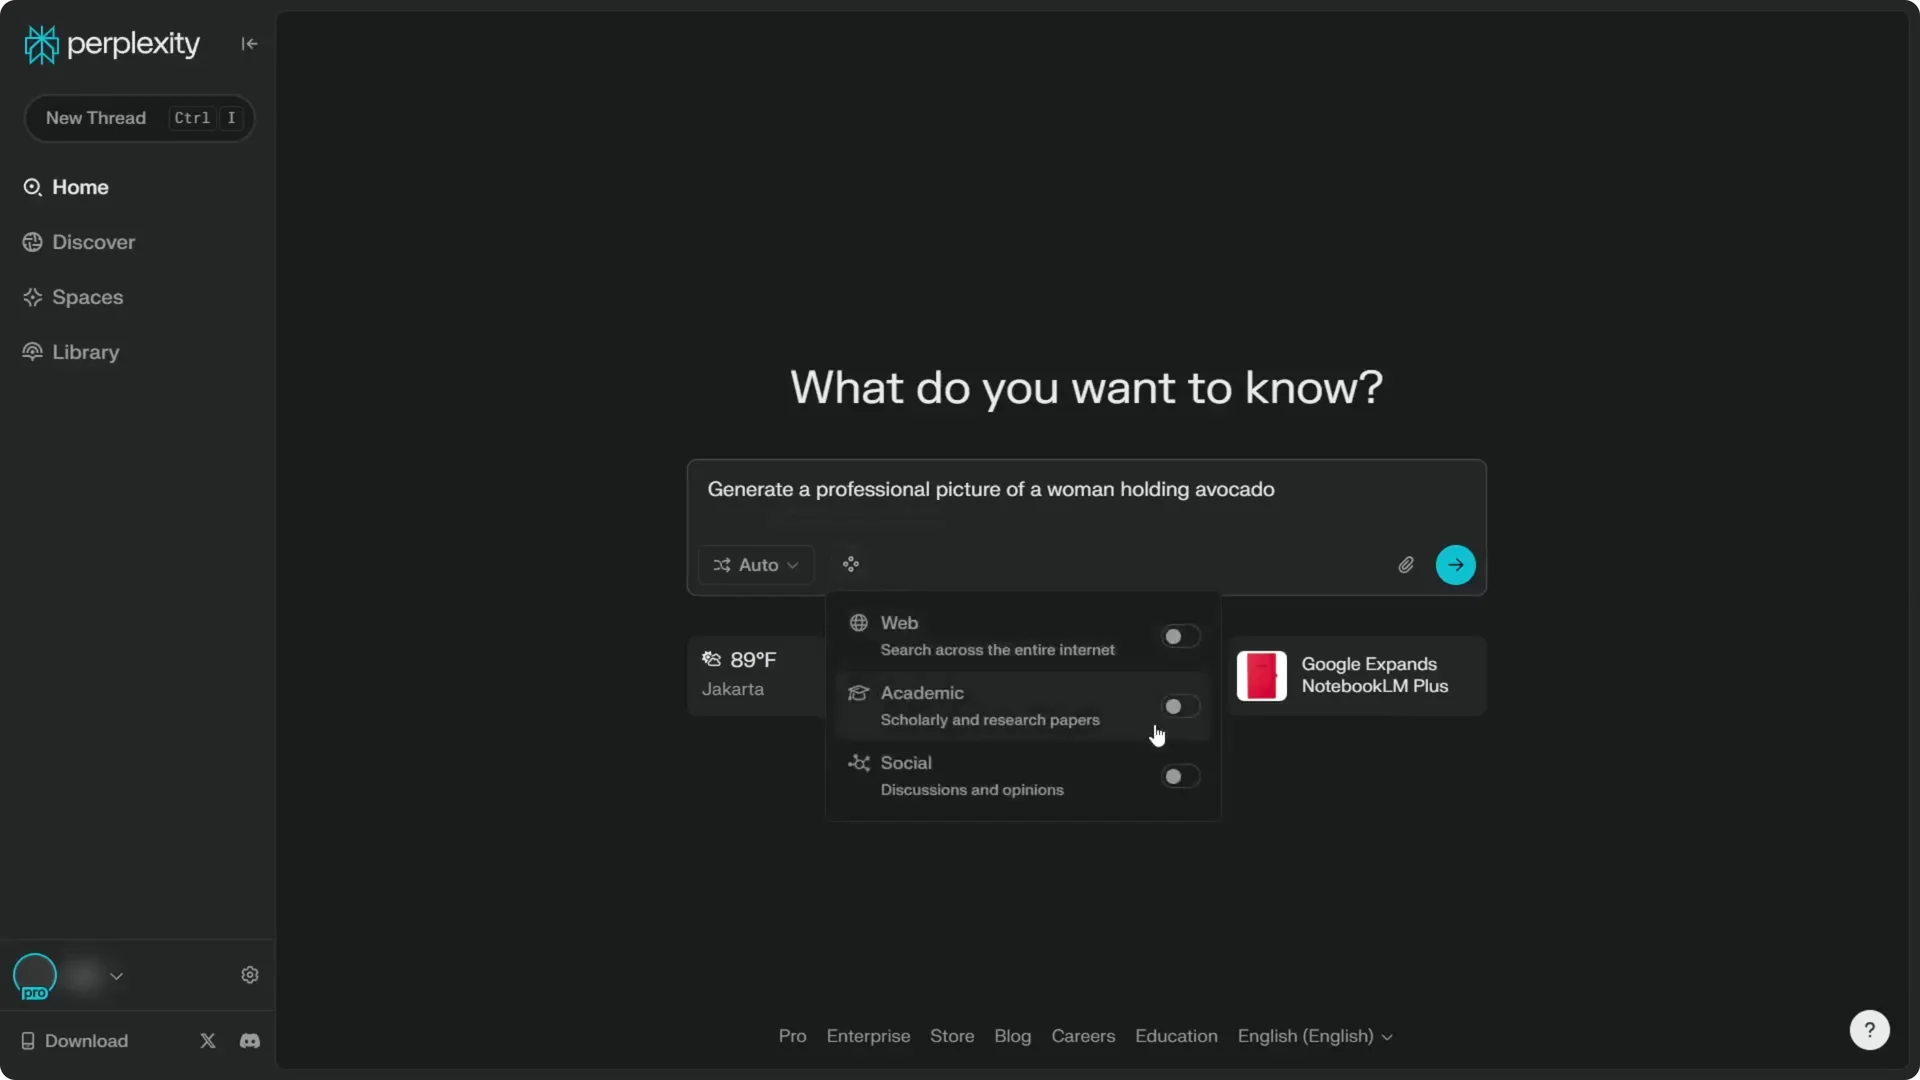
Step 3: I recommend using Auto mode. There is no need to use Pro Search or Reading mode for this.
Step 4: Disable Web, Academic, and Social. For image generation, there is no need to access the internet or read forums.
Build and submit the prompt
Step 5: Paste your prompt, for example, “professional photo of a woman holding an avocado.” Click Send and let Perplexity answer your query.
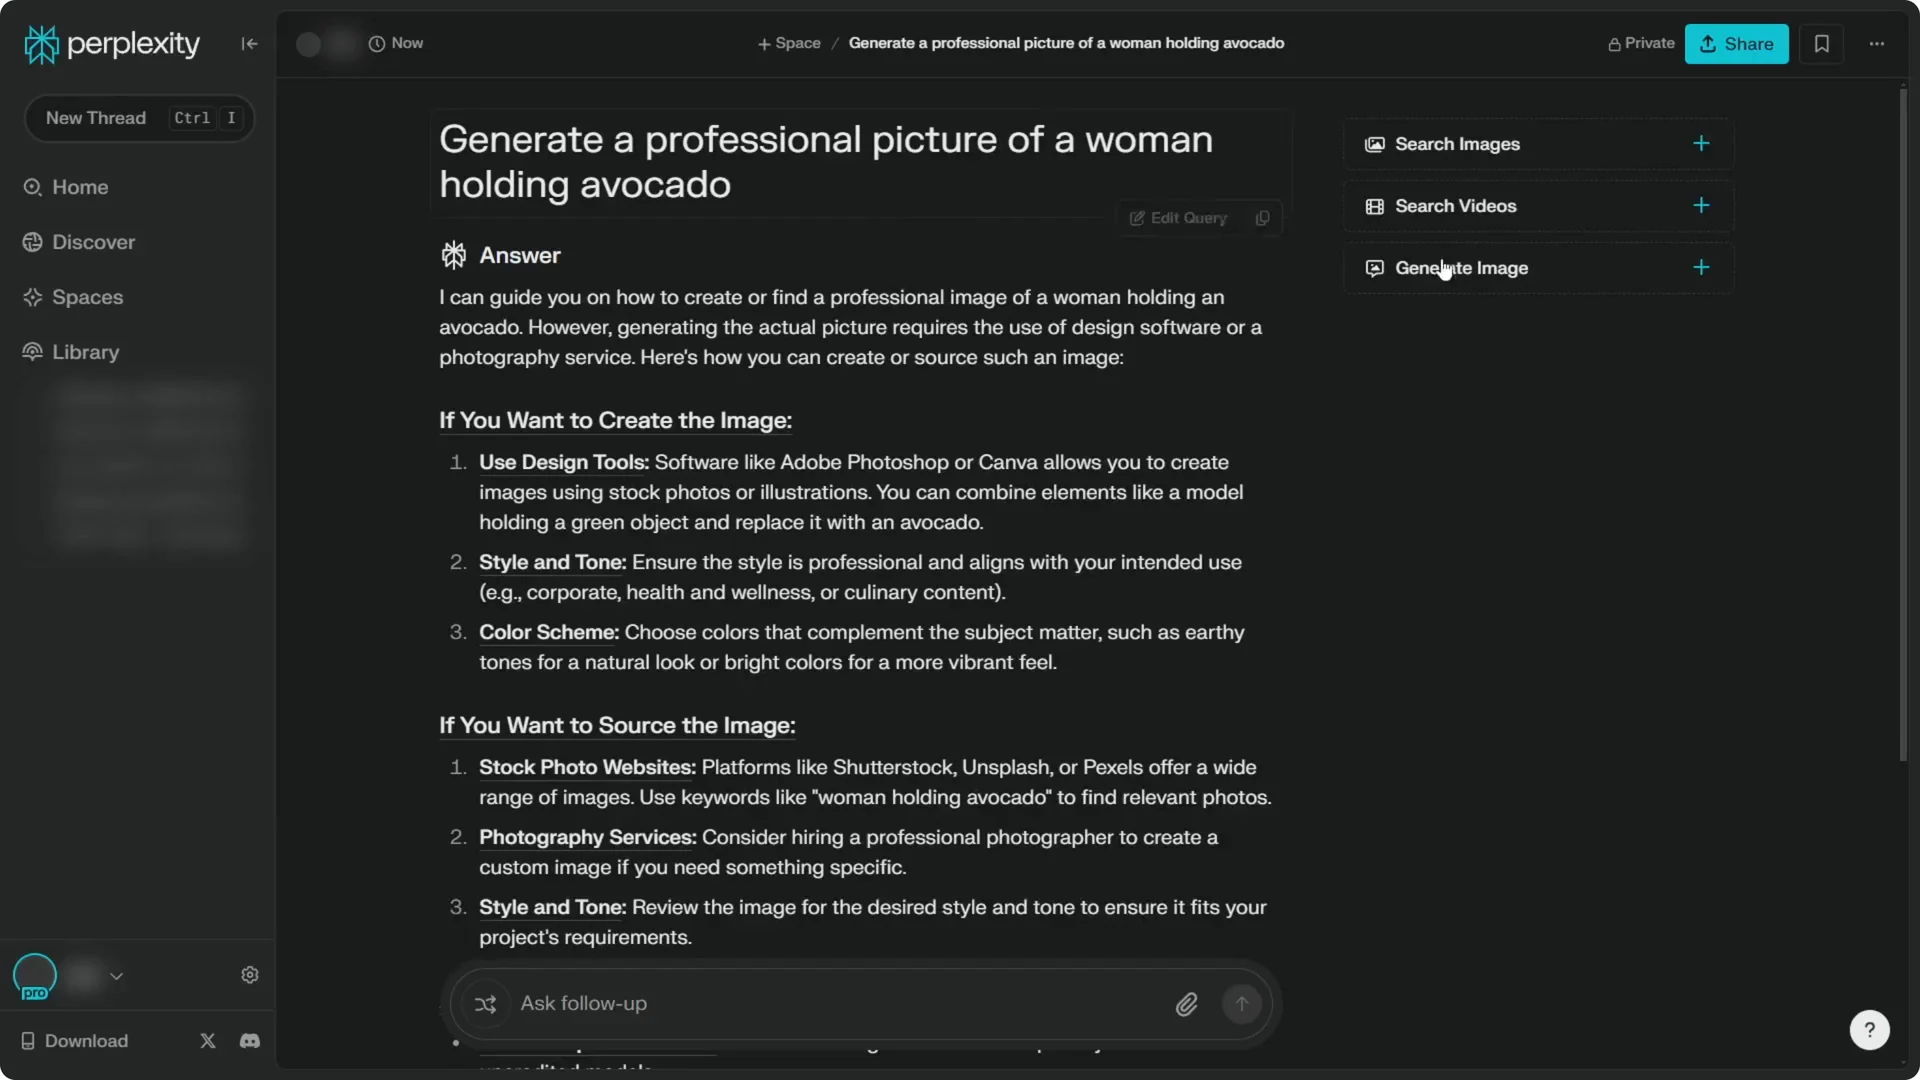
Step 6: Ignore the text response because the goal is to create the image. Copy the prompt you wrote.
Step 7: Click Generate image. You can select a style, but I recommend not using those options because they pull prompting from the answer, which is not meant for image prompting.
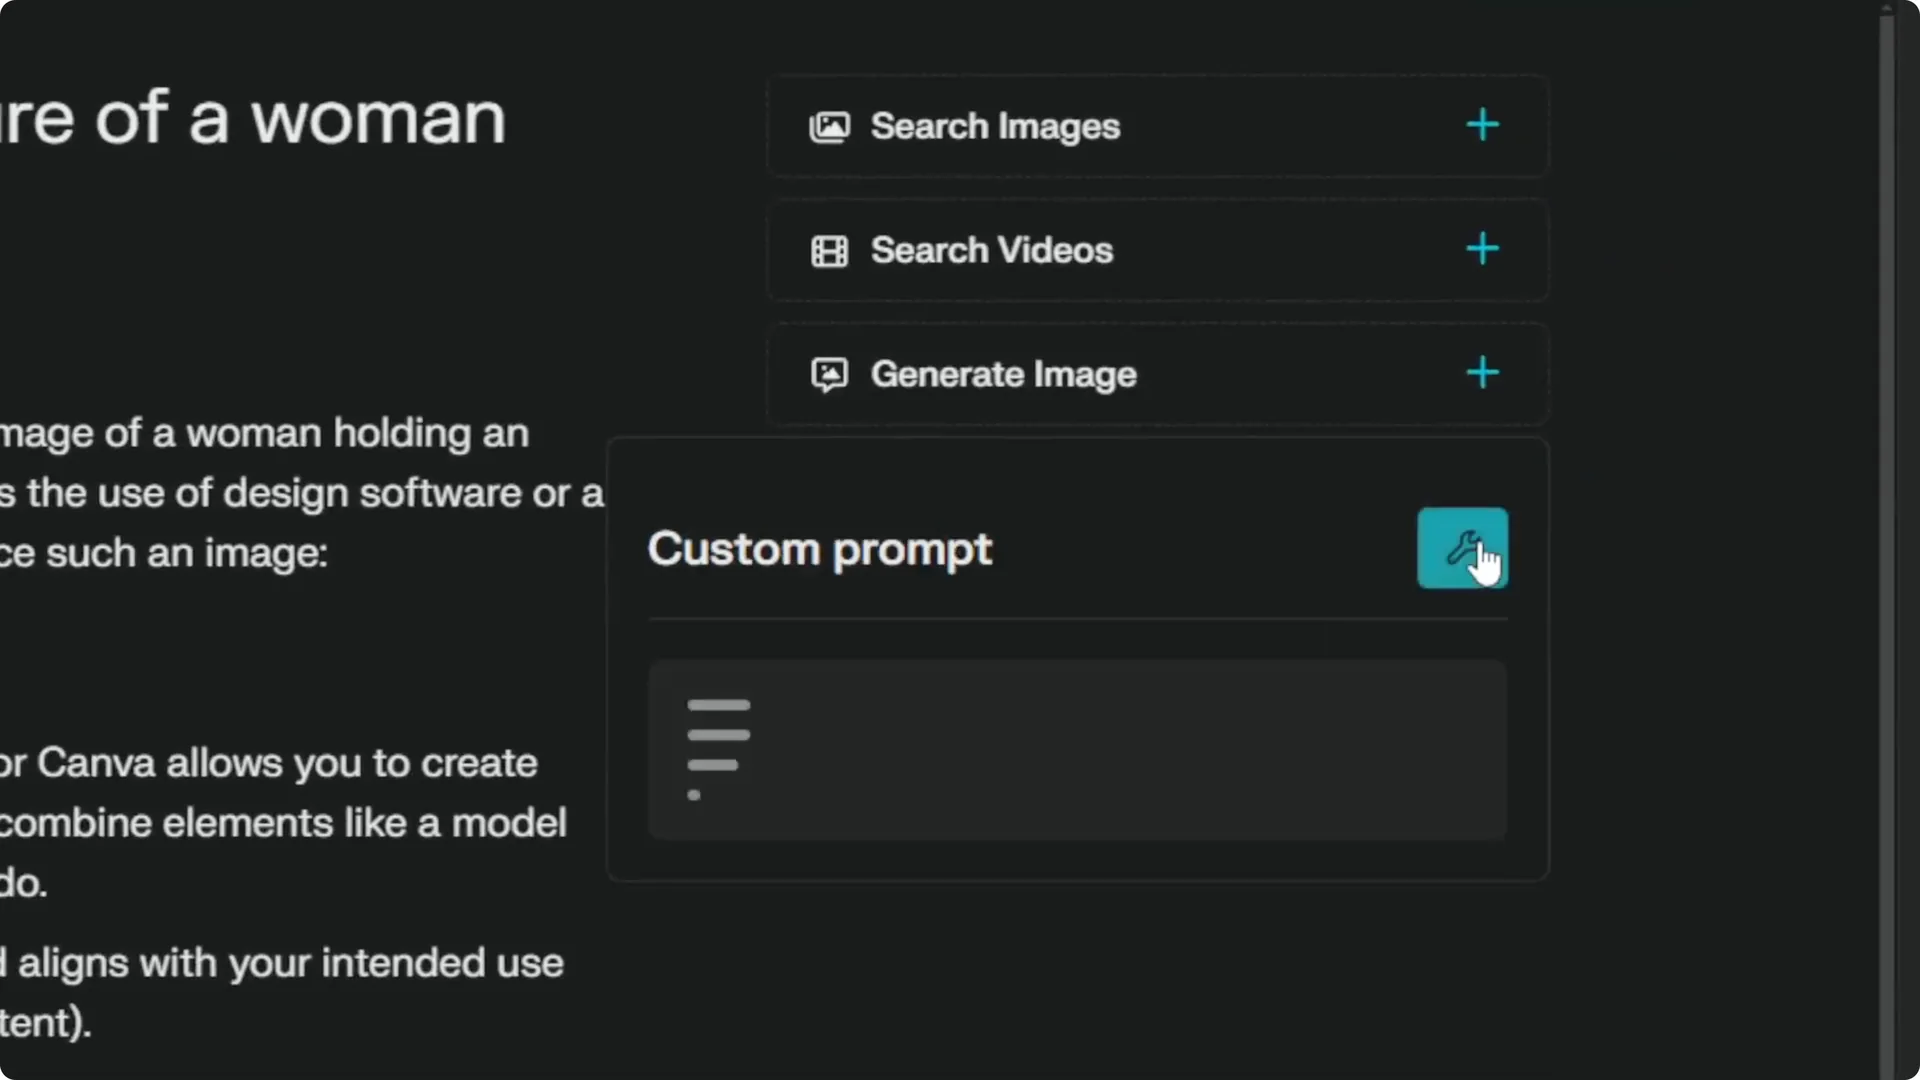
Step 8: Click the Custom prompt icon. Remove any prefilled text and paste your original prompt again.
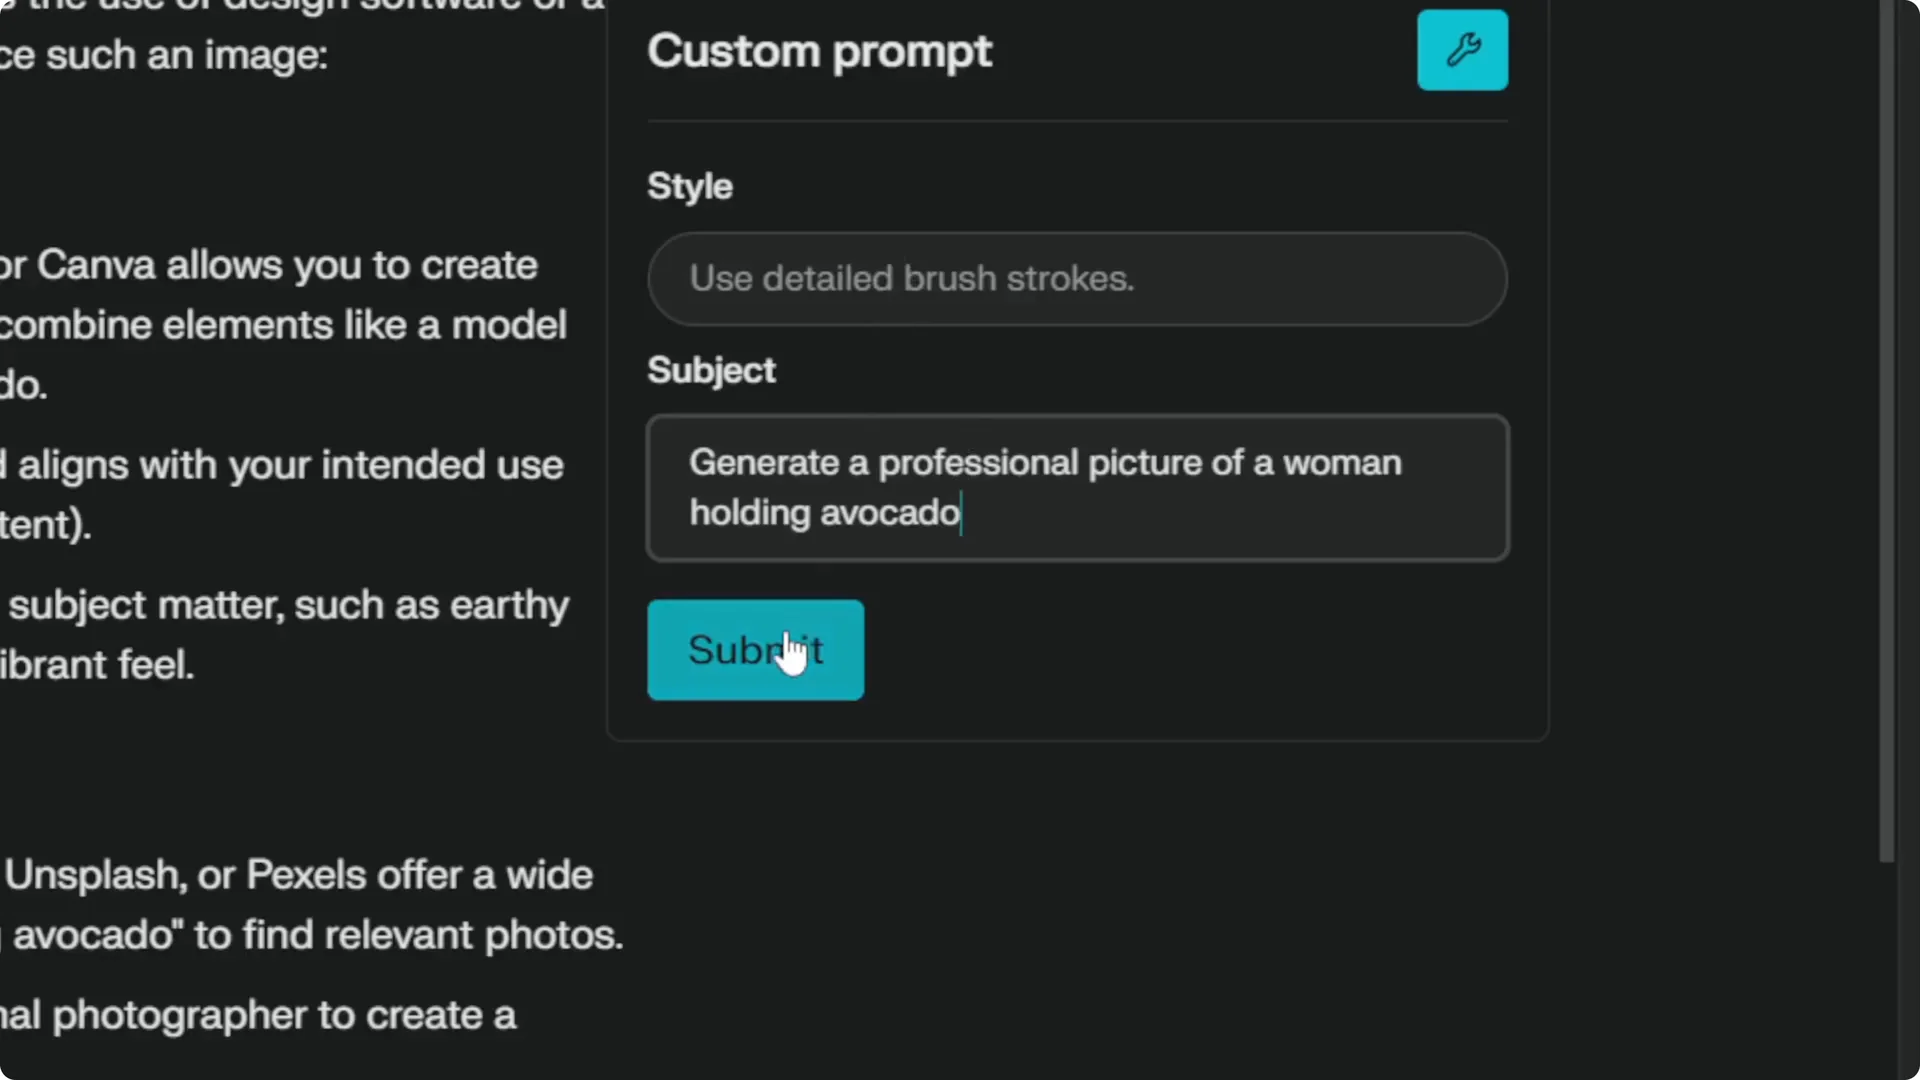
Step 9: You can specify a style, but I ignore it here and click Submit. Wait about 10 to 20 seconds for the image to generate.
For styling inspiration that pairs well with this workflow, explore these prompt styles for AI art.
Perplexity Flux Image Generation results
Compared to the earlier DALL-E 3 output, the Flux .1 result looks a lot more professional and realistic. It clearly shows details like the seed inside the avocado, and the overall photo reads better.
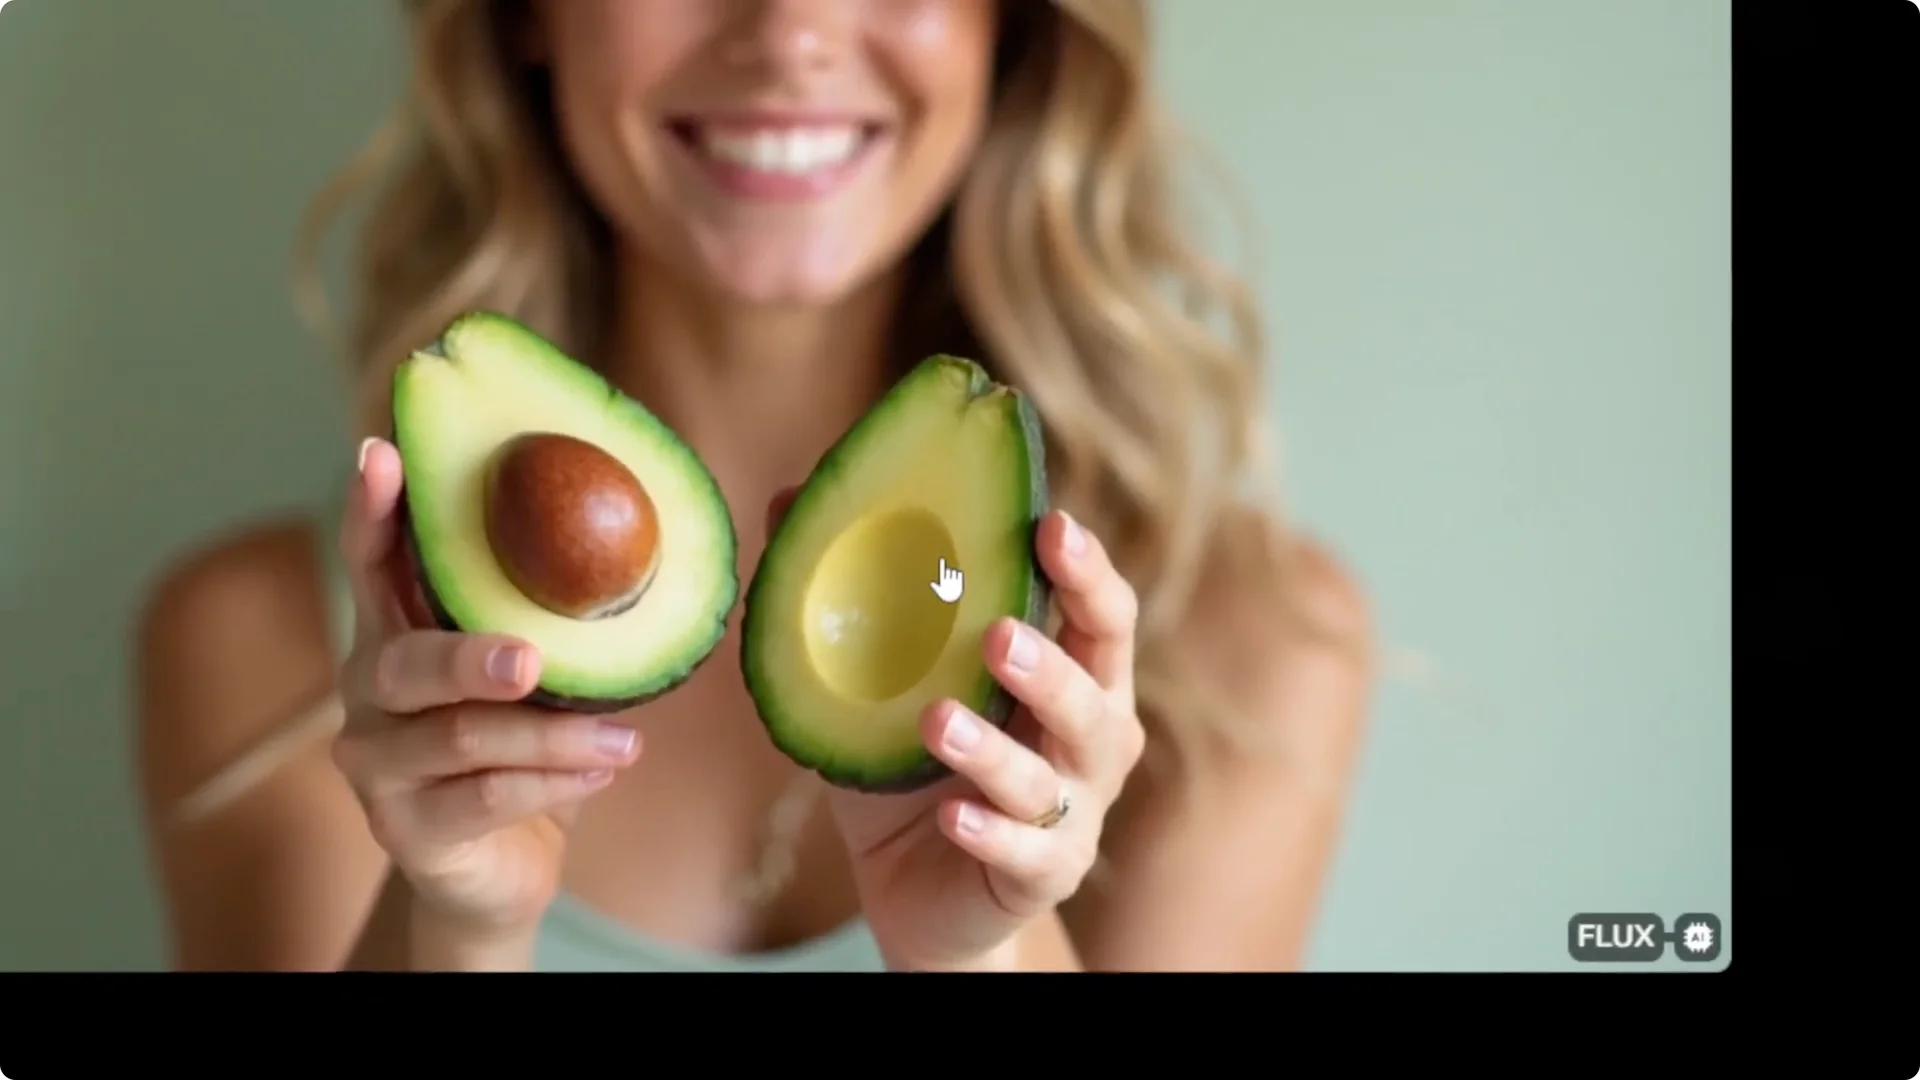
Flux is way better for this prompt, and that is why I consider it the best AI image model at the moment. For more creative prompt ideas you can adapt here, see these creative prompt ideas.
Tips for Perplexity Flux Image Generation
Use Auto mode, and turn off Web, Academic, and Social to keep the model focused on image generation. Stick with a custom prompt, and avoid preset styles that borrow text from the assistant’s answer.
If you plan to move from stills to motion, you might also find this guide on camera control for AI video helpful.
Final thoughts
Set Flux .1 as your default in Perplexity, keep Auto mode on, disable web sources, and use a clean custom prompt. Submit and wait a few seconds for the image to render. In my experience, Flux .1 delivers a more professional result than DALL-E 3 for this kind of prompt.