MidJourney provides features that allow users to hide their images or uploads easily. This article will guide you through the straightforward process of hiding your uploads on your MidJourney account and how to manage them effectively.
How to Hide Your Images in MidJourney?
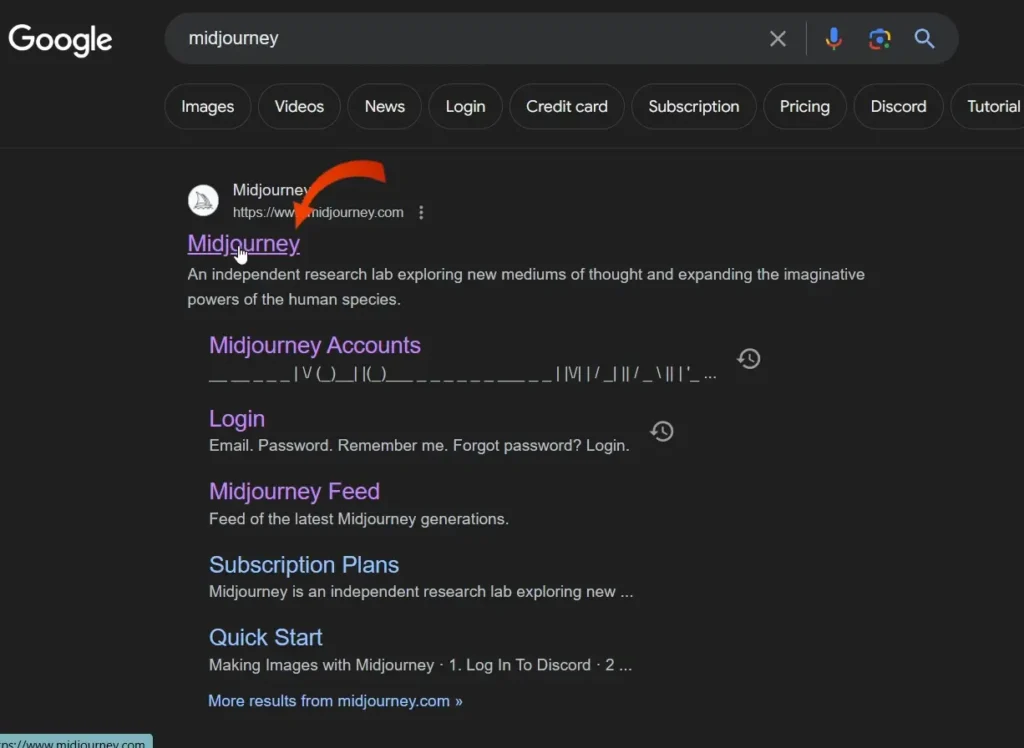
Step 1: Access Midjourney
Begin by opening your Chrome or Ares browser. In the Google search bar, type “MidJourney” and click the official link to access the platform. Log into your MidJourney account.
Step 2: Navigate to the Create Section
Once logged in, locate the “Create” button. This option is usually prominently displayed on your dashboard.
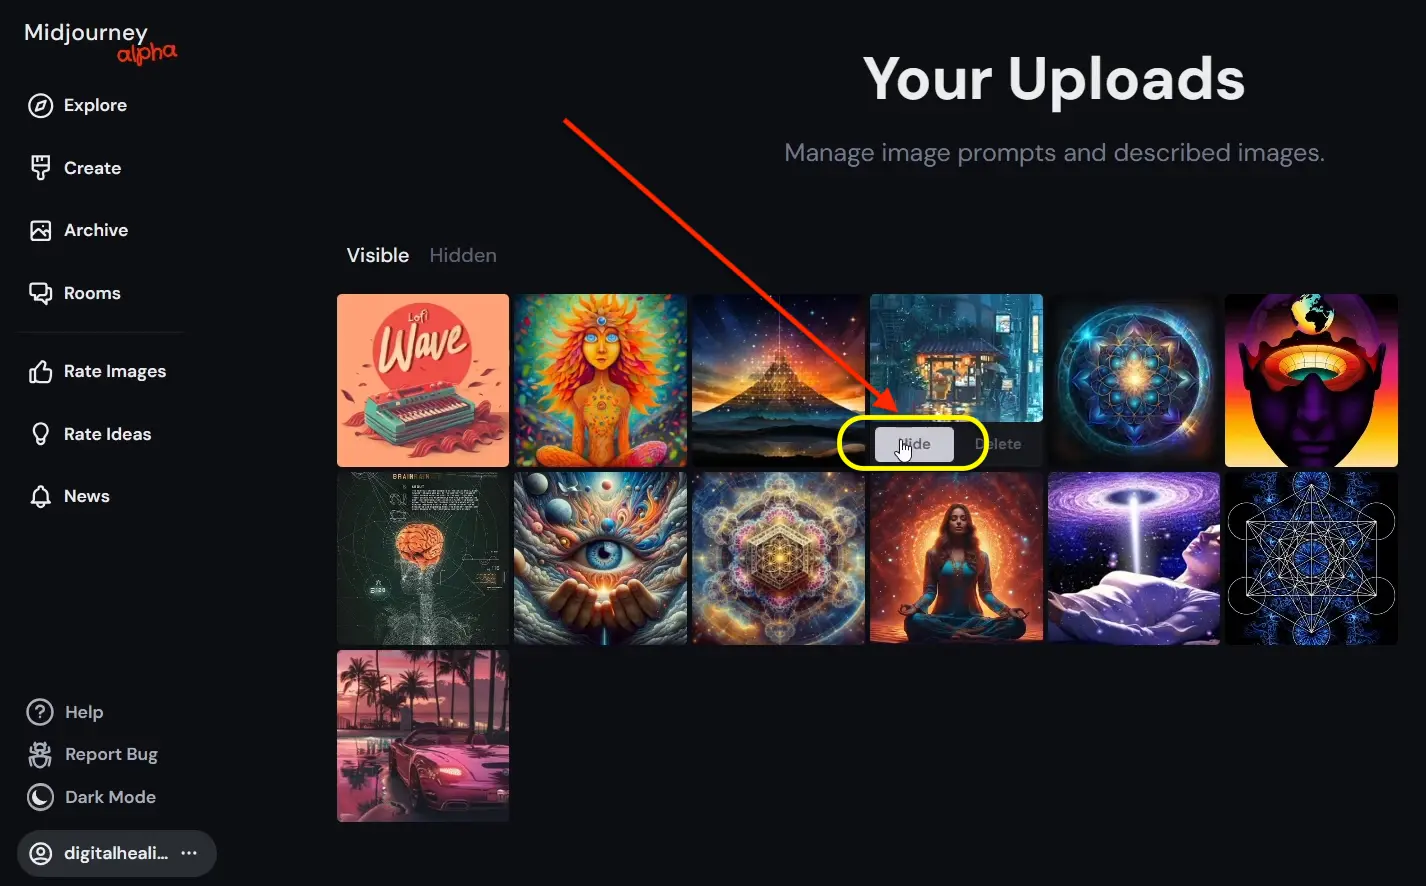
Step 3: Hide Your Creations
On the right side of the “Create” section, you will find the “Hide” option. Click on this to hide all of your creations quickly. A notification will appear confirming that your uploads have been hidden.
Step 4: Manage Your Uploads
To view and manage your hidden images, go to the bottom right corner of the screen. Click on your account icon and select “Manage Uploads.” This section will show you all of your hidden photos.

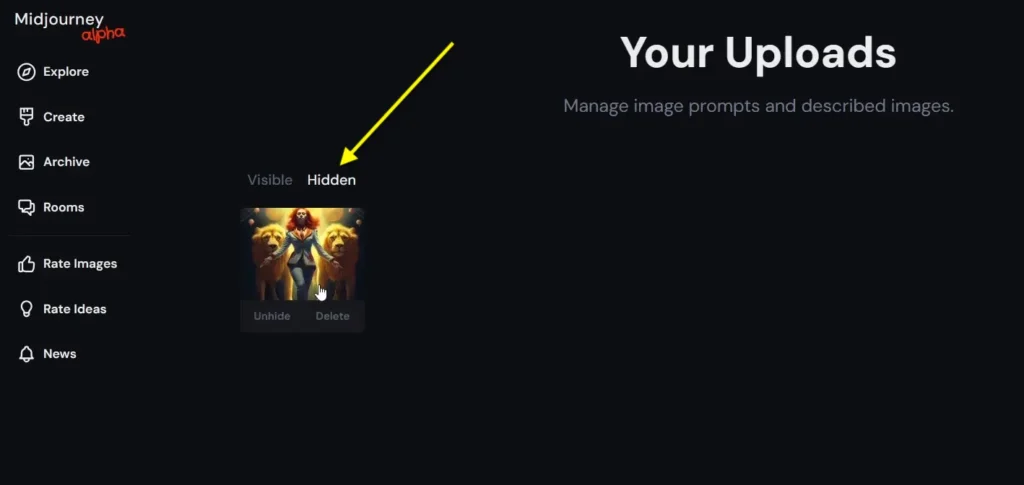
Step 5: Unhiding or Deleting Uploads
Within the “Manage Uploads” section, you have the option to unhide or delete your uploads. If you wish to unhide a file, simply click on the “Unhide” option next to the desired image. To delete an upload, hover over the file and select the delete option.
Step 6: Confirm Your Changes
After unhiding or deleting your uploads, ensure that your changes have been saved. You can double-check your hidden files anytime if you need to manage them again.
Conclusion
Managing your uploads on MidJourney is a simple process that enhances your control over your online content. If you want to hide a creation temporarily or completely delete it, these steps will ensure you can manage your images effortlessly.
Demi Franco, a BTech in AI from CQUniversity, is a passionate writer focused on AI. She crafts insightful articles and blog posts that make complex AI topics accessible and engaging.