Camera Angles are a very important and useful feature of MidJourney V6. Today, we’re going to explore the types of shots supported and exploring the different camera angles, viewing directions, and shot types.
Understanding Camera Viewing Direction
The first crucial aspect of camera control is the direction from which we view our subject. It sets the stage for the entire composition.
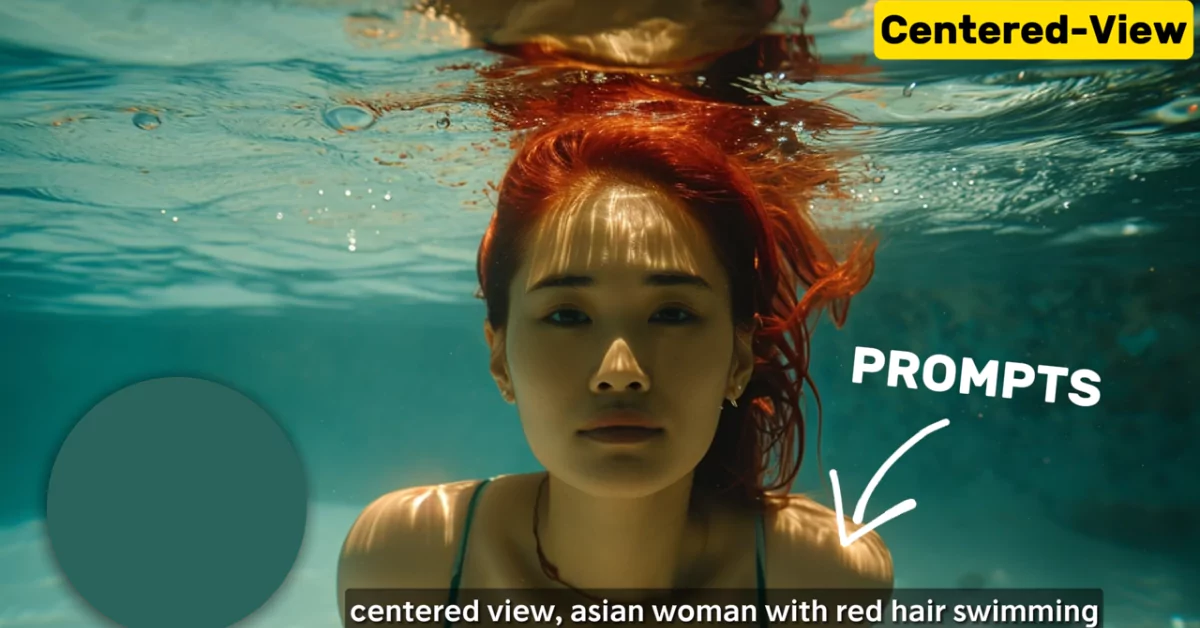
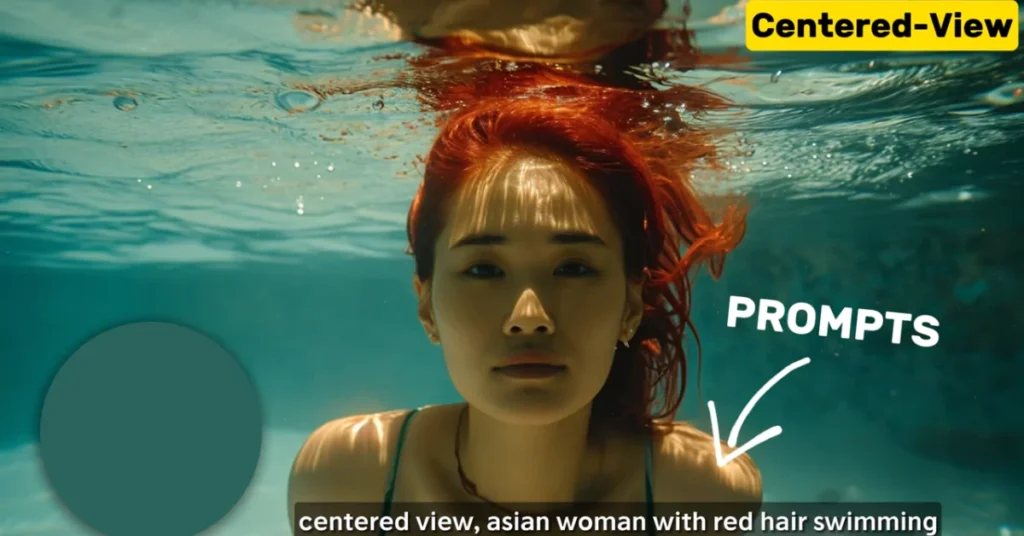
1. Centered View
Starting at the baseline, a centered view places us directly in front of the subject, offering a symmetric and focused perspective on the face. It’s perfect for clear, direct portraits.

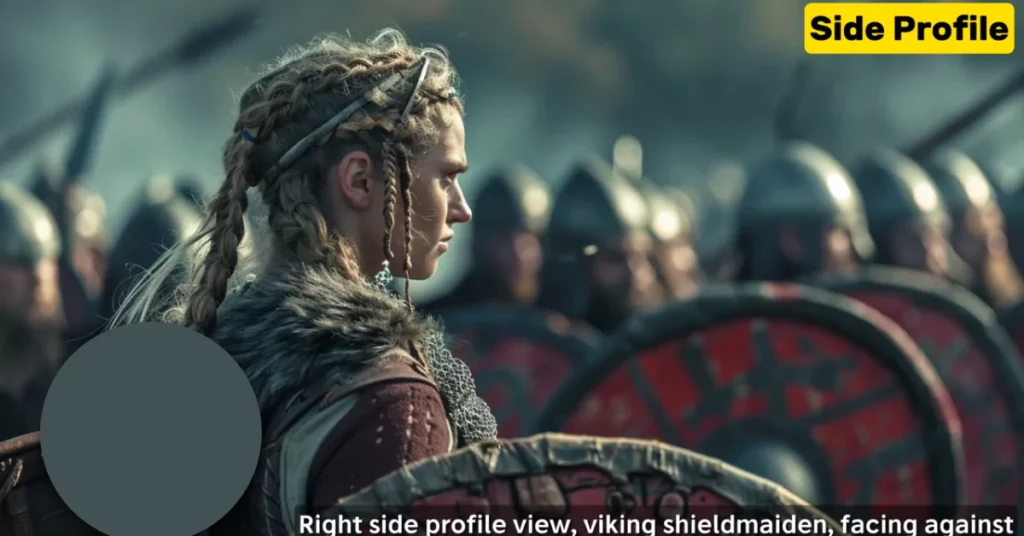
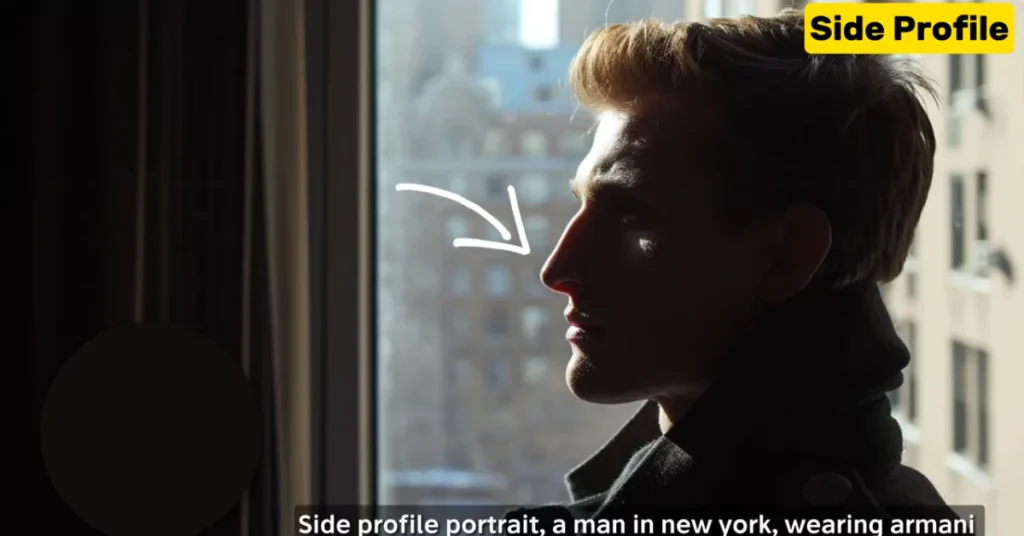
2. Side Profile
Rotate the camera by 90°, and you have the side profile shot. This emphasizes facial features like the nose, lips, and jawline, providing a unique perspective on the subject.
3. Back View
For an air of mystery, try the back view. With the face hidden, viewers are left to guess the subject’s expressions based on the context of the image.

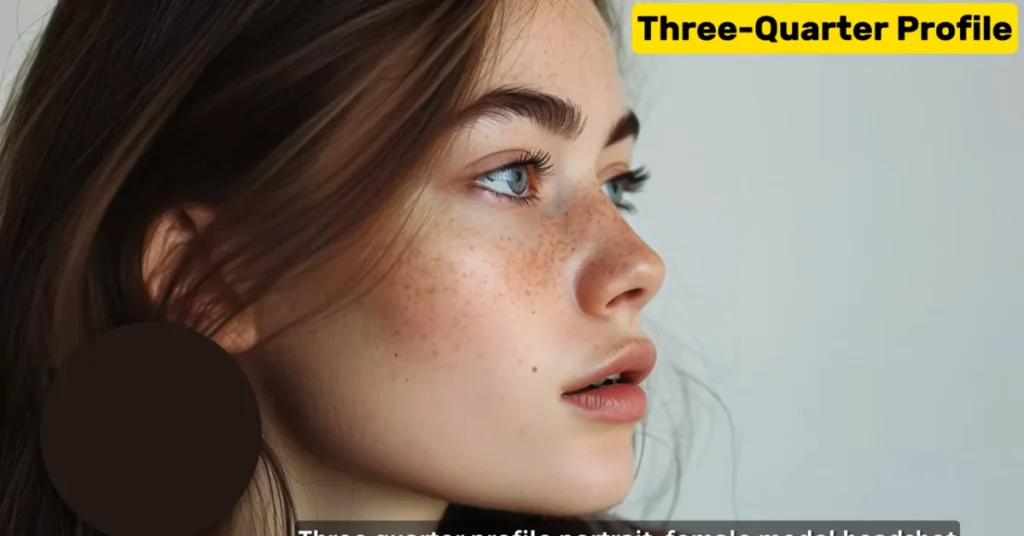
4. Three-Quarter Profile
Sitting between the centered and side profile views, the 3/4 profile adds a natural touch, offering depth to the subject’s face, making it a popular choice when you want to transform a direct frontal portrait to a 3/4 angle portrait.
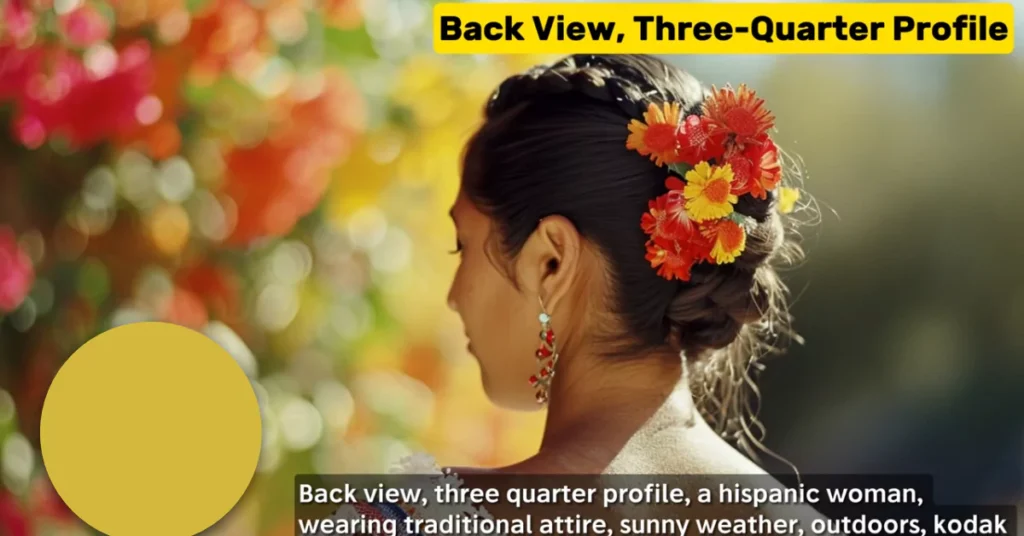
5. Back View Three-Quarter Profile
A clever fusion of back view and 3/4 profile, this shot reveals more curves in the neck and shoulder area without completely hiding the face.
Experimenting with these directions allows you to infuse your photos with unique perspectives.
Camera Shot Types:
Now that we’ve mastered the art of viewing direction, let’s dive into shot types, determining how far we are from our subject.
1. Close-up Shot
Getting up close and personal, this shot focuses on the head and neck, emphasizing specific facial features and expressions.
2. Medium Close-up Shot
Zooming out slightly, the medium close-up frames the subject from the chest up, offering a broader view while maintaining facial details.
3. Extreme Close-up Shot
For intense emphasis on a small portion of the subject, like the eyes or hands, the extreme close-up shot is a powerful tool.
4. Medium Shot
Framing from the waist up, the medium shot expands the view to include more of the environment, providing context.
5. Closeup Shot
Originating from Western films, this shot frames the subject from the knees up, ideal for showcasing accessories or other portraits.
6. Full Body Shot
Displaying the entire figure, the full body shot captures the subject from head to toe, creating a complete visual narrative.
Tip: Generate full body shots by prompting for specific details like the type of shoes the subject is wearing.
Mastering Camera Angles
With direction and shot types under our belt, let’s explore the impact of camera angles on your compositions.
1. Low Angle Shot
Positioning the camera below eye level and angling upwards, the low-angle shot adds drama, making the subject appear tall and dominant.
2. High Angle Shot
Conversely, the high-angle shot, from above and tilting downwards, makes the subject appear smaller and vulnerable. It’s excellent for isolating subjects and creating emotional depth.
3. Wide Angle Shot
Capturing a broad view with a wide field of vision, the wide-angle shot is perfect for showcasing landscapes. Extreme wide angles or long shots emphasize the scale of the environment compared to the subject.
4. Overhead View
Directly above the subject, the overhead view provides a top-down perspective, revealing details on the ground that may otherwise go unnoticed.
5. Bird’s Eye View
Similar to the overhead view, the bird’s eye view involves flying above the subject, offering a different vantage point.
Remember, the right camera angle can transform a photo from ordinary to extraordinary.
Additional Camera Angles & Shots
Let’s uncover some additional camera angles and shots that add depth and creativity to your compositions.
1. Dutch Angle Shot
Tilting the camera to produce a disorienting effect, the Dutch angle shot adds a touch of unpredictability.
2. Point of View Shot
Providing a first-person perspective, the point of view shot immerses viewers in the subject’s experience, perfect for action photography.
3. Selfies
Though not as popular, selfies remain a viable option. Combine them with various camera angles for dynamic effects.
The Impact of Camera Lenses
The lens you choose plays a pivotal role in shaping your photo. Let’s explore a few lens options and their applications:
1. Wide Angle Lenses
Ideal for wide-angle shots, these lenses capture broad views of the environment.
2. Fisheye Lenses
Creating distorted, spherical images, fisheye lenses offer an immersive feel, especially suitable for unique compositions.
3. Macro Lenses
Specifically designed for close-up shots, macro lenses excel in capturing intricate details, be it people or wildlife.
4. Tilt-Shift Lenses
Adding a tilt-shift lens to your arsenal creates a miniature effect, perfect for landscapes and cityscapes.
Applying Camera Control to Landscapes
The principles of camera control aren’t limited to portraits; they seamlessly translate to landscape photography.
Here are some techniques for capturing stunning landscapes:
1. Overhead View, Bird’s Eye View, Aerial Shots
Explore these angles to capture expansive landscapes, emphasizing the natural beauty from above.
2. Ground Level Shots
Placing the camera on the ground offers a unique perspective, highlighting foreground elements like textures and flora.
3. Low Angle Shots Pointing Up
You can join yourself in the landscape by capturing low-angle shots that showcase the vastness of the surroundings.
4. Panoramic Shots
Stitching together multiple images creates panoramic shots, offering an extremely wide field of view.
As you start on your photographic journey with MidJourney V6, remember that a thoughtful combination of direction, shot type, and angle can upskill your photos to new heights.
Demi Franco, a BTech in AI from CQUniversity, is a passionate writer focused on AI. She crafts insightful articles and blog posts that make complex AI topics accessible and engaging.